How to install Clustered SQL Server 2008 on Windows 2008 Cluster using Hyper-V (Guest Clustering) Part – 2
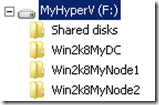
Thanks for overwhelming response of part 1 of the series. As a part of this series, we have created a Domain Controller (Win2k8MyDC). Let’s go ahead and follow the steps below to add two more machines into my domain (blakhani.com). For this you need two more VHDs extracted. Here is the folder structure I have followed:
I have kept two more VHDs Win2k8MyNode1.vhd and Win2k8MyNode2.vhd in F:\Win2k8MyNode1 and F:\Win2k8MyNode2 folders respectively. We are going to build two machines on Hyper-V now. I would show you steps for Win2k8MyNode1 and same should be followed for the second node. Let’s Open Hyper-V manager, Right Click on Server Name and Choose New > Virtual Machine
Below are few self-explanatory screen shots so I am not going to spend time in explaining what they are.
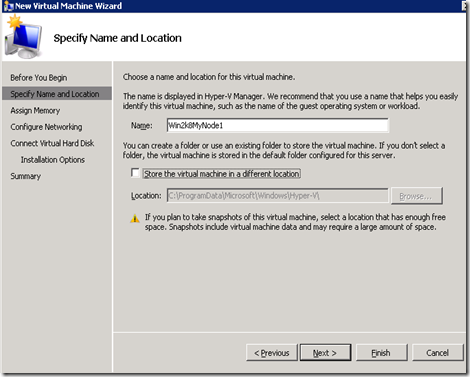
Put Name of the machine.
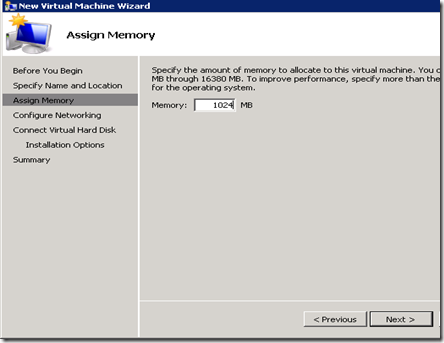
We have configured Physical Memory for this machine to be 1 GB.
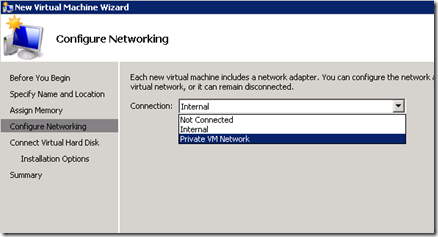
Choose Private VM Network
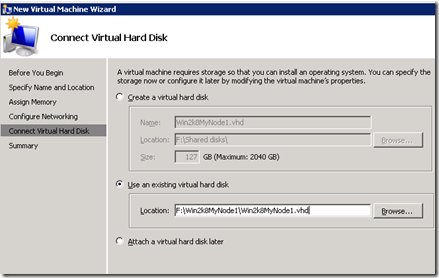
Here, we have to give the file which we have extracted earlier.
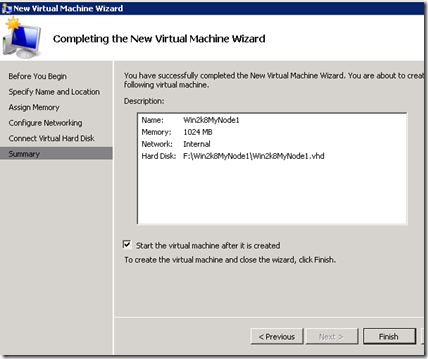
Finish the Wizard and Machine 2 is ready to use.
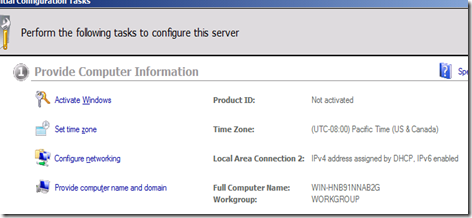
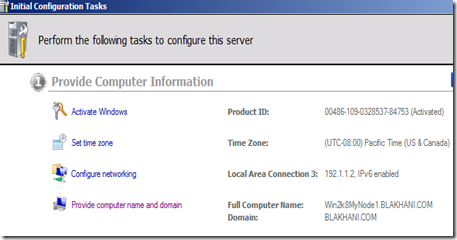
Once machine is started, it may ask you to restart. Once you are logged in, Below is the first screen you would get
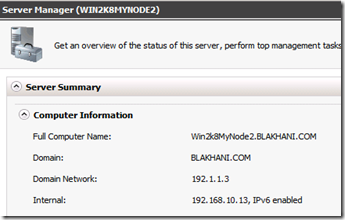
As you can see, machine is has a randomly assigned name, it is in a workgroup with no IP Address and is not activated etc.. I am going to make some changes below. I would not spend much time in demonstrating “how to change computer name”, “how to change IP”, “How to join a machine to domain” etc. You can bing them and find steps easily. Finally below is the screenshot for Win2k8MyNode2
Okay. So all three machines are ready. Quick Summary
| Machine Name | Role | IP Address |
| Win2k8MyDC | Domain Controller | 192.1.1.1 |
| Win2k8MyNode1 | Member Server | 192.1.1.2 |
| Win2k8MyNode1 | Member Server | 192.1.1.3 |
Just to be on safer side, make sure that you are able to Ping them from each other.
Now, Next step is to add new drive to the Domain controller and use iSCSI to connect them from Node1 and Node2.
But wait… before you do that, you may need to transfer some data from the “host” to the “guest”. I would spend some time in explaining how to do that.
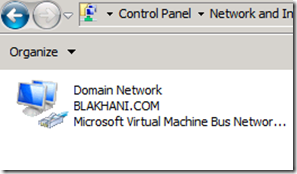
Do you remember that we have created two network in Hyper V (Refer Part 1, Step 1). Lets go ahead and add second network to DC, Node1 and Node2. To avoid confusion, rename the current network adaptors on “guests” to “Domain Network” as shown below
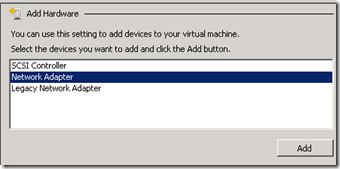
Lets stop All three machines using Hyper V manager and add “Internal” network for all machines. Open Hyper V manager, Right Click on machine name, choose settings. On “Add Hardware” tab, choose “Network Adapter”
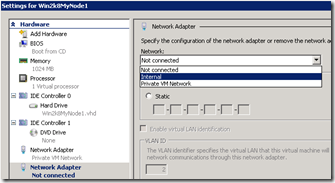
Click on Add and choose “Internal” as shown below.
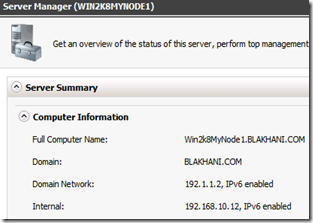
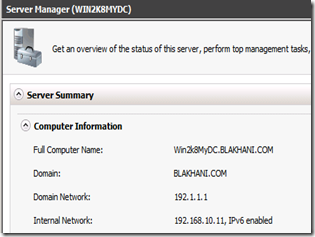
Click on Apply on the previous screen. Follow the same steps for the rest of the machines as well. Go ahead and start the machines. Once you login, you would see the new network coming up. Rename that to Internal and give IP addresses as 192.168.10.11 (DC), 192.168.10.12(Win2k8MyNode1), 192.168.10.13(Win2k8MyNode2). Now one host machine would have two networks. Please provide the IP address as 192.168.10.10. Here is the quick screenshot of all the Summary screens (notice IP Addresses)
Now, you should be able to ping Guest machine(s) from the host machine and we are all set to copy files from host to guest. You may wonder that its so simple. But believe me, with my limited knowledge of networking <blushing smiley>, it took me a day to figure this out.
To Configure shared drive you have to use iSCSI initiator and iSCSI Target. Initiator would be available on your VMs but you need to get the Target (its not free). There are few free iSCSI target software such as Starwind that can also be used for this setup. I am using internal version of Microsoft iSCSI Target.
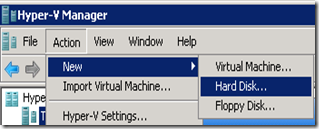
Since I am going to add a disk to Win2k8MyDC which would be exposed to the rest of the nodes, I have created a disk using below steps
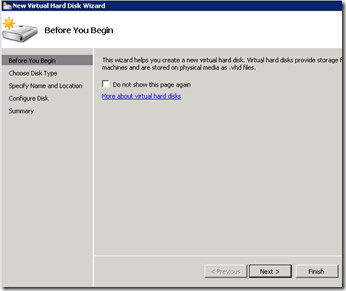
Click Next on Welcome Screen
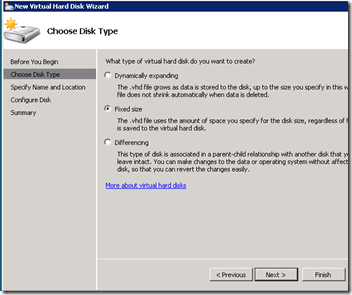
Choose Fixed Size
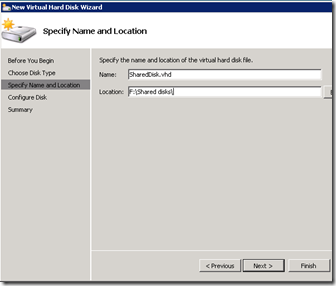
I have created folder “F:\Shared disks” and would place file there.
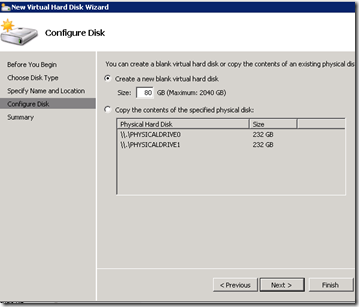
Size.. umm… 80 GB
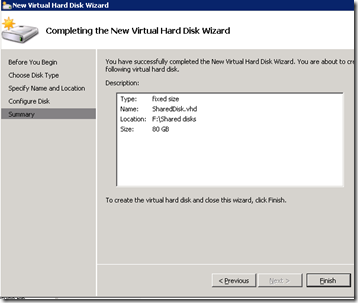
Complete the wizard
This completes creation of a big disk (80 GB) which would be used to make smaller drive later. Attach the disk to storage server. I'm using my Windows Server 2008 R2 Domain Controller for my storage server as well, this saves me one VM.
- Turn off Win2k8MyDC.
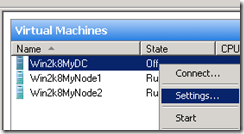
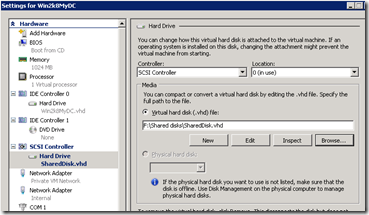
- Right Click on Server and choose Setting and follow below
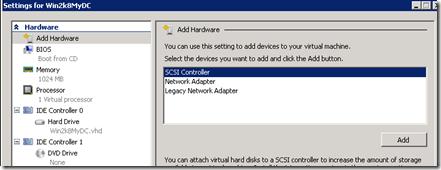
- Choose Add Hardware, Select SCSI Controller and “Add”
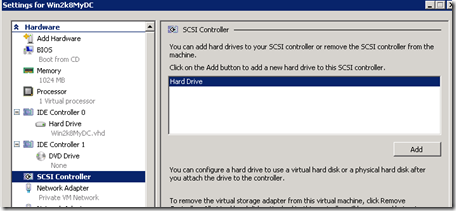
- Click on Add again
- Choose the hard drive created earlier.
- Click on Apply / OK
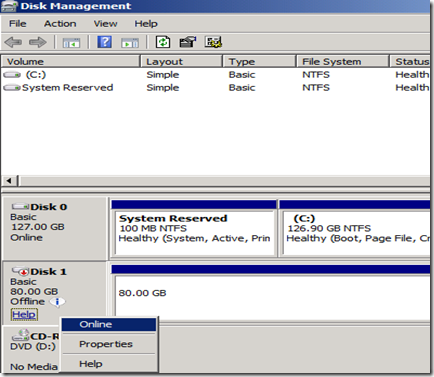
Let’s go ahead and start the VM (Win2k8MyDC). Once you login to server, go to start > Run and type DiskMgmt.msc and hit OK. You would see 80 GB Hard Disk and all you need is “Right Click” and “online”
if there is no drive letter, the go ahead and assign a drive letter, say S: in this case. Now you should be able to see the drive in My Computer (Of course, Your Computer) :)
I guess there are too many images on this blog, so I am going to write next post to demonstrate the configuration of shared disk inside a “guest” using iSCSI target.
Stay Tuned and Happy Clustering !!!
Balmukund Lakhani
Senior SE, Microsoft SQL Server
Reviewed by
Amit Banerjee & Nickson Dicson
TL, Microsoft SQL Server
Comments
Anonymous
May 09, 2010
When adding internal network to communicate with local host, what else need to be setup in NIC properties?Anonymous
July 24, 2010
I would still love to see your 3rd post on this topic showing how to setup the iSCSI target for that shared drive. You mention using the MS iSCSI Target but I think that requires MS Storage Server.Anonymous
August 23, 2010
What happened to Part 3? You wrote Part 1 in March and Part 2 in April and stopped. Part 3 is where all of the meat is. Without it, there was no need to write Part 1 and Part 2.Anonymous
August 23, 2010
Hi Jeff , Glad to see that you are following this blog and the Part 3 (meaty as you put it ) is a work in progress. It should be out soon! Regards, SQLServerFAQAdminAnonymous
October 17, 2010
HI any links for part 3?Anonymous
October 17, 2010
I have been busy to write next part of series. But good news is that I have done a session on the same zeollar.cloudapp.net/.../145 (Clustering SQL Server 2008 using Hyper-V)Anonymous
December 21, 2010
The hard part was to figure out the DC has to be a win 2kx Storage server in order to get MS iSCSI Target as there is no straight forward way to upgrade EE or Standard to Storage server unless one resorts to third party iScsi s/w like StarwindAnonymous
March 28, 2011
Nice article Sir!!! All the detail are put in one place.
