Posting messages to the Graph API from Microsoft Flow
I needed to POST a message to Microsoft's Graph API in order to find meeting slots in a calendar within my organisation. I wanted this wrapped in an API so that I could call it from Cortana. Read my previous post about how I got this working from Postman as this will cover off the Azure Active Directory pre-requisite. (https://blogs.msdn.microsoft.com/softwaresimian/2017/10/05/using-postman-to-call-the-graph-api-using-azure-active-directory-aad/)
I first looked at Flow as it had the following Action, it looked great as I could log into an Active Directory resource and call the API with delegated authority and then expose that as an API for Cortana to call without having to authenticate.
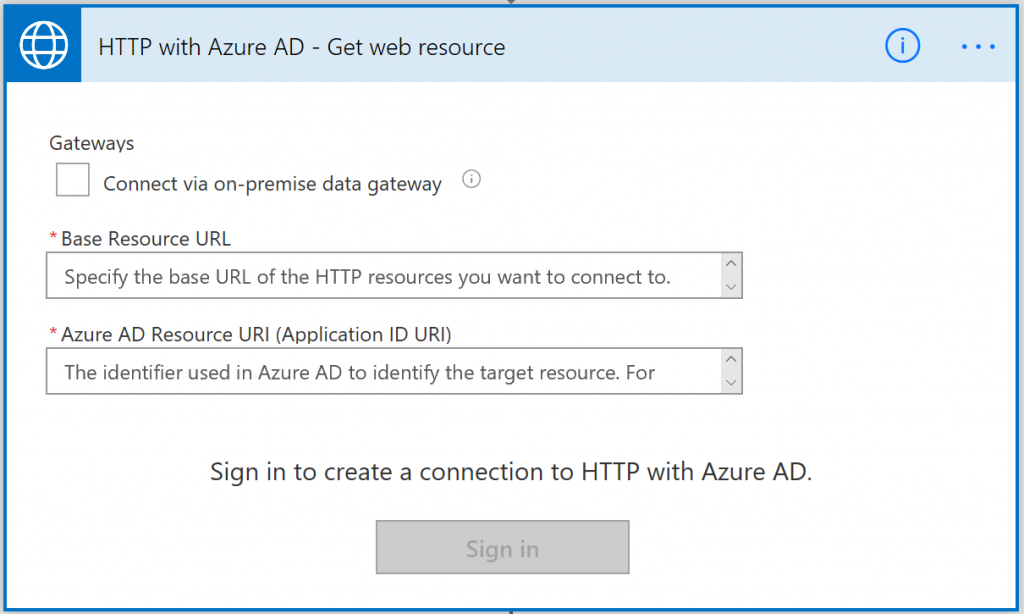
 However, this first party action only allows you to use the GET verb whilst authenticating with an Azure Active Directory secured resource. However, Flow allows you to create your own Custom Connectors. From the previous blog you would have a POST message to the Graph API from Postman which you can create a Postman Collection with your working method call and then export it is a V1 Postman Collection. You will need this to create a Custom Connector in Flow without a Swagger file.
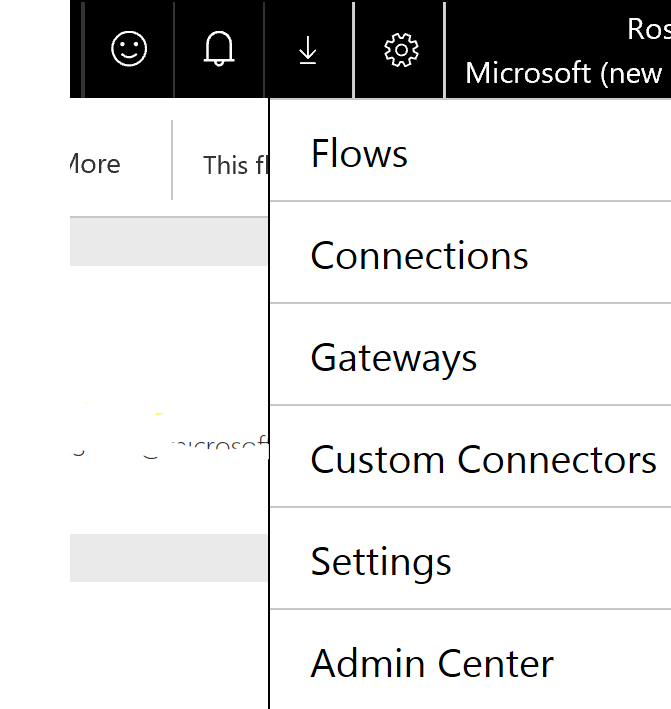
Log in to flow and then click the Cog in the top right corner and select Custom Connector.
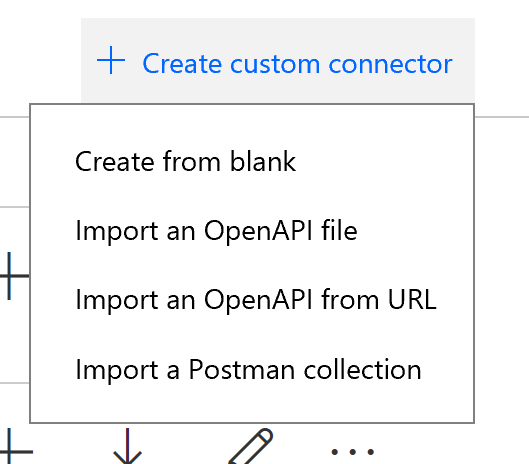
The Graph API does not provide a Swagger File for the API's that are exposed, however you can use a Postman Collection to do that for you.

Once you have imported your V1 Postman Collection into Flow, it will appear as generatedApiDefinition.swagger.json.
On the first tab called General, you will notice that it has pulled in the resource Url that was defined in your Postman Collection and populated this in the Host. Give your API an icon and a useful description if you want to change it from what is pulled in from Postman. Click Continue
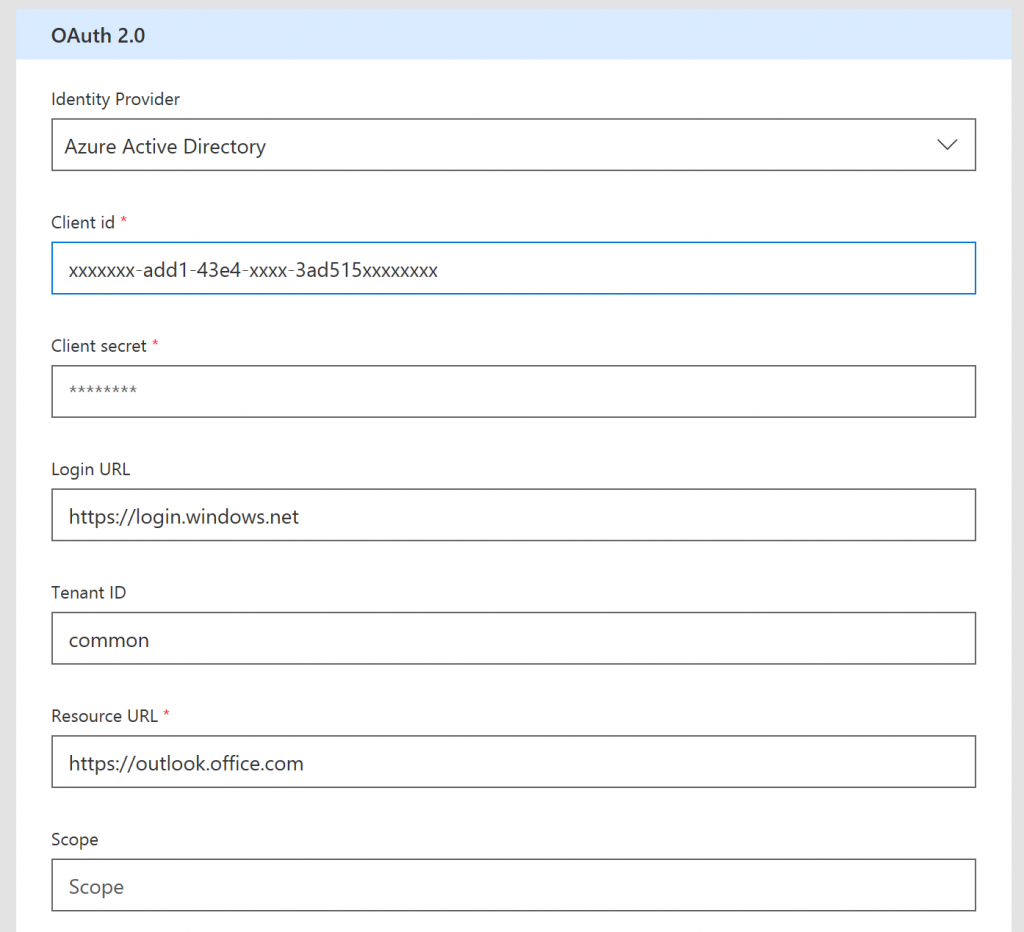
The second tab is Security, where you will have to fill in your Application ID (Client id) from the previous blog and your secret. This means the Flow will run with the permissions defined in that application. You will also have to fill in the ResourceURL which is https://outlook.office.com, all the other values can be default.
The third tab is where we define the message that we are going to send, skip over this for the time being and go to the Test tab to check everything is working. It will ask you to "Create Connector", go ahead and do this.
After you have created the connector, it would have registered this in flow; now go back to the second tab "Security", you will notice that it has now supplied you with a RedirectURL, copy this
And then go back into your "App Registration" in the Azure portal and allow your application to be called from this URL. The Azure Portal calls these "Reply URLs"
Go back to the last "Test" tab and click the "+ New Connection", if everything is wired up correctly with Azure Active Directory, Office 365 and Flow, then you should see your mail box appear in the box above the "+ New Connection" button. If not, there is something wrong with your AAD Application.
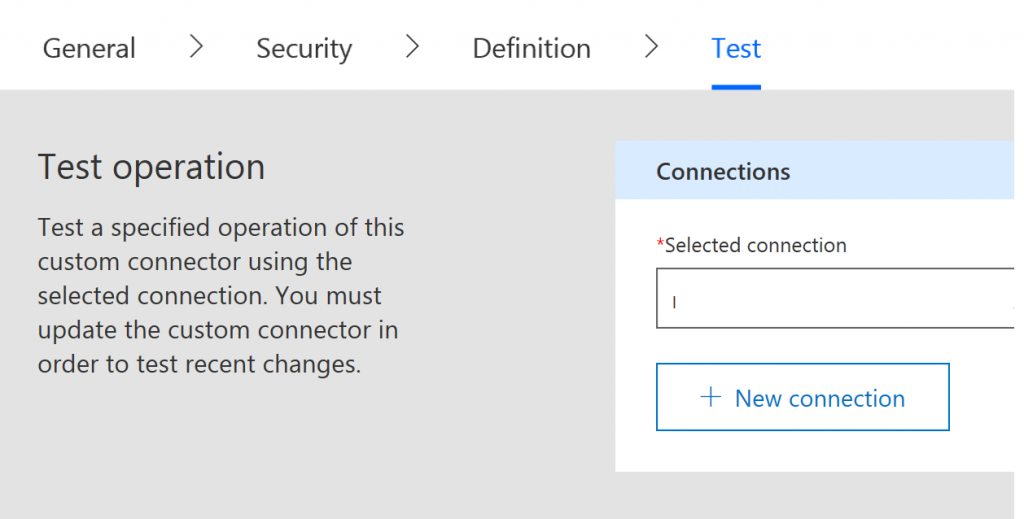
Let's just send a payload to Office 365 and see if we get a response. For the time being use Raw Body and paste in the test message that you used in Postman to get it working. Hopefully you should get a valid response back. If you don't, then go back and check in Postman if everything is working. If you get a message back, then the Custom Connector is ready to be used in your Flow.
Here you can see that the Custom Connector is represented above with the dog icon. The trigger fires when a json message is sent to it, the second and third actions are there to transform the json into the correct shape. Here's a screen shot of the main parts of the flow.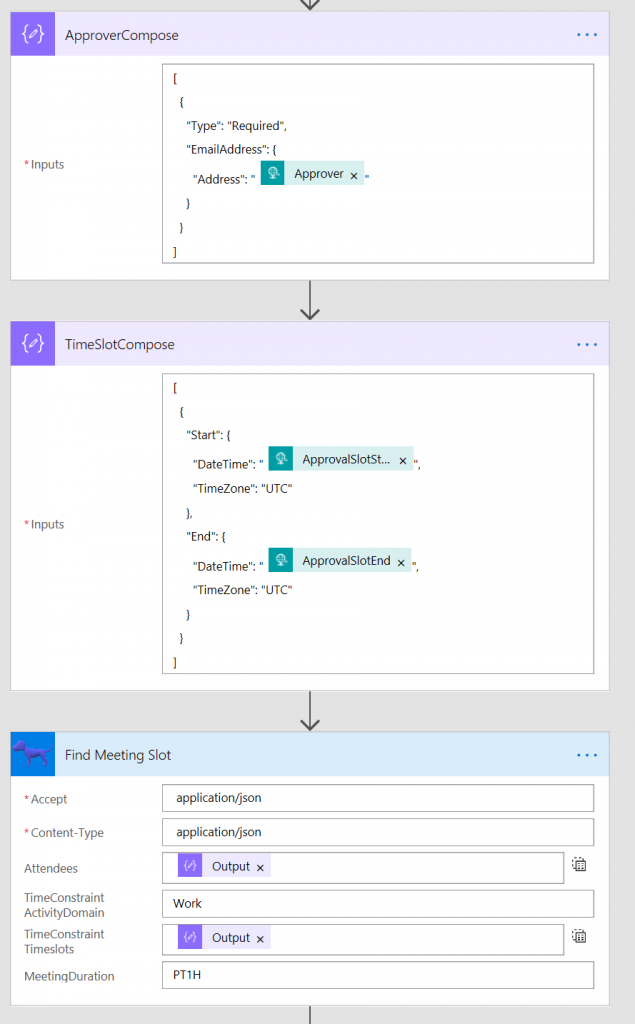
So in summary you have seen how we can take a message for the Graph API and host it in Flow and post messages to the Graph API with delegated authority.

