Creating an Active/Active SQL Cluster using Hyper-V: Part2 the Clustered Instances
In part 1 of this series I showed you how to configure the virtual storage required for the cluster. In this part I will show you how to create the SQL cluster as an Active/Passive cluster and in the next part I will show how to convert it to an Active/Active cluster.
Introduction
In this series of posts I will walk you through the processes of creating an Active/Active SQL server cluster using Hyper-V and Microsoft iSCSI target software for virtualized SAN. The target is to create first a storage server hosted on a normal Windows 2008 R2 server. Then connect to this server using two other machines as iSCSI initiators. Then I will create the windows cluster along with the DTC clustered service. A clustered SQL server instance will then be created. Finally another clustered SQL server instance will be created and Active/Active configuration of both instances will be applied.
Solution Architecture
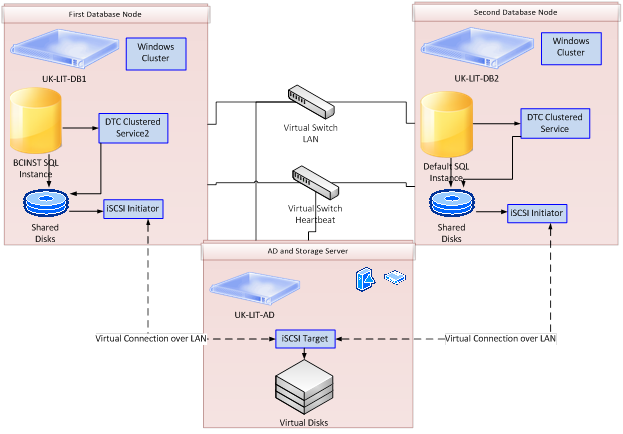
The solution is fairly simple as per the below configuration.
Windows Cluster Configuration Steps
Now that we have configured the storage we can start the windows failover cluster configuration.
1- Install the windows failover clustering feature to both nodes from the add feature wizard.
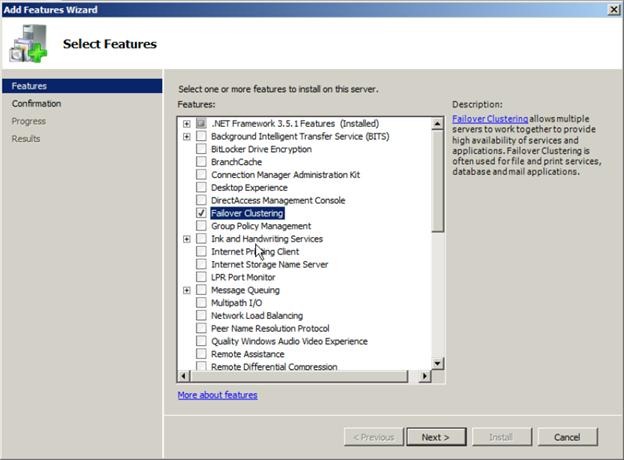
2- Bring all shared storage online to the current node.
3- Open the cluster management console and click create cluster. Note that it would be preferable to disable all disks at this stage from the iSCSI target but the disk that will be used as the Quorum.
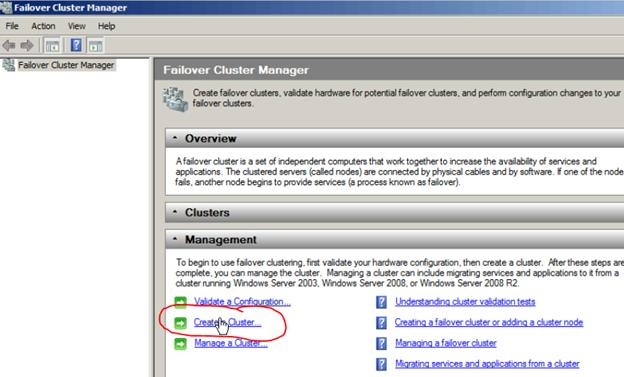
4- In the select servers page click browse and select the two nodes

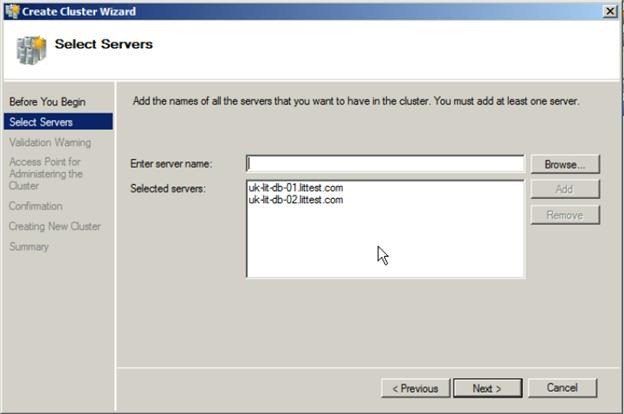
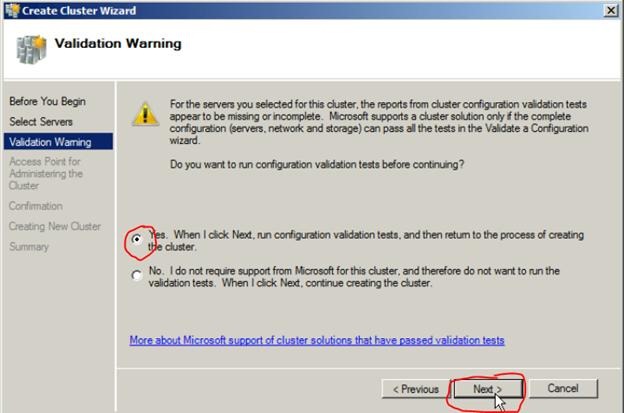
5- Perform the cluster validation using the selection to run the cluster validation wizard
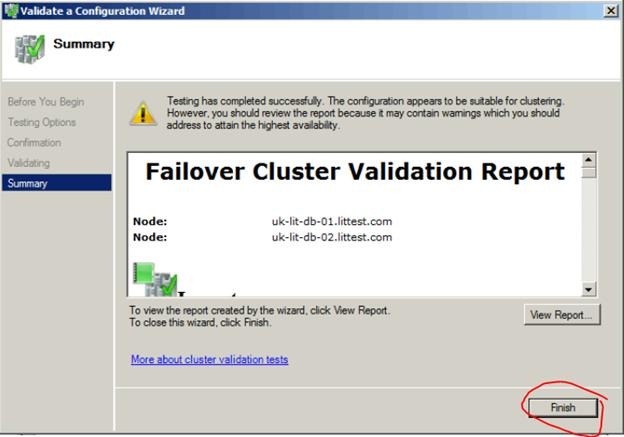
7- Review the validation and make sure there are no validation errors
8- Back to the create cluster wizard. Give the new cluster a name and an unused IP

9- The cluster is created and the first disk assigned to the first LUN is treated as the Quorum disk of the cluster
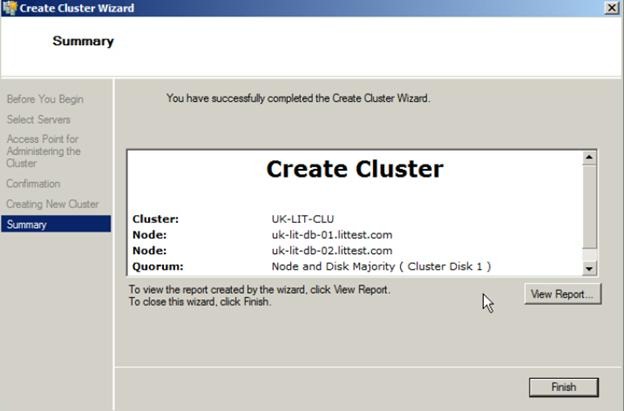
10- If you disabled all disks from the iSCSI target but the Quorum disk then you will need to add them as a new storage to the cluster once they are needed. It is advisable to add every disk you will use once you need it.
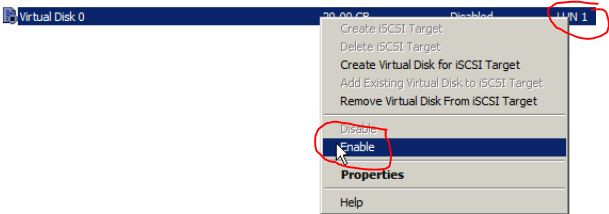
11- Go and enable the first disk that will be used for the first cluster DTC.
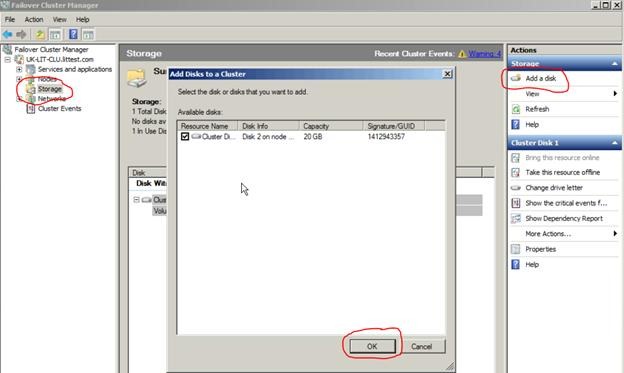
12- In the cluster management add the new storage.
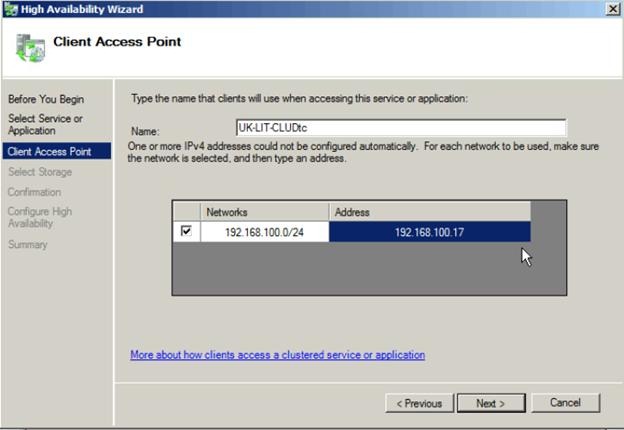
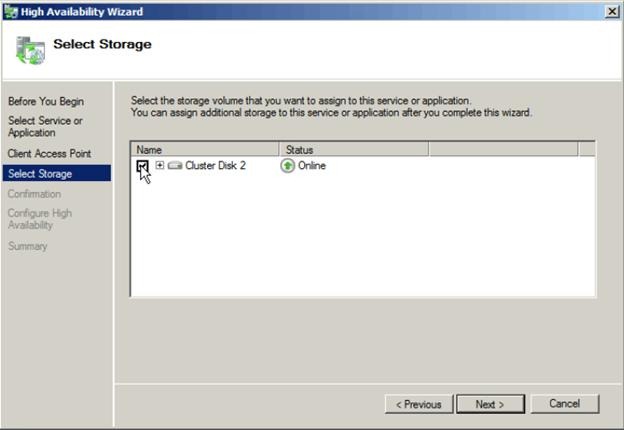
13- Go to the Services and applications node and click Configure a new service or application and select the DTC service and then click next.

14- You can change the resource name if you want but you have to give it an unused IP
16- Click finish to the confirmation screen
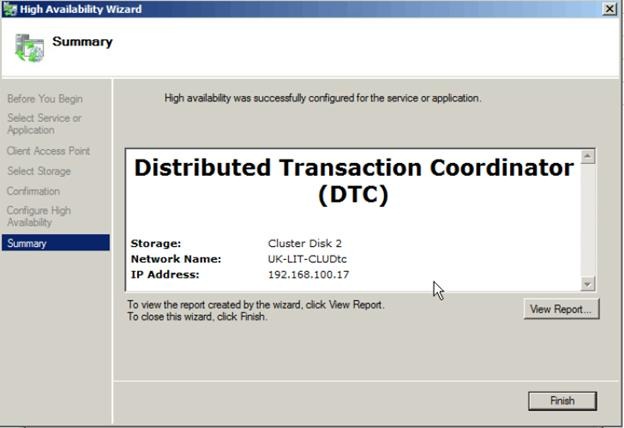
17- Now the windows cluster is prepared and ready for SQL server installation with an instance of DTC.

SQL Server First Cluster Instance
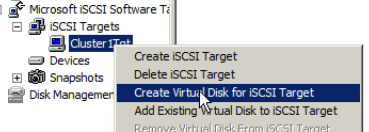
1- Go to the iSCSI target and create or add the shared disk to be used by the SQL cluster
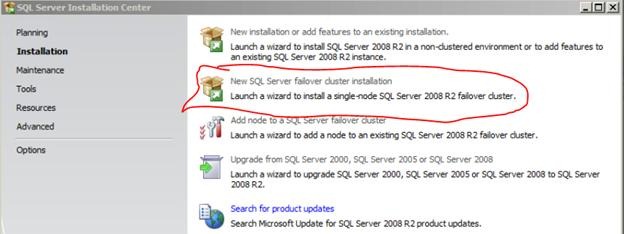
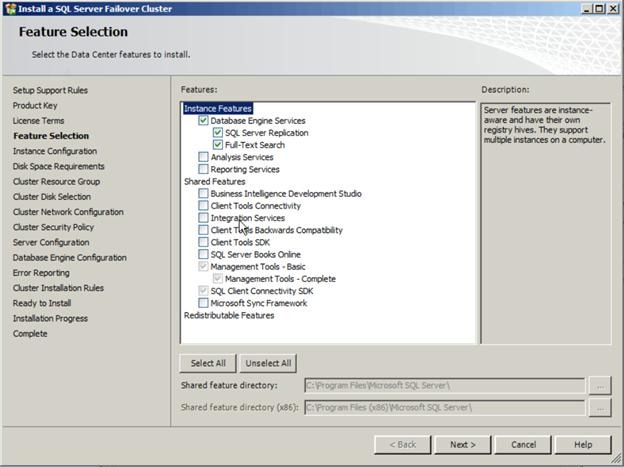
2- Open the SQL server setup and click on new SQL server cluster
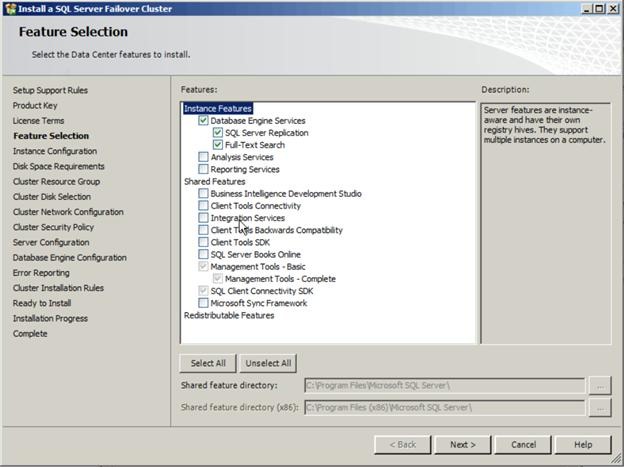
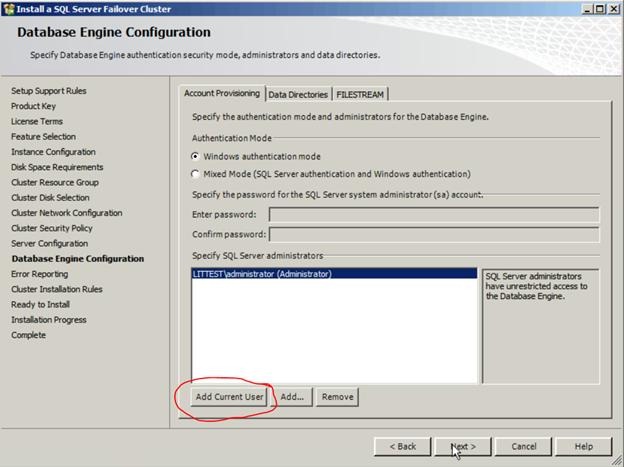
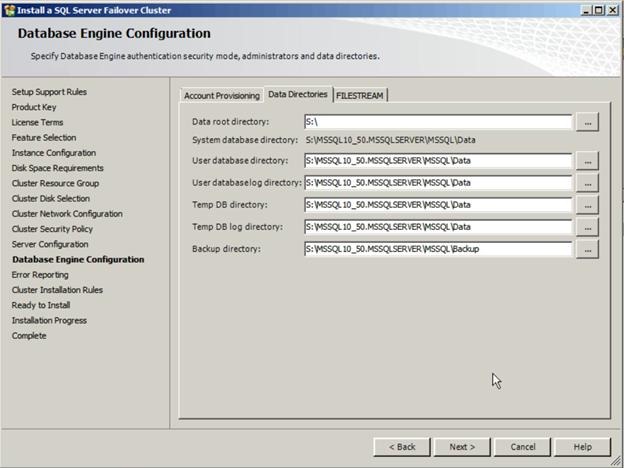
3- Go through the normal setup process

5- Enter the SQL cluster name and leave as the default instance (or name this instance if you require)
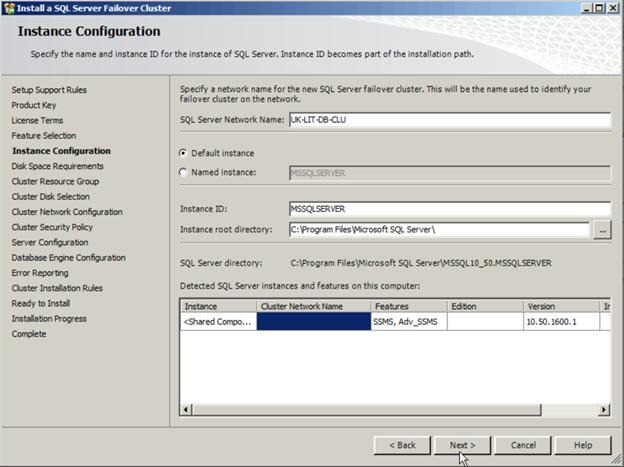
Please note that if you are using any virtualization technology other than Hyper-V and installed the guest additions, then you will need to uninstall these additions and restart the servers or the above step will fail and report that it cannot validate the above settings.
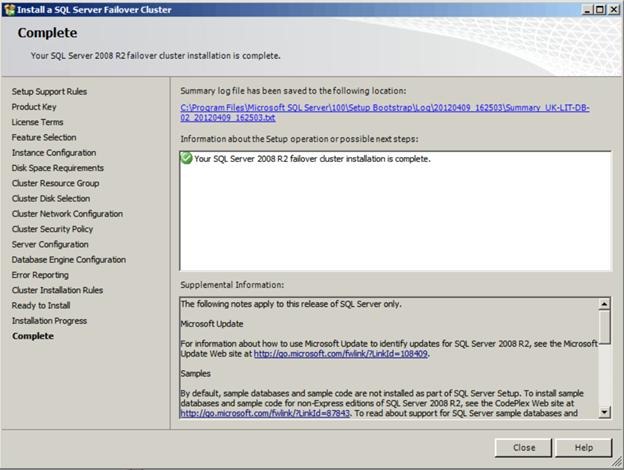
13- This completes the installation of the first SQL cluster on the first node
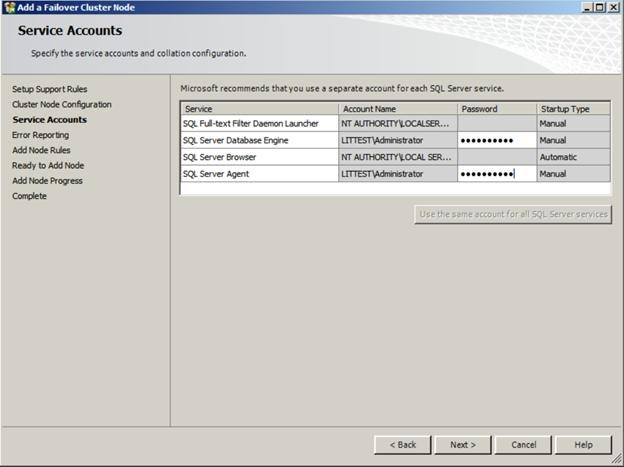
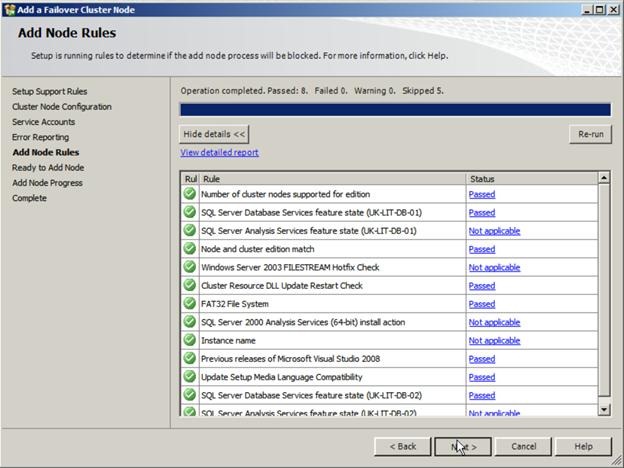
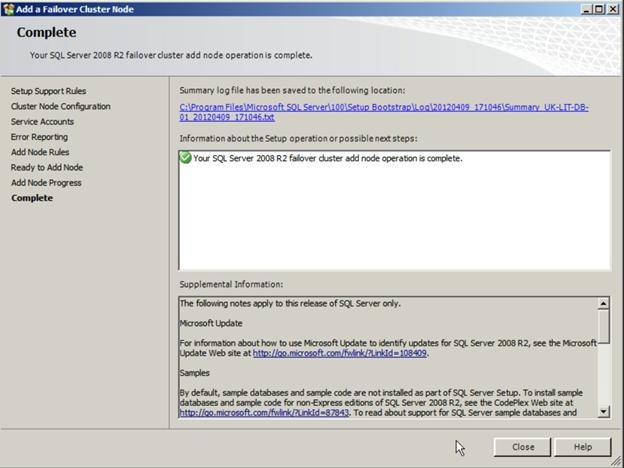
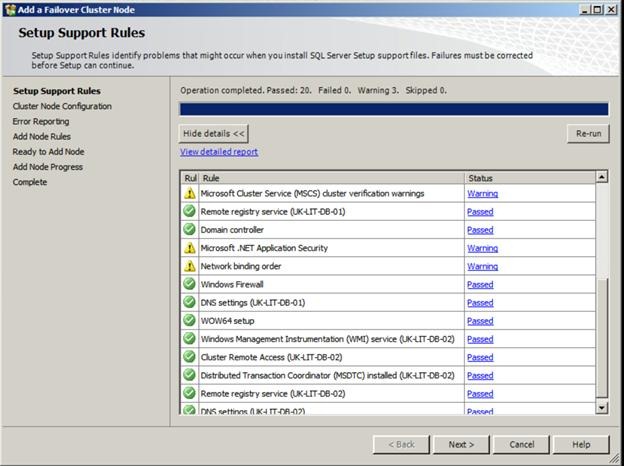
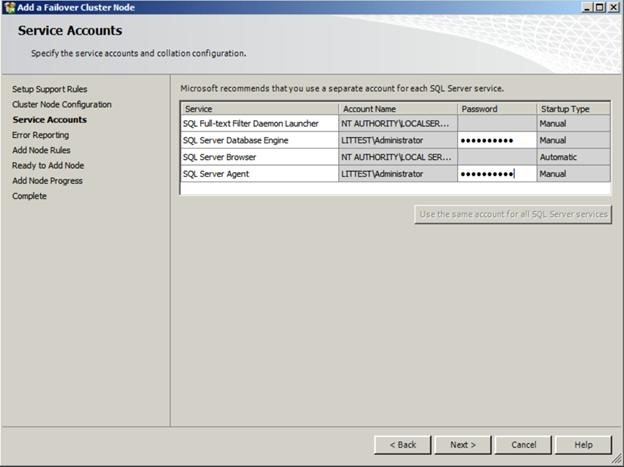
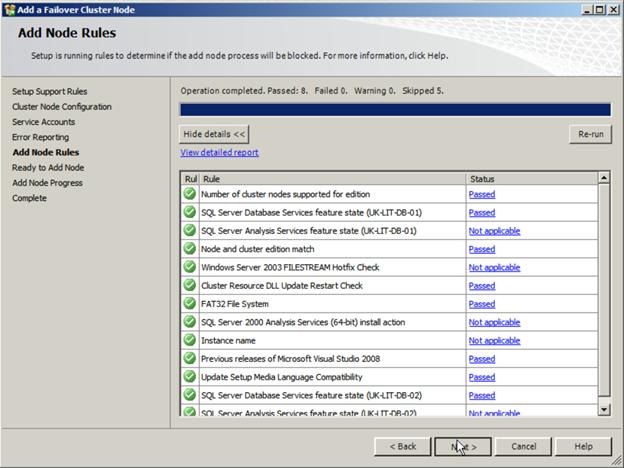
14- Logon to the second SQL node and start the SQL setup and choose to add a new node to a failover cluster

19- Now that completes setting up the second node for this SQL cluster
SQL Server Second Cluster Instance
Now we will go through the installation of a second clustered SQL instance to be prepared as another active instance on the passive node later.
1- Go to the iSCSI target and create or add another shared disk to be used by the second SQL cluster
![clip_image034[1] clip_image034[1]](https://msdntnarchive.z22.web.core.windows.net/media/MSDNBlogsFS/prod.evol.blogs.msdn.com/CommunityServer.Blogs.Components.WeblogFiles/00/00/01/39/29/metablogapi/3426.clip_image0341_thumb_6F00853F.png)
2- Go to one of the nodes and then open the iSCSI initiator and then click again on auto configure of the volumes and devices.

3- Now open the disk management utility and create the active partition on this disk and format it using NTFS.
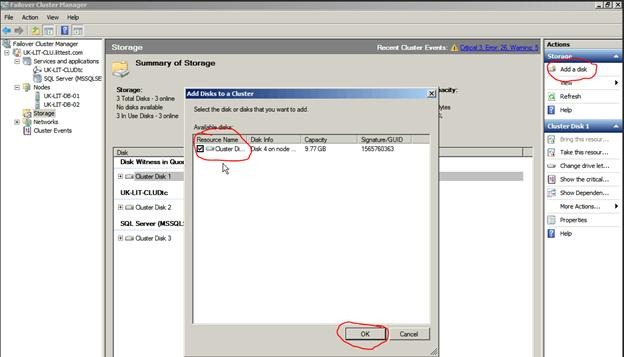
4- Open the windows cluster management and add this disk to the cluster.
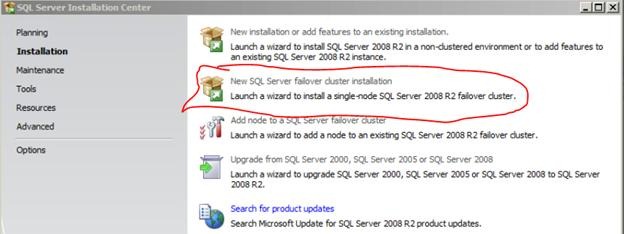
5- Open the SQL server setup and click on new SQL server cluster
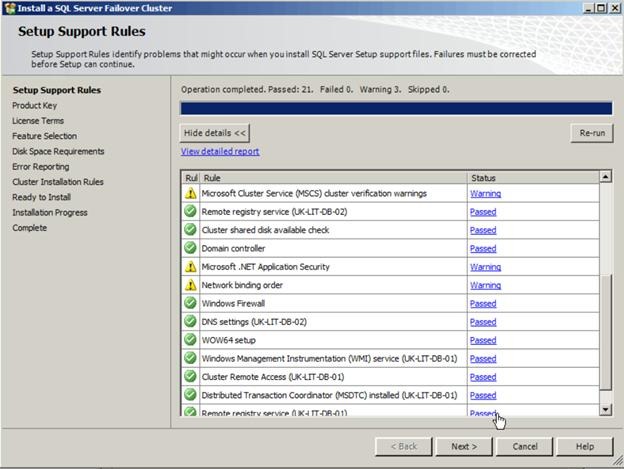
6- Go through the normal setup process
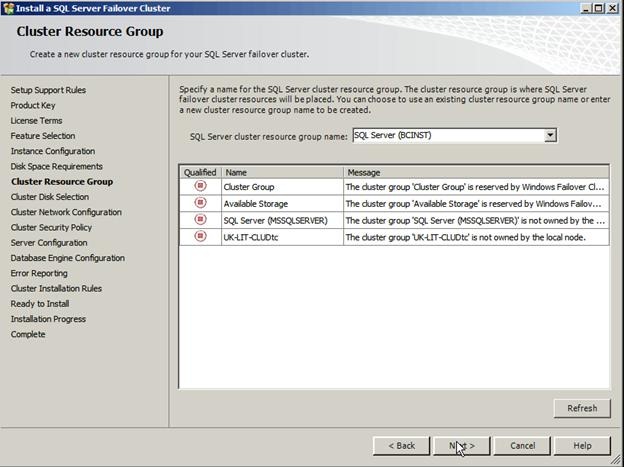
8- Enter the SQL cluster name and the instance name as BCInst

Please note that if you are using any virtualization technology other than Hyper-V and installed the guest additions, then you will need to uninstall these additions and restart the servers or the above step will fail and report that it cannot validate the above settings.
10- Choose the already added disk
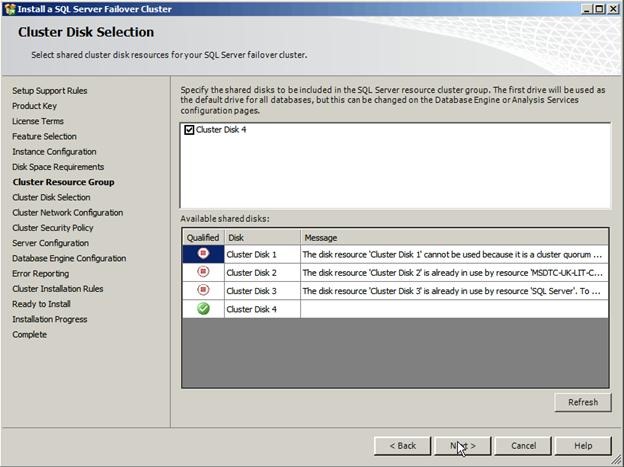
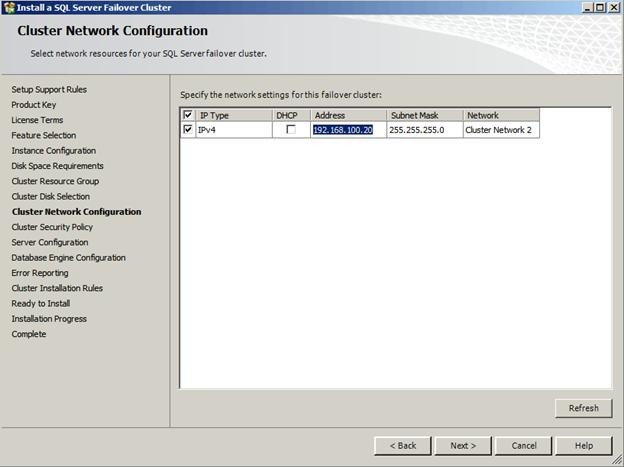
11- Choose a unique IP for his cluster
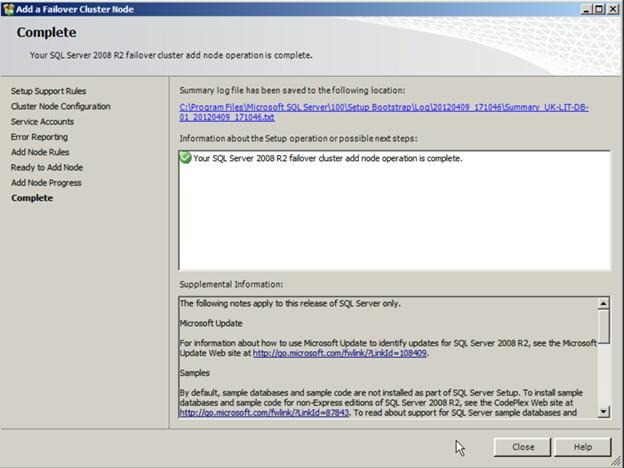
16- This completes the installation of the second SQL cluster on the first node

17- Logon to the second SQL node and start the SQL setup and choose to add a new node to a failover cluster

19- Choose the new cluster BCInst

22- Now that completes setting up the second node for this SQL cluster
In the next part I will show you how to configure the two created SQL instances in an Active/Active SQL configuration.
Comments
Anonymous
January 06, 2013
Hi, where is the rest of this article? I wanna know how to configure instances A/A SQL configuration. Could you please help me?Anonymous
April 09, 2013
It is here blogs.msdn.com/.../creating-an-active-active-sql-cluster-using-hyper-v-part3-the-active-active-configuration.aspxAnonymous
March 11, 2015
This is Active/Standby clustering NOT active/active.Anonymous
March 15, 2015
Is Active/Active Cluster Exist in MS SQL.... ??





![clip_image052[1] clip_image052[1]](https://msdntnarchive.z22.web.core.windows.net/media/MSDNBlogsFS/prod.evol.blogs.msdn.com/CommunityServer.Blogs.Components.WeblogFiles/00/00/01/39/29/metablogapi/3326.clip_image0521_thumb_052E7894.jpg)

![clip_image064[1] clip_image064[1]](https://msdntnarchive.z22.web.core.windows.net/media/MSDNBlogsFS/prod.evol.blogs.msdn.com/CommunityServer.Blogs.Components.WeblogFiles/00/00/01/39/29/metablogapi/2781.clip_image0641_thumb_2FB61FA5.jpg)
