Git and Visual Studio 2017 part 1 : Start repository
There are tons of blog articles regarding to Git or Git support for Visual Studio 2017, then why I need to write another one? The reason comes from my own experience. I didn’t understand Git as deep as geeks should, as VS takes care of it for me. But I luckily had a great opportunity to learn Git recently, then I have better understanding now what VS really does behind the scene!! Therefore, I will write this series from both Git and VS points of view.
How Git works
The most important thing to understand is, how Git works. There are several videos which explains the detail, but I personally recommend following ones.
Advanced Git Tutorial [video]
GOTO 2015 • Deep Dive into Git • Edward Thomson [video]
You better watch these video to understand how Git works, but I also explain in my own way.
* If you never use Git before, there are tons of basic instruction videos.
Everything happens on local (for a while)
Before even start, there is an important thing to note. Git is a distributed version control system, therefore you don’t need to have remote central server. Therefore, we only work with local (for a while).
Create console application project
We need a project to track by Git, so let’s create one first.
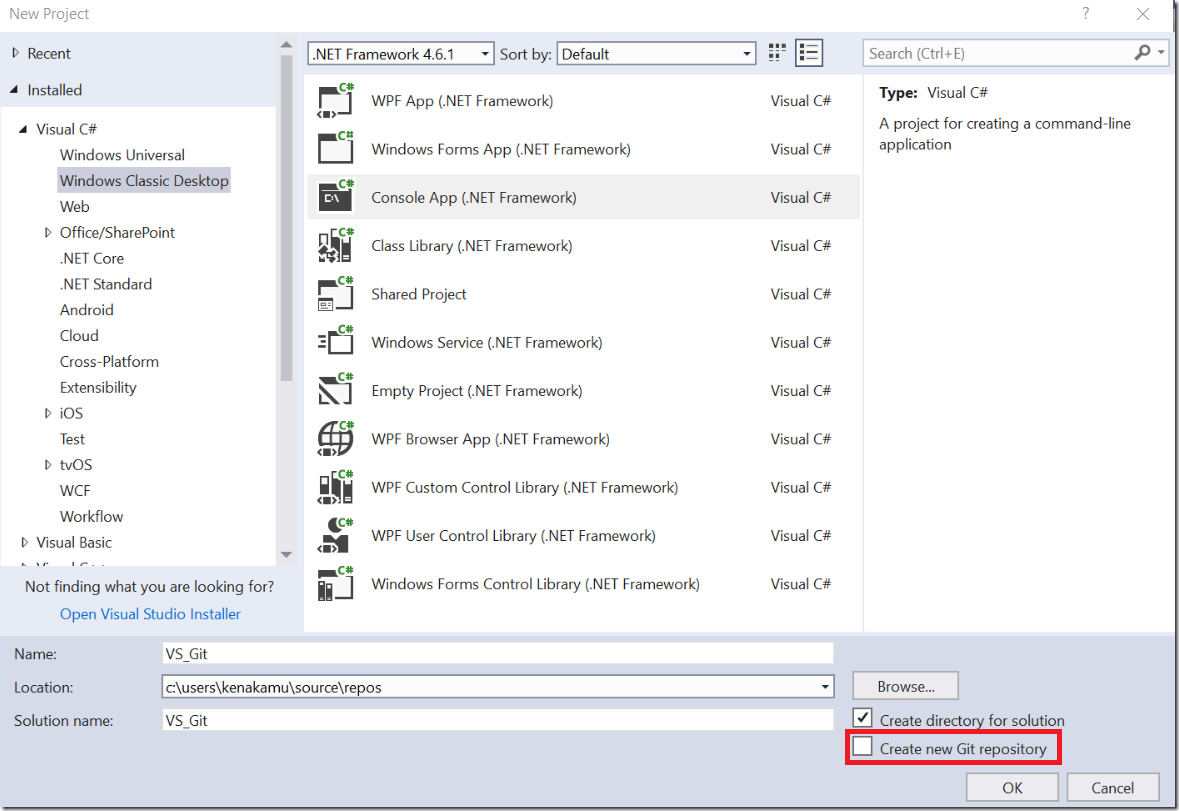
1. Open Visual Studio and select C# Console App template. Do NOT check “Create new Git repository” this time.
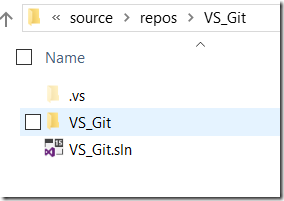
2. Click “OK” to create it. Now we have a project without Git repository.
Create Git repository via git command
Before create Git repository from VS, let’s do it from git command to fully understand what happens.
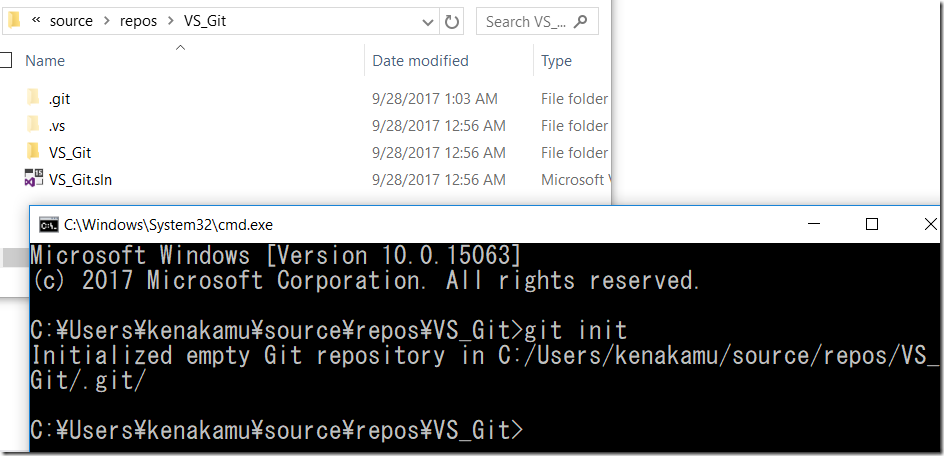
1. Open command prompt and go to directory where you created the project. Also open the directory in Explorer to see what happens when running the git command.
2. Run ‘git init’ command. It will create .git hidden folder. Of course you need to show hidden folders to see it ![]() .
.
3. Run ‘git branch’ command to see if there are any branches. My expectation was to see only “master” branch, but as you can see, there are none.
4. The branch is merely a pointer to a commit. As there are no commit yet, no branch I guess. There is HEAD file in .git directory which contains the current HEAD. (HEAD is the pointer which you are on.) To see the file, lets run ‘type .git\HEAD’. type is like cat for Linux.
5. Though the HEAD file points to master file in refs\heads, there are no such file yet.
Check Status, do initial staging and commit
Before commit, you need to stage folders and files you want to commit. This is important concept of Git that you have three places for your code.
- Working directory: The place you add, modify your code.
- Staging area: You stage the files and folders you want to commit. By having stating area, you have choice which files and folder to commit. The files and folder you staged once are considered to be “tracked”.
- Local repository: The place you commit the files and folders.
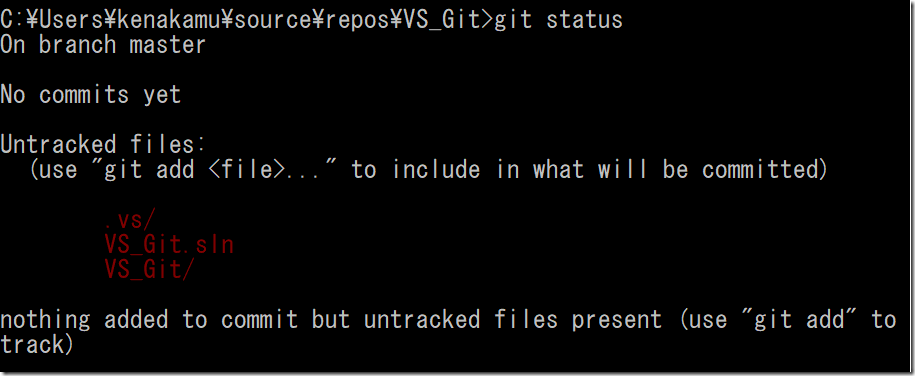
1. Run ‘git status’ to see the current status. As I didn’t stage anything yet, all the folders are shown as untracked.
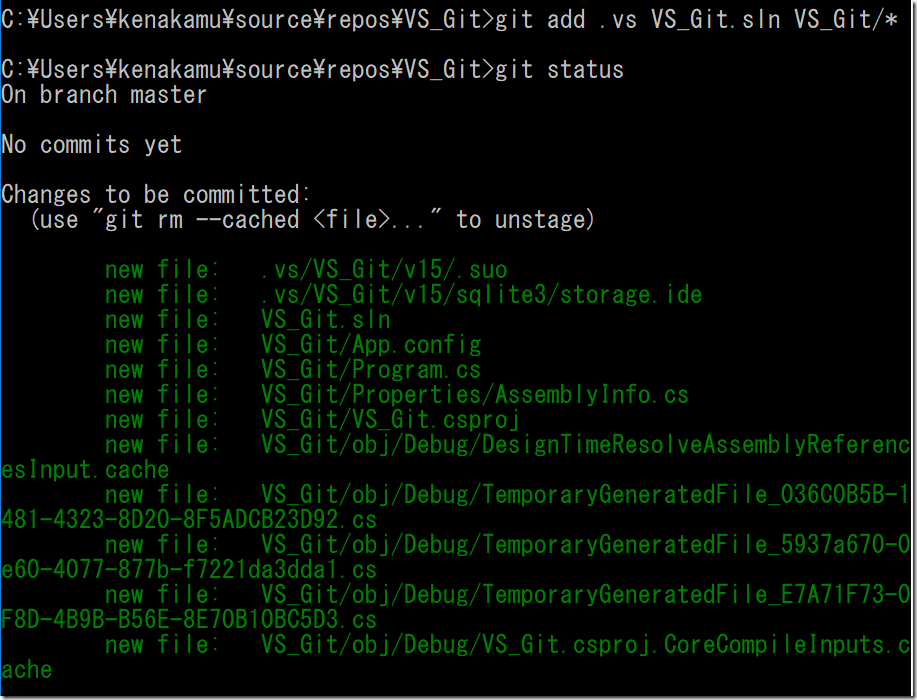
2. Run ‘git add .’ to track all. Alternatively, you can run ‘git add .vs VS_Git.sln VS_Git/*’ to explicitly track everything. Run ‘git status’ again. The files and folders are now tracked and recognized as new file. You may want to exclude some files and folders from source control such as obj folder. I will explain how to achieve it later.
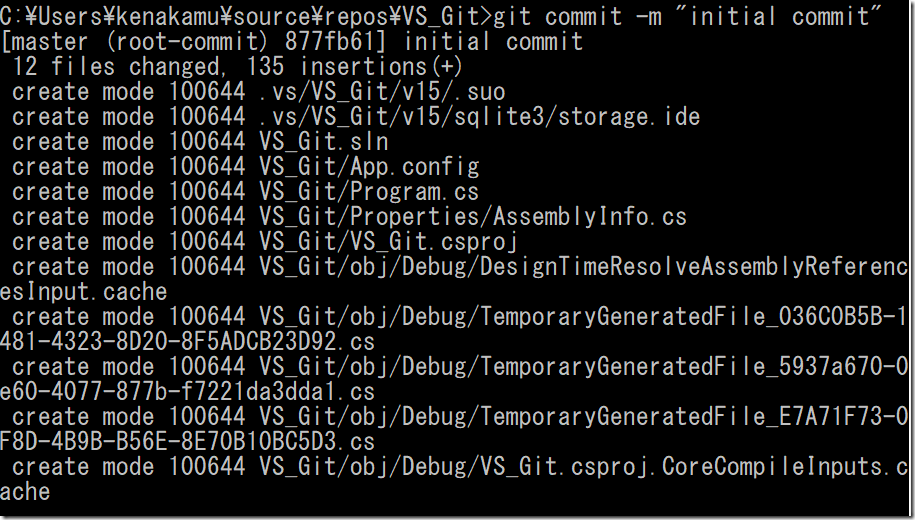
3. Run ‘git commit –m “initial commit”’ to commit the staged ones.
4. Run ‘git status’ again. This time, it says “nothing to commit”. So no difference between working directory, staging area and the latest commit.
5. Run ‘git log’ to see commit history. There is a commit . The commit id in yellow is SHA1 hash of the commit object, and HEAD is now pointing to master. This information comes from .git\logs folder.
Investigate Git objects
What happens when you stage or commit? Inside Git, everything becomes objects, with SHA1 hash.
- blob object: actual file
- tree object: same as folder
- commit object: contains commit information, such as timestamp when commit happens, author who issue commit command, and tree sha1 hash pointing to actual objects.
1. Let’s check if master file exists now in Explorer, and yes it does. See the content by using type command. The master file contains SHA1 hash of commit which is just created. So, HEAD file points to current branch (master), and master points to commit SHA1 hash.
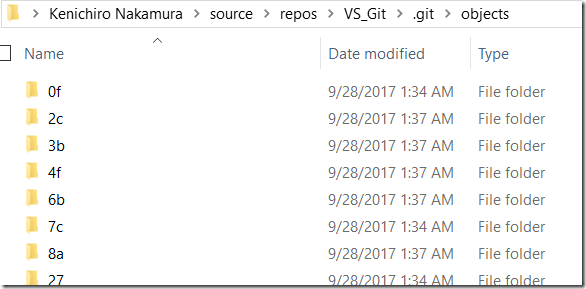
2. If you see .git\objects folder where git stores objects, there are many folders. The folder name is first two letters of SHA1. Open ‘87’ folder and see there is one object, which has name of rest of the SHA1 hash value.
3. Run ‘git cat-file commit 877fb61’ to see the content inside the commit object. cat-file is a helper command to open the object and show the data inside. You don’t have to specify all SHA1 hash value, but you can pass first 6-7 characters if it can identify the object.
4. let’s open tree object in the commit. Run ‘git ls-tree 8ae835669’ which shows the content of the tree object. Tree has reference to child trees and blob objects. As we expected, two trees and one blob.
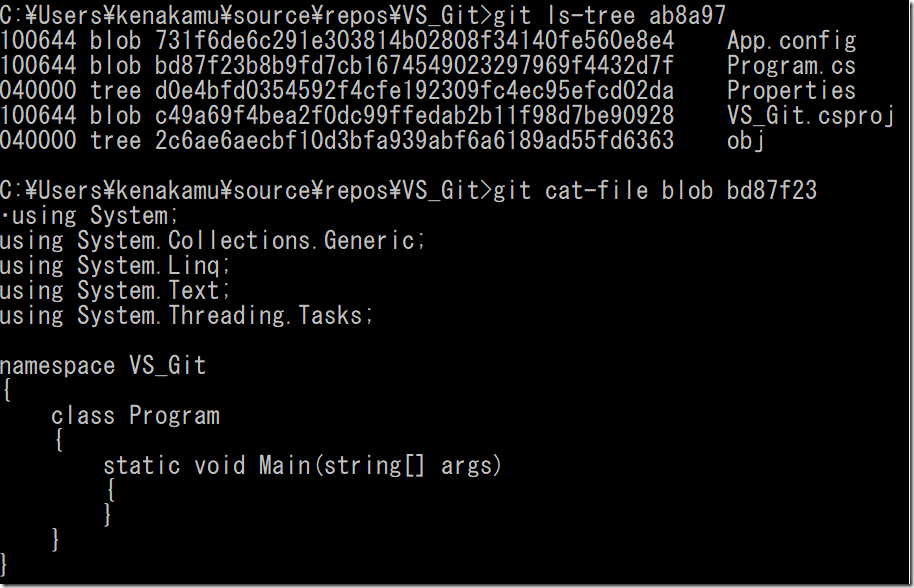
5. Check VS_Git tree as well. run ‘git ls-tree ab8a97’ and ‘git cat-file blob bd87f23’ to see Program.cs file.
Remove Git repository
If you want to stop using Git, then simply remote .git folder. Do it now to reset, and reopen solution file from Visual Studio 2017.
Add Git repository from Visual Studio
1. Open Visual Studio 2017 and open the project.
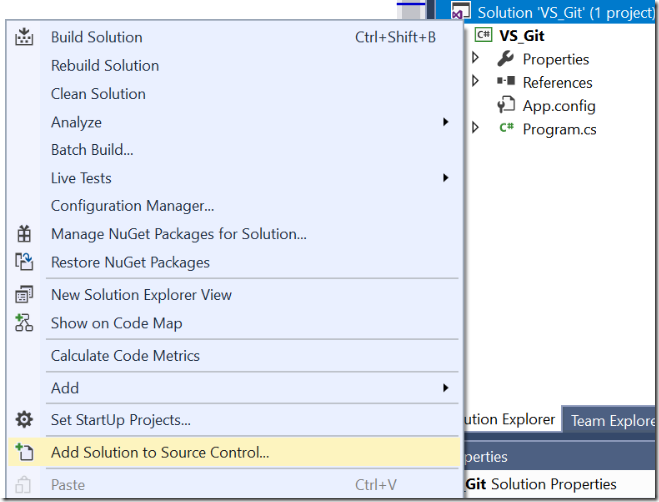
2. Right click solution and select “Add solution to Source Control…”. This will create .git folder.
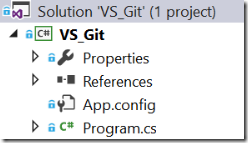
3. Once you have done it, you see lock icons in Solution Explorer.
4. Open command prompt, and move to the solution directory, then run ‘git status. Unlike when you did ‘git init’, there is no untracked files. Why?
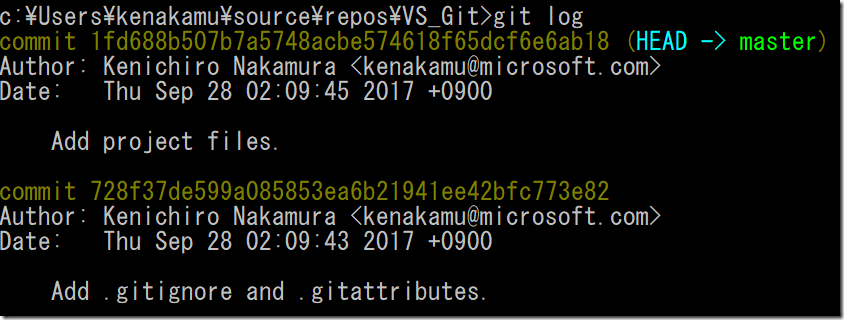
5. Run ‘git log’ to see what happens. There are already two commits. First commit added two files, .gitignore and .gitattributes. Then another commit to add project files.
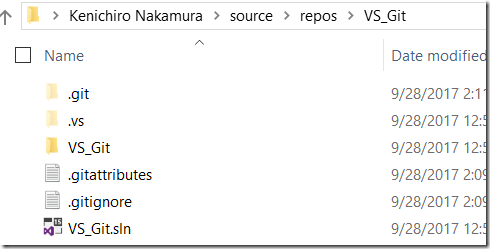
6. When you see Explorer, you see those added files.
7. Open .gitignore. The file contains the list of files and folders, which you don’t want to track changes. There are many files and folders name in the file.
8. Run ‘git cat-file commit 1fd688b5’ to see it’s tree.
9. Run ‘git ls-tree 34754a8’. You see it doesn’t track .vs folder. This is because .gitignore contains the name of .vs folder.
10. Run ‘git ls-tree ac11196’. The obj folder are not tracked.
Summery
This time, I showed you that simple “Add source control” function actually issues many git commands behind the scene. In the next article, I explain about basic file tracking and committing. Go to next article.
Reference
Git Basics - Recording Changes to the Repository
Ken
