Driver Quality – Part 1
A question arose a few weeks back about how can third parties ensure that the drivers included in their XPe runtime installation are of the highest quality. Considering that more than likely the people who are building a device are not the device driver developers or testers it’s an interesting topic to answer. There is, fortunately, a tool that Microsoft releases as a part of both the operating system as well as the Windows Driver Kit called Driver Verifier (I’ll call this ‘Verifier’ below)
Verifier is only run on the live installation of Windows in which has the driver that you want to verify installed as well as Verifier doesn’t require the source code to perform its analysis of the driver. Verifier.exe (which is a GUI and Command Line utility to configure Driver Verification) sets its options in the registry (at key HKLM\ System\ CurrentControlSet\ Control\ Session Manager\ Memory Management in the values VerifyDriverLevel and VerifyDrivers) and when Windows boots the memory manager in the kernel reads these options then applies the correct monitoring for whichever drivers that were selected.
The value VerifyDriverLevel contains a bitmask which represents the verification types that were enabled and VerifyDrivers contains a space delimited list of the driver binaries to watch or an asterisk (‘*’) character if all drivers was chosen.
Please note – if you boot into Safe Mode the Verifier settings are ignored. Unfortunately the Verifier.exe binary doesn’t exist in the XPe database so you’ll need to get the Verifier.exe binary from any XP Professional installation in the path %windir%\System32 if you don’t want to download the Windows Server 2003 Windows Driver Kit. (WDK) If you do want to download the WDK then you can go here to download (or order if that's your preferred method of procurement) the "Windows Server 2003 SP1 DDK".
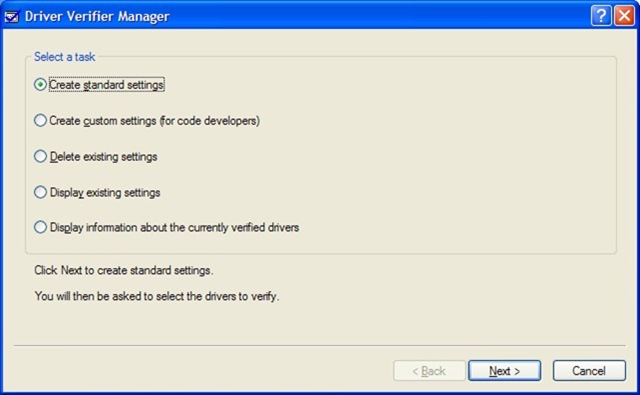
The First Screen
The first screen you’ll come to when launching Verifier.exe. From here you can choose one of the initial options. If you choose "Create standard settings" then the next screen you'll come to is the Drivers screen below. If you choose "Create custom settings (for code developers)" you'll be taken to the following Settings screen.
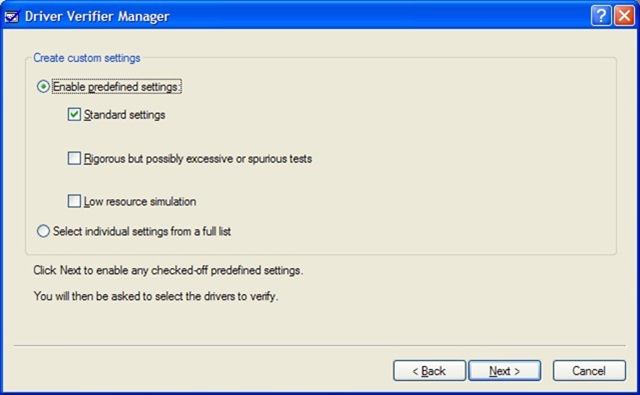
Settings
From here you choose predefined settings or you can choose individual settings. If you choose predefined settings then you'll be taken to the Drivers screen below. If you choose individual settings then you'll be taken to the Individual Settings screen below.
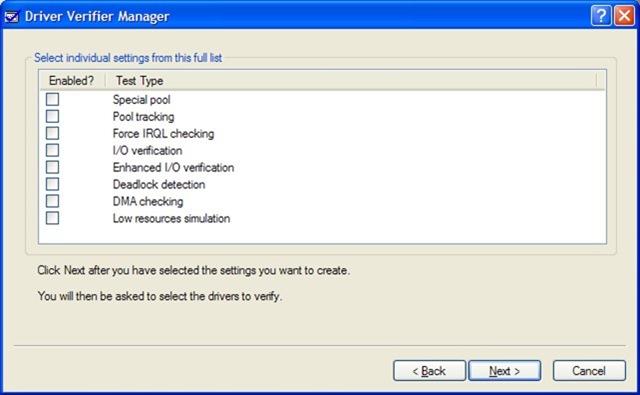
Individual Settings
You can select individual settings here.
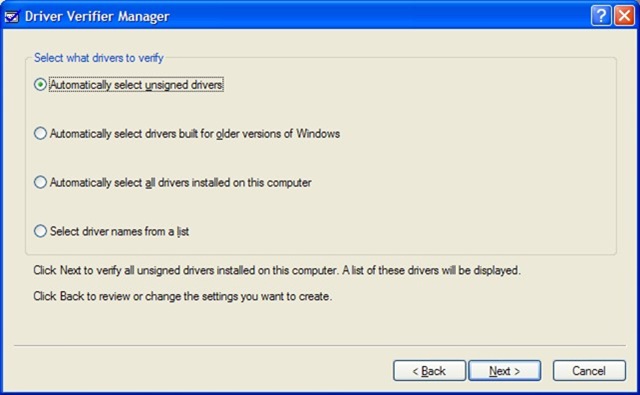
Drivers
After your settings are defined you now have to choose which drivers. You have the choice of selecting all unsigned drivers, all drivers for older versions of Windows, all drivers, or finally you can select individual drivers from a list of installed drivers.
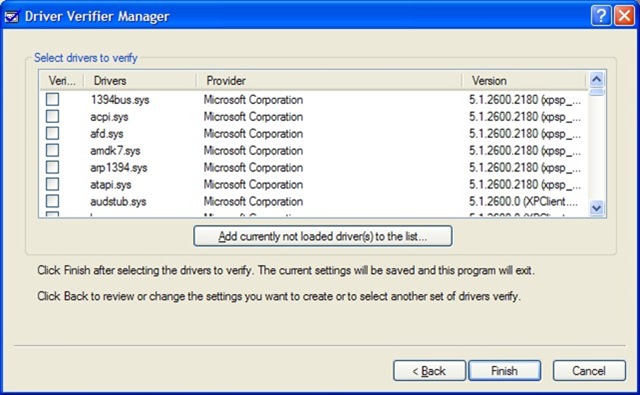
Individual Drivers
If you choose to select individual drivers you’ll see the following screen. Otherwise you will skip this screen and go to the last screen which details what Verifier is going to do after the reboot.
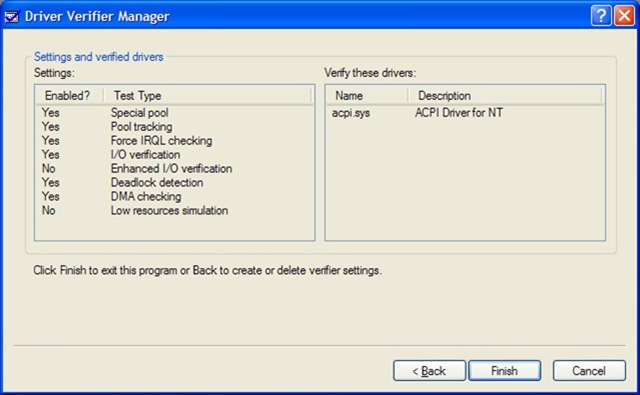
The Summary Screen
This is the summary screen. This is used to show you what settings will be in effect when the machine is rebooted.
You may be asking yourself "Ok - that's fine - but how do I get anything useful from this utility?" Well - I find that the most useful method is to use the kernel debugger. Verifier - if it finds anything - will display the information there. (and/or cause a bugcheck with extra information if the issue found is critical enough) The other options, which I’ve never personally used, are to tell Verifier to output to a log file or to monitor counters. To read more about these other options check out this article. To read more about how to use a debugger then you can check out the Using a Debugger article.
There are also two other articles which I’d suggest that you check out and read. These articles will describe in far greater detail about how to use Verifier. The first is a MS Knowledge Base Article on how to use Verifier to troubleshoot Windows Drivers. The second is a MSDN Article on Driver Verifier which includes all of the parameters how-to, definitions for all options, etc.
Coming later will be my Part 2 of this article which addresses the other major scenario that’s related to the one above – how to improve driver quality when you do have source code access.
Cheers!
- Nick
Comments
- Anonymous
January 23, 2008
PingBack from http://softwareinformation.247blogging.info/embedded-windows-team-nt4e-xpe-vista-embedded-driver-quality-part-1/