I actually got the Silverlight BluePrint for SharePoint samples to work
And from reading the forums, blog comments, etc it seems like others are having a tough time. After going through the motions myself, I can see why. The first thing to realize is that the setup instructions in the Silverlight BluePrint tools assume that you have already done a lot to your environment in preparation of the Silverlight controls. I spent a good deal of time this week digging through it and since I achieved success, I thought I would write down my steps so others can follow.
Just to understand my environment, I am doing all of these steps in a dev environment which is virtualized (I recommend Undo disks as you will be making a lot of changes). I have a MOSS server with VS.NET 2005 on it for the WSS extensions and a separate VS.NET 2008 dev vm. I think this makes the problem more interesting as too often I see directions about using VS.NET 2008 on the MOSS server which I think a lot of developers have not moved to since they are waiting for the WSS Extensions. I was also only interested in Silverlight 2.0 Beta 1 samples so I didn't do anything with 1.0.
Here are the steps:
1. Make sure you are working in a MOSS SP1 environment.
2. Install the .NET Framework 3.5 on the MOSS server. You don't need to change anything in IIS in terms of the web applications since it will still use the .NET 2.0 runtime.
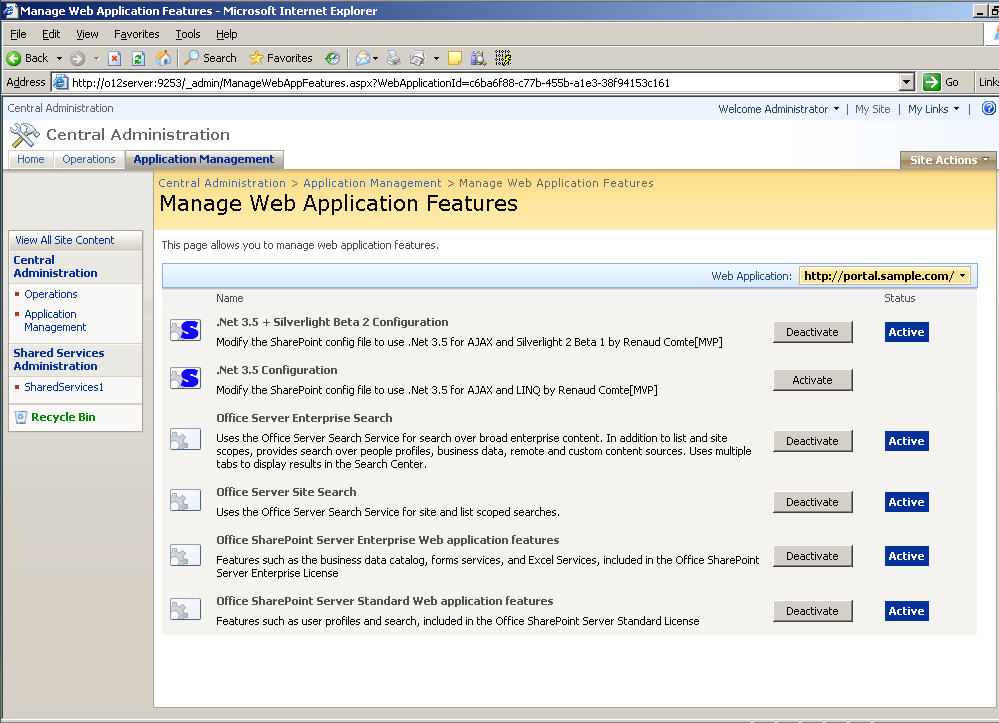
3. You will need to make a lot of changes to the web.config file of the web application that you plan on adding Silverlight support for. Patrick has a sample web.config file and a screencast that walks you through making the edits manually. I went an interesting route and used a new SharePoint feature on codeplex which advertises to do this for you. The codeplex project is called SharePoint 2007 Features. This is a package of some useful additions. This one in particular is called 3.5 Config feature (note that it is spelled wrong on the site). You can find more info and download it here: https://www.codeplex.com/features. I downloaded the solution file with just this feature. Used STSADM to install it and then Central Administration to deploy it. The STSADM command you will need is: STSADM -o addsolution -filemame [name of wsp]. You then need to go into Central Admin to deploy it. Once deployed, this will add a new feature at the web application scope. Here is a screenshot of my web application that has it turned on:

Now I did have one problem with this approach. For some reason, this feature added a node in the web.config httphandlers section which removed all verbs for the .asmx web services. Why I have no idea, but it created a problem. I noticed this since the media viewer Silverlight control uses lists.asmx to get the pictures and videos. You will need to find this entry and remove it. I also restarted IIS after the changes were made.
4. You will need to install the Silverlight 2.0 SDK on the MOSS server: https://www.microsoft.com/downloads/details.aspx?FamilyId=4E03409A-77F3-413F-B108-1243C243C4FE&displaylang=en. After you install it, you will need to copy the System.Web.Silverlight.dll into the GAC. That file is located at C:\Program Files\Microsoft SDKs\Silverlight\v2.0]Libraries\Server.
5. Install the Silverlight 2.0 client. This assumes you are going to view the page on the MOSS server: https://www.microsoft.com/silverlight/resources/install.aspx?v=2.0.
6. In IIS, you will need to add a MIME type for Silverlight's .xap packages. You can do this at the IIS web site level or for the whole server. I did mine on the web site level. The MIME Types are accessible HTTP Headers tab of the properties dialog of the web site. You need to add: .xap with application/x-silverlight-2-b1
7. Install the Silverlight Blueprint Samples you want. I only have tested the Media Viewer and the Slider field control. Follow the instructions within those packages. You can find out more about them here: https://www.ssblueprints.net/sharepoint/
8. As it turns out, there is a problem with the .xap files that are in the client install setups on the Silverlight Blueprint site. You will need to recompile them and replace the .xap files that the installs placed in the ClientBin folder of your web application. You will need to have VS/NET 2008 to do this. I used my separate VS.NET 2008 environment, got the source code downloads and went to work. Note that in this environment you will still need the Silverlight client installed, the SDK, and a this Silverlight Tools kit for VS.NET 2008 (https://www.microsoft.com/downloads/details.aspx?FamilyId=E0BAE58E-9C0B-4090-A1DB-F134D9F095FD&displaylang=en) installed first. When you recompile, make sure you are doing the Silverlight project, not the web part. This will recreate new .xap files that you can copy into the ClientBin folder of your web application. To make it easier for you to play, here are some links to the recompiled mediaviewer and slider projects.
9. Then begin to place the Silverlight customizations onto your sites. This is documented in the blueprint materials. Adding a web part for the media viewer or creating a survey with the slider, etc...
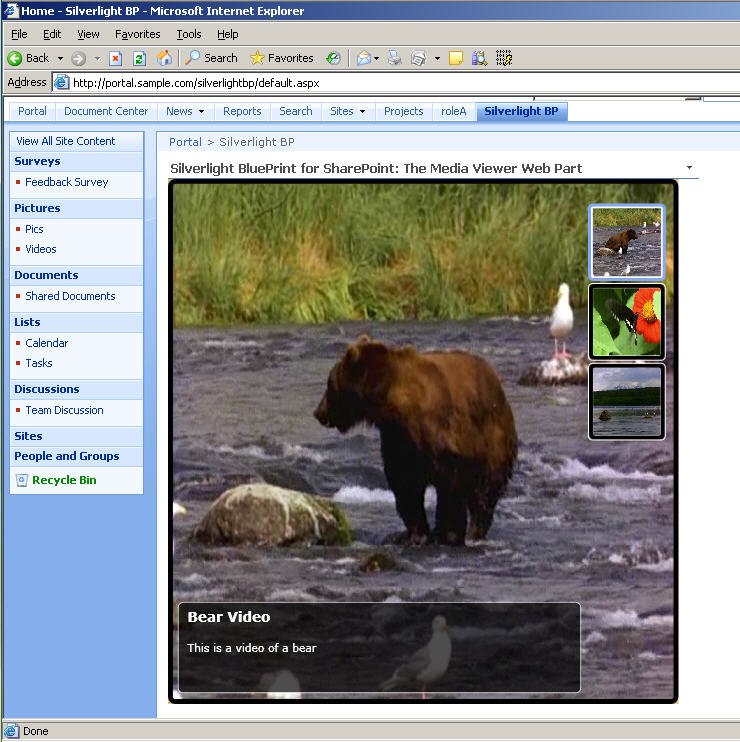
You are done. Here is a screenshot of it working for me:
