Step-by-Step: Migrate your classic Cloud Services to ARM–Storage Migration
Hello folks,
In my last post where we discussed migrating VMs from the classic portal to the Azure Resource Manager (ARM) model we only covered migrating the VMs. As you may remember there are three migration scopes that are primarily targeted:
- Compute
- Network
- Storage
And it supports 3 scenarios:
- Migration of virtual machines (not in a virtual network)
- Migration of virtual machines (in a virtual network)
- Storage accounts migration
We only covered in that post migrating a Cloud Service that had 1 VM running in a Vnet.
Today we will look at migration the Storage accounts. To allow seamless migration, the ARM model has the capability to deploy Resource Manager VMs in a classic storage account. Therefore your compute and network resources can and should be migrated independently of your storage accounts.
Once you have migrated over your VMs and Vnets, you will need to migrate over your storage accounts to complete the end to end migration process.
Step 1: Setup your PowerShell environment
1- Sign in to your account for the Resource Manager model.
 #Sign in to your account for the Resource Manager model.
Login-AzureRmAccount
2- Register your environment with the Migration Provider
I’m not going to cut and paste the info from the last post because it’s exactly the same. However, if you think you set it up last time but you’re not 100% sure just use the following command to validate that your subscription is ready to go.
 #check the registration
Get-AzureRmResourceProvider -ProviderNamespace Microsoft.ClassicInfrastructureMigrate
The command will return the following if everything has already been setup.
If you don't get that result, replay Step 1 – Setup your PowerShell environment from the last post
3- You now need to sign in to your account for the classic model so the migration process has access to both Classic and ARM models
 #sign in the classic model
Add-AzureAccount
Step 2- Prepare the storage account for migration
1- Prepare the storage account for migration by using the following command. keep in mind that in my case "4sportalvhdsczd6znpq233y" is the storage account name in the classic portal.
 #Prepare the storage account for migration
$storageAccountName = "4sportalvhdsczd6znpq233y"
Move-AzureStorageAccount -Prepare -StorageAccountName $storageAccountName
In my case I had no issues and the command returned a success status
Step 3 – Commit or Abort the migration
If you are not ready for migration, or if something need to be tested further, you want go back to the old state. For that we use the following command
 #abort and roll back the preparation
Move-AzureStorageAccount -Abort -StorageAccountName $storageAccountName
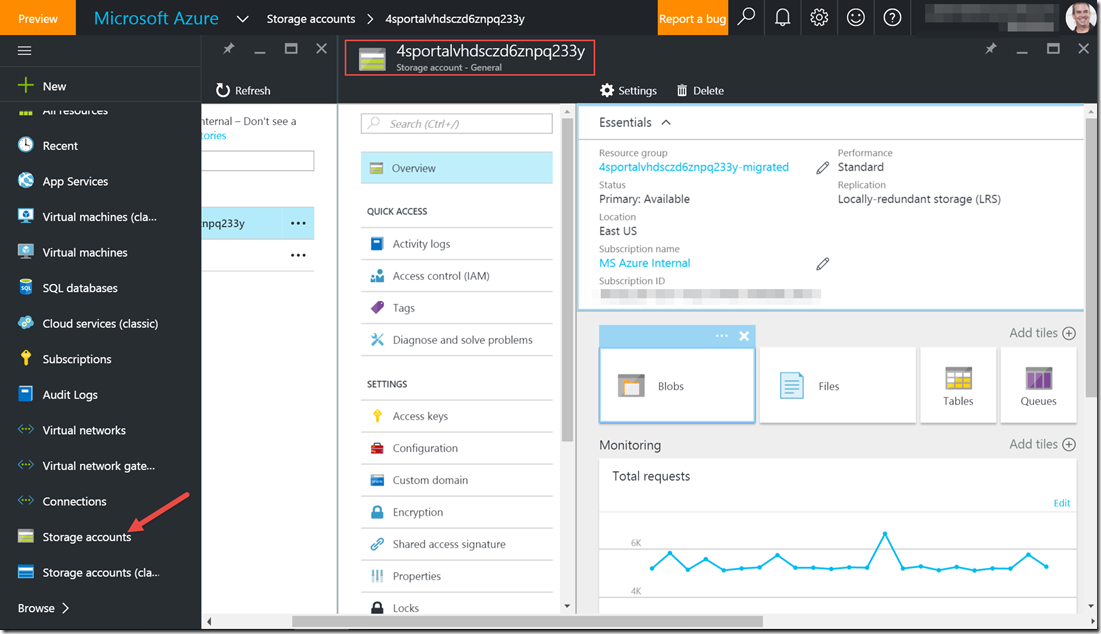
In my case again, everything looked good, therefore i ran the commit and now my storage account, have been migrated to the ARM model and no longer shows up in the classic model.
 #Commit the migration
Move-AzureStorageAccount -Commit -StorageAccountName $storageAccountName
The nice thing with this… Is that the VM that had its VHD stored in that Storage account did not go down…. at all… no down time…
That’s what i call smooth transition.
Cheers!
Pierre Roman
@pierreroman


