Deployment Validation Tool (Auto Answering Agent - updated)
To begin with I’ve been getting a lot of hits on my blog about the DVT tool which is good, the downside is not all have been successful with installing and configuring it. So I’ve decided to go ahead and update the blog with more screen pics.
You might be saying, more screen pics, you didn’t have any screen pics before, well lets not dwell on that part but let’s look at the glass half full and see if this blog that’s been revived with screenshots that i created in my lab this morning don’t help out more people with the ability to call Rita successfully.
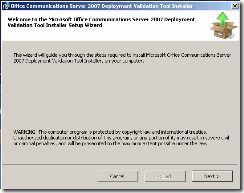
As you begin the installation of the deployment validation tool, you should see the following screenshots…
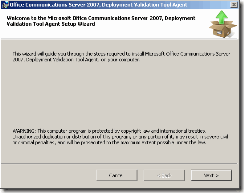
initiating setup…
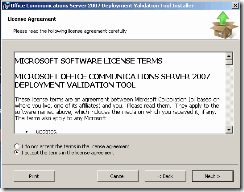
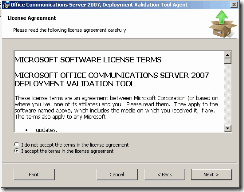
Accepting the ULA….
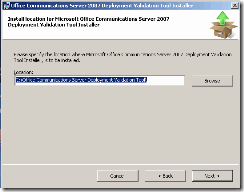
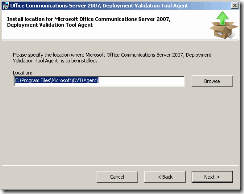
Choosing a location for installation…
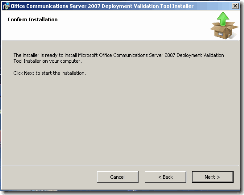
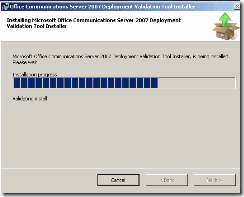
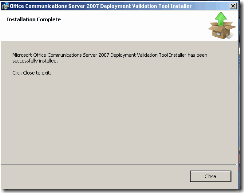
Watching the installation…
Watching the installation…
Watching the installation…
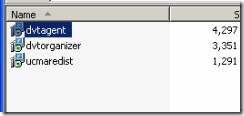
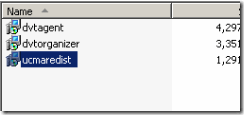
Deploying the Auto Answering Agent…
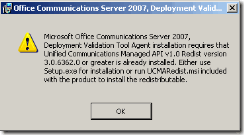
If this message appears after executing the dvtagent file, don’t worry, just click ok
Go ahead and execute the ucmaredist file
Watch it install..
Once it finishes installation, go back to the dvtagent and execute once again…
Click next…
Accept the ULA…
Choose location for installation…
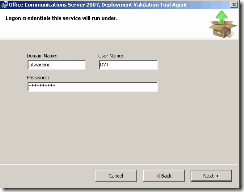
Setting up the service account….make sure that information entered here has already been created. You will need to create a service account for the Auto Answering agent to run, (create the account information in AD and make sure you give it a valid email address too, such as DVT@litwareinc.com)
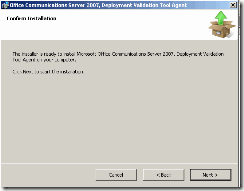
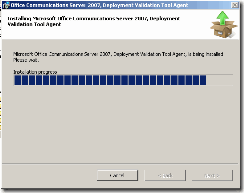
proceed through installation…
proceed through installation…
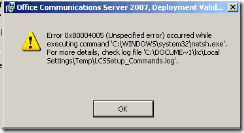
If you encounter this message, don’t worry click ok and proceed on…
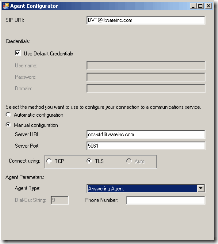
Configuring the Auto Answering Agent…
1) Make sure you give a valid SIP URI (which is the email address of the service account you created earlier)
2) Choose Manual Configuration and specify the FQDN of your pool (mine is ocs-std.litwareinc.com)
3)Make sure the port is set to 5061
4)Switch the agent type to Answering Agent
5)Click ok to complete this dialog window
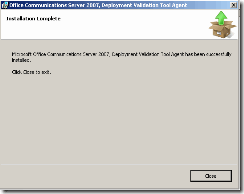
Click on close…
Go to services and be sure to restart the DVT service…
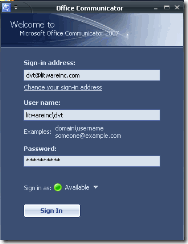
Log onto Office Communicator as the DVT Account that you created earlier…
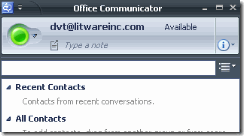
Confirm that you are logged on with available presence and then sign out of communicator…
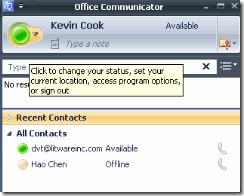
Log onto a communicator client as another user and confirm that the DVT account is available…
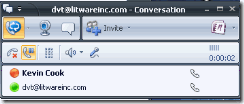
Calling the DVT agent to confirm everything is working…
My call was completed and I can talk to Rita…
Hopefully this updated blog of how to deploy the auto answering agent provides the much needed screenshots that many where asking for. Thanks for your patience…
Byron
Comments
- Anonymous
September 26, 2010
Hi Byron, nice article. I have a question: It´s posibble to use the DVT tool to configure auto-answer video calls or desktop sharing?
