Visual Studio 2017 Install Screenshots
Welcome to Microsoft’s Visual Studio 2017 RTM release. Microsoft has released Visual Studio 2017 and below are the install screenshots along with what to expect from GUI.
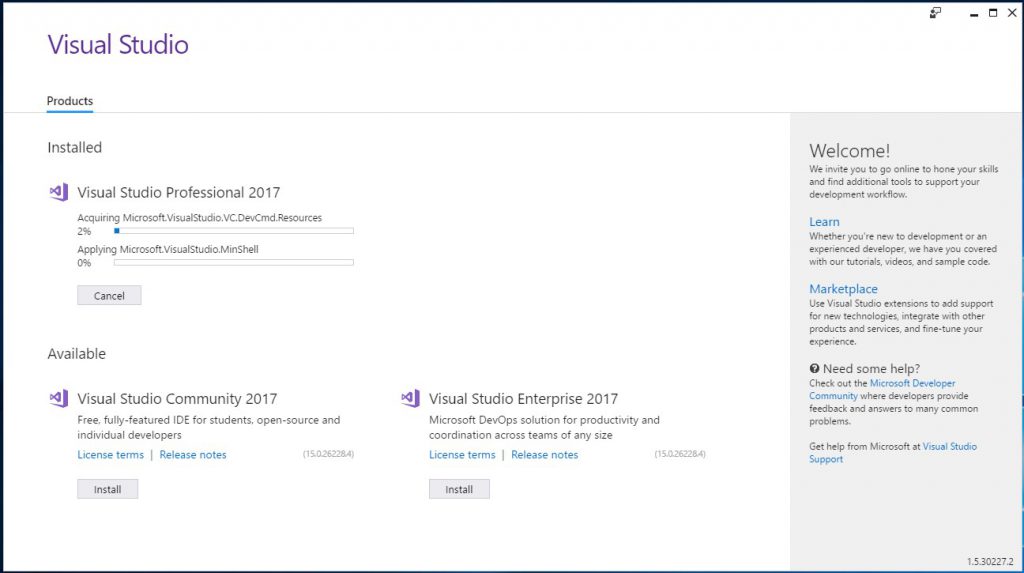
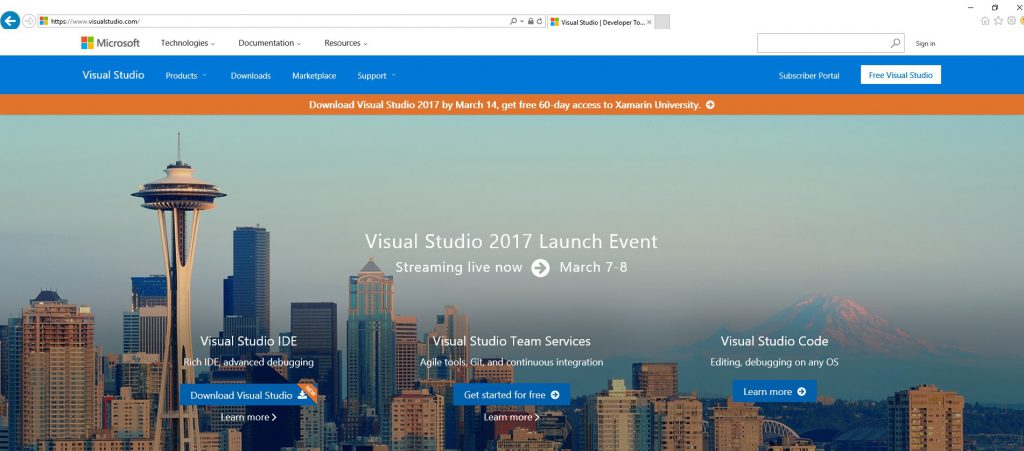
Step 1. Download Visual Studio 2017 from https://www.visualstudio.com (Fig. 1) and run the installer (Fig. 2). You will need to sign into the site to have access to the download.
Note: You have an option to get access to Xamarin University for 60 days if you download Visual Studio 2017 before March 14, 2017.
Fig. 1
Fig. 2
Step 2. Select the version you are installing, in this example I will use Professional, so you can see all the GUI options available during install.
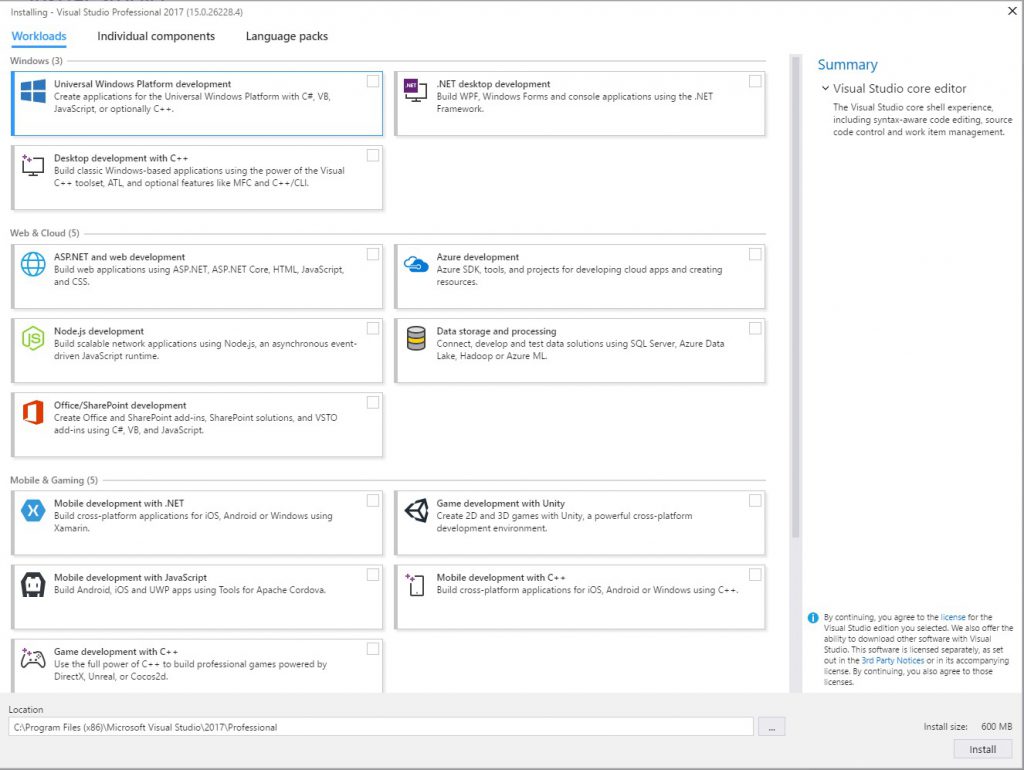
Step 3. Check the options (Fig. 3) you want to install, verify installation location and click “Install” to start installation.
Note: Make sure you have enough space on drive to install components. 
Fig. 3
(Verify Summary of Components to be installed)
4. Installation will start upon selecting "Install. 
Step 4. Installation will complete, read the release notes in link below. https://www.visualstudio.com/en-us/news/releasenotes/vs2017-relnotes
Other:
1. Python support will be delivered via an update versus the installer. https://blogs.msdn.microsoft.com/pythonengineering/2017/02/22/python-in-vs2017/
2. Visual Studio 2017 Preview 4 for Apple Mac's also released.
Comments
- Anonymous
March 09, 2017
Wow. [Up to] 50GB to install.... - Anonymous
March 09, 2017
Are there any ISOs?- Anonymous
March 09, 2017
Yes,On MSDN.
- Anonymous


