Migrate Persistent Chat pool
If you are migrating from Skype for Business Server 2015 (with Persistent Chat enabled) to Skype for Business Server 2019 and you want to migrate your Persistent Chat data, follow these steps:
Ensure that admin has the RTCUniversalServerAdmins permission assigned.
Export Persistent Chat data from Skype for Business Server 2015:
Run the following cmdlet on the Skype for Business 2015 front-end server to export Persistent Chat data (categories, rooms, chats etc.):Export-CsPersistentChatData -DBInstance "<backend-FQDN\instance-name>" -FileName "C:\PersistentChatData.zip"Import Persistent Chat data into Skype for Business Server 2019:
Bring in the exported Persistent Chat data (zip file) from Skype for Business 2015 front-end server to Skype for Business 2019 front-end server (at C:\PersistentChatData.zip). Run the following cmdlet on the Skype for Business 2019 front-end server to import Persistent Chat data:Import-CsPersistentChatData -DBInstance "<backend-FQDN\instance-name>" -FileName "C:\PersistentChatData.zip"Update default Persistent Chat pool URL in Skype for Business Server 2019:
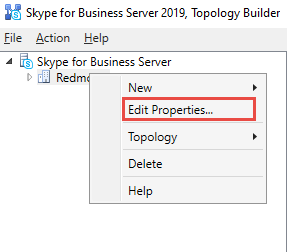
Open the Topology Builder of Skype for Business Server 2019 and right-click the site-name.
Select Edit Properties and go to Persistent Chat setting.
You'll notice that Default Persistent Chat pool has Skype for Business Server 2015 value selected in the dropdown. Change that to select Skype for Business 2019 Server pool value, and select OK.
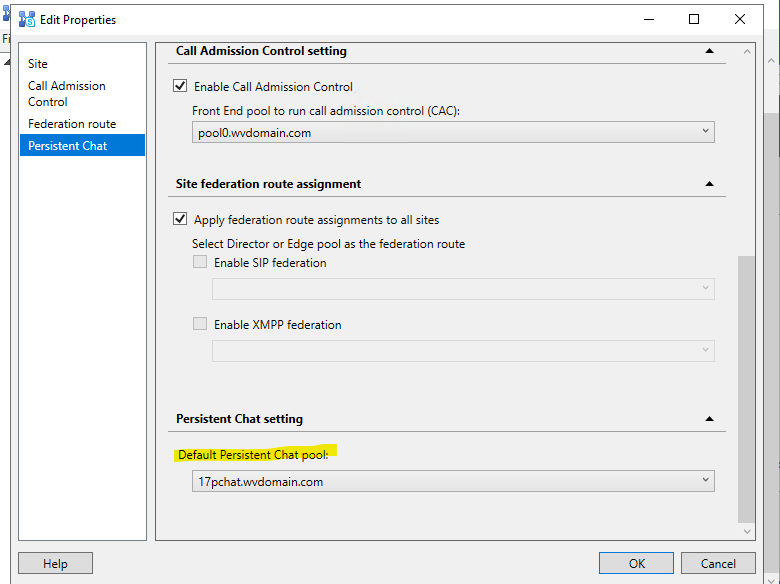
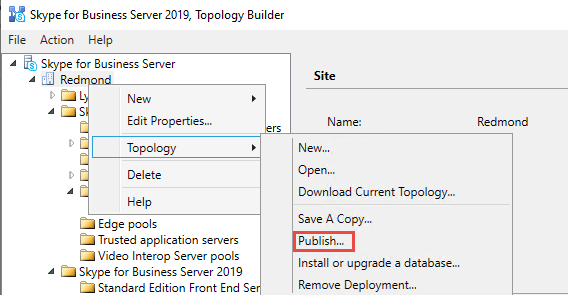
To publish the topology, in the Topology Builder, select Topology and select Publish.
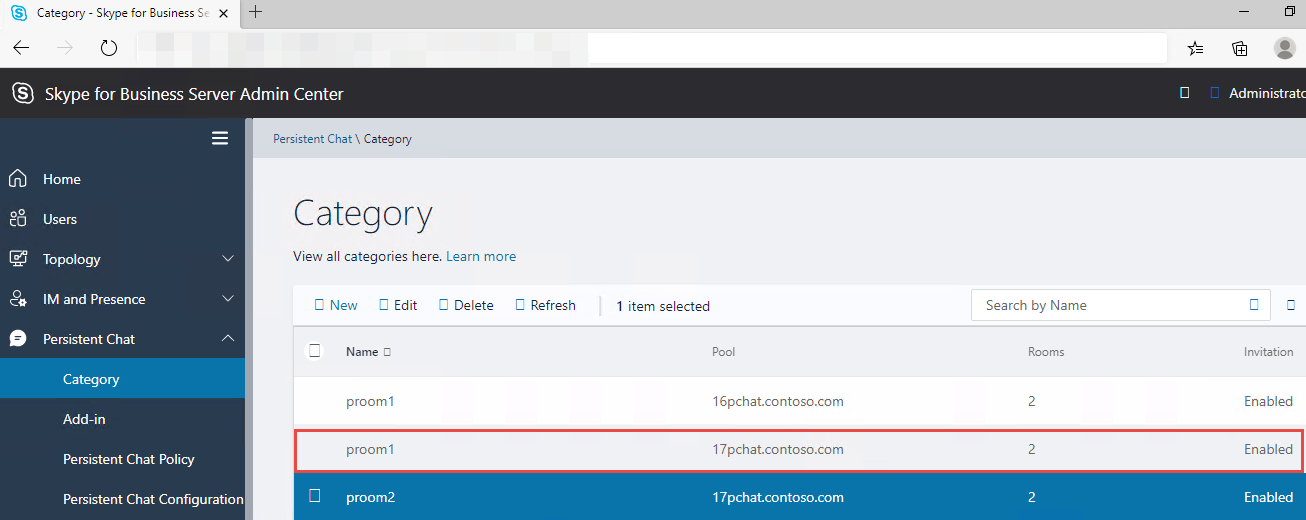
Verify duplicate categories in Skype for Business Server 2019: After importing the database, ensure that duplicate categories from Skype for Business Server 2015 are created in Skype for Business Server 2019. This can be checked in the Modern Admin Control Panel (MACP).
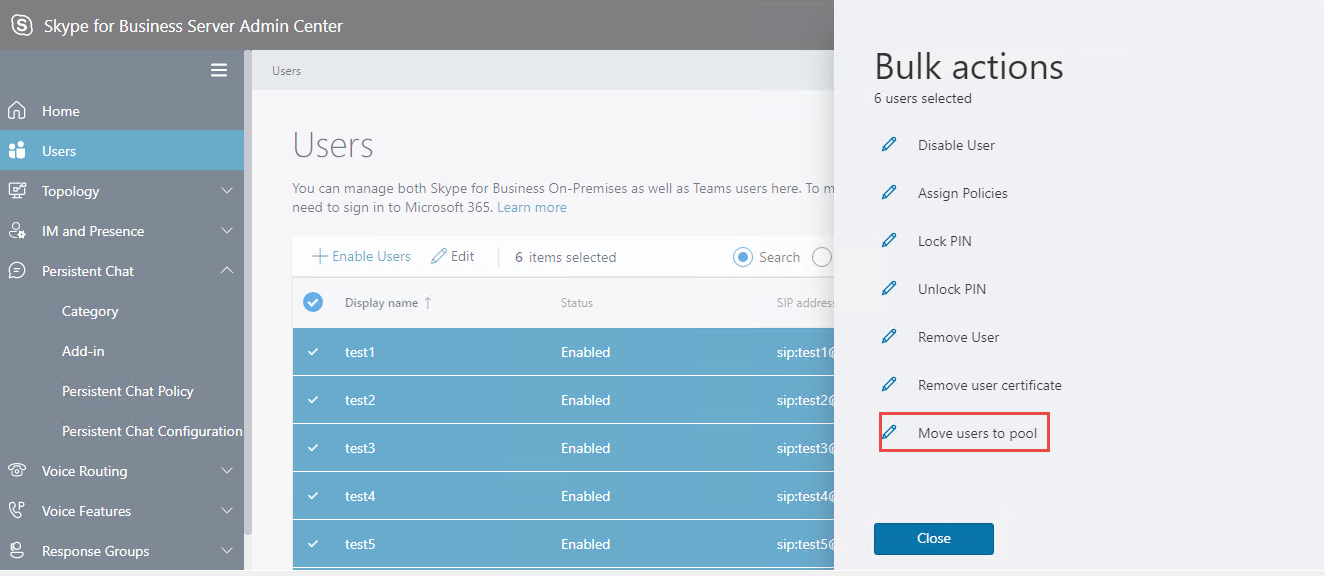
Move users from Skype for Business Server 2015 to Skype for Business Server 2019:
Move users from Skype for Business Server 2015 to Skype for Business Server 2019 using the Users section in Modern Admin Control Panel (MACP).Add users as Creators:
Add users in the imported categories as creators. This step is necessary because the import process might not include this information.Create Persistent Chat rooms:
You should now be able to create Persistent Chat rooms with Skype for Business 2019 users in the Skype for Business 2019 Persistent Chat pool.
Additionally, if you have multiple Skype for Business 2015 Persistent Chat server pools, you need to export every database in a similar manner. Then import into Skype for Business 2019 Server and follow the steps as given above.
Related articles
- For more information about backing up and restoring Persistent Chat databases in Skype for Business, see Back up and restore Persistent Chat databases in Skype for Business Server.
