Section 5: Simple build distribution
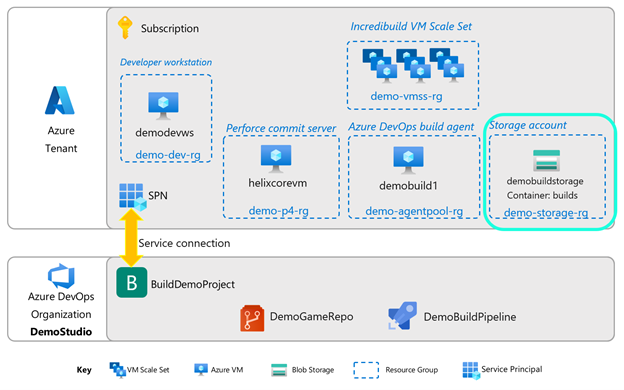
We will use an Azure Blob Storage container to hold all our builds. Let’s set that up now.
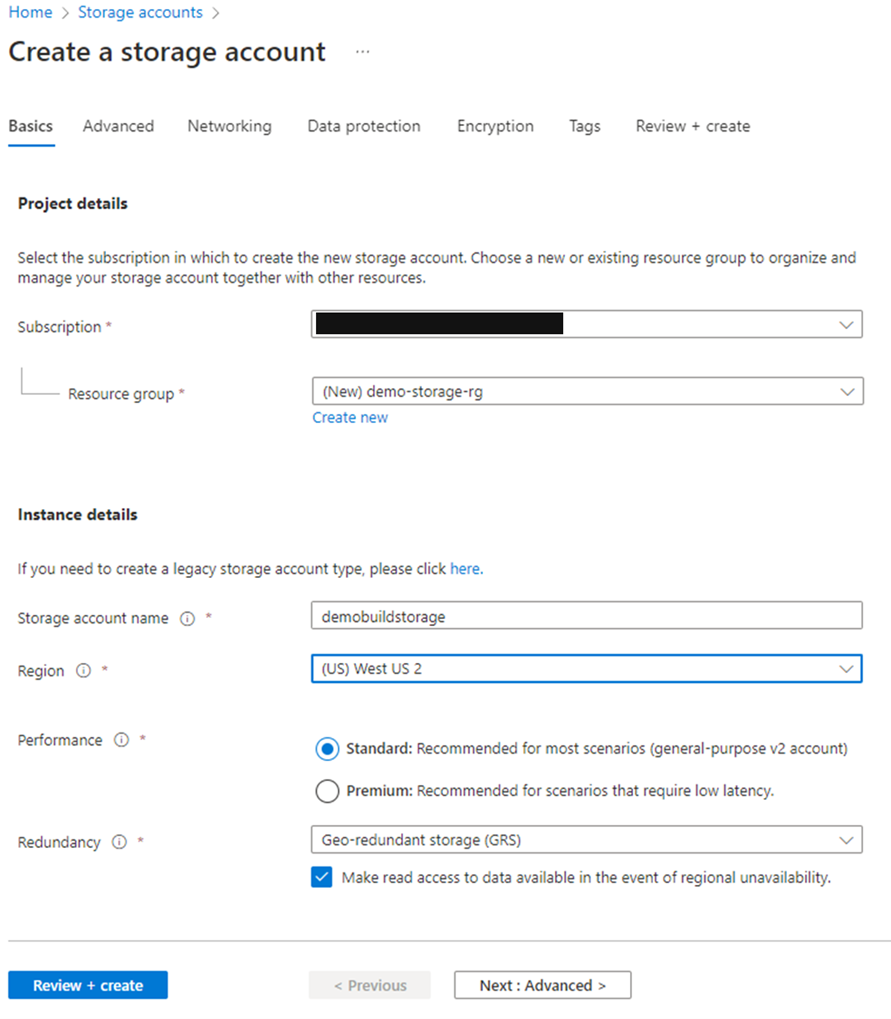
1.In your Azure subscription, create a Storage account
- Enter your Subscription, resource group, storage account name, and region.
For Performance and Redundancy, you can leave the default choices.
At this point, you can click on Review + create, then Create, for the purposes of this demo. Feel free, however, to customize networking, security and other settings.
Once the storage account is provisioned, go to the resource.
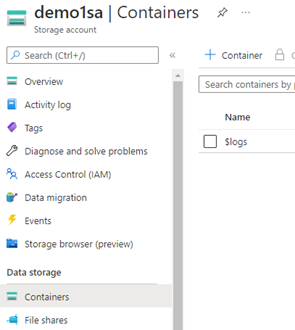
Now, create a container within the new storage account. In the left settings menu, click on Containers, then +Container.
In the New container blade:
- Name: Enter the name of your new container
- Public access level: select Container (anonymous read access for containers and blobs)
[!NOTE
This access level is for demo purposes only. Please do not store sensitive information in this container, alternatively secure your setup with information from here.
- Click Create.
📝 Save this info! 📝
- Storage account name
- Container name
Next steps
Next, go to Section 6: Azure DevOps Pipeline.
Or return to the Introduction.
Troubleshooting page is here.


