Use Copilot to create sample data for Field Service
As an organization, you might want to create sample data in Dynamics 365 that is relevant to your business and location. Copilot makes this task easy. This article goes through the steps to create account and contact data that you can use for demonstrations of Dynamics 365 Field Service environments. This data uses fake account names and street addresses to ensure privacy. The article also shows how you can extend the process to use other entity tables in Dataverse.
Important
Don't use these steps for real customer data or in production environments.
Define a central location
Typically, Field Service organizations separate their work into geographic areas or territories (regions). For example, a city might be a region.
The first step is to define the central location of a region where your organization does business. You can then create sample data that is relevant to that region, such as accounts, contacts, and work orders.
To begin, choose the central location of the region on a map. To pinpoint this location, you must get its coordinates (latitude and longitude values). Use a map service such as Bing Maps to find your chosen location, and copy the coordinates. For example, your region is New York City, and you choose Times Square as the central location. In this case, you find and copy the coordinates 40.757500, −73.985830, as shown in the following screenshot.

Use Copilot to generate sample data for accounts
You can now generate sample account data by using Microsoft 365 Copilot.
First copy the following prompt. (A prompt is a question or query that you ask Copilot.) Then go to https://copilot.microsoft.com, and paste the copied prompt into the text field. Replace <latitude> and <longitude> with the coordinates of your central location.
Create a CSV format list of 20 accounts with the following fields: fake account name = Name, fake street name and number = Address1_Line1, real city = Address1_City, real state abbreviation = Address1_StateorProvince, real zip code = Address1_PostalCode, real latitude = Address1_Latitude, real longitude = Address1_Longitude within 50 miles of <latitude>, <longitude>
For example, if Times Square is your central location, use the following prompt:
Create a CSV format list of 20 accounts with the following fields: fake account name = Name, fake street name and number = Address1_Line1, real city = Address1_City, real state abbreviation = Address1_StateorProvince, real zip code = Address1_PostalCode, real latitude = Address1_Latitude, real longitude = Address1_Longitude within 50 miles of 40.757500, -73.985830
Tip
If addresses must be in a location that can be reached by car, you can add something like the following sentence to your prompt: Each latitude and longitude must be in a location that is drivable to the prompt to make sure the locations provided are accessible by car.
After you submit the prompt, Copilot responds with a list, in comma-separated values (CSV) format, of 20 fake accounts that have fake street addresses. Fake street addresses are used to respect privacy rules. However, even though the street addresses are fake, the latitude and longitude values are real. Therefore, the data appears on the map when you use it in Field Service.
The following screenshot shows an example of the response that Copilot returns.

You can also extend the prompt so that it includes more default fields. Here are some examples:
- Include the Currency field with a default value of USD.
- Include the Relationship field with a default value of Customer.
- Include the Price List field with a default value that is relevant to your data, such as Default Price List.
- Include the Service Territory field with a default value that is relevant to your data, such as Territory1.
- Include the Phone Number field to hold a fake phone number.
- Include the Email Address field to hold a fake email address.
Tip
You can use Copilot to generate sample data for any field that you want. You can also hard-code fields, such as when you use default entity reference data.
Select the Copy button in the upper-right corner of the Copilot results to copy the data, paste it into a text editor such as Notepad, and save the file as Accounts.txt.
Use Copilot to generate sample data for contacts
You might create two types of contacts in the system:
- Frontline workers: These contacts are bookable resources that can use the Field Service mobile app to complete work orders.
- Account contacts: These contacts are affiliated with account records in the system.
Generate contacts used as frontline worker resources
To generate sample contact data, use the following prompt in Copilot:
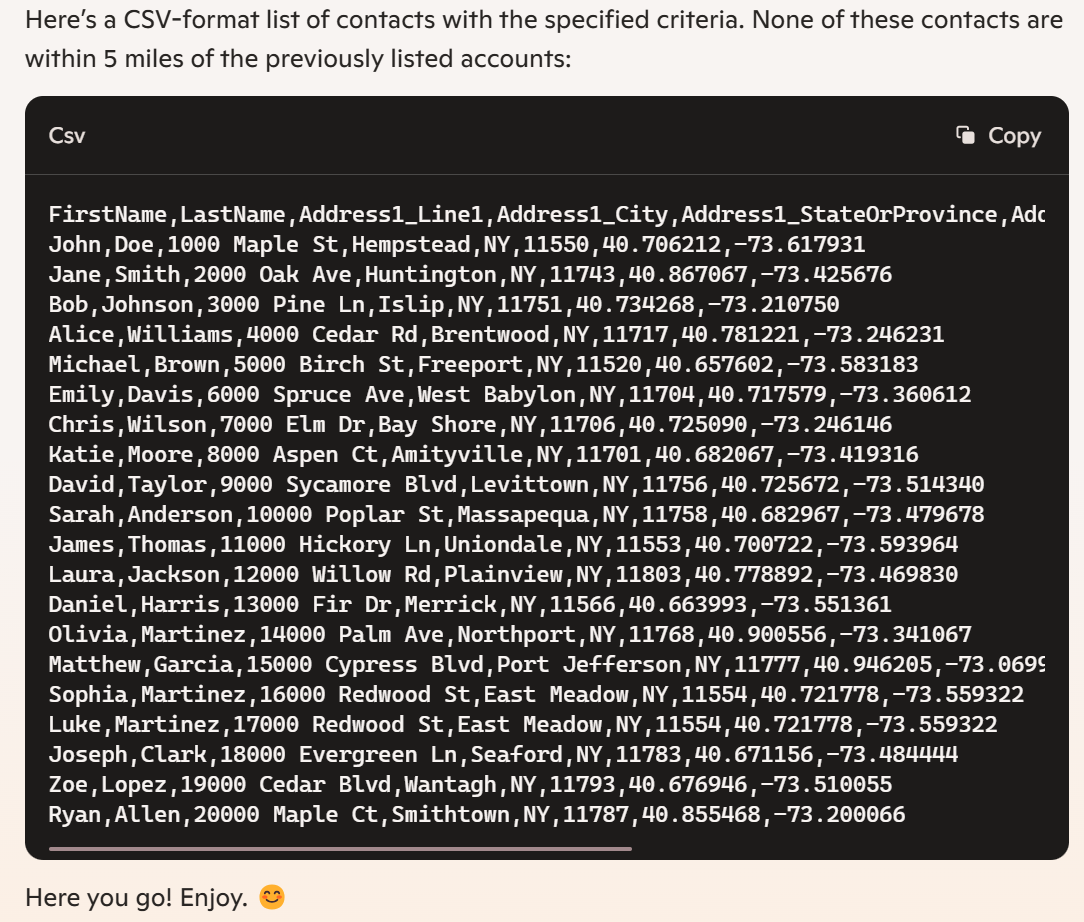
Create a CSV format list of contacts using fake first name=FirstName, last name=LastName, address=Address1_Line1, with a real city=Address1_City, state= Address1_StateOrProvince, zipcode= Address1_PostalCode, a real latitude=Address1_Latitude, a real longitude=Address1_Longitude that is no closer than 5 miles to any of the accounts.
The following screenshot shows an example of the response that Copilot returns.
Tip
You can further define the geographical scope by adding other parameters to the prompt, such as no closer than 5 miles to any of the accounts but no further than 50 miles from a service account latitude and longitude.
Copy the data from the Copilot results, paste it into a text editor such as Notepad, and save the file as Contacts.txt.
Generate contacts used as account contacts
To generate contacts that are related to an account record, use the following prompt in Copilot:
Create a CSV format list of contacts using fake first name=FirstName, last name=LastName, address=Address1_Line1, with a real city=Address1_City, state= Address1_StateOrProvince, zipcode= Address1_PostalCode, a real latitude=Address1_Latitude, a real longitude=Address1_Longitude that is no closer than 5 miles to any of the accounts, ServiceAccount=Name of the account.
Note
This prompt is mostly identical to the previous prompt. However, it includes an extra field that uses an account that was generated in the previous prompt. When you import the sample data into Dynamics 365, the contact record will be linked with the associated account.
Repeat the steps in the previous section, and save the generated contact records as a new text file that is named ContactsWithAccounts.txt.
Import the sample into Dynamics 365
After you generate sample data, you can import it into Dynamics 365.
Note
This article uses the out-of-box Data import wizard. Learn more in Import data (all record types) from multiple sources.
- Sign in to your Dynamics 365 organization as an admin, and select Settings > Advanced Settings.
- Go to Data Management > Imports.
You can now import your data.
Import accounts
To import the accounts from the Accounts.txt file, follow these steps:
Select Import Data.
In the dialog that appears, select the Accounts.txt file that you created earlier, and then select Next.
Review the settings, and then select Next.
On the Map Record Types page, specify that you want to map Account data to the Account record type, and then select Next.
Map the fields as shown in the following table, and then select Next.
Source Destination Account Name Name Street Address1_Line1 City Address1_City State Address1_StateorProvince ZIP Address1_PostalCode Latitude Address1_Latitude Longitude Address1_Longitude Review the mapping summary, and then select Next.
Optional: Provide a name for the data map, and then select Submit.
The import process takes time to run. You can review the progress and results to ensure that the data is successfully imported.
Important
If you rerun this process, import failures might occur because of data duplication.
Import contacts used as frontline worker resources
To import the contacts from the Contacts.txt file, follow these steps:
Select Import Data.
In the dialog that appears, select the Contacts.txt file that you created earlier, and then select Next.
Review the settings, and then select Next.
On the Map Record Types page, specify that you want to map Contacts data to the Contacts record type, and then select Next.
Map the fields as shown in the following table, and then select Next.
Source Destination LastName Last Name Address1_Line1 Address1: Street 1 Address1_City Address1: City Address1_StateorProvince Address1: State/Province Address1_PostalCode Address1: ZIP/Postal Code Address1_Latitude Address1: Latitude Address1_Longitude Address1: Longitude Review the mapping summary, and then select Next.
Optional: Provide a name for the data map, and then select Submit.
Import contacts related to accounts
Note
If you want to link contacts to accounts, you must import accounts before you import the contacts that are related to those accounts. In this way, you can make the correct links.
To import the contacts that map to accounts from the ContactsWithAccounts.txt file, follow these steps:
Select Import Data.
In the dialog that appears, select the ContactsWithAccounts.txt file that you created earlier, and then select Next.
Review the settings, and then select Next.
On the Map Record Types page, specify that you want to map Contacts data to the Contacts record type, and then select Next.
Map the fields as shown in the following table, and then select Next.
Source Destination LastName Last Name Address1_Line1 Address1: Street 1 Address1_City Address1: City Address1_StateorProvince Address1: State/Province Address1_PostalCode Address1: ZIP/Postal Code Address1_Latitude Address1: Latitude Address1_Longitude Address1: Longitude Lookup reference for field ServiceAccount Account:Account Name ServiceAccount Company Name(Lookup) Review the mapping summary, and then select Next.
Optional: Provide a name for the data map, and then select Submit.
View the sample data in Dynamics 365
After you import the sample data, go to Dynamics 365, and browse to Accounts, which should show the new sample data. Then browse to Contacts, which should show both types of contacts that you imported: contacts without accounts and contacts with accounts.
Enhancements
Now that your sample data is in Dynamics 365, you can use it to demonstrate the capabilities of the solution. You can also create sample data for other tables, such as Work Orders, Bookable Resources, or Agreements. You can even try functionality such as scheduling the new resources with bookings.
Support
The sample data generation and import features are provided as is. Bugs, feature addition/modification requests, and other changes are the responsibility of the user. Always thoroughly test these features in a nonproduction environment.
Related information
- Import data (all record types) from multiple sources
- Select a data map
- Field mapping for schedule board settings in Dynamics 365 Field Service
- Schedule board settings management control in Universal Resource Scheduling for Dynamics 365 Field Service
- Dynamics 365 Field Service implementation optimization resources