Use the command prompt to install Dynamics 365 Customer Engagement (on-premises)
This article doesn't apply to the Dynamics 365 Customer Engagement (on-premises), version 9.1 update. For information about new features in update 9.1, see What's new.
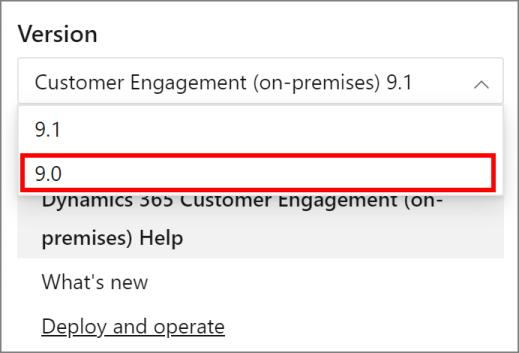
For information about this topic for Dynamics 365 Customer Engagement (on-premises), version 9.0, select the version located above the left navigation pane.

You can install Dynamics 365 Server and Dynamics 365 Reporting Extensions from their respective installation media location by using the command prompt. The required setup information is provided to the Setup program both as command-line parameters and as an XML configuration file that the Setup program references.
One advantage of using the command prompt to install Dynamics 365 Customer Engagement (on-premises) is that you don’t have to attend to the installation. Attended installation requires you to make decisions and provide information so the installation can run successfully. Unattended installation, by using the command prompt, requires you to provide installation information as command-line parameters and an XML configuration file. No other action is required until the Setup program is finished. Warnings and installation progress can be logged to a file you can view and analyze later.
Tip
To help troubleshoot invalid XML error messages, open the XML configuration file using a web browser to help indicate where the problem occurs in the file.
General procedures
The general procedures for running the Setup program from a command prompt are described here. The prerequisites for each of the Dynamics 365 Customer Engagement (on-premises) system features as discussed in previous section also apply.
To run the Setup program from a command prompt, follow these steps:
Provide a customized Setup configuration file. Examples are in the topics that follow.
Sign in as a member of the Domain Users Active Directory directory service group and administrators group on the local computer. If you’re installing Dynamics 365 Server using the Full Server role, the user running Setup must be a member of the local administrators group on the computer that has SQL Server installed, and permissions on the organizational unit to create or modify Active Directory groups in the domain where Dynamics 365 Server is installed. If you’re using pre-created groups, you must have read and write permission to each group.
If you’re installing from an installation disk, insert the Dynamics 365 Server installation disk into the CD/DVD drive. The Autorun screen appears. Close the Autorun screen.
Open a Command Prompt window.
At the command prompt, change to the CD/DVD drive or change to the location where the Dynamics 365 Customer Engagement (on-premises) installation files are located:
SetupServer.exe for Dynamics 365 Server is located in the Server folder of the Dynamics 365 Customer Engagement (on-premises) installation disk or file download location.
SetupSrsDataConnector.exe for the Dynamics 365 Reporting Extensions is located in the \SrsDataConnector folder of the Dynamics 365 Customer Engagement (on-premises) installation disk or file download location.
Run the Setup command using the following syntax:
SetupServer.exe /Q /config c:\CRMSetupconfig.xml
Known issues
Error message “Setup failed to validate specified Reporting Services Report Server https://ServerName/ReportServer” when you install Dynamics CRM Server on Server Core
You may see this error message when the following conditions are true:
You run Microsoft Dynamics 365 Server Setup on a Windows Server running Server Core.
The SQL Server Reporting Services server that is specified in the Setup XML configuration file configured for an authentication type that is not NTLM authentication only.
To work around this problem, on the Windows Server where you are installing Dynamics 365 Customer Engagement (on-premises), modify the RSServer.config file to remove all authentication types so that the only authentication type is RSWindowsNTLM.
<AuthenticationTypes>
   <RSWindowsNTLM/>
</AuthenticationTypes>
More information: RSReportServer Configuration File
After you make the RSServer.config file change, run Microsoft Dynamics 365 Server Setup again.
See Also
Install Microsoft Dynamics 365 for Outlook using a command prompt
Installing on-premises Dynamics 365
Post-installation and configuration guidelines for Microsoft Dynamics 365