Create you first ASP.NET Core App and host it in a Linux Docker container on Microsoft Azure (Part 2/3)
In the second part of this blog post we will build a docker image for our ASP.NET Core App and run a container locally. You can find the first part of this blog post here.
Part 2: Host your application in a Docker container
To use docker images and create and run Docker containers we will first have to install Docker on our machine. Docker is available for Mac, Windows and Linux on the official Docker website. After you have installed Docker, you can use the "docker" command from your command line / terminal.
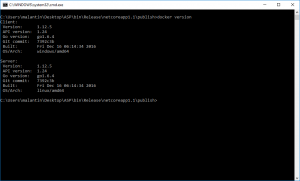
Check your installation by typing
docker version
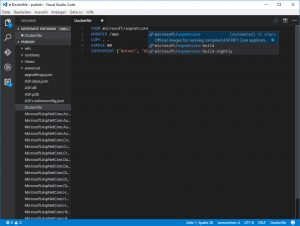
Now create a new file called "Dockerfile" inside the publish folder of your web application. You can use an editor of your choice to edit the file. I will use Visual Studio Code (Mac, Linux, Windows) as it supports syntax highlighting and auto-completion for Dockerfiles.
Add the following content to your Dockerfile:
 FROM microsoft/aspnetcore
WORKDIR /app
COPY . .
EXPOSE 80
ENTRYPOINT ["dotnet", "yourappname.dll"]
The first line sets the Microsoft/aspnetcore image as the base image. It is provided and maintained by Microsoft on Docker Hub. The second line creates and sets a working directory. Then the content from our "publish" folder is copied to the working directory. The next line exposes port 80 for our webserver. The last line defines our entrypoint with the command and corresponding arguments.
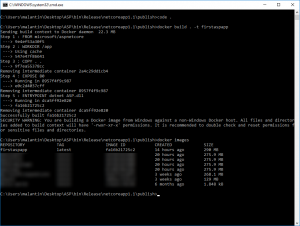
Save your Dockerfile and build your Docker image from the command line (-t sets a name and tag for your image):
docker build . -t nameforyourimage
You can display all your images with the following command:
docker images
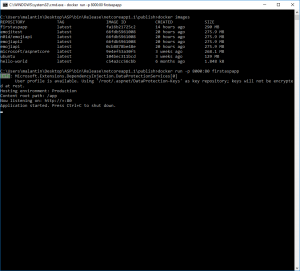
Now you now can create and run your Docker container (you can also just create the container with "docker create"):
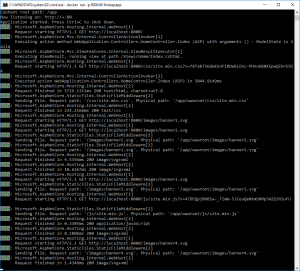
docker run -p 8000:80 nameforyourimage
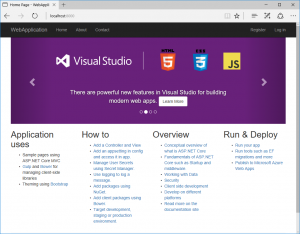
The -p flag maps published port 80 of your container to your host. You should now be able to access you application through https://localhost:8000/.
In the third part of this blog post we will publish our images to Docker Hub and host our container on Microsoft Azure. You can find Part 3 here.
Links:
- Part 1 of this blog post: https://blogs.msdn.microsoft.com/malte_lantin/2017/01/12/create-you-first-asp-net-core-app-and-host-it-in-a-linux-docker-container-on-microsoft-azure-part-13/
- Download Docker for you system: https://www.docker.com/products/overview
- Visual Studio Code: https://code.visualstudio.com/
- Dockerfile Reference: https://docs.docker.com/engine/reference/builder/
- ASP.NET Core Image on Docker Hub: https://hub.docker.com/r/microsoft/aspnetcore/
- Docker Hub: https://hub.docker.com/
- Microsoft Azure: https://azure.microsoft.com
Comments
- Anonymous
January 13, 2017
Incorrect link to part 3 in article. Find Part 3 here: https://blogs.msdn.microsoft.com/malte_lantin/2017/01/13/create-you-first-asp-net-core-app-and-host-it-in-a-linux-docker-container-on-microsoft-azure-part-33/- Anonymous
January 16, 2017
Thank you! I corrected the link.
- Anonymous
