.NET Core 1.1 - Creating an ASP.NET Core using the .NET CLI
If you are new with .NET Core 1.1, please take a look at the post .NET Core 1.1 - Where to Start first.
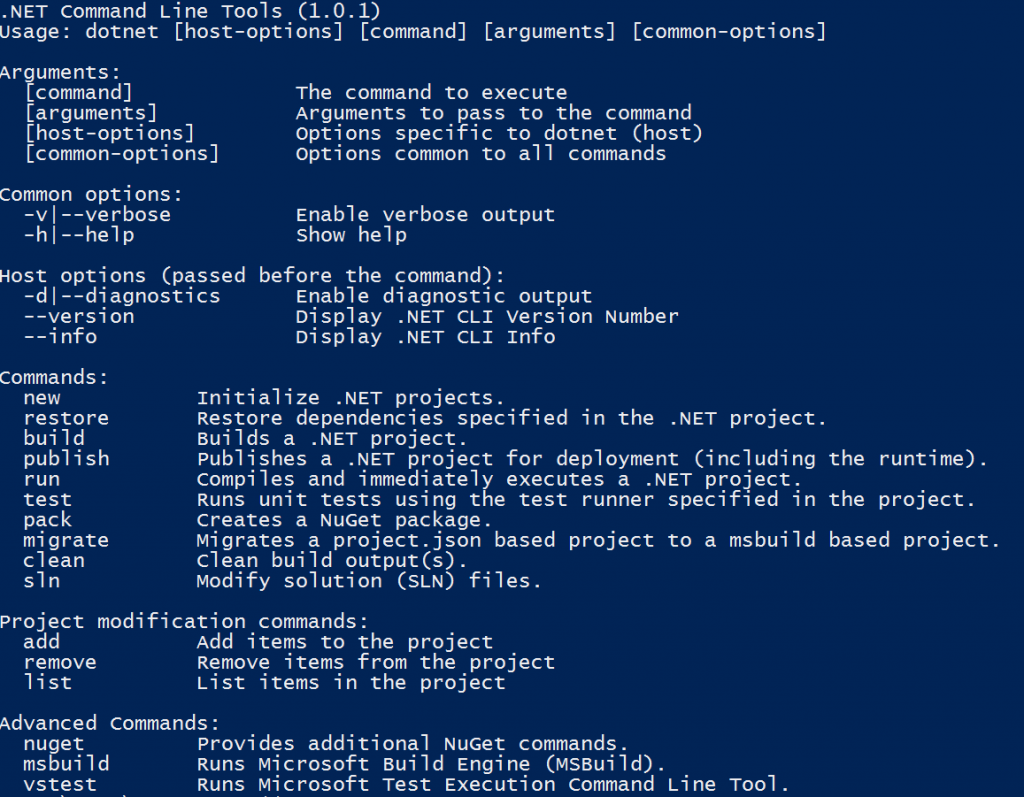
After having the SDK installed, the first step is to open up the command prompt (I am using PowerShell as I am using Windows) and type the following command to visualize all of the options available for us:
dotnet -h
As result, will be displayed the parameters that dotnet CLI offers to us:
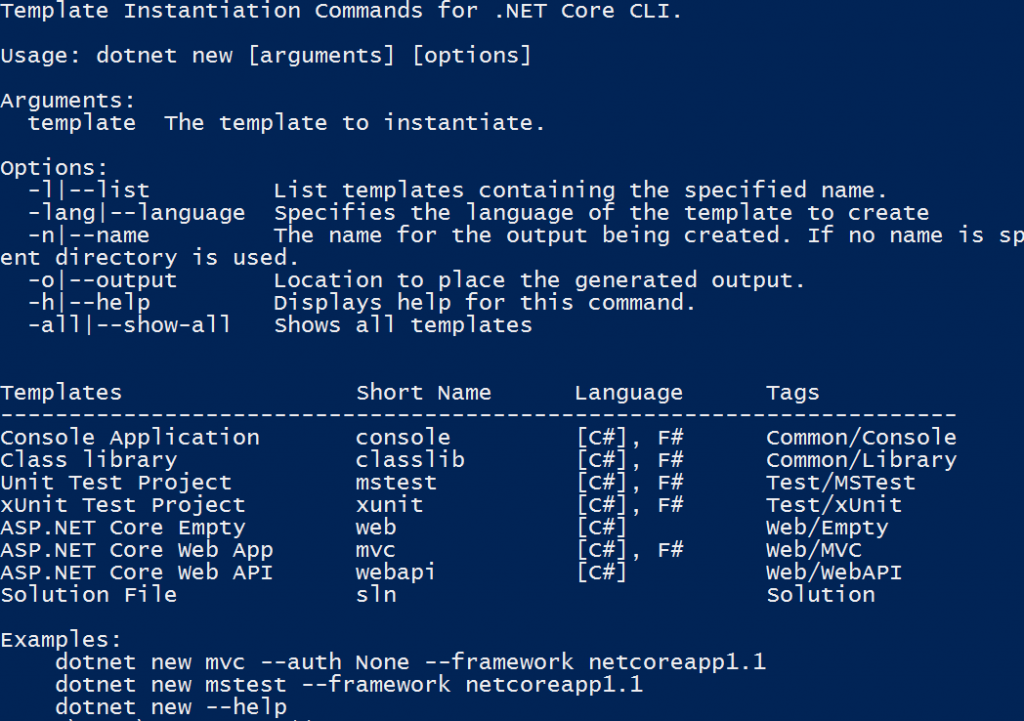
As the parameter name suggest, to create a new project, we need to pass the parameter new to dotnet utility. But before running that command, you can use the -h parameter to get more options like templates and examples, as follows:
dotnet new -h
As expected, the templates and examples available are displayed as expected:
For demonstration propose, I am going to create a new ASP.NET Core MVC application, using the following command:
dotnet new mvc -n HelloWordl
As result, I received the following message:
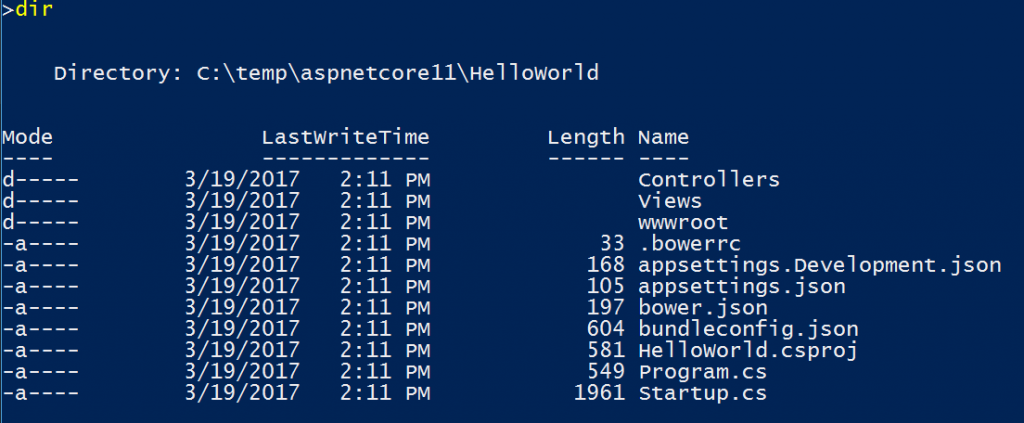
So far, the directory and files created are:
If you take a look at the project file, in this case the HelloWorld.csproj, you will see what is the target framework and the application NuGet packages references.
What is important to notice here is, that at this point we know at is the references but not where to get them and what is their dependencies. That is why it is necessary to run the following command to get the location of those references:
dotnet restore
The result expected is:
After restoring the references, the obj folder will be created with the following files.
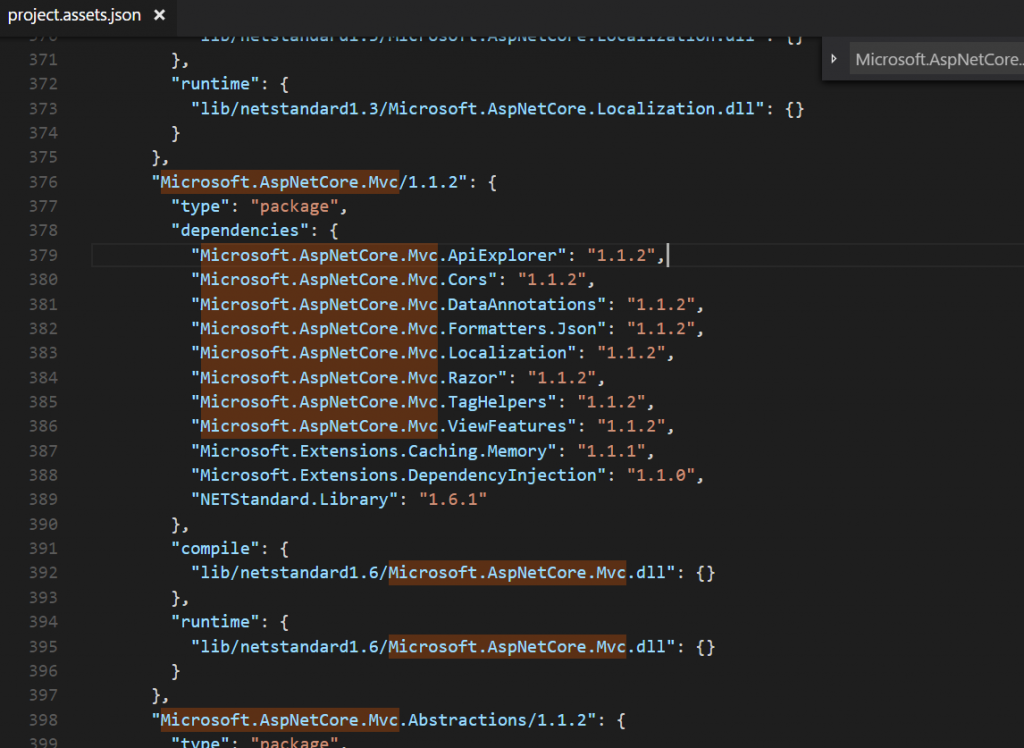
The project.assets.json is the file that contains details about the references and dependencies of our application.
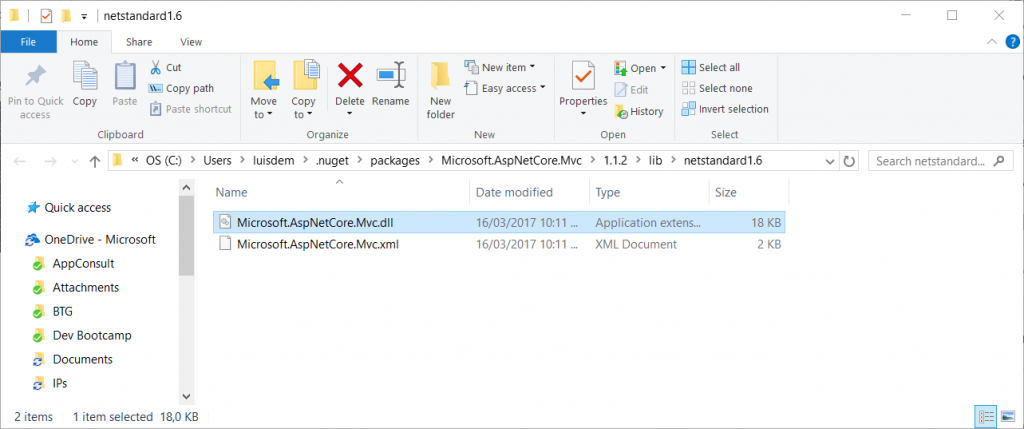
The .DLLs that are referenced in this file, can be found inside the NuGet package of the user profile.
The next step is to build our application through the following command:
dotnet build
The result expected is:
To run the application, use the following command:
dotnet run
As result, we expect the following message:
Now, you can access your application using the following address: https://localhost:5000. Observe that we are not using IIS to host our application.
I hope you have enjoyed. Let me know if you have any questions.
Comments
- Anonymous
April 15, 2017
Hello,I installed latest version of DotNetCore (SDK), when I run "dotnet new mvc -n HelloWorld", I got following:Specify --help for a list of available options and commands.Unrecognized command or argument 'mvc'.For creating new project, I should use "dotnet new -t Web".Is this article out of date, or I missed something?Thank you!- Anonymous
April 15, 2017
Mehdi,That is happening because you are using the .NET Core 1.0 instead of 1.1.You can double check the .NET Core version that you are using by running the following command:dotnet --versionPlease, take a look at: https://www.microsoft.com/net/download/core to update to .NET Core 1.1.After updating, you are supposing to see the new templates due the command:dotnet new -hRegards- Anonymous
May 11, 2017
Thank you! It was helpful to me. - Anonymous
March 05, 2019
This "Specify –help for a list of available options and commands" issue is not just due to .NetCore 1.0, this happens when also launching .NetCore2.1 app from UWP as a fullTrustProcess.https://stackoverflow.com/questions/54990981/uwp-fulltrust-dotnetcore
- Anonymous
- Anonymous
