Tip o' the Week 370 – Using Bookmarks
If you are sending out very long emails with multiple topic sections (good examples might be a departmental newsletter, or confirmation of the reader’s registration at an event, where you’ll have numerous parts they’ll want to refer back to later) , then careful use of bookmarks to form a table of contents at the top can make it a lot more palatable.
Outlook | OneNote | Excel | Other Apps Inserting Bookmarks in Outlook
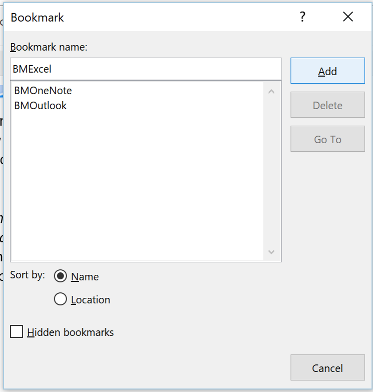
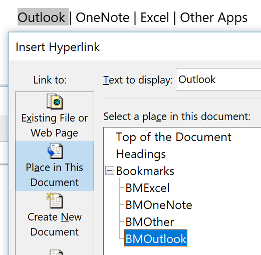
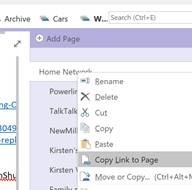
To define the bookmark, just position the cursor where you want the bookmark to be, then select Bookmark, to bring up the dialog to the left. Now, the only real gotcha with this is that if you already have bookmarks defined, it’s quite easy to unwittingly overwrite them as the default behaviour of the dialog is to select the next bookmark following your current cursor location, within the list – so if you inadvertently just hit “Add”, then you’ll replace that selected bookmark with the current place of your cursor. To add a new one, just type a unique name and press Add, the dialog will whack it on the list. To place a link to a bookmark, from your table of contents or a little navigational summary such as the one above this paragraph, just select the text and press CTRL-K or pick Link from the Insert menu, then select Place in This Document, pick the named bookmark, press OK, and you’re done. Using Bookmarks in OneNote OneNote 2016 (the proper, full-fat, desktop version, rather than the UWP one) has a different approach, in that you can link to pages directly, or in fact to individual paragraphs, and instead of defining a specific bookmark, you just copy the specially-formatted URL to the location within the OneNote notebook. If it’s just a page you want to link to, you can select it from a drop-down list box, activated by the usually insert-hyperlink shortcut, CTRL-K, or Insert > Link from the menu.
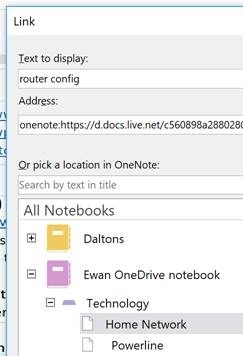
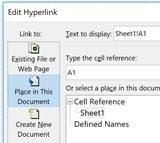
Once you have the link in the clipboard, just do the CTRL-K thing again at the point you want to activate, and paste your funky (and quite probably, long) OneNote URL in to the Address: box in the Link dialog. You can use that same URL in other places, too – in Word documents, email messages etc. You may find that it’s a bit confusing though, as the default link type is a reference to the location within your OneNote setup (eg onenote:#Home%20Network§ion-id={8ABBAD15... ), which may not be resolved correctly when someone else clicks on it. It’d be safer to locate & copy the URL using the same technique as above, then paste it into an email or Word doc, whereupon you’ll get 2 links – one, with text as the title of the section and a link to the OneNote version, followed by (Web view) . The latter may be safer for sharing more widely as you won’t require readers to already have the OneNote notebook open within their app. The UWP version of OneNote has similar capabilities, though only links to pages and sections can be created from the navigation UI. Excel references Excel doesn’t really do bookmarks, but can jump directly to cell references or named ranges, if you’ve defined them. Insert the link by right-clicking in a cell, using the Insert menu or pressing CTRL-K. Other apps
|

