Integrating VSTS with Bitbucket
As mentioned in an earlier post one of our customer wants to integrate his Source Code Repository on Bitbucket into an end-to-end toolchain. The full end-to-end chain includes a lot of different 3rd party tools as you can see in the picture below. Read the full story in the previous post.
In this post I will take a deeper look into how to integrate with bitbucket.
There are two approaches: You can decide to do a one-time move from Bitbucket to VSTS. Or you can stick with Bitbucket and just decide to use other components of VSTS (like Build, Deployment and so on).
Option 1: One-Time import of source code form Bitbucket
Let’s first take a look at how to import the source code from bitbucket. The repository used by our customer in Bitbucket was based on Git. Of course Git is supported by VSTS and VSTS allows you to create your own Git repository within VSTS. This is something very comfortable because you don’t have to worry about integration at all if you just use whatever VSTS brings out of the box.
If you have an existing repository (as in our customer’s case) you can decide to to use the import dialog of VSTS. This basically clones the repository specified (in our case the repository on Bitbucket) into VSTS. Afterwards you continue working with the repository in VSTS. It’s a one time shot, so if you keep working in Bitbucket changes will not be visible automatically in VSTS – that’s why in this specific case you’d decide to continue working in VSTS only.
Here’s the step by step guidance:
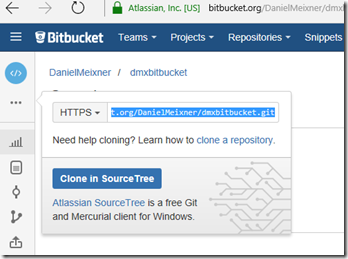
Find the URL of your git repo in Bitbucket. You can click the clone button in the menu and you’ll find the URL to .git in the dialog as shown below.
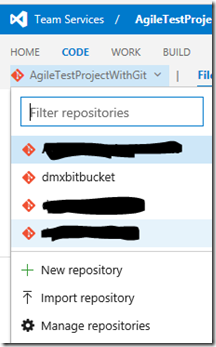
In VSTS open your team project and open the “Code” tab.
Select “Import repository”
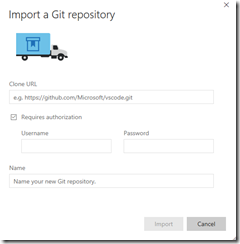
Provide the URL of your repo and – if required – username and password. Provide a name and click import. You’re done.
Configure CI
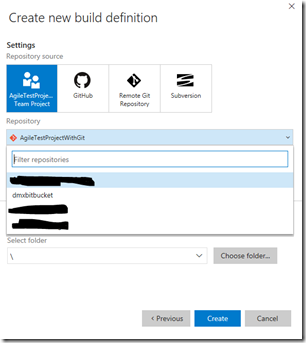
Now if you want to setup CI, so that a build is triggered every time something changes in a certain branch, here’s how you do it. It really is the standard flow for configuring CI with VSTS. Create a build definition on the “Build” tab and just choose the correct repository you just created.
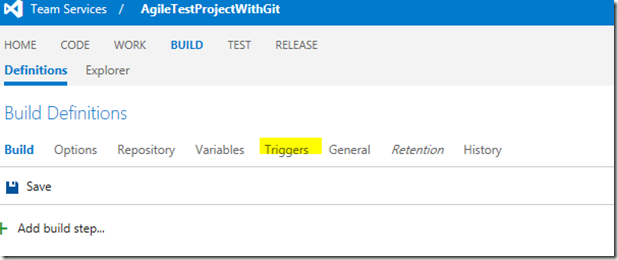
Also make sure you choose the correct branch which is supposed to be built. Click Create. On the following screen you can define the build steps. However what we wanted to do is configure CI. Click “Triggers” in the menu.
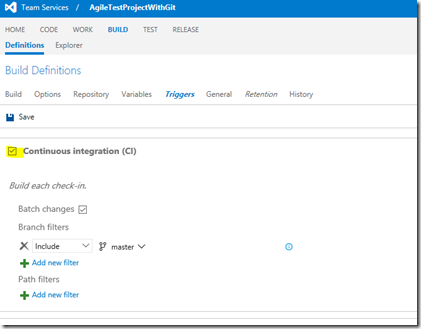
Check the Continuous Integration checkbox.
Now you can specify some details- but you are basically done. A new build will fire every time you check-in something.
Option 2: Stick with Bitbucket and trigger CI on VSTS
For our customer this was not an option. This is pretty common. Once you decide for a source control repository and once you have a fair amount of developers working on it changing the repository is considered as a big step with high risk and a lot of people are scared of doing this. I don’t want to discuss this here.
Instead it’s good to know that you don’t have to do this step but instead you can just stick with Bitbucket as long as you want and still use other parts of VSTS. To do this we integrate Bitbucket with VSTS on a deeper level. What we need to do is we have to specify the Git repository hosted on Bitbucket as a service endpoint. This sounds far more complicated then it is.
In VSTS click the little gear icon on the upper right.
Then click the “Services” entry in the menu.
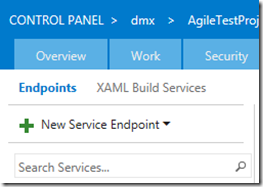
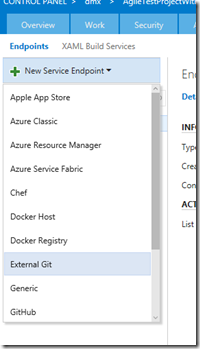
Now click “New Service Endpoint”.
The kind of Servcie Endpoint we are creating is called “External Git”.
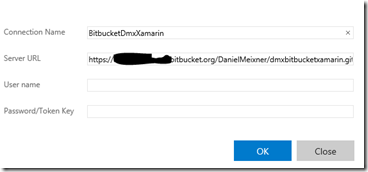
This will lead to the following dialog where you can specify details for the Git repository on Bitbucket. You can find the URL of your repo as described above. If your repo isn’t public you have to provide username and password.
Having done this you have a valid connection to Bitbucket. You can now use this connection in a build definition. So let’s create a new Build definiton in the “Build” tab of VSTS.
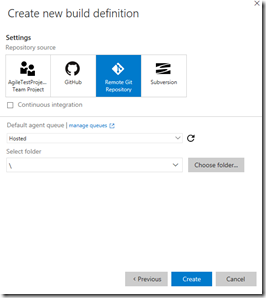
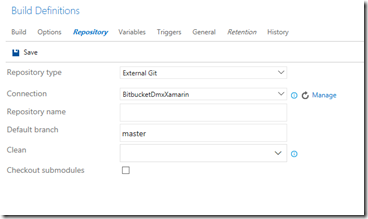
Choose “Remote Git” as repository and click create. After creation check the “Repository” tab in VSTS. It might already be filled out correctly . Repository type should be “External Git”. The connection entry should contain the name of your service endpoint you created in the previous step. If you have created multiple endpoints choose the correct one. If you want to modify your endpoint click “Manage”. It will take you directly to the configuration dialog for endpoints.
Configure CI in VSTS for a repo on Bitbucket
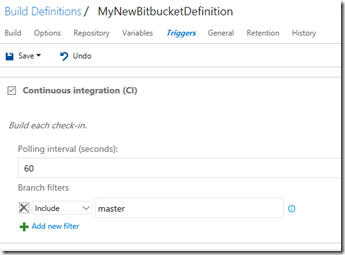
Click “Save” to save the definition, provide a name and then select the “Triggers” tab to configure CI. As we are working with an external Git repo we can’t build on every check-in. However VSTS polls the external repo from time to time to see if things changed and starts building then. The minimum interval is 60 seconds.
While this is not exactl what some people might expect from CI (because it doesn’t really build on every check-in) for most scenarios this should be good enough. Especially if your build process is running for a longer time this shouldn’t be an issue at all.
You can give it a try by checkin in someting on your repo on Bitbucket. After 60 seconds the build on VSTS will be triggered.
Recap
It’s up to you to pick how to integrate external Git repos. You can choose to clone the repo and continue working in VSTS or you stick with your existing repository and just use other capabilities of VSTS. In our case the customer decided to stick with Bitbucket for now.
![image_thumb[2] image_thumb[2]](https://msdntnarchive.z22.web.core.windows.net/media/2016/10/image_thumb2_thumb.png)
