MIM WAL–Installation Guide Part 2
This post is a continuation of MIM WAL–Installation Guide Part 1
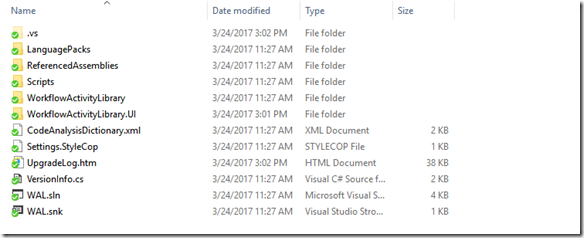
Navigate to the location where you have the MIM WAL Source Code
Open the Folder “ReferencedAssemblies”
In this Folder we want to copy the System.Management.Automation.dll file
Once the file is copied into this folder
Now open the folder “4.1.3496.0”
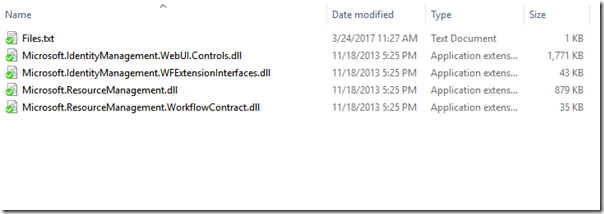
Now copy the following .DLL Files into the 4.1.3496.0 folder
- Microsoft.IdentityManagement.WebUI.Controls.dll
- Microsoft.IdentityManagement.WFExtensionInterfaces.dll
- Microsoft.ResourceManagement.dll
- Microsoft.ResourceManagement.WorkflowContract.dll
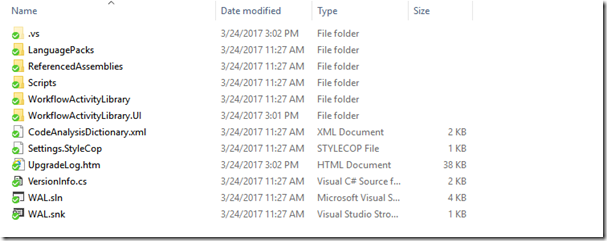
Now step back a few folders
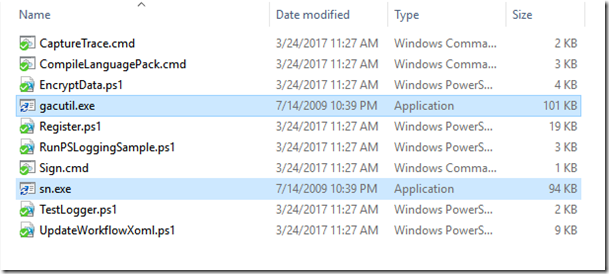
open the Scripts Folder and copy the Files gacutil.exe and sn.exe into the Scripts folder.
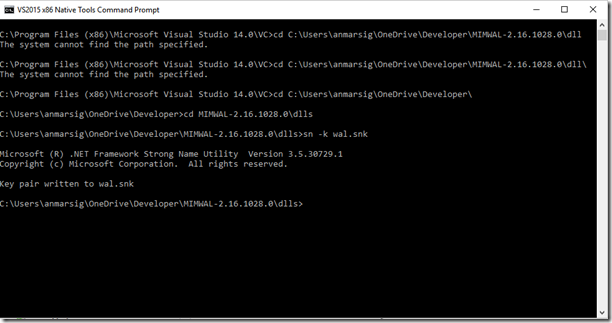
Open up Visual Studios Command Prompt and enter cd <enter path of location where you have the other copied files>
Now that we have all the files required to compile the MIM WAL open up Visual Studios or you can just navigate to the MIM WAL Source Files that you downloaded previously and click on WAL.sln
At the time of Blog Posting Visual Studios 2017 was not supported, so I had to use 2015
Once you have the solution open
lets replace the current snk that is associated with the Source Code
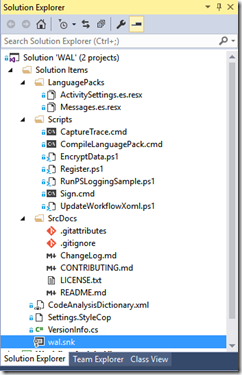
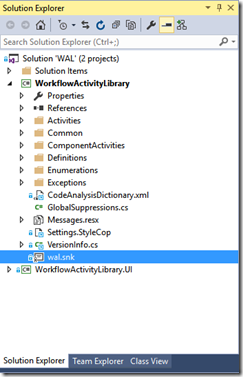
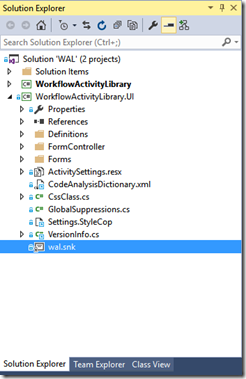
In Visual Studios in the Solution Explorer you will see 3 locations where WAL.snk already exist
Right click on the 1st WAL.snk you find under the Solution ‘WAl’(1 project) section
Right click on the file and select Remove
Now Right click on Solution ‘WAl’(1 project) and select Add
Than select Existing Item
Navigate to location where the new .SNK file you created exist.
you may get a warning message, accept the warning and continue
Repeat these steps for the remaining 2 WAL.snk files
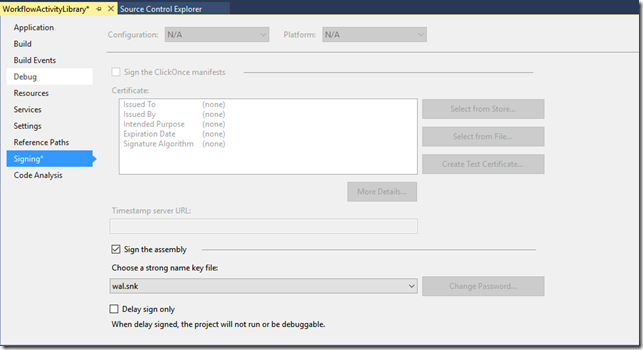
Right Click on WorkflowActivityLibrary and click on properties than select signing
for choose strong name key file browse to the location where the new .snk file is located and select the new one. (note : The old one may still show up)
Uncheck Delay sign only
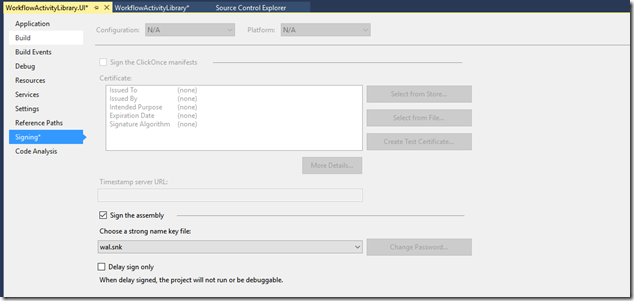
Right Click on WorkflowActivityLibrary.UI and click on properties than select signing
for choose strong name key file browse to the location where the new .snk file is located and select the new one. (note : The old one may still show up)
Uncheck Delay sign only
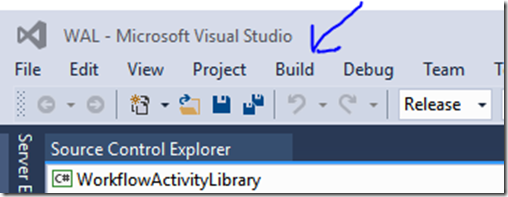
In Visual Studios Change Debug to Release
Now click on Build
And select Build Solution
Look in the output window
And verify that it either says Build or Rebuild All and it shows successful.
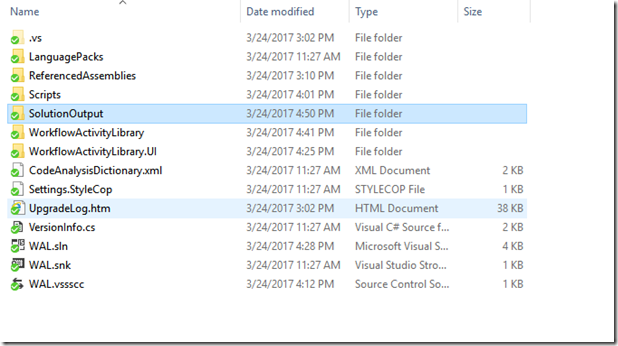
Navigate to the Location where your WAL Source Code is Located and copy the folder Solution Output
Place the Solution Folder on a shared drive or a location you have easy access to.
Continue to MIM WAL - Installation Guide Part 3
