Windows 7 Deployment Using SCCM 2007 SP2
Upgrade SCCM 2007 SP1 to SP2
Step1: Uninstall the Windows Automated Installation Kit (AIK) version 1.1 from the SMS Provider computer and then restart the computer before beginning the upgrade process.
Step2: Insert SP2 Media on SCCM 2007 Server. And run Setup.exe
Figure 1
Step 3: Select Upgrade option
Figure 2
Step 4: Select the Patch where you want to download the Updates and click on next
Step 5: Click Next
Step 6: On Successful download of Updates Click on Next
Step 7: Click on Begin Install
Step 8: On Successful Installation click on Next
Step 9: Click on Finish to Complete SCCM 2007 SP2 Upgrade
On Successful upgrade to SCCM 2007 SP2 you can run R2 to get some additional functionality
The following features are new to Configuration Manager 2007 R2:
- Application Virtualization Management. For more information about managing virtual applications created using the Microsoft Application Virtualization platform
- Forefront Client Security Integration. For more information, see About Forefront Client Security Integration with Configuration Manager 2007 R2.
- SQL Reporting Services Reporting. Allows you to report on Configuration Manager activity using SQL Reporting Services.
- Client Status Reporting. Provides a set of tools and Configuration Manager 2007 reports to assess the status of client computers, sometimes referred to as "client health." Clients that show a change in activity patterns might need administrative intervention.
- Operating System Deployment Enhancements. The following enhancements are included in Configuration Manager 2007 R2:
- Unknown computer support—In Configuration Manager 2007 R2, you can deploy operating systems to computers using a PXE service point without first adding the computer to the Configuration Manager database.
For more information, see About Unknown Computer Support for Operating System Deployment.
-
- Multicast deployment—Previously, all operating system deployments used unicast. Multicast can make more efficient use of network bandwidth when deploying large images to several computers at the same time.
For more information, see About Multicast for Operating System Deployment.
-
- Running command lines in task sequences with credentials other than the local system account
Operating System Deployment Using SCCM 2007
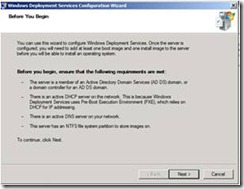
Step 1: Install WDS on SCCM 2007 Server or on Different Server. On Successful Installation Configure WDS Server
Step 2:
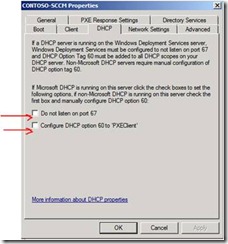
Once WDS is Configured Click on the
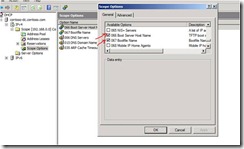
Configure DHCP Server and If DHCP and WDS are in Same box then click on Check box marked in red. If DHCP and WDS are in different box uncheck both the box below and configure DHCP Option 66 and 67.
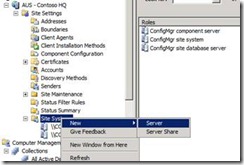
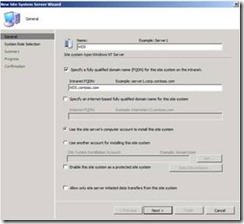
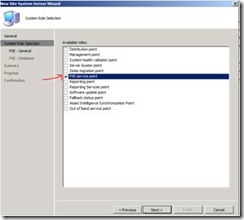
If WDS is installed on Different Server in SCCM 2007 Server Console Add the Server and Assign PXE Service Point.
If SCCM 2007 and WDS is running on the Same Server then Assign PXE Service point role on the SCCM 2007 Server.
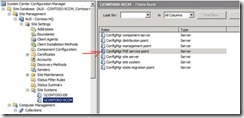
To Confirm Successful Installation of PXE Service Point please confirm on PXE Setup.log c:\Program Files\Microsoft System Center Configuration Manager \logs
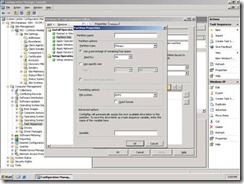
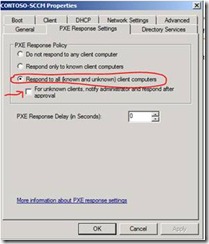
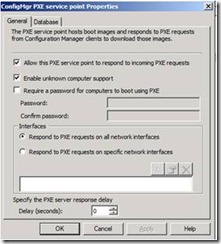
Enable Unknown Computer Support on PXE Service Point. Right Click on ConfigMgr PXE Service Point and click on properties
Injecting Drivers
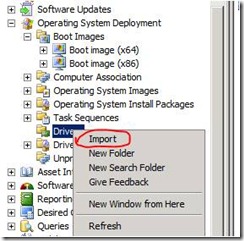
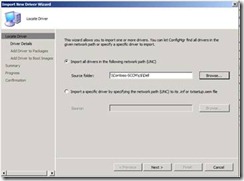
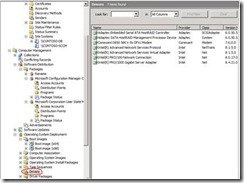
Download Drivers and install on a folder. From SCCM 2007->Operating System Deployment->Click on Drivers ->Import
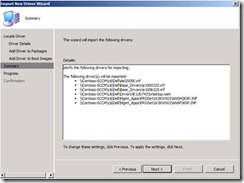
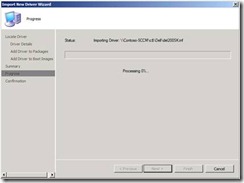
Click on Next
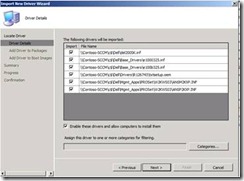
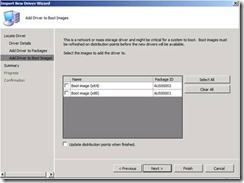
Select the Drivers if you want to inject in Boot Images.
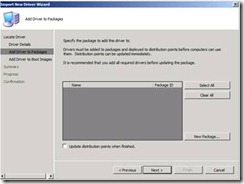
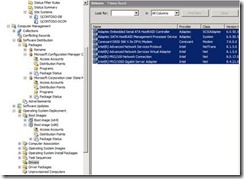
Once completed you will be able to see drivers in Drivers Tab
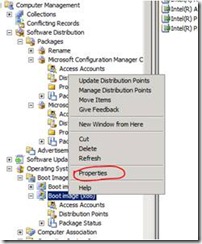
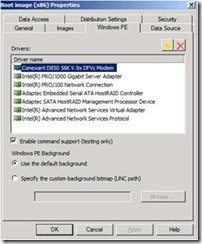
To Inject Drivers in the boot Images Right Click on Boot Images->Properties->Windows PE tab.
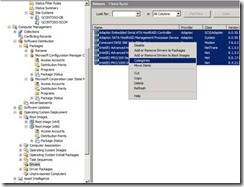
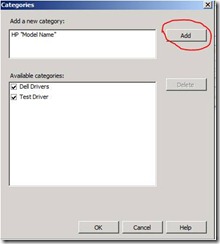
To Categories the Drivers Click on Drivers->Select the drivers
Click On Categories and Create your Own Category.
Boot Images:
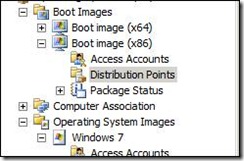
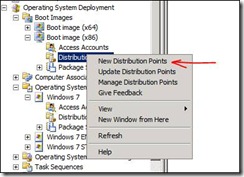
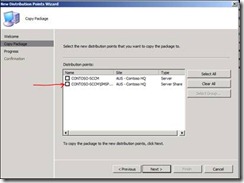
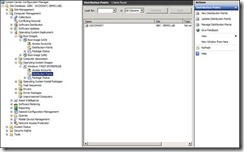
Add Distribution Point on the Boot Images. Click on the Distribution point Tab->New Distribution Point ->Server Share as Shown in Screen Shots Below.
Note: on Successful Configuration of PXE Service Point You will see the Server share in Distribution point List
Add Operating System Images
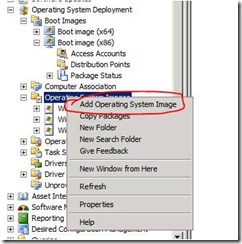
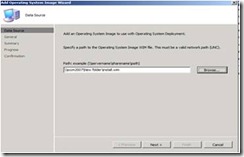
1) Right Click on Operating System Image ->Add Operating System Image->Select the Path for the WIM File.
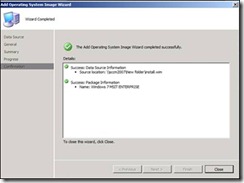
2) On Successful addition of Image Close the Tab
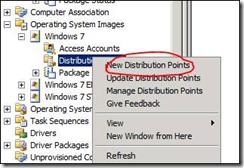
3) Add Distribution Point to the OS package.
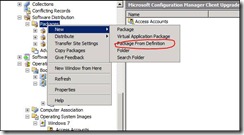
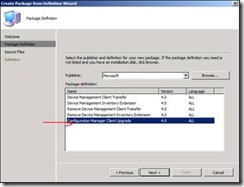
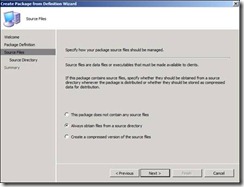
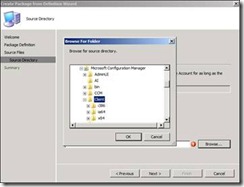
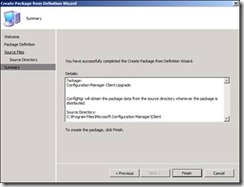
Create Package for SCCM 2007 Client
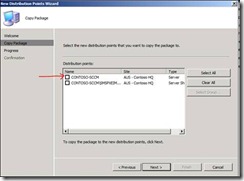
Add Distribution Point to the package
Create Task Sequence
In the Configuration Manager console, navigate to System Center Configuration Manager / Site Database / Computer Management / Operating System Deployment / Task Sequences.
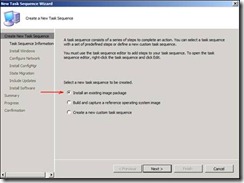
- To start the New Task Sequence Wizard, right-click the Task Sequences node, and then click New/Task Sequence.
2. On the Create a New Task Sequence page, select Install an existing image package, and then click Next.
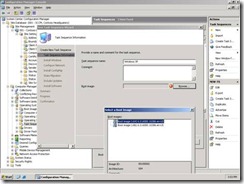
3. On the Task Sequence Information page, specify a descriptive name for the task sequence, and then add an optional comment. To specify the boot image that will be associated with the task sequence, click Browse to open the Select a Boot Image dialog box, select the boot image, and then click Next.
The boot image you specify must match the chip architecture installed on the target computer or the task sequence will fail |
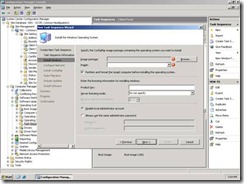
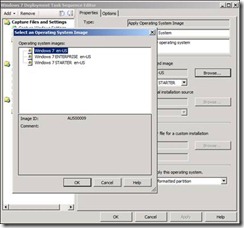
4. On the Install the Windows Operating System page, specify the operating system image package that will be used to install the operating system image by clicking Browse button to open the Select an Operating System Image dialog box, and then selecting the operating system package. If there are multiple images in the image package, use the drop-down to specify the Image that should be associated with the image package. To partition and format the target computer's hard disk prior to installing the operating system image, select the Partition and format the target computer before installing the operating system check box.
Do not select the option to format and partition the target computer hard disk if you have saved the user state locally or the saved user state will be erased. For more information about saving the user state locally on the target computer for in-place operating system deployment scenarios |
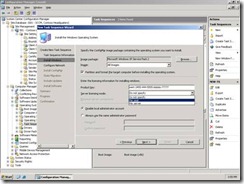
5. Additionally, on the Install the Windows Operating System page, specify the Windows Product key and Server license mode. If you specify Per server as the license mode, configure the Maximum server connections that will be permitted. You must also specify if the local administrator account should be disabled, or if you want to use the same administrator account for all target computers by selecting the appropriate option. Click Next
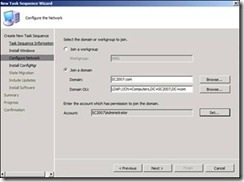
6. On the Configure the Network page, specify if the target computer will join a Workgroup or a Windows Domain.
-
- If you are adding the target computer to a Workgroup, you must type the name of the workgroup in the space provided.
- If you are adding the target computer to a Windows domain, click the Set button to open the Windows User Account dialog box and specify the user account and password that should be used to add the computer to the Windows domain. You must also specify the name of the Windows Domain and Windows Domain OU that the target computer will be added to by clicking the Browse button. Click Next
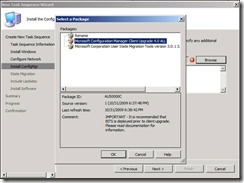
7. On the Install ConfigMgr page, click the Browse button to launch the Select a Package dialog box and select the Configuration Manager 2007 package that will be used to install the Configuration Manager 2007 client. Specify the Configuration Manager 2007 client installation properties that will be used in the Installation properties window. Click Next
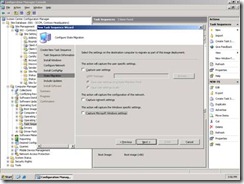
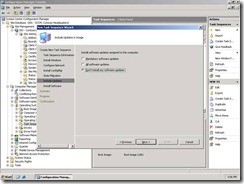
8. On the Include Updates in Image page specify how the target computer will install assigned software updates by selecting the appropriate option.
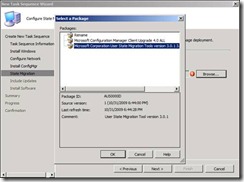
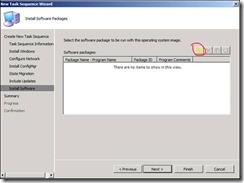
9. On the Install Software Packages page, click New to open the Program Select dialog box. Click Browse to open the Select a Package dialog box. Select the Configuration Manager 2007 packages you want to include, and then click OK. Use the drop down to select the associated programs that should be used.
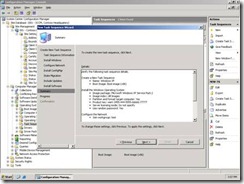
10. To complete the creation of the new task sequence, on the Summary page, click Next.
In the Configuration Manager console, navigate to System Center Configuration Manager / Site Database / Computer Management / Operating System Deployment / Task Sequences.
- To start the Task Sequence Editor, select the task sequence you want to update, right-click the task sequence, and then click Edit.
To partition the hard drive select the partition disk tab in the task sequence. Select the highlighted section
Give partition name and partition type. And press OK
Task Sequence Advertisement
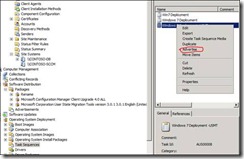
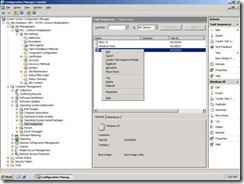
Right Click on Task Sequence and click on advertise
Please Tick on Make this Task Sequence Available to Boot Media and PXE
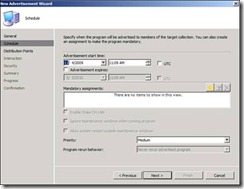
Click on Next
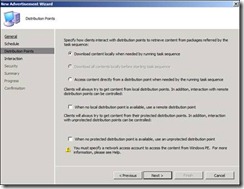
Click on Next
Click on Next to Finish
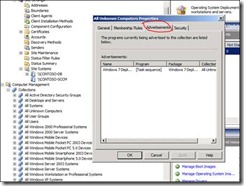
To verify the Advertisement click on the collection->Properties and select Advertisement Tab
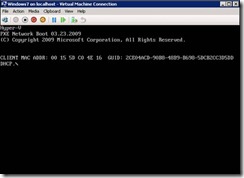
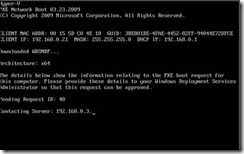
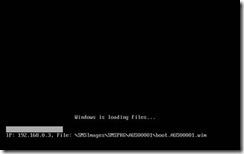
Boot the Computer from Network
Cheers
Birojit
Comments
Anonymous
January 01, 2003
Great Link (Y)!!!Anonymous
January 01, 2003
Hi Zied Thanks for your comment. You can set up Admin Password in Task Sequence.Anonymous
January 01, 2003
Thanks Dan...Anonymous
February 18, 2010
This is a good starter post, but how about adding some capability pertaining to computer naming and general customizations. Example: How to integrate Windows System Image Manager. Its seems pretty straight forward, but in my testing, my unattend.xml file parameters are not taking affect.Anonymous
December 13, 2010
Thanks, very good guide! after installation, what will be the windows 7 user account and password?Anonymous
January 13, 2011
excellent guide - thanks for creating!Anonymous
July 13, 2011
When adding the distribution point, why do you select the SCCM server and not the SCCMPXEIMAGE? blogs.technet.com/.../clip_image094_2.jpgAnonymous
December 10, 2011
can u email me OSD docs plz sandyglx@gmail.com ThanksAnonymous
August 09, 2012
I have been hitting a blank wall on this until I saw your post. I'm going to follow it and run some tests. Nice work! I have been wondering about the relationship between WDS and SCCM and I think you started me on the right path. Cheers!Anonymous
October 24, 2012
very helpful link, thanks for posting it !!!



![clip_image002[4] clip_image002[4]](https://msdntnarchive.z22.web.core.windows.net/media/TNBlogsFS/BlogFileStorage/blogs_technet/birojitn/WindowsLiveWriter/Windows7DeploymentUsingSCCM2007SP2_12AE4/clip_image002%5B4%5D_thumb.jpg)
