Manually Uploading the APK
The first time an APK is submitted to Google Play (or if an early version of Xamarin.Android is used) the APK must be manually uploaded through the Google Play Developer Console. This guide explains the steps required for this process.
Warning
Google Play Developer Console now only accepts AAB packages.
Google Play Developer Console
Once the APK has been compiled and the promotional assets prepared, the application must be uploaded to Google Play. This is done by logging in to the Google Play Developer Console, pictured next. Click the Publish an Android App on Google Play button to initialize the process of distributing an application.
If you already have an existing app registered with Google Play, click the Add new application button:
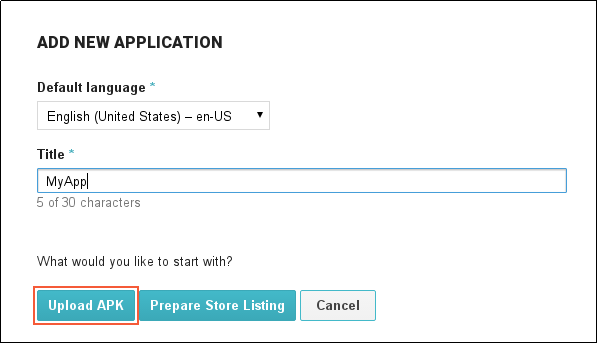
When the ADD NEW APPLICATION dialog is displayed, enter the name of the app and click Upload APK:
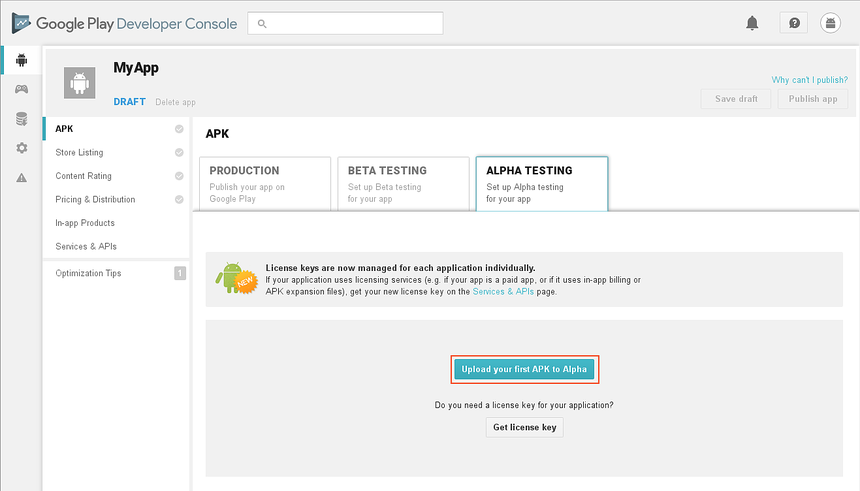
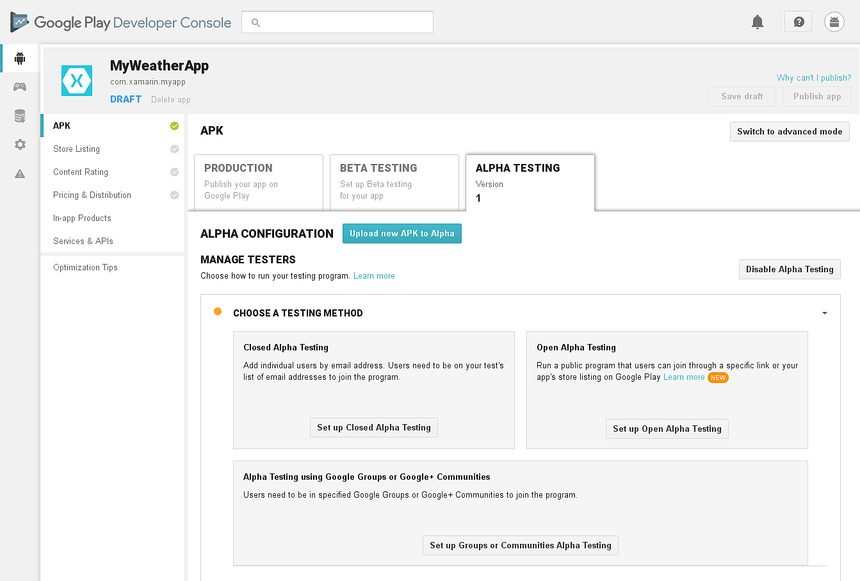
The next screen allows the app to be published for alpha testing, beta testing, or production. In the following example, the ALPHA TESTING tab is selected. Because MyApp does not use licensing services, the Get license key button does not have to be clicked for this example. Here, the Upload your first APK to Alpha button is clicked to publish to the Alpha channel:
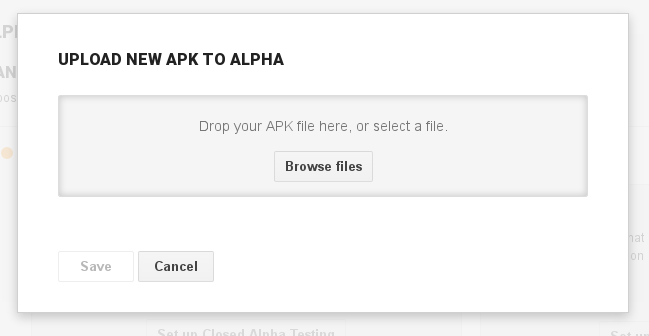
The UPLOAD NEW APK TO ALPHA dialog is displayed. The APK can be uploaded by either clicking the Browse files button or by dragging-and-dropping the APK:
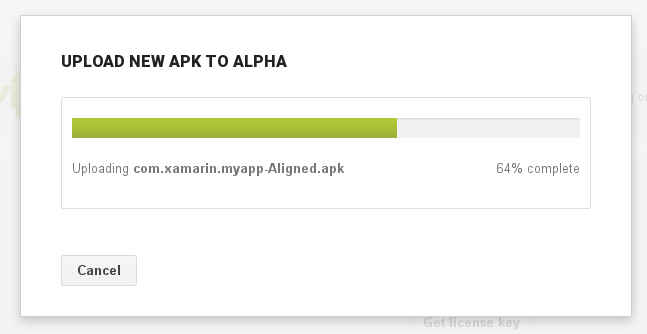
Be sure to upload the release-ready APK that is to be distributed. The next dialog indicates the progress of the APK upload:
After the APK is uploaded, it is possible to select a testing method:
For more information about app testing, see Google's Set up alpha/beta tests guide.
After the APK is uploaded, it is saved as a draft. It cannot be published until more details are provided to Google Play as described next.
Store Listing
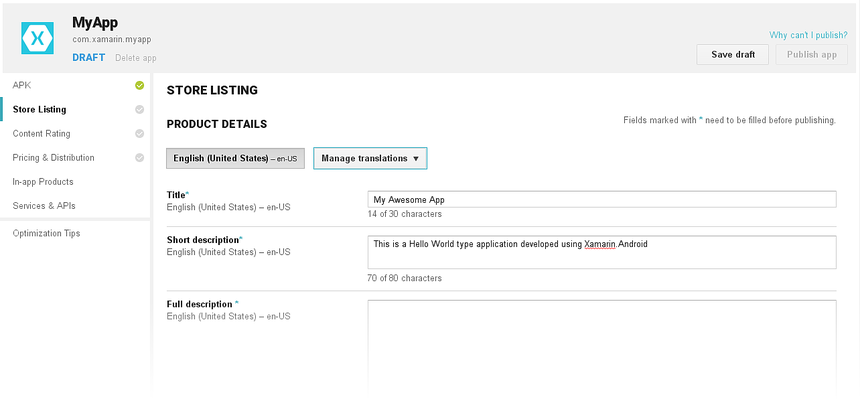
Click Store Listing in the Google Play Developer Console to enter the information that Google Play will display to potentials users of the application:
Graphics Assets
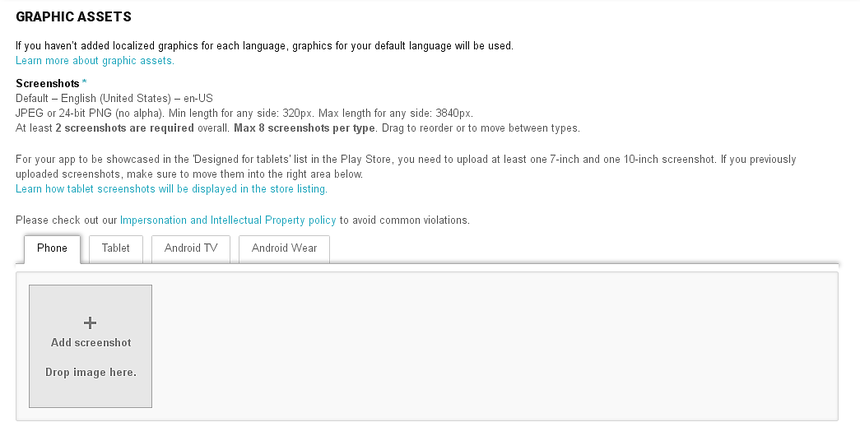
Scroll down to the GRAPHICS ASSETS section of the Store Listing page:
All of the promotional assets that were prepared earlier are uploaded in this section. Guidance is provided as to what promotional assets must be provided and what format they should be provided in.
Categorization
After the GRAPHICS ASSETS section is a CATEGORIZATION section, select the application type and category:
Content rating is covered after the next section.
Contact Details
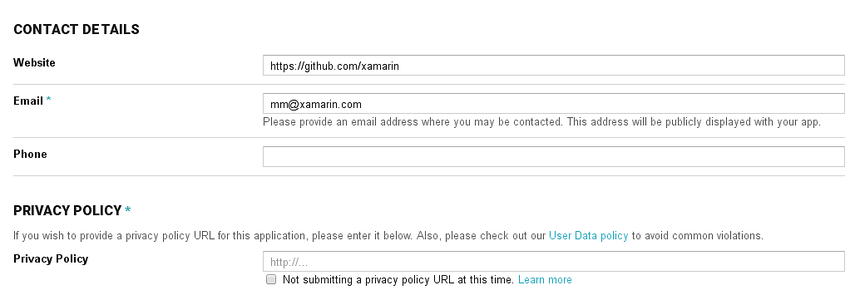
The final section of this page is a CONTACT DETAILS section. This section is used to collect contact information about the developer of the application:
It is possible to provide a URL for the privacy policy of the App in the PRIVACY POLICY section, as indicated above.
Content Rating
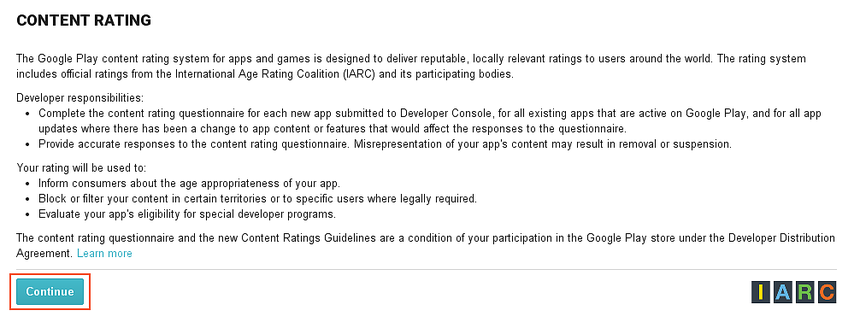
Click Content Rating in the Google Play Developer Console. In this page, you specify the content rating for your app. Google Play requires that all applications specify a content rating. Click the Continue button to complete the content rating questionaire:
All applications on Google Play must be rated according to the Google Play ratings system. In addition to the content rating, all applications must adhere to Google's Developer Content Policy.
The following lists the four levels in the Google Play rating system and provides some guidelines as features or content that would require or force the rating level:
Everyone – May not access, publish, or share location data. May not host any user-generated content. May not enable communication between users.
Low maturity – Applications that access, but do not share, location data. Depictions of mild or cartoon violence.
Medium maturity – References to drugs, alcohol or tobacco. Gambling themes or simulated gambling. Inflammatory content. Profanity or crude humor. Suggestive or sexual references. Intense fantasy violence. Realistic violence. Allowing users to find each other. Allowing users to communicate with each other. Sharing of a user's location data.
High maturity – A focus on the consumption or sale of alcohol, tobacco, or drugs. A focus on suggestive or sexual references. Graphic violence.
The items in the Medium maturity list are subjective, as such it is possible that a guideline that may seem to dictate a Medium maturity rating may be intense enough to warrant a High maturity rating.
Pricing & Distribution
Click Pricing and Distribution in the Google Play Developer Console. In this page, set a price if the app is a paid app. Alternately, the application can be distributed free of charge to all users. Once an application is specified as free, it must remain free. Google Play will not allow an application that is free to be changed to a priced app (however, it is possible to sell content with in-app billing with a free app). Google Play will allow a paid app to change to a free app at any time.
A merchant account is required to before publishing a paid app.To do so, click set up a merchant account and follow the instructions.
Manage Countries
The next section, Manage Countries, provides control over what countries an app may be distributed to:
Other Information
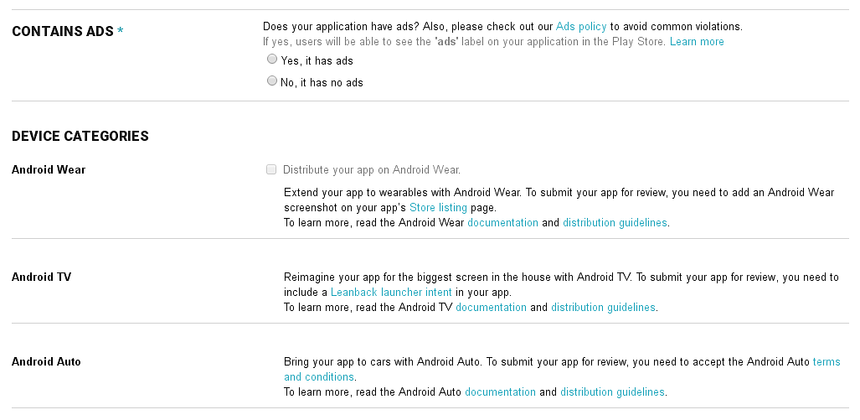
Scroll down further to specify whether the app contains ads. Also, the DEVICE CATEGORIES section provides options to optionally distribute the app for Android Wear, Android TV, or Android Auto:
After this section are additional options that may be selected, such as opting into Designed for Families and distributing the app through Google Play for Education.
Consent
At the bottom of the Pricing & Distribution page is the CONSENT section. This is a mandatory section and is used to declare that the application meets the Android Content Guidelines and acknowledgement that the application is subject to U.S. export laws:
There is much more to publishing a Xamarin.Android app than can be covered in this guide. For more information about publishing your app in Google Play, see Welcome to the Google Play Developer Console Help Center.
Google Play Filters
When users browse the Google Play website for applications, they are able to search all published applications. When users browse Google Play from an Android device, the results are slightly different. The results will be filtered according to compatibility with the device that is being used. For example, if an application must send SMS messages, then Google Play will not show that application to any device which cannot send SMS messages. The filters that are applied to a search are created from the following:
- The hardware configuration of the device.
- Declarations in the applications manifest file.
- The carrier that is used (if any).
- The location of the device.
It is possible to add elements to the app's manifest to help control how app is filtered in the Google Play store. The following lists manifest elements and attributes that can be used to filter applications:
supports-screen – Google Play will use the attributes to determine if an application can be deployed to a device based on the screen size. Google Play will assume that Android can adapt smaller layout to larger screens, but not vice-versa. So an application that declares support for normal screens will appear in searches for large screens, but not small screens. If a Xamarin.Android application does not provide a
<supports-screen>element in the manifest file, then Google Play will assume all attributes have a value of true and that the application supports all screen sizes. This element must be added to AndroidManifest.xml manually.uses-configuration – This manifest element is used to request certain hardware features, such as the type of keyboard, navigation devices, a touch screen, etc. This element must be added to AndroidManifest.xml manually.
uses-feature – This manifest element declares hardware or software features that a device must have in order for the application to function. This attribute is informational only. Google Play will not display the application to devices that do not meet this filter. It's still possible to install the application by other means (manually or downloading). This element must be added to AndroidManifest.xml manually.
uses-library – This element specifies that certain shared libraries must be present on the device, for example Google Maps. This element may also be specified with the
Android.App.UsesLibraryAttribute. For example:[assembly: UsesLibrary("com.google.android.maps", true)]uses-permission – This element is used to infer certain hardware features that are required for the application to run that may not have been properly declared with a
<uses-feature>element. For example, if an application requests permission to use the camera, then Google Play assumes that devices must have a camera, even if there is no<uses-feature>element declaring the camera. This element may be set with theAndroid.App.UsesPermissionsAttribute. For example:[assembly: UsesPermission(Manifest.Permission.Camera)]uses-sdk – The element is used to declare the minimum Android API Level required for the application. This element may set in the Xamarin.Android options of a Xamarin.Android project.
compatible-screens – This element is used to filter applications that do not match the screen size and density specified by this element. Most applications should not use this filter. It is intended for specific high performance games or applications that required strict controls on application distribution. The
<support-screen>attribute mentioned above is preferred.supports-gl-texture – This element is used to declare GL texture compression formations that the application requires. Most applications should not use this filter. It is intended for specific high performance games or applications that required strict controls on application distribution.
For more information about configuring the app manifest, see the Android App Manifest topic.


