Issue Microsoft Entra Verified ID credentials from an application
In this tutorial, you run a sample application from your local computer that connects to your Microsoft Entra tenant. Using the application, you're going to issue and verify a verified credential expert card.
In this article, you learn how to:
- Create the verified credential expert card in Azure.
- Gather credentials and environment details to set up the sample application.
- Download the sample application code to your local computer.
- Update the sample application with your verified credential expert card and environment details.
- Run the sample application and issue your first verified credential expert card.
- Verify your verified credential expert card.
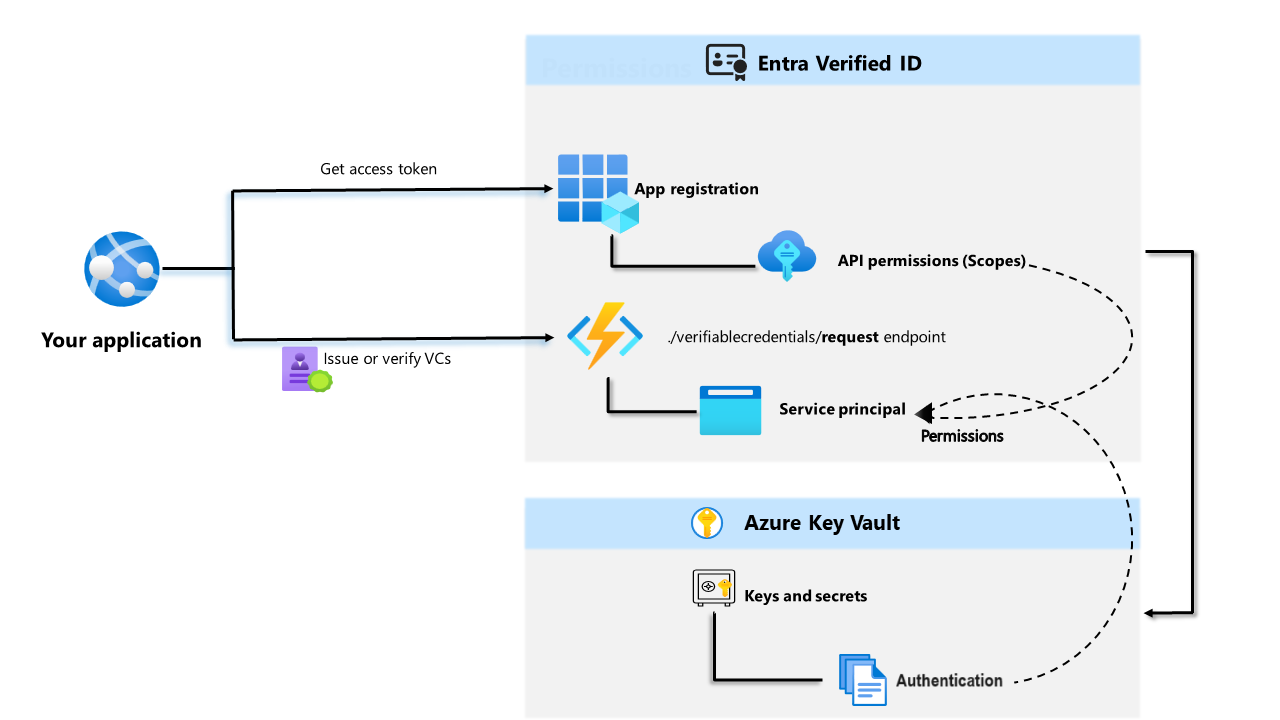
The following diagram illustrates the Microsoft Entra Verified ID architecture and the component you configure.
Prerequisites
- Set up a tenant for Microsoft Entra Verified ID.
- To clone the repository that hosts the sample app, install GIT.
- Visual Studio Code, Visual Studio or similar code editor.
- .NET 7.0.
- Download ngrok and sign up for a free account. If you can't use
ngrokin your organization, read this FAQ. - A mobile device with the latest version of Microsoft Authenticator.
Create the verified credential expert card in Azure
In this step, you create the verified credential expert card by using Microsoft Entra Verified ID. After you create the credential, your Microsoft Entra tenant can issue it to users who initiate the process.
Sign in to the Microsoft Entra admin center with the Authentication Policy Administrator role.
Select Verifiable credentials.
After you set up your tenant, the Create credential should appear. Alternatively, you can select Credentials in the left hand menu and select + Add a credential.
In Create credential, select Custom Credential and select Next:
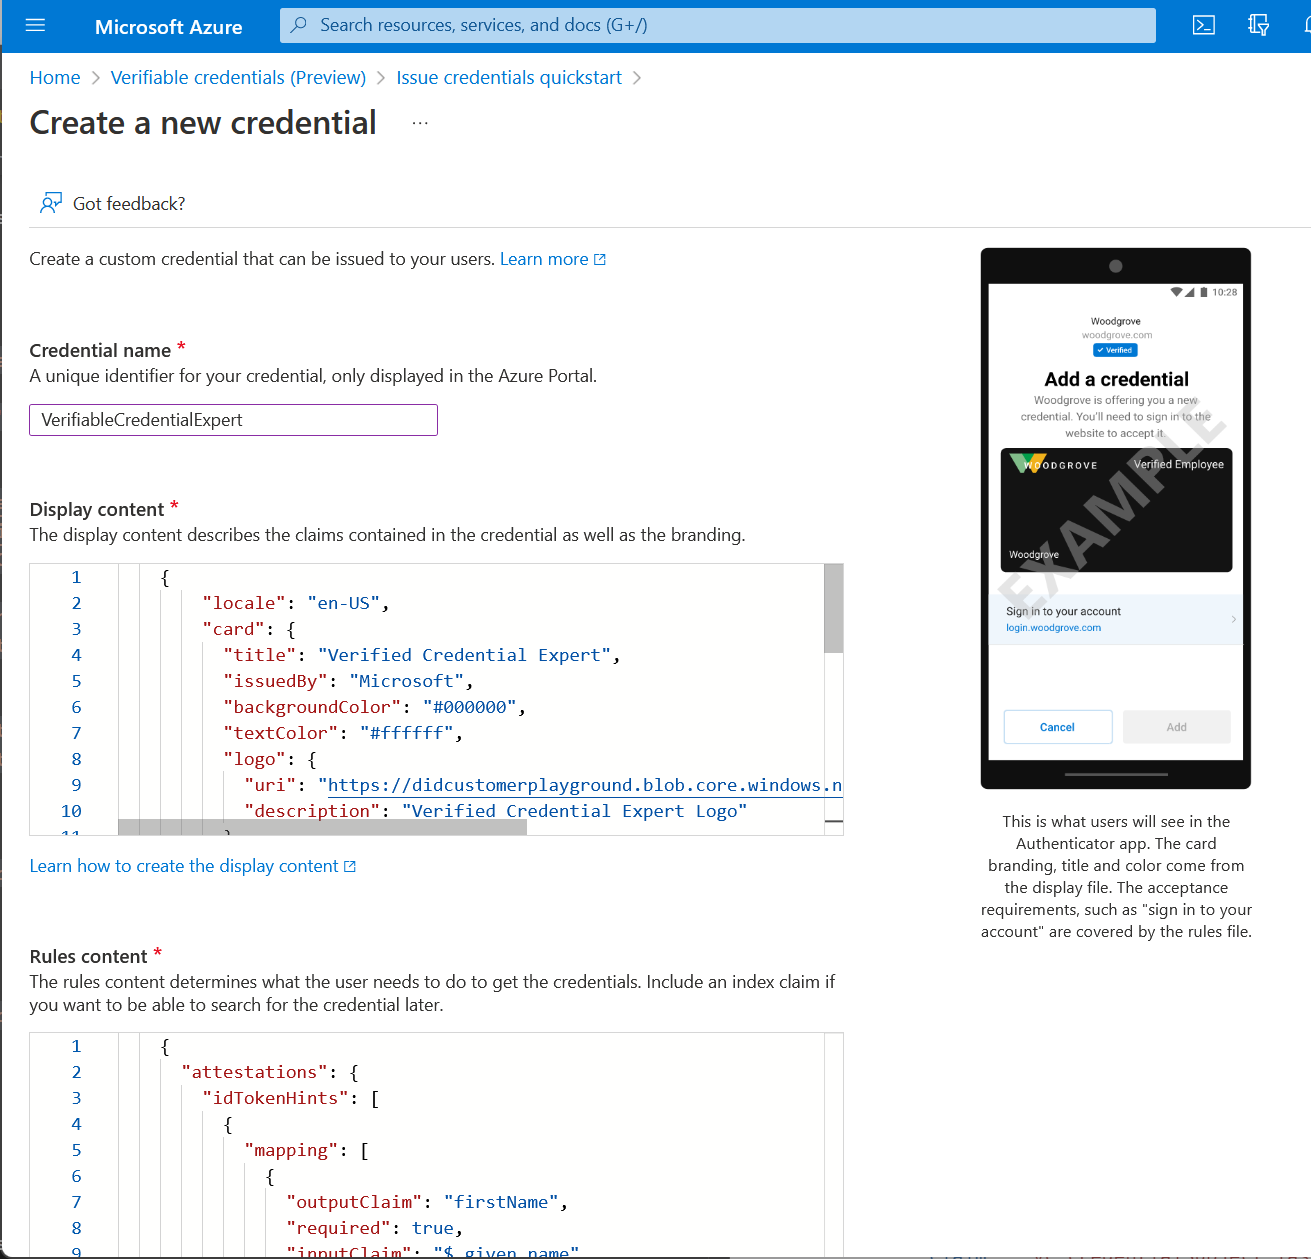
For Credential name, enter VerifiedCredentialExpert. This name is used in the portal to identify your verifiable credentials. It's included as part of the verifiable credentials contract.
Copy the following JSON and paste it in the Display definition textbox
{
    "locale": "en-US",
    "card": {
      "title": "Verified Credential Expert",
      "issuedBy": "Microsoft",
      "backgroundColor": "#000000",
      "textColor": "#ffffff",
      "logo": {
        "uri": "https://didcustomerplayground.z13.web.core.windows.net/VerifiedCredentialExpert_icon.png",
        "description": "Verified Credential Expert Logo"
      },
      "description": "Use your verified credential to prove to anyone that you know all about verifiable credentials."
    },
    "consent": {
      "title": "Do you want to get your Verified Credential?",
      "instructions": "Sign in with your account to get your card."
    },
    "claims": [
      {
        "claim": "vc.credentialSubject.firstName",
        "label": "First name",
        "type": "String"
      },
      {
        "claim": "vc.credentialSubject.lastName",
        "label": "Last name",
        "type": "String"
      }
    ]
}
Copy the following JSON and paste it in the Rules definition textbox
{
  "attestations": {
    "idTokenHints": [
      {
        "mapping": [
          {
            "outputClaim": "firstName",
            "required": true,
            "inputClaim": "$.given_name",
            "indexed": false
          },
          {
            "outputClaim": "lastName",
            "required": true,
            "inputClaim": "$.family_name",
            "indexed": true
          }
        ],
        "required": false
      }
    ]
  },
  "validityInterval": 2592000,
  "vc": {
    "type": [
      "VerifiedCredentialExpert"
    ]
  }
}
Select Create.
The following screenshot demonstrates how to create a new credential:
Gather credentials and environment details
Now that you have a new credential, you're going to gather some information about your environment and the credential that you created. You use these pieces of information when you set up your sample application.
In Verifiable Credentials, select Issue credential.
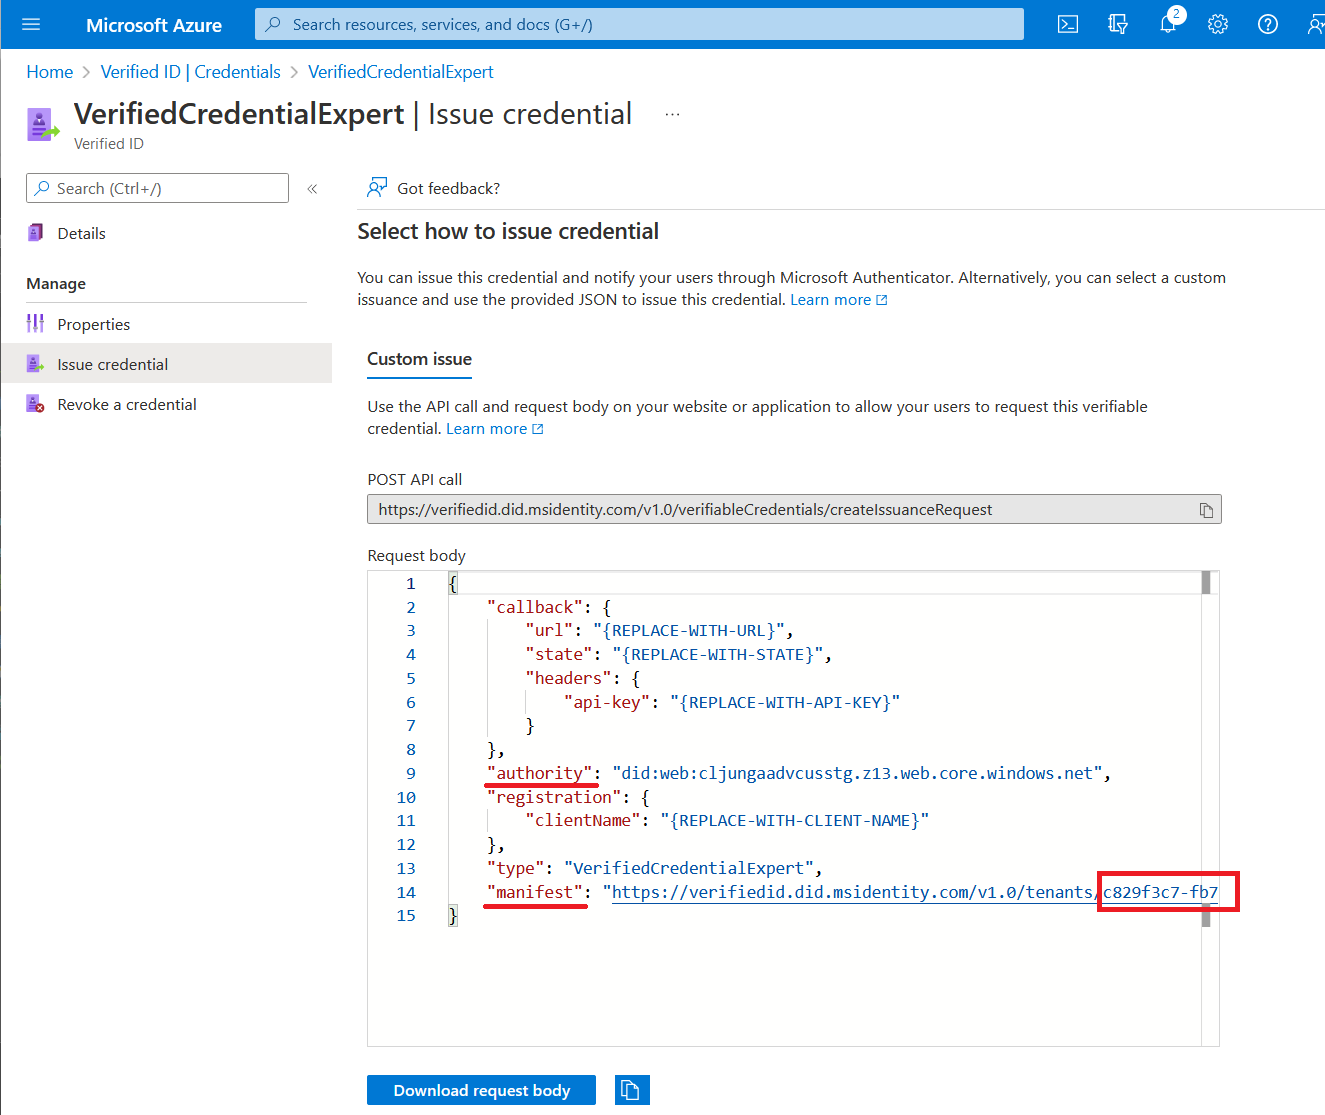
Copy the authority, which is the Decentralized Identifier, and record it for later.
Copy the manifest URL. It's the URL that Authenticator evaluates before it displays to the user verifiable credential issuance requirements. Record it for later use.
Copy your Tenant ID, and record it for later. The Tenant ID is the guid in the manifest URL highlighted in red above.
Download the sample code
The sample application is available in .NET, and the code is maintained in a GitHub repository. Download the sample code from GitHub, or clone the repository to your local machine:
git clone https://github.com/Azure-Samples/active-directory-verifiable-credentials-dotnet.git
Configure the verifiable credentials app
Create a client secret for the registered application that you created. The sample application uses the client secret to prove its identity when it requests tokens.
Sign in to the Microsoft Entra admin center with appropriate administrator permissions.
Select Microsoft Entra ID.
Go to Applications > App registrations page.
Select the verifiable-credentials-app application you created earlier.
Select the name to go into the registration details.
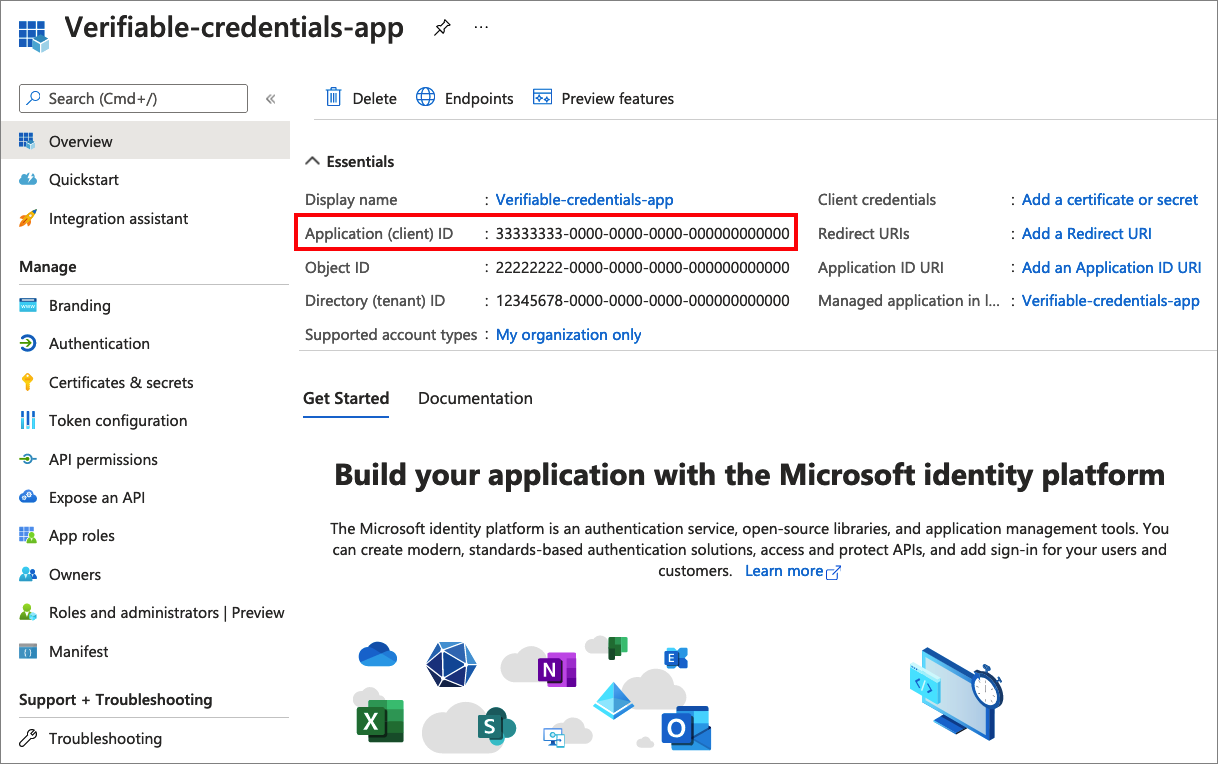
Copy the Application (client) ID, and store it for later.
From the main menu, under Manage, select Certificates & secrets.
Select New client secret, and do the following:
In Description, enter a description for the client secret (for example, vc-sample-secret).
Under Expires, select a duration for which the secret is valid (for example, six months). Then select Add.
Record the secret's Value. You'll use this value for configuration in a later step. The secret’s value won't be displayed again, and isn't retrievable by any other means. Record it as soon as it's visible.
At this point, you should have all the required information that you need to set up your sample application.
Update the sample application
Now you make modifications to the sample app's issuer code to update it with your verifiable credential URL. This step allows you to issue verifiable credentials by using your own tenant.
Under the active-directory-verifiable-credentials-dotnet-main folder, open Visual Studio Code, and select the project inside the 1-asp-net-core-api-idtokenhint folder.
Under the project root folder, open the appsettings.json file. This file contains information about your Microsoft Entra Verified ID environment. Update the following properties with the information that you recorded in earlier steps:
- Tenant ID: your tenant ID
- Client ID: your client ID
- Client Secret: your client secret
- DidAuthority: Your Decentralized Identifier
- Credential Manifest: Your manifest URL
CredentialType is only needed for presentation, so if all you want to do is issuance, it strictly isn't needed.
Save the appsettings.json file.
The following JSON demonstrates a complete appsettings.json file:
{
  "VerifiedID": {
    "Endpoint": "https://verifiedid.did.msidentity.com/v1.0/verifiableCredentials/",
    "VCServiceScope": "3db474b9-6a0c-4840-96ac-1fceb342124f/.default",
    "Instance": "https://login.microsoftonline.com/",
    "TenantId": "aaaabbbb-0000-cccc-1111-dddd2222eeee",
    "ClientId": "00001111-aaaa-2222-bbbb-3333cccc4444",
    "ClientSecret": "123456789012345678901234567890",
    "CertificateName": "[Or instead of client secret: Enter here the name of a certificate (from the user cert store) as registered with your application]",
    "DidAuthority": "did:web:...your-decentralized-identifier...",
    "CredentialType": "VerifiedCredentialExpert",
    "CredentialManifest":  "https://verifiedid.did.msidentity.com/v1.0/00001111-aaaa-2222-bbbb-3333cccc4444/verifiableCredentials/contracts/VerifiedCredentialExpert"
  }
}
Issue your first verified credential expert card
Now you're ready to issue your first verified credential expert card by running the sample application.
From Visual Studio Code, run the Verifiable_credentials_DotNet project. Or, from your operating system's command line, run:
cd active-directory-verifiable-credentials-dotnet\1-asp-net-core-api-idtokenhint
dotnet build "AspNetCoreVerifiableCredentials.csproj" -c Debug -o .\bin\Debug\net6.
dotnet run
In another command prompt window, run the following command. This command runs ngrok to set up a URL on 5000, and make it publicly available on the internet.
ngrok http 5000Note
On some computers, you might need to run the command in this format:
./ngrok http 5000.Open the HTTPS URL generated by ngrok.

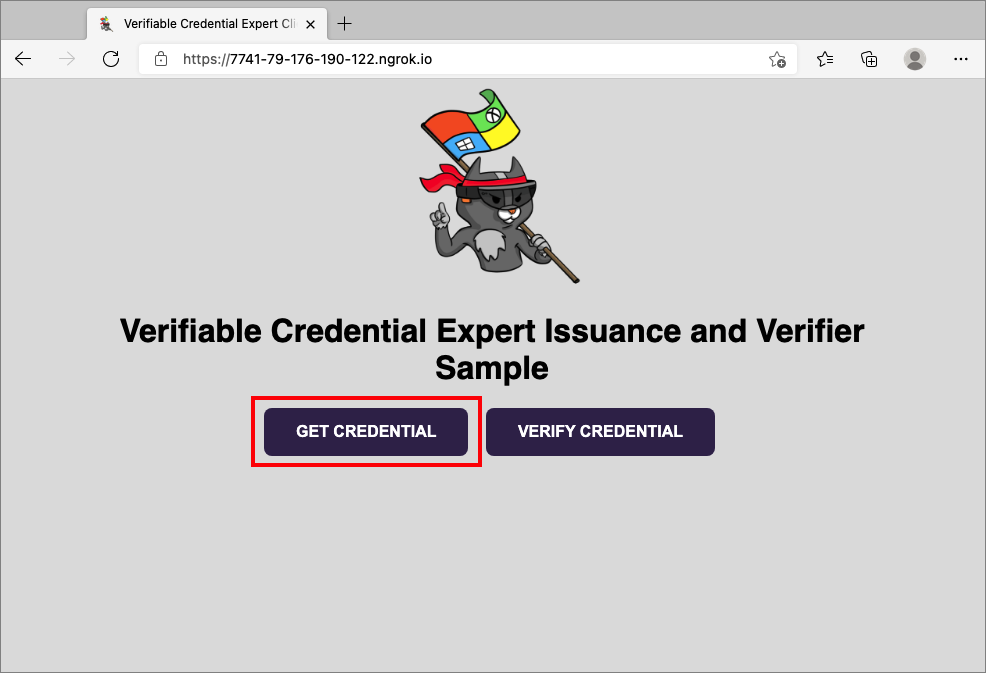
From a web browser, select Get Credential.
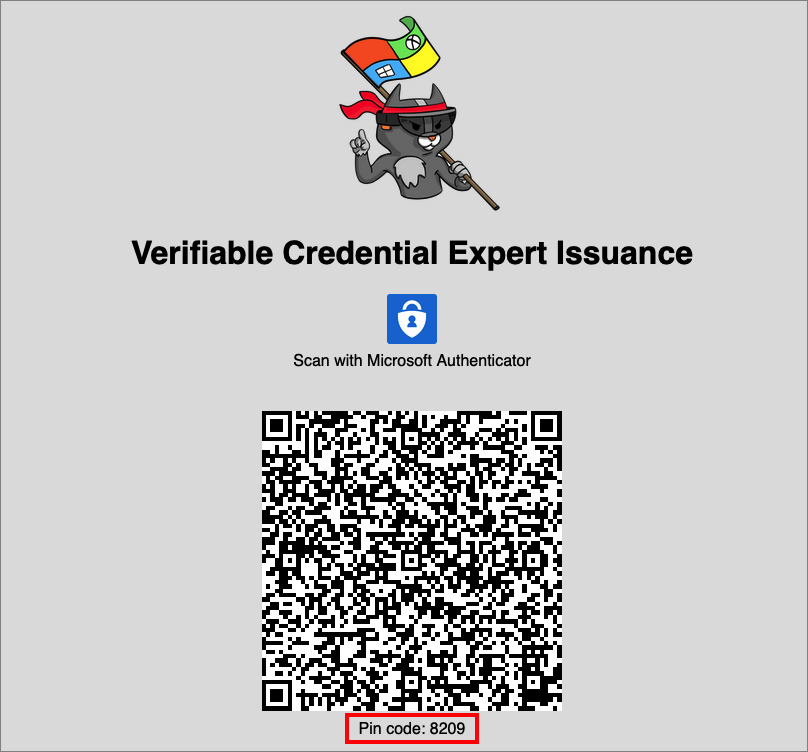
Using your mobile device, scan the QR code with the Authenticator app. For more info on scanning the QR code, see the FAQ section.
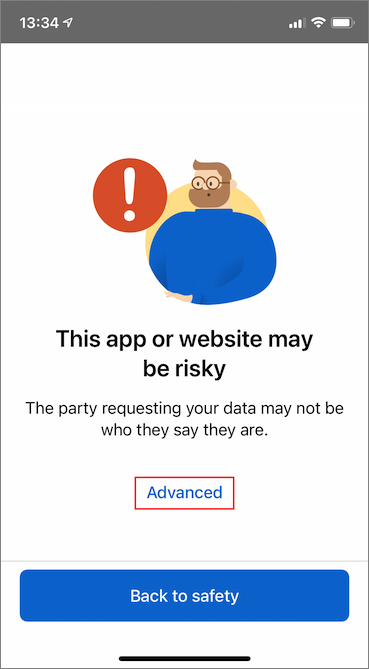
At this time, you see a message warning that this app or website might be risky. Select Advanced.
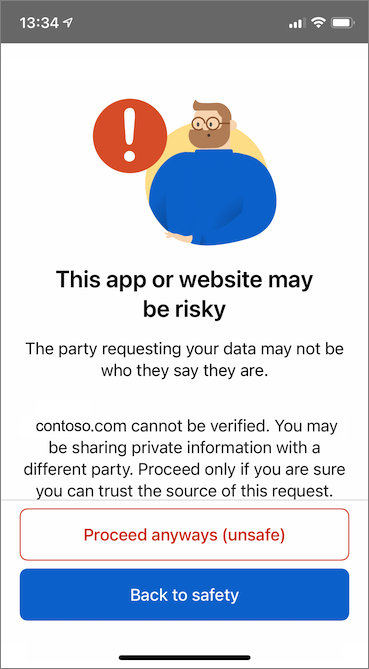
At the risky website warning, select Proceed anyways (unsafe). You're seeing this warning because your domain isn't linked to your decentralized identifier (DID). To verify your domain, follow Link your domain to your decentralized identifier (DID). For this tutorial, you can skip the domain registration, and select Proceed anyways (unsafe).
You are prompted to enter a PIN code that is displayed in the screen where you scanned the QR code. The PIN adds an extra layer of protection to the issuance. The PIN code is randomly generated every time an issuance QR code is displayed.
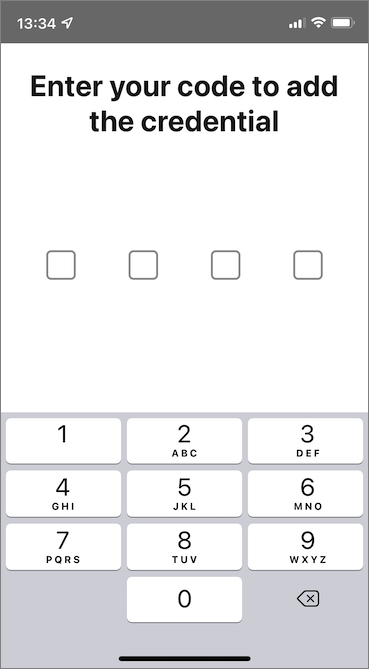
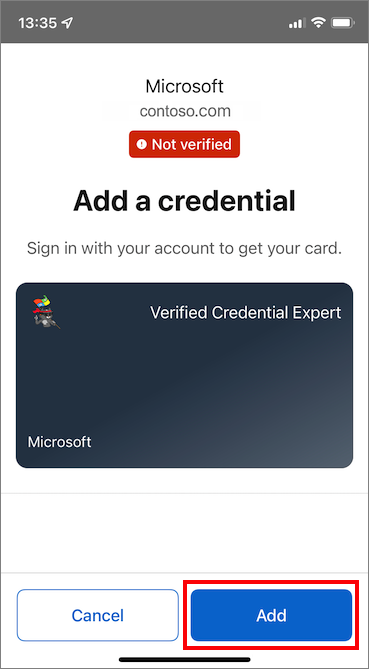
After you enter the PIN number, the Add a credential screen appears. At the top of the screen, you see a Not verified message (in red). This warning is related to the domain validation warning mentioned earlier.
Select Add to accept your new verifiable credential.
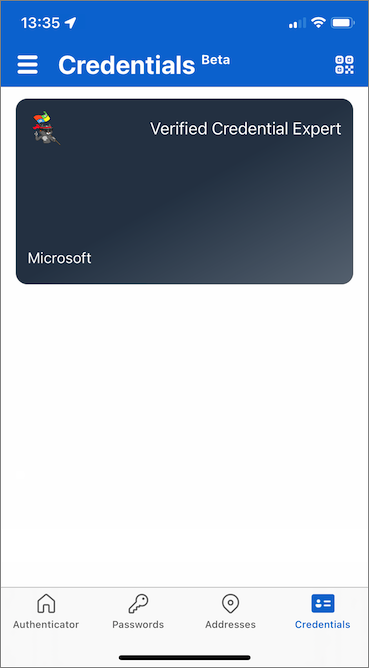
Congratulations! You now have a verified credential expert verifiable credential.
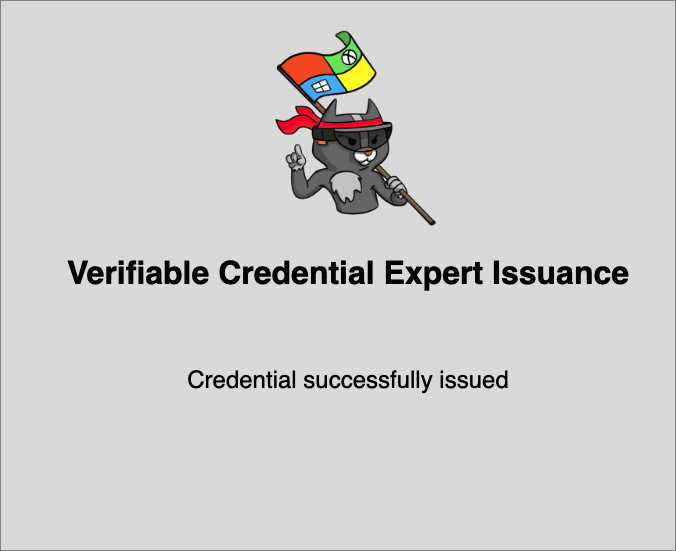
Go back to the sample app. It shows you that a credential successfully issued.
Verifiable credential names
Your verifiable credential contains Megan Bowen for the first name and last name values in the credential. These values were hardcoded in the sample application, and were added to the verifiable credential at the time of issuance in the payload.
In real scenarios, your application pulls the user details from an identity provider. The following code snippet shows where the name is set in the sample application.
//file: IssuerController.cs
[HttpGet("/api/issuer/issuance-request")]
public async Task<ActionResult> issuanceRequest()
  {
    ...
    // Here you could change the payload manifest and change the first name and last name.
    payload["claims"]["given_name"] = "Megan";
    payload["claims"]["family_name"] = "Bowen";
    ...
}
Next steps
In the next step, learn how a third-party application, also known as a relying party application, can verify your credentials with its own Microsoft Entra tenant verifiable credentials API service.