Deploy Microsoft Cloud for Healthcare solutions powered by Dynamics 365
Organization administrators can use this article to deploy Microsoft Cloud for Healthcare solutions powered by Dynamics 365. At the end of this deployment process, one or more of the following healthcare solutions or apps are installed in your environment:
- Care management
- Data integration toolkit
- Unified patient view
- Unified member view
- Provider data model
- Payor data model
During the deployment process, you can configure more capabilities.
Important
Effective January 30, 2025, the following solutions will be retired and no longer supported:
- Patient insight cards
- Healthcare database templates
- Device data support in care management (preview)
- Patient population dashboard (preview)
- Healthcare data pipeline template
The following solutions won't be available for deployment via the Microsoft Cloud Solution Center. However, support will continue for existing customers.
- Patient access (and access portal)
- Home health
- Patient outreach - Outbound marketing and Patient outreach - Journeys
- Patient service center
For guidance on alternative implementations and customizing your healthcare platform to address different scenarios and specific requirements, see Build custom healthcare solutions using healthcare data solutions in Power Platform.
Have questions? Reach out to us at Microsoft Cloud for Healthcare.
Prerequisites
You must be a Microsoft Power Platform admin or a tenant admin to deploy the Microsoft Cloud for Healthcare solutions powered by Dynamics 365.
You must have licenses for Microsoft Cloud for Healthcare and various Dynamics 365 apps, which depends on the solution to be deployed. If you're missing any licenses, you're notified during the deployment process. More information: Licensing
Learn more in Compliance in Microsoft Cloud for Healthcare and ensure you use services that match your requirements.
Step 1: Prepare environment
The Dynamics 365 healthcare solutions are deployed to a Microsoft Dataverse environment with a database.
Important
The Dynamics 365 healthcare solutions in Microsoft Cloud for Healthcare can only be deployed to a Microsoft Dataverse environment that is created in one of the following Dataverse regions: Asia, Australia, Canada, Europe, France, Germany, Great Britain, United States. The solutions are only available in the following languages: Dutch, English, French, and German.
We recommend that you select all languages that you want to make available during your first installation. If you want to enable another language after you've already installed, you'll need to contact Support.
In addition to a Dataverse environment with a database, following are the Dynamics 365 apps and Power Apps features required for deploying the healthcare solutions and capabilities:
*Dataverse, Power Apps, and Power Automate prerequisites are included in the Dynamics 365 dependency offering.
Note
Microsoft Cloud for Healthcare includes the Provider and Payor (preview) data models. You can also deploy the data models as standalone solutions to build your own application.
A Dataverse environment is a prerequisite to using the data models.
If you don't have a Dataverse environment with a database, you need to create one. Although you can choose to create a Dataverse environment while deploying a healthcare solution, we recommend you create it before installing a solution to install the prerequisite Dynamics 365 apps and solutions.
Sign in to Power Platform admin center.
Create a Dataverse environment with a database. For more information, go to Create an environment with a database.
You can access your environment by using the following URL,
https://[myenv].crm.dynamics.com, where[myenv]is the name of your environment.You can now install other dependencies, as mentioned earlier.
Step 2: Deploy healthcare solutions
To deploy healthcare solutions, use the Microsoft Cloud Solution Center.
Sign in to Microsoft Cloud Solution Center. You can also access it using one of the following options:
- Select the link in the email you received from Microsoft after buying the Microsoft Cloud for Healthcare license.
- From the Microsoft 365 admin center, select the Healthcare collection under setup and the action called Enable healthcare solutions powered by Dynamics 365.
In the Microsoft Cloud Solution Center, you can select Support in the left pane to open the Help + Support experience in the Power Platform admin center, where your organization admin can get self-help solutions in real time for their issue.
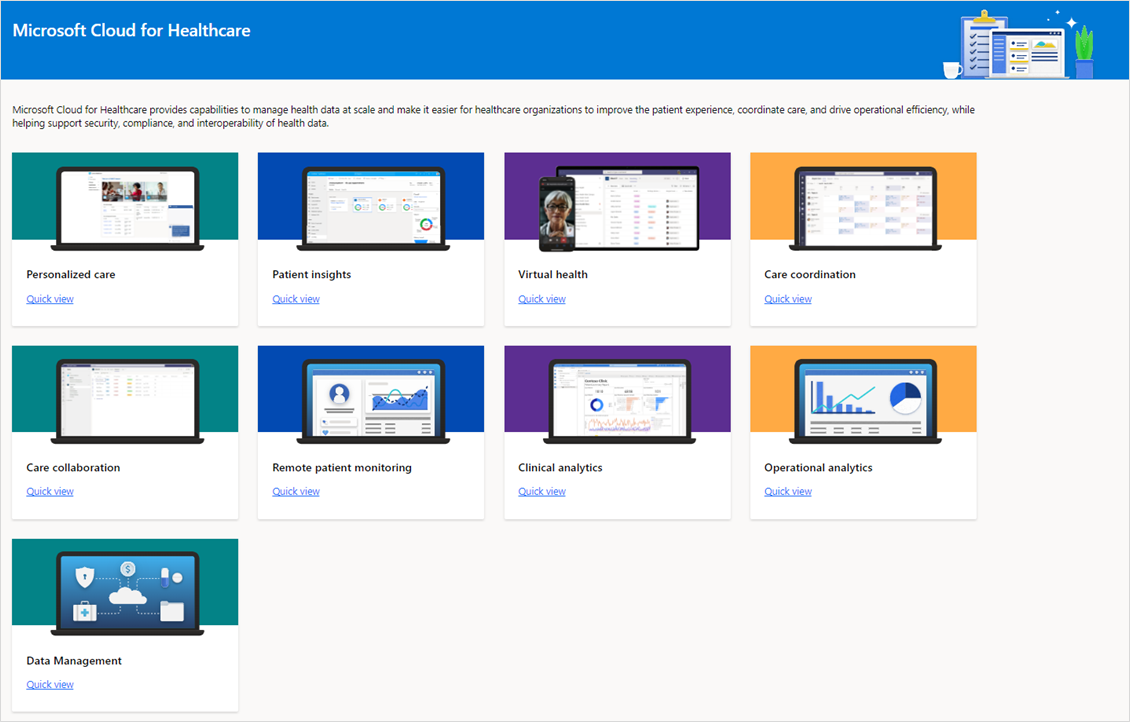
On the Home page, select the Microsoft Cloud for Healthcare tile to get started with the deployment, or you can select Solutions > Healthcare in the left pane.
On the Microsoft Cloud for Healthcare page, you can see a list of capabilities.
For each capability, you can:
- Select Quick view to learn more about the component and its dependencies.
- Select the card to view and deploy solutions.
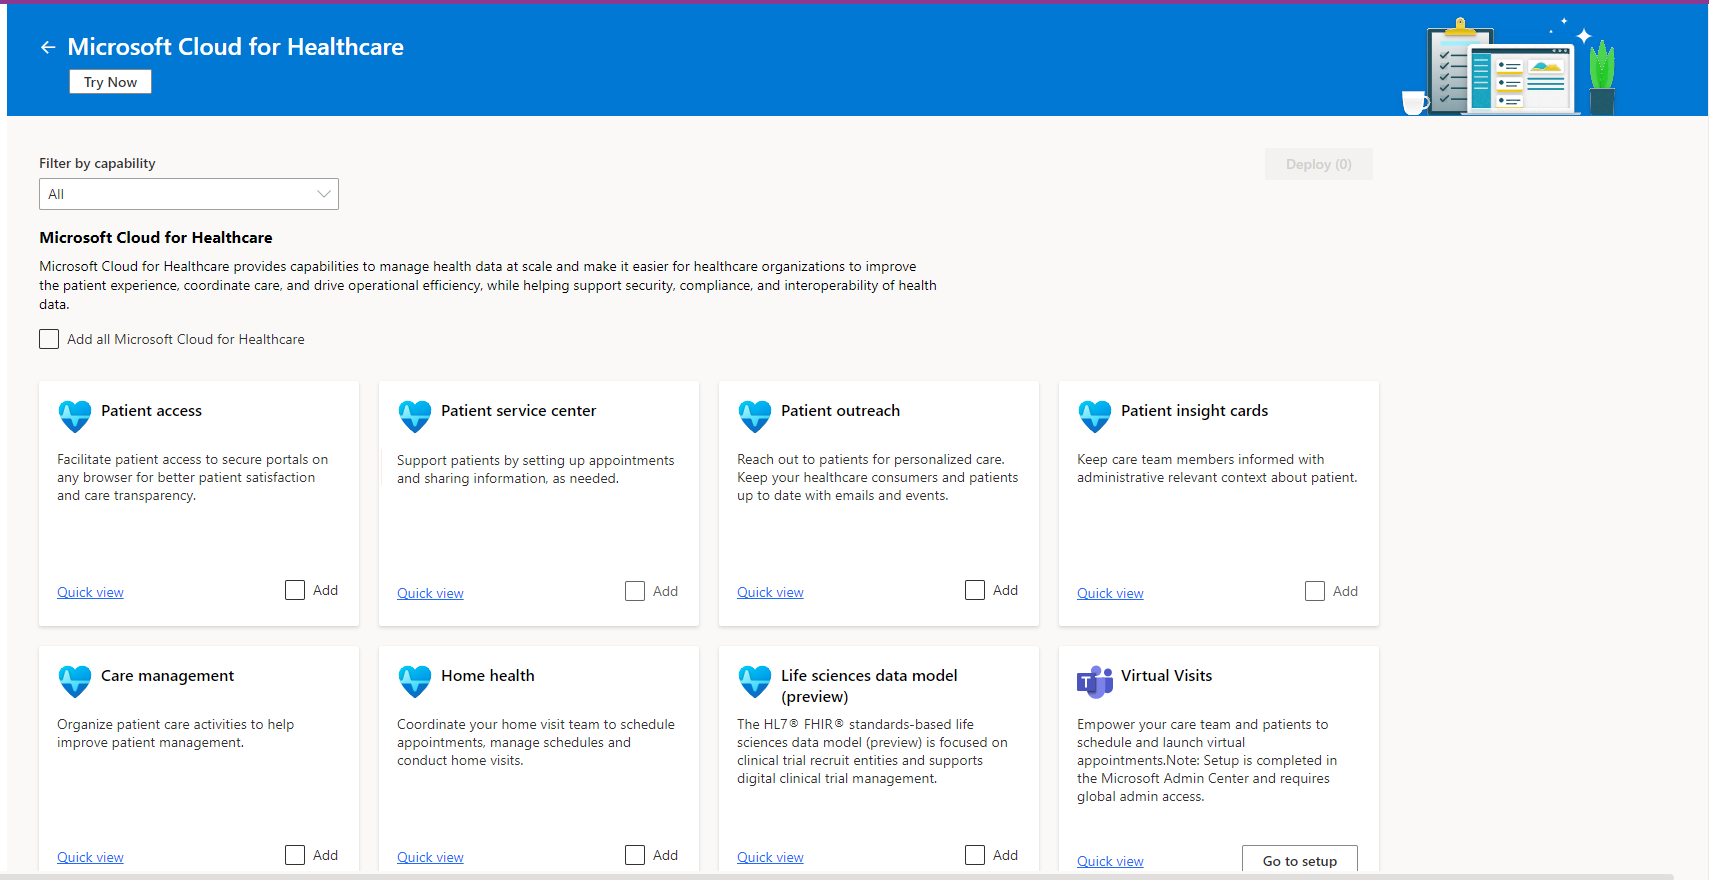
On the Healthcare solutions page, you can see a list of available solutions to deploy.
On this page, you can:
- Select All in the Filter by capability dropdown to view all available solutions.
- Select Add all Healthcare solutions to deploy all solutions.
- Select Quick view to learn more about the component and its dependencies.
- Select Add to select one or more solutions for deployment.
For Virtual visits and Azure Health Data Services, select Go to setup to visit the Microsoft 365 admin center to continue with the setup. More information: Use the Microsoft 365 admin center for setup
After selecting the required solutions to deploy, select Deploy in the upper-right corner to deploy them.
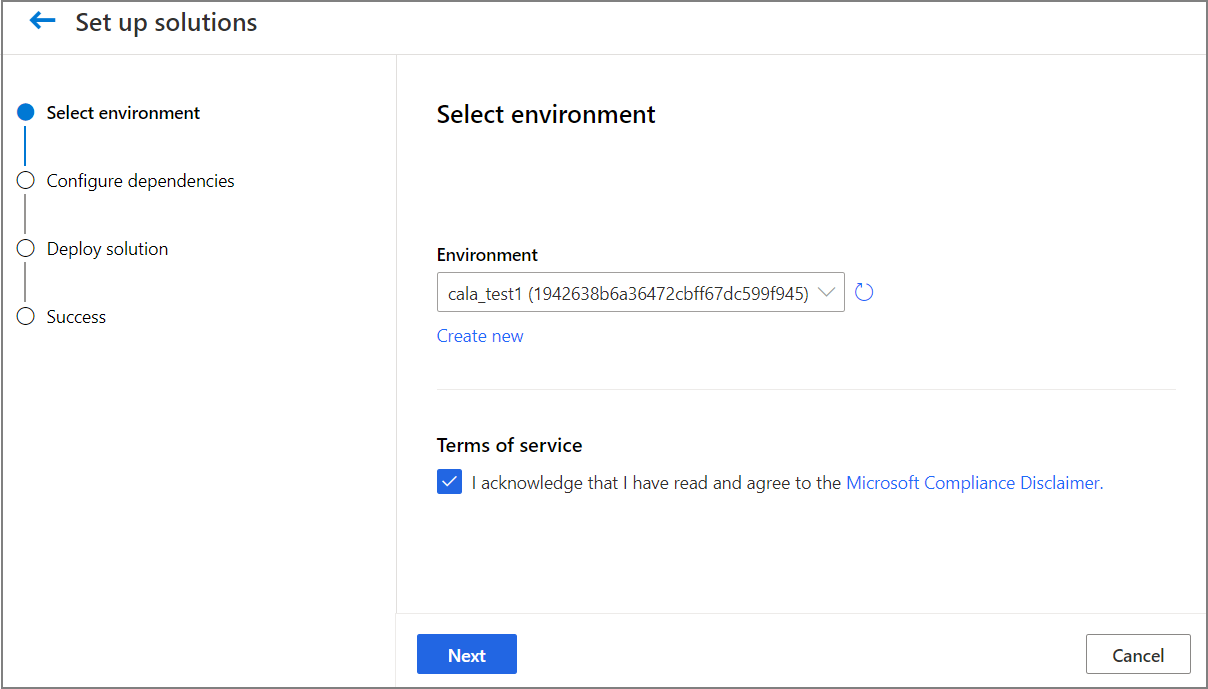
The Select destination page allows you to select the destination environment for deployment or create an environment.
- If you already created an environment, select it from the list.
- Otherwise, select Create new to create an environment using the Power Platform admin center, and then come back to the Solution Center to select it. More information: Create an environment in the Power Platform admin center
Agree to the terms of service, and then select Next.
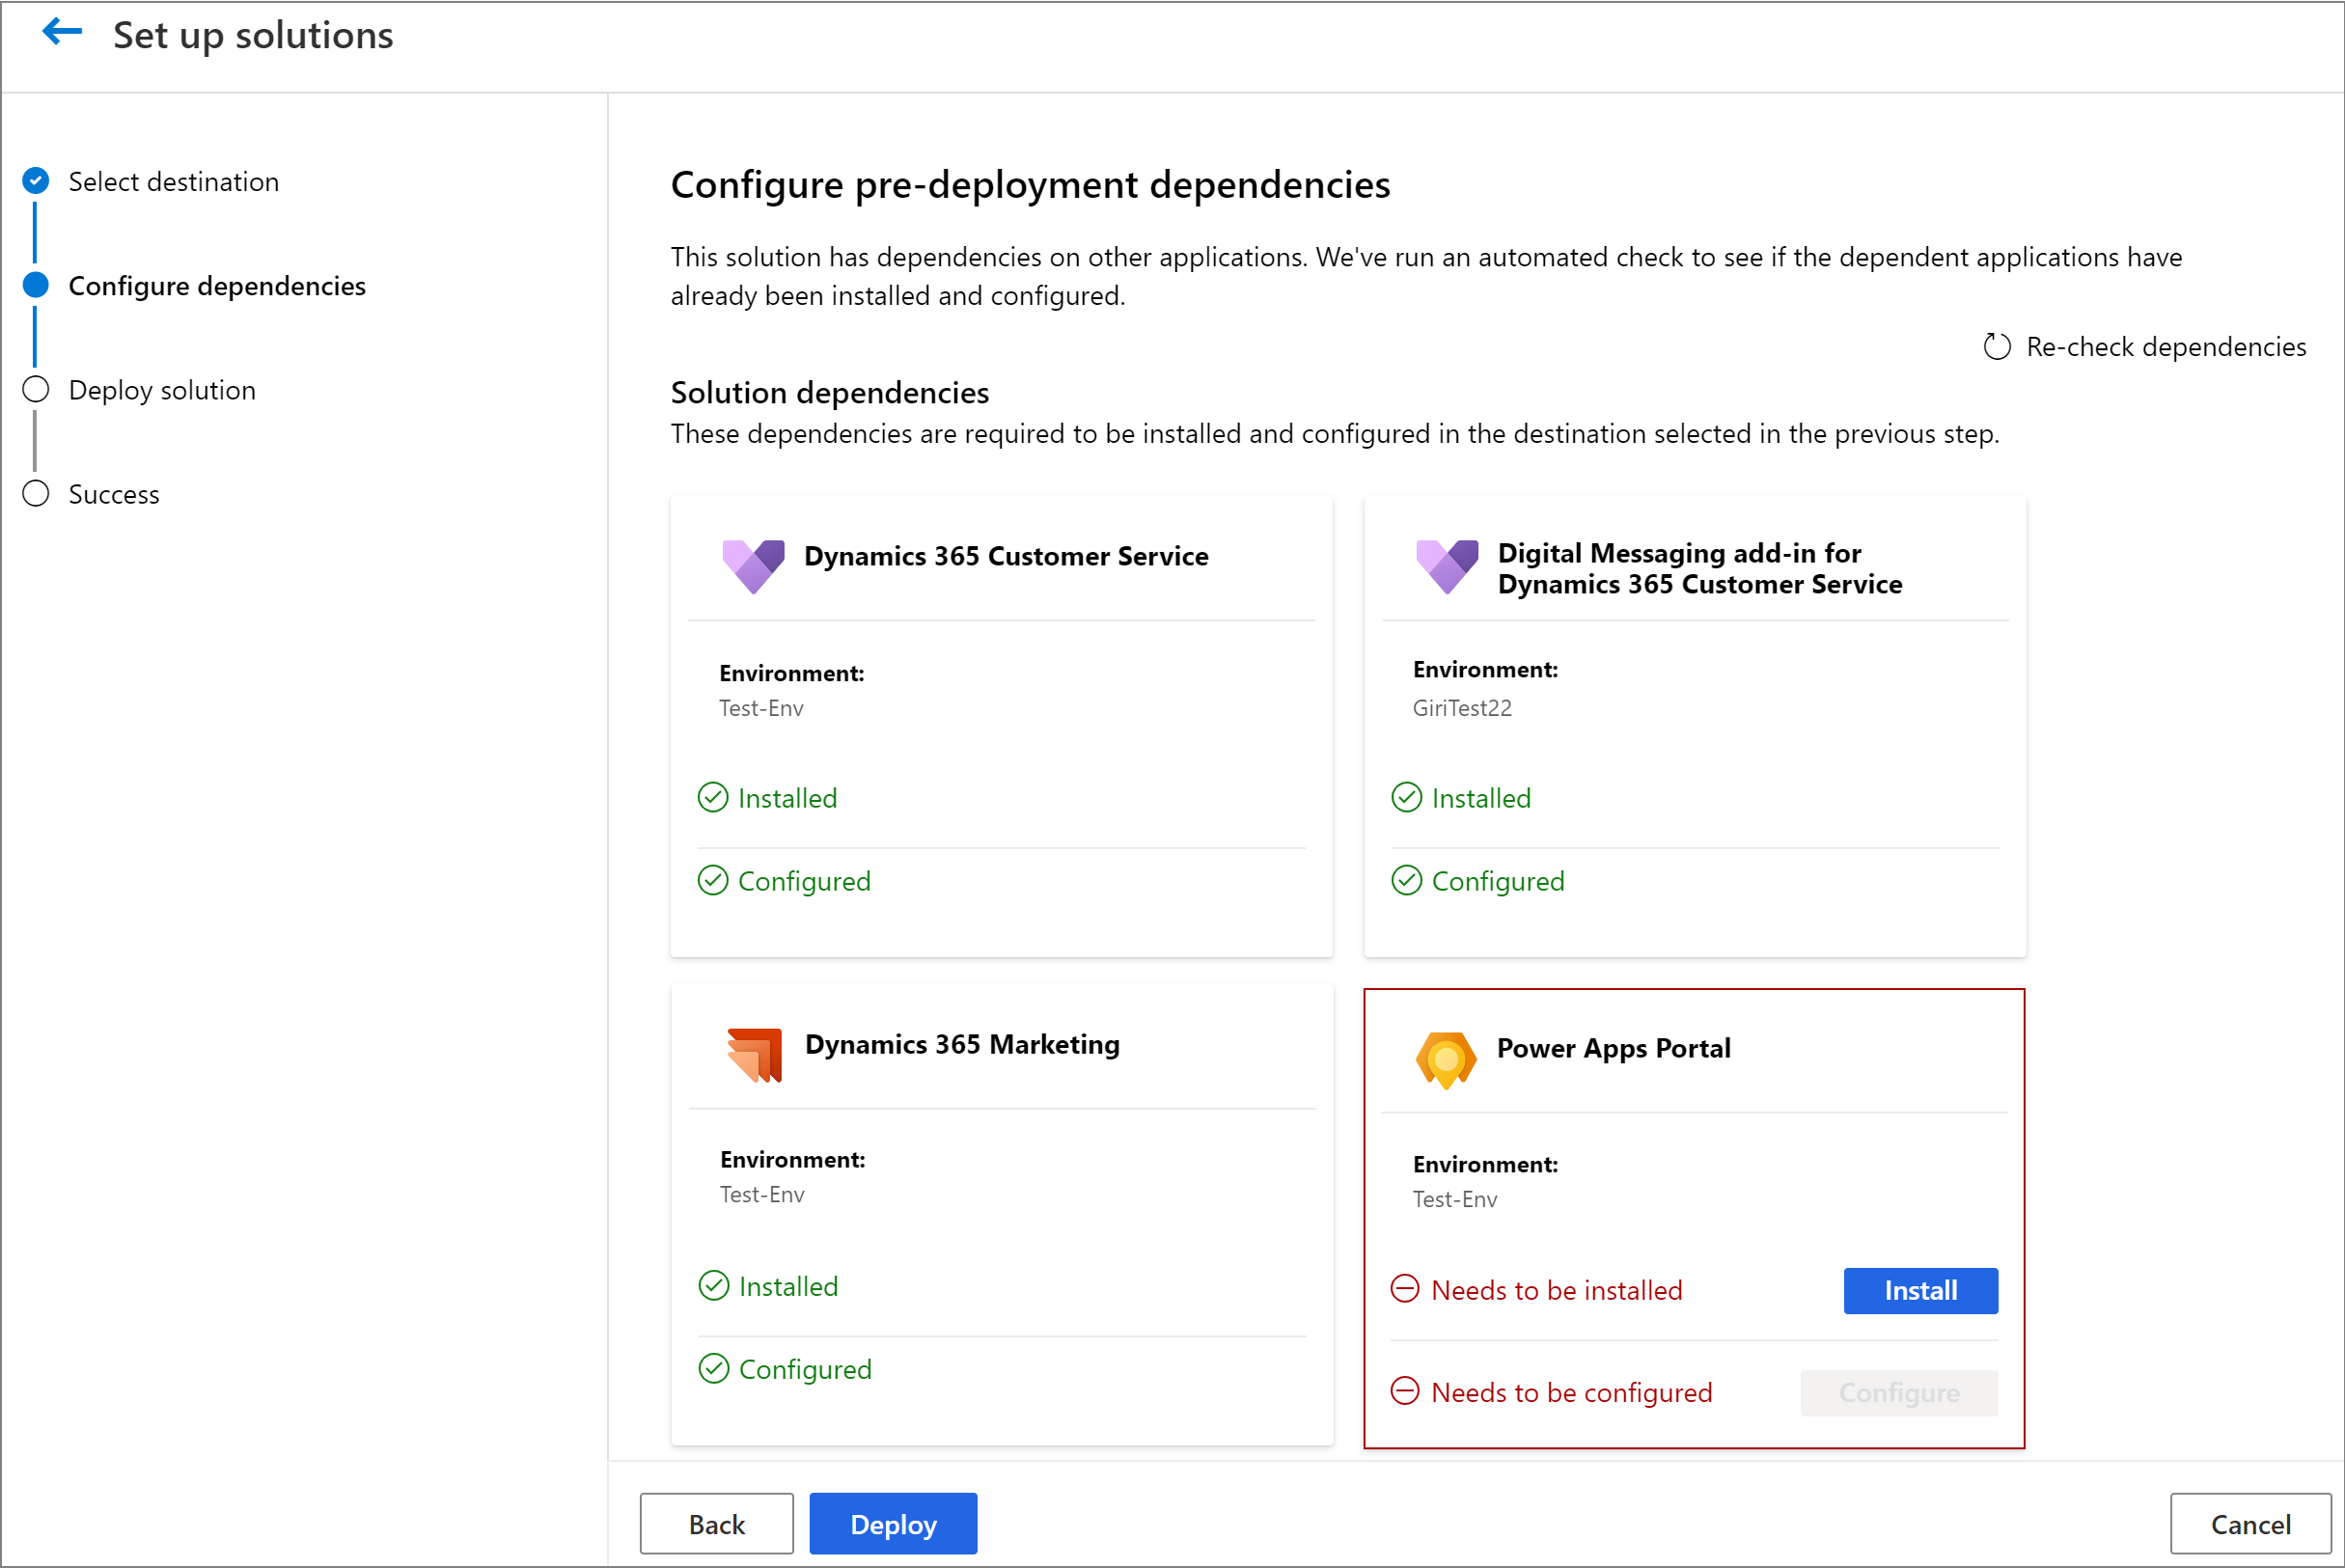
The Configure dependencies page guides you to install and configure dependencies.
Note
The dependencies list will vary for you depending on the solutions you selected to deploy in the earlier step.
Select Install or Configure for a dependency to view the documentation on how to set it up. Make sure you install the dependency in the same environment where you're running the deployment.
See Step 1 to check dependencies for each solution.
After you complete the dependency setup, return to the Microsoft Cloud Solution Center, and select Recheck dependencies to refresh the Configure dependencies page.
You now have the options to include sample content (in English only) and sample value sets for codeable concepts (in English only).
Note
Codeable concepts is a data type in HL7 FHIR to help with tracking information based on a predefined ontology. The sample includes codes for devices and conditions to be used when interacting with a patient, based on the HL7 FHIR standard. Learn more on the HL7 FHIR standard, the values used for device types and conditions
After you install and configure all the dependent apps, and any other extra components, select Deploy to continue.
Note
The solution deployment starts and will continue to run in the background. Depending on the solutions you have selected to install, it might take a while for them to be deployed in your environment. You will receive a notification through email when the deployment has been completed successfully.
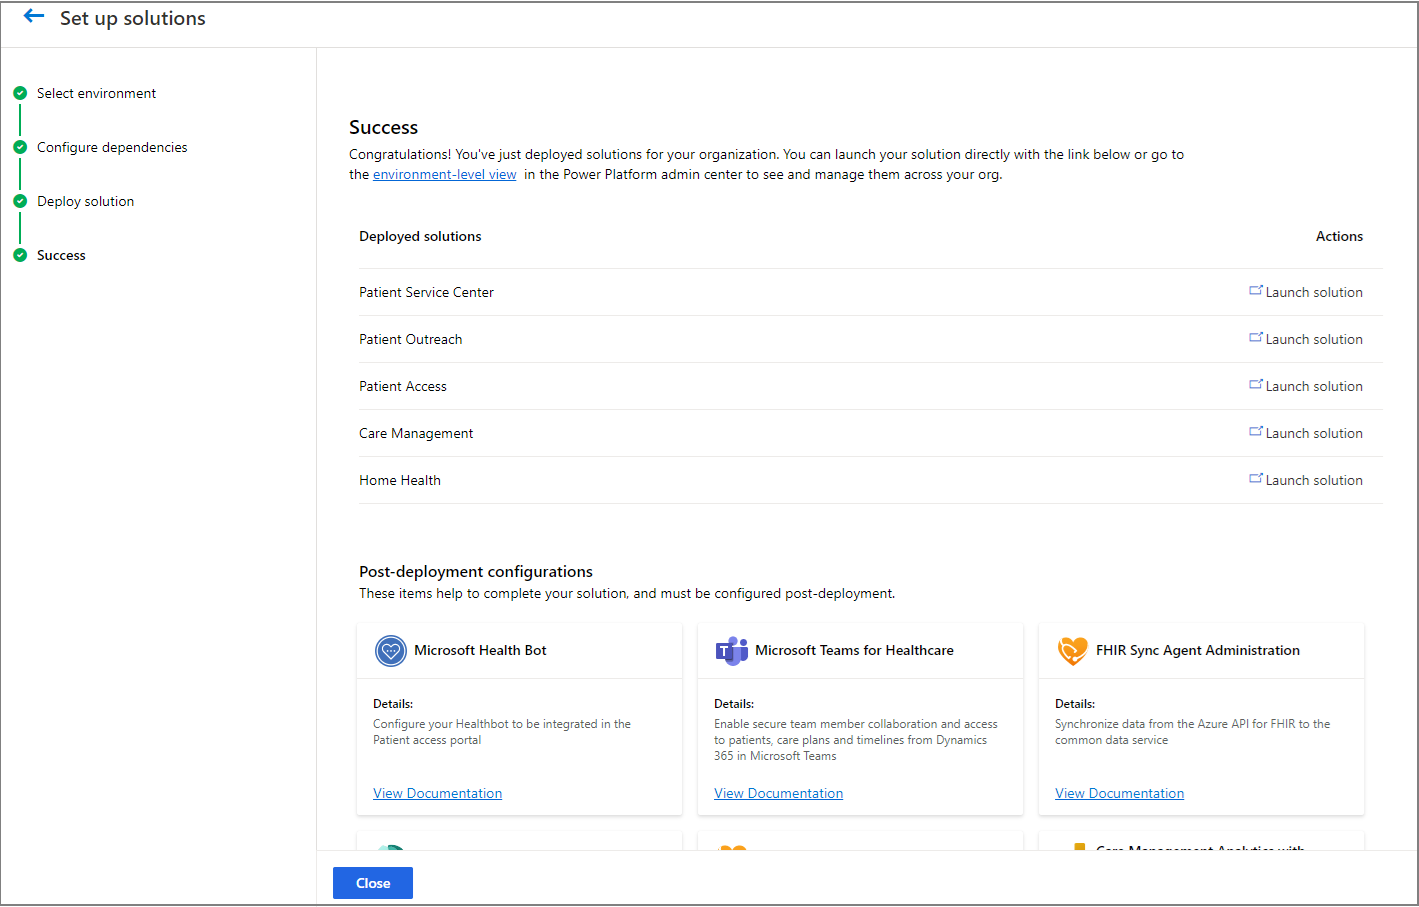
After the deployment is complete, links are available in the Microsoft Cloud Solution Center to launch your solution. There might be some extra steps to finish configuring your solution. Select the View documentation link to learn more about post-deployment configuration or explore our ecosystem for other health applications.
For information about post-deployment configuration for each solution, go to Post-deployment configuration for healthcare solutions.
Step 3: Add users and assign security role
To access the healthcare apps you deployed, users in your organization must be assigned the Healthcare User role and other appropriate security roles.
Sign in to the Power Platform admin center.
Select your environment by clicking the environment name, and then select See all under Users.
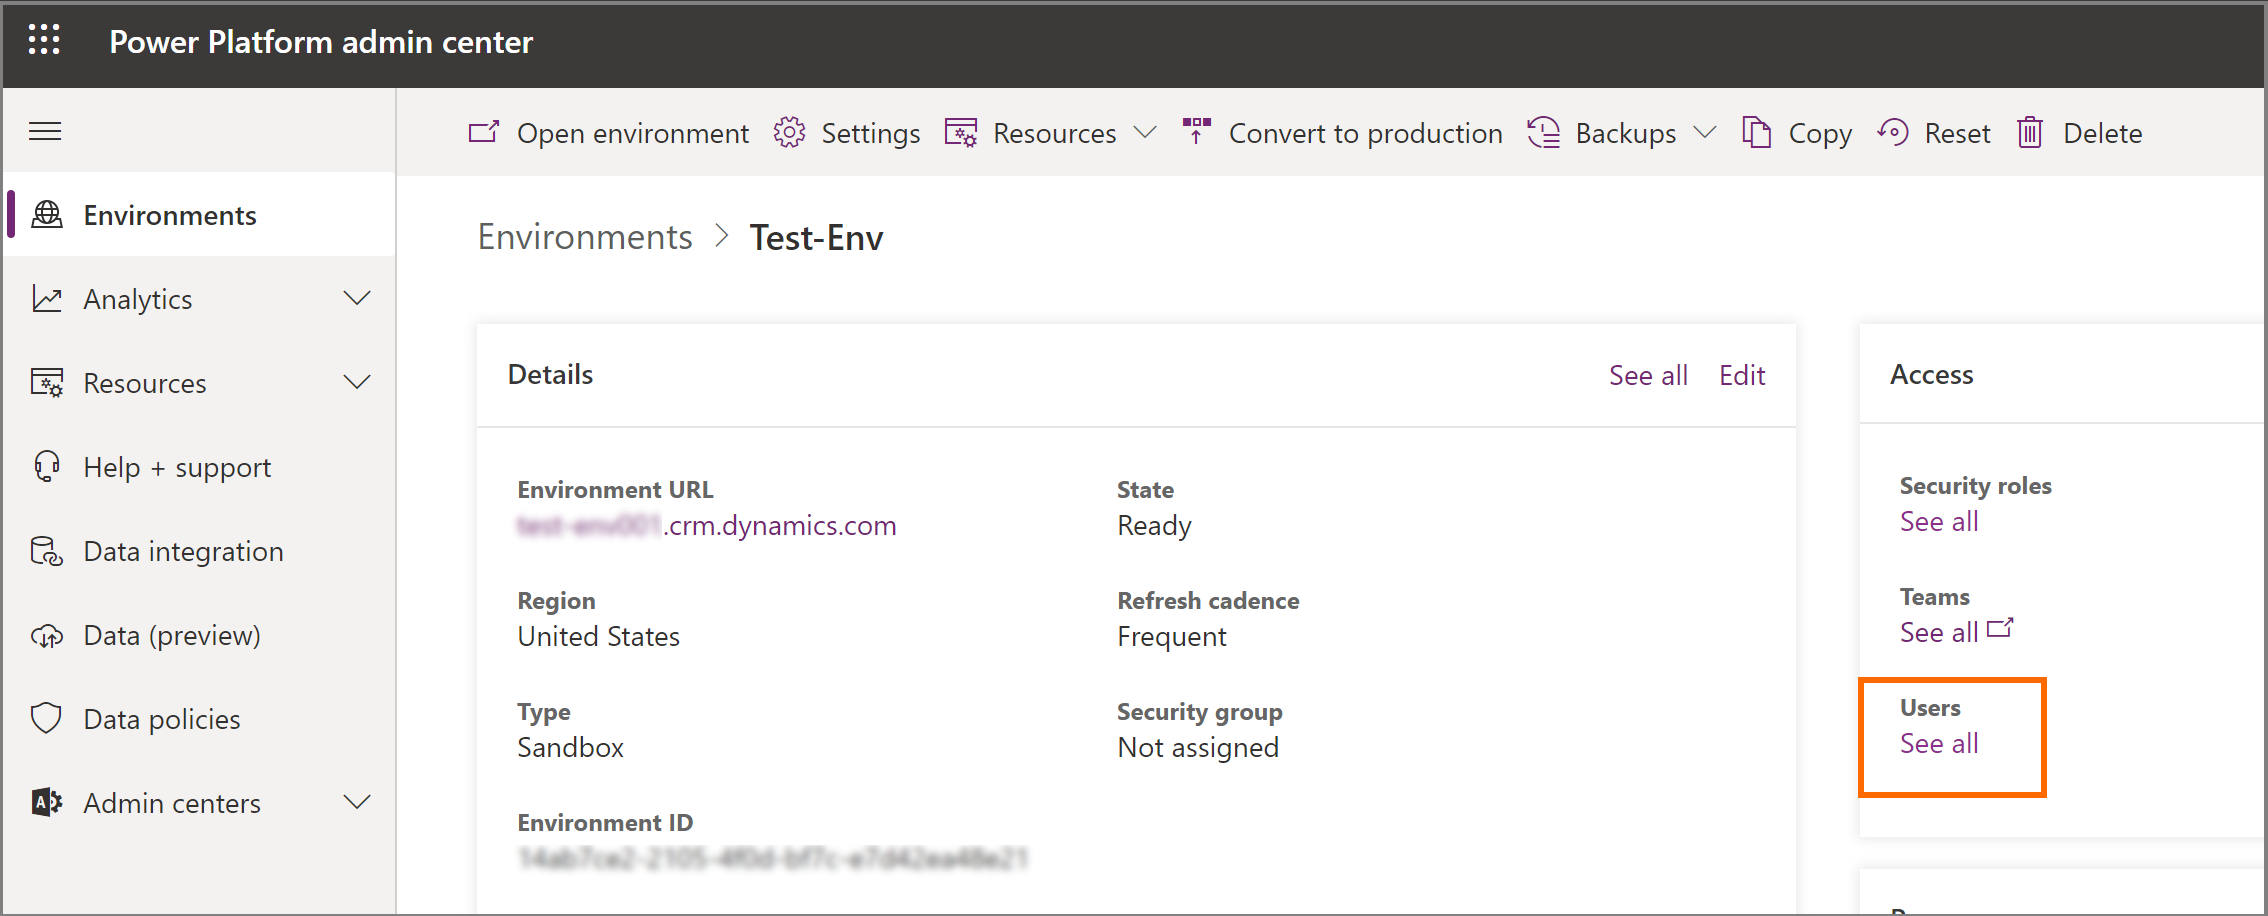
On the Users page, add users to your environment and assign them the Healthcare User security role. More information: Add users to an environment
Also, depending on the solution you deployed, you have to assign more security roles to your user to access the individual apps. The roles Healthcare User and Healthcare Non-Clinical User provide access to different forms and tables. For more information, go to Configure unified patient view.
Solution Security role Care management Basic User
Healthcare User or Healthcare Non-Clinical User
Healthcare care plan template administrator (when using care plans)
Sync admin for FHIR Healthcare User (when using the Data integration toolkit or any of its components)Care Team Member Field Service – Resource
Healthcare User or Healthcare Non-Clinical User
Sync admin for FHIR Healthcare User (when using the Data integration toolkit or any of its components)Data integration toolkit See Data integration toolkit security roles
