Configure P2S User VPN clients: certificate authentication - OpenVPN client - iOS
This article helps you connect to your Azure virtual network (VNet) using Virtual WAN User VPN point-to-site (P2S) and Certificate authentication on iOS using an OpenVPN client.
Prerequisites
This article assumes that you've already performed the following prerequisites:
- You completed the necessary configuration steps in the Tutorial: Create a P2S User VPN connection using Azure Virtual WAN.
- You generated and downloaded the VPN client configuration files. The VPN client configuration files that you generate are specific to the Virtual WAN User VPN profile that you download. Virtual WAN has two different types of configuration profiles: WAN-level (global), and hub-level. For more information, see Download global and hub VPN profiles. If there are any changes to the P2S VPN configuration after you generate the files, or you change to a different profile type, you need to generate new VPN client configuration files and apply the new configuration to all of the VPN clients that you want to connect.
- You have acquired the necessary certificates. You can either generate client certificates, or acquire the appropriate client certificates necessary for authentication. Make sure you have both the client certificate and the root server certificate information.
Connection requirements
To connect to Azure using the OpenVPN client using certificate authentication, each connecting client requires the following items:
- The Open VPN Client software must be installed and configured on each client.
- The client must have a client certificate that's installed locally.
About certificates
For certificate authentication, you must install a client certificate on each client computer that you want to connect to the VPN gateway. The client certificate you want to use must be exported with the private key, and must contain all certificates in the certification path. Additionally, for some configurations, you'll also need to install root certificate information.
The OpenVPN client in this article uses certificates exported with a .pfx format. You can export a client certificate easily to this format using the Windows instructions. See Generate and export certificates for User VPN connections. If you don't have a Windows computer, as a workaround, you can use a small Windows VM to export certificates to the needed .pfx format.
Generate client certificates
For certificate authentication, you must install a client certificate on each connecting client computer. The client certificate you want to use must be exported with the private key, and must contain all certificates in the certification path.
For information about working with certificates, see Generate and export certificates.
Configure the OpenVPN client
The following example uses OpenVPN Connect from the App Store.
Important
Only iOS 11.0 and above is supported with OpenVPN protocol.
Note
OpenVPN Client version 2.6 is not yet supported.
Install the OpenVPN client (version 2.4 or higher) from the App Store. Version 2.6 is not yet supported.
If you haven't already done so, download the VPN client profile package from the Azure portal.
Unzip the profile. Open the vpnconfig.ovpn configuration file from the OpenVPN folder in a text editor.
Fill in the P2S client certificate section with the P2S client certificate public key in base64. In a PEM formatted certificate, you can open the .cer file and copy over the base64 key between the certificate headers.
Fill in the private key section with the P2S client certificate private key in base64. See Export your private key on the OpenVPN site for information about how to extract a private key.
Don't change any other fields.
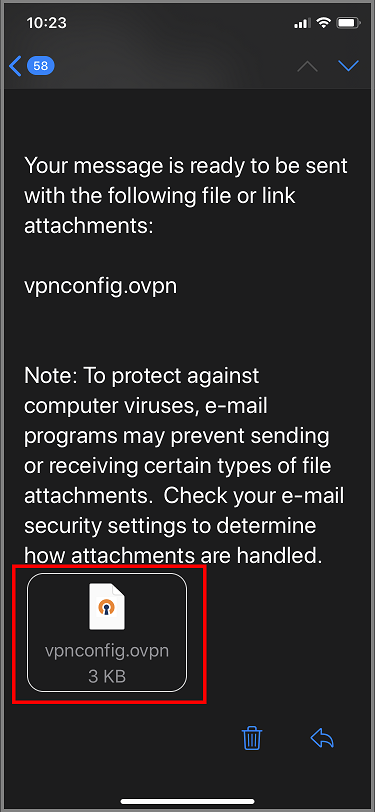
E-mail the profile file (.ovpn) to your email account that is configured in the mail app on your iPhone.
Open the e-mail in the mail app on the iPhone, and tap the attached file.
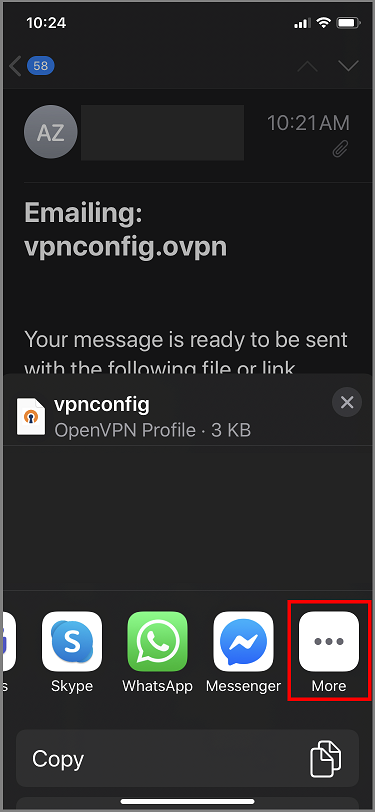
Tap More if you don't see Copy to OpenVPN option.
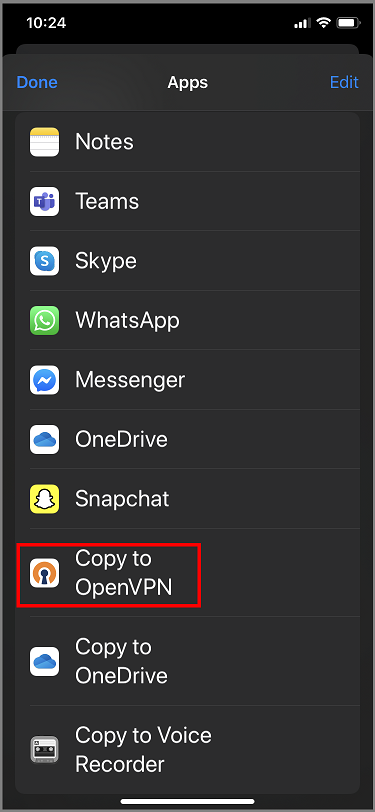
Tap Copy to OpenVPN.
Tap on ADD in the Import Profile page
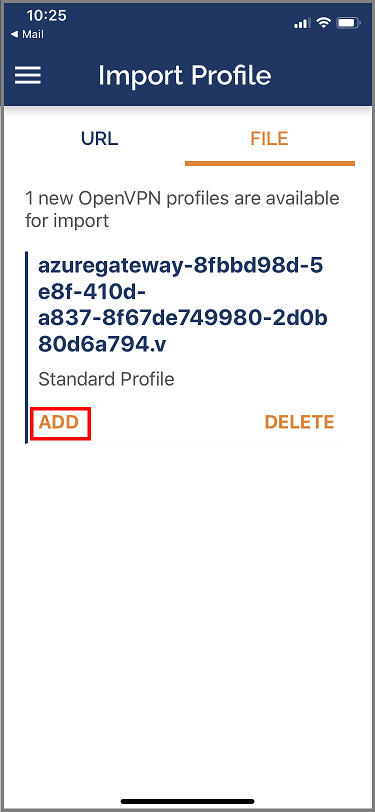
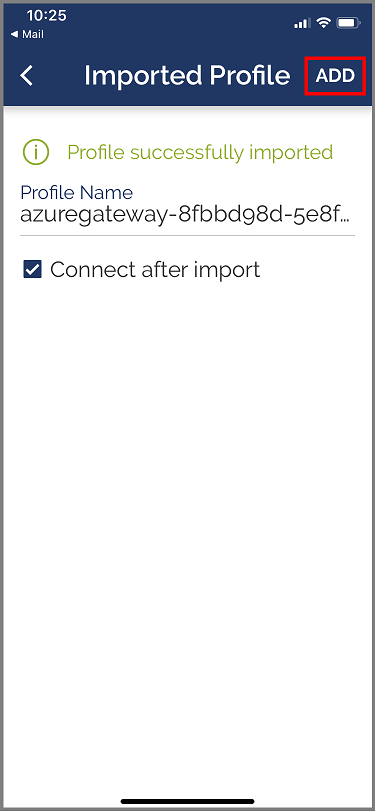
Tap on ADD in the Imported Profile page
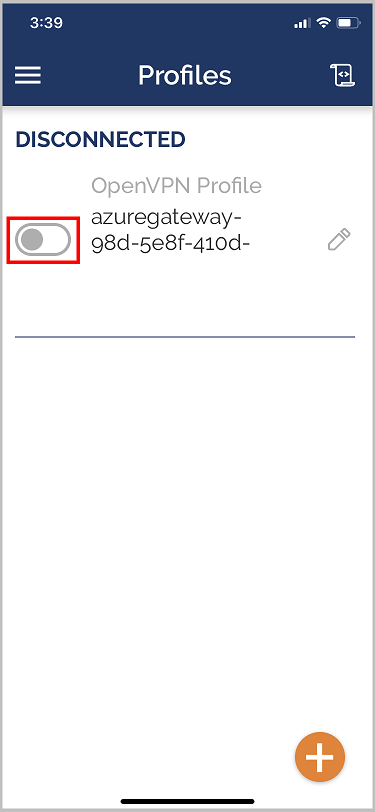
Launch the OpenVPN app and slide the switch in the Profile page right to connect


Next steps
Follow up with any additional server or connection settings. See Tutorial: Create a P2S User VPN connection using Azure Virtual WAN.