Manage software environments in Azure Machine Learning studio
This article explains how to create and manage Azure Machine Learning environments in the Azure Machine Learning studio. Use the environments to track and reproduce your projects' software dependencies as they evolve.
The examples in this article show how to:
- Browse curated environments.
- Create an environment and specify package dependencies.
- Edit an existing environment specification and its properties.
- Rebuild an environment and view image build logs.
For a high-level overview of environments, see What are Azure Machine Learning environments? For more information, see How to set up a development environment for Azure Machine Learning.
Prerequisites
- An Azure subscription. If you don't have an Azure subscription, create a free account.
- An Azure Machine Learning workspace.
Browse curated environments
Curated environments contain collections of Python packages and are available in your workspace by default. These environments are backed by cached Docker images, which reduce the job preparation cost and support training and inferencing scenarios.
Select an environment to see detailed information about its contents. For more information, see Azure Machine Learning curated environments.
Create an environment
To create an environment:
- Open your workspace in Azure Machine Learning studio.
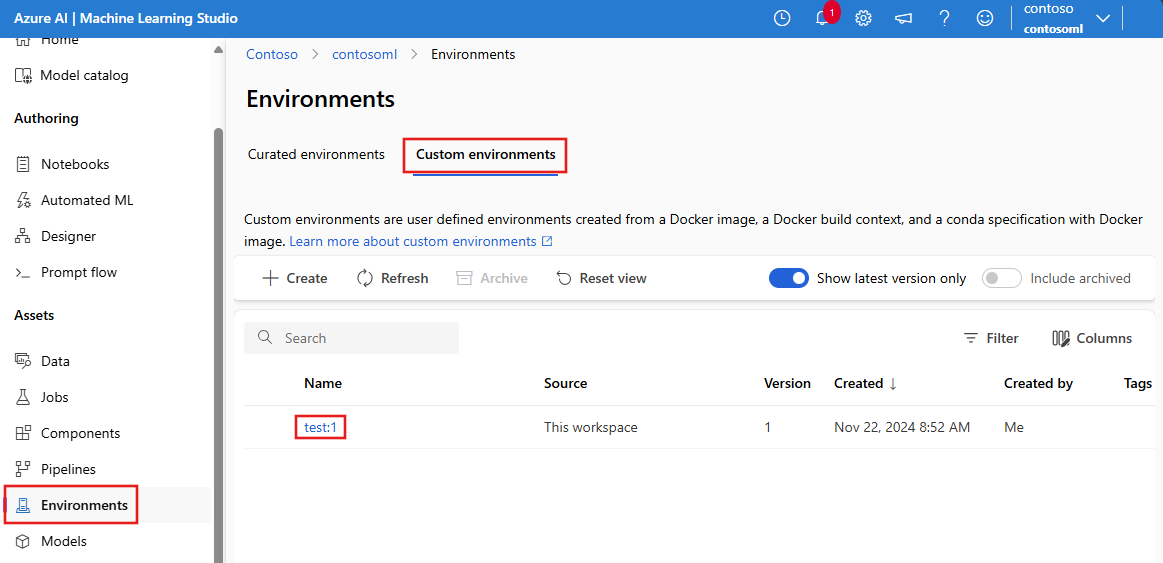
- On the left side, select Environments.
- Select the Custom environments tab.
- Select the Create button.
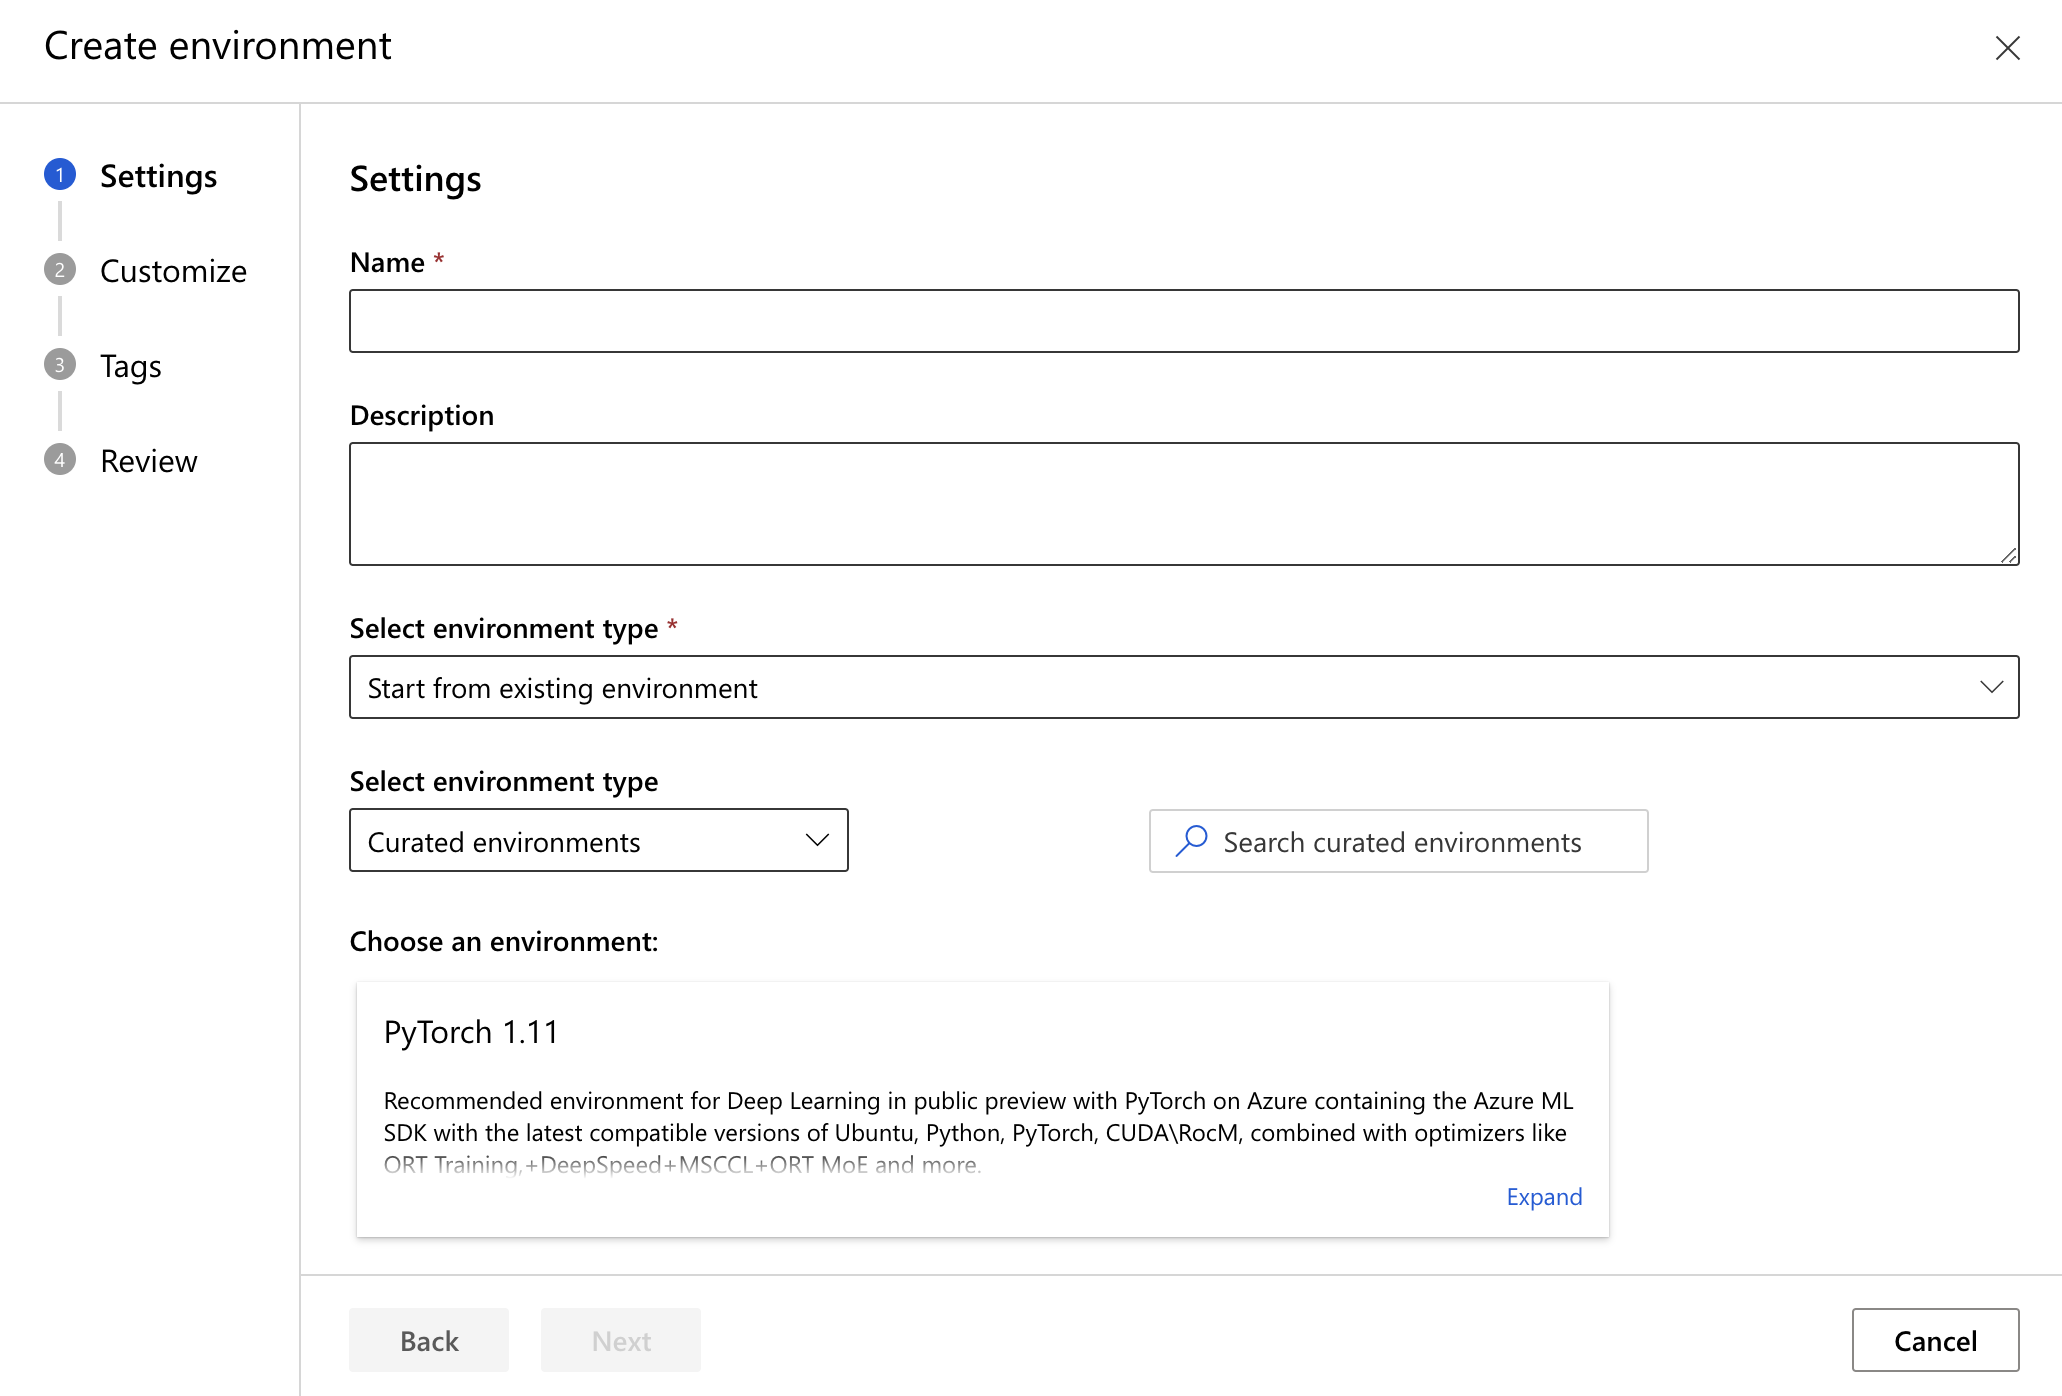
Select one of the following options:
- Create a new docker context.
- Start from an existing environment.
- Upload an existing docker context.
- Use existing docker image with optional conda file.

You can customize the configuration file, add tags and descriptions, and review the properties before creating the entity.
If a new environment is given the same name as an existing environment in the workspace, a new version of the existing one is created.
View and edit environment details
Once an environment has been created, view its details by selecting the Name from the Custom environments tab.
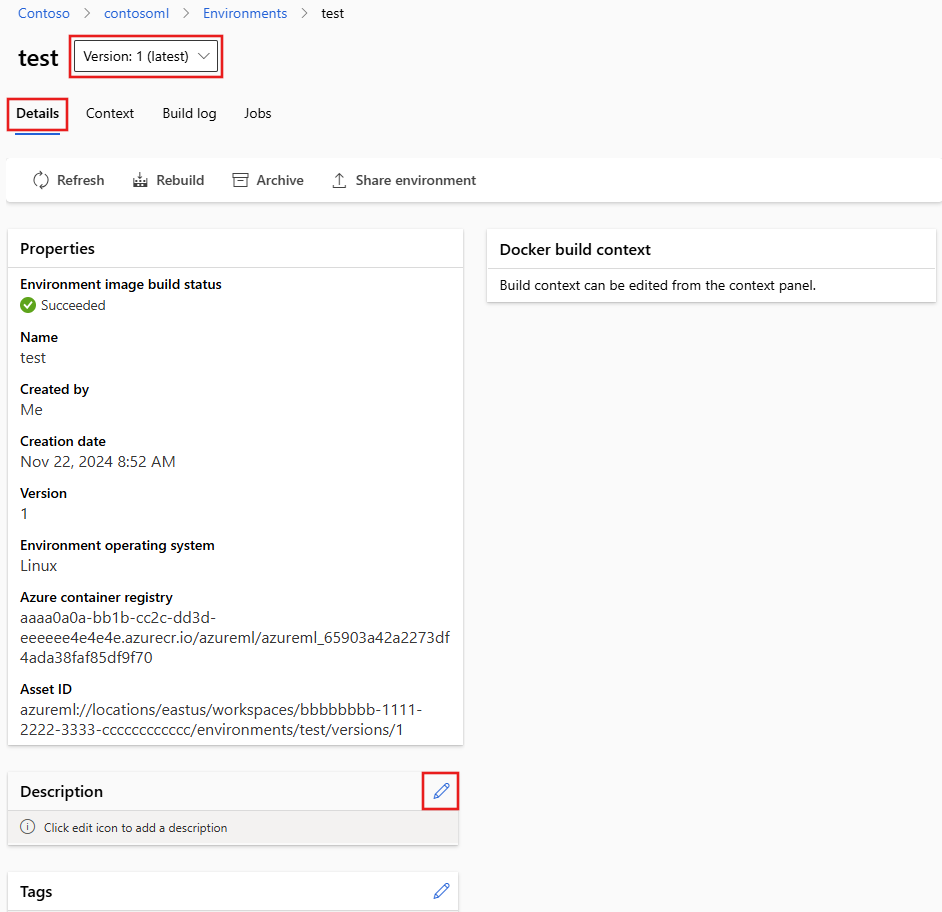
Use the Version dropdown menu to select different versions of the environment. From the Details tab, you can view metadata and the contents of the environment through its various dependencies. Select the pencil icons to edit fields such as Description and Tags.
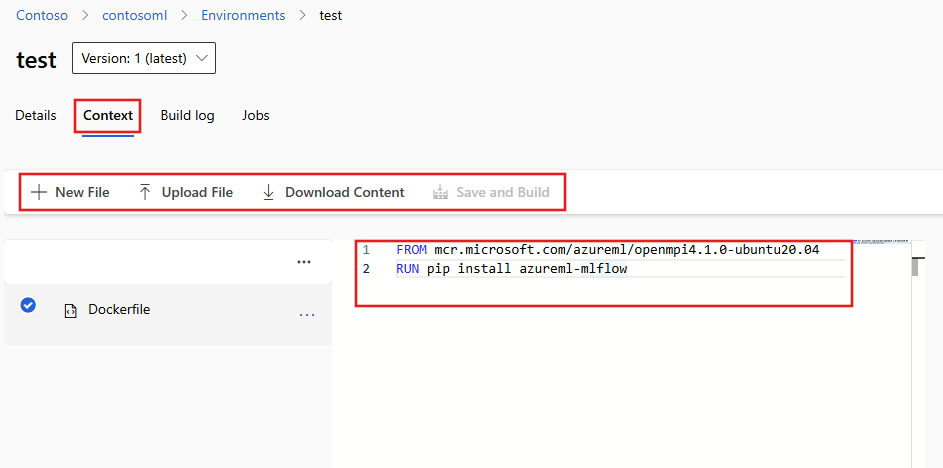
Select the Context tab to upload additional files or edit the existing Dockerfile. Use Save and Build to save any changes and rebuild the context.
Keep in mind that any changes to the Docker or Conda sections create a new version of the environment.
View logs
Select the Build log tab on the details page to view the logs of an environment version and the environment log analysis. Environment log analysis is a feature that provides insight and relevant troubleshooting documentation to explain environment definition issues or image build failures.
- The build log contains the bare output from an Azure Container Registry (ACR) task or an Image Build Compute job.
- Image build analysis is an analysis of the build log used to see the cause of the image build failure.
- Environment definition analysis provides information about the environment definition if it goes against best practices for reproducibility, supportability, or security.
For an overview of common build failures, see Troubleshooting environment issues.
If you have feedback on the environment log analysis, file a GitHub issue.
Rebuild an environment
On the details page, select the Rebuild button to rebuild the environment. Any unpinned package versions in your configuration files might be updated to the most recent version with this action.


