Manage backups of Azure Database for PostgreSQL - Flexible Server using Azure portal
This article describes how to manage backup of Azure Database for PostgreSQL - Flexible Server using Azure portal.
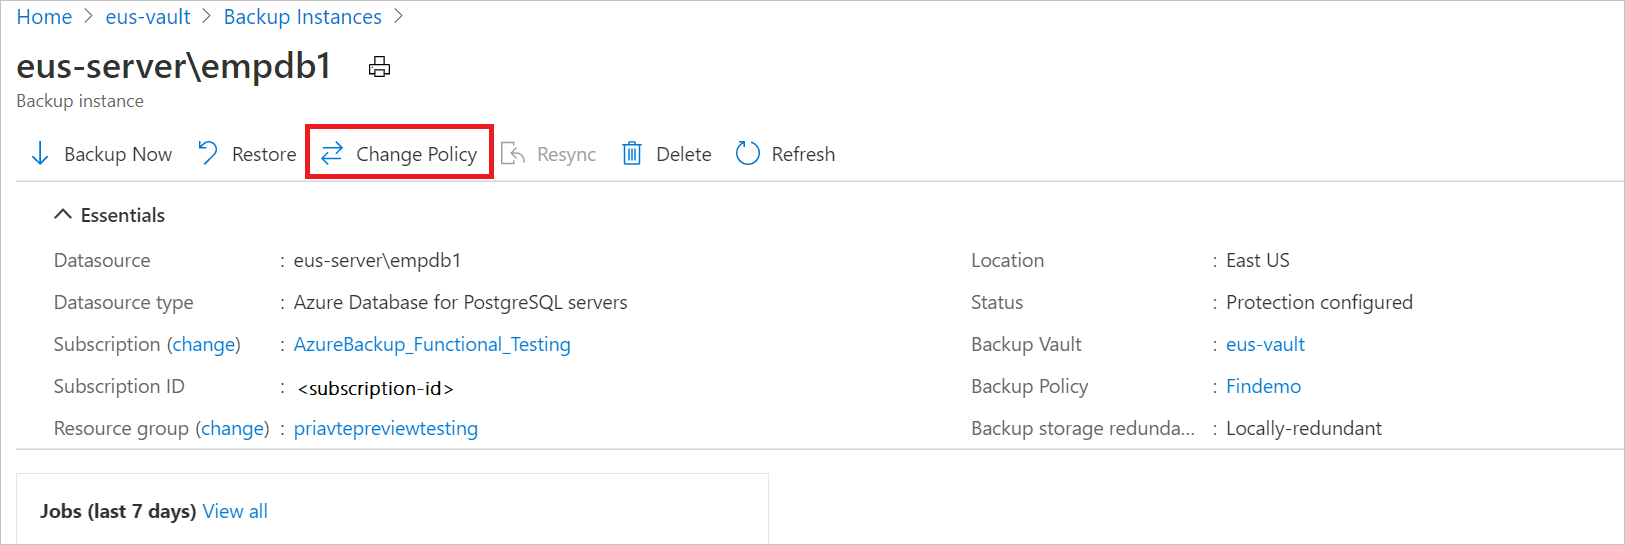
Change policy
You can change the associated policy with a backup instance.
Select the Backup Instance -> Change Policy.
Select the new policy that you wish to apply to the database.
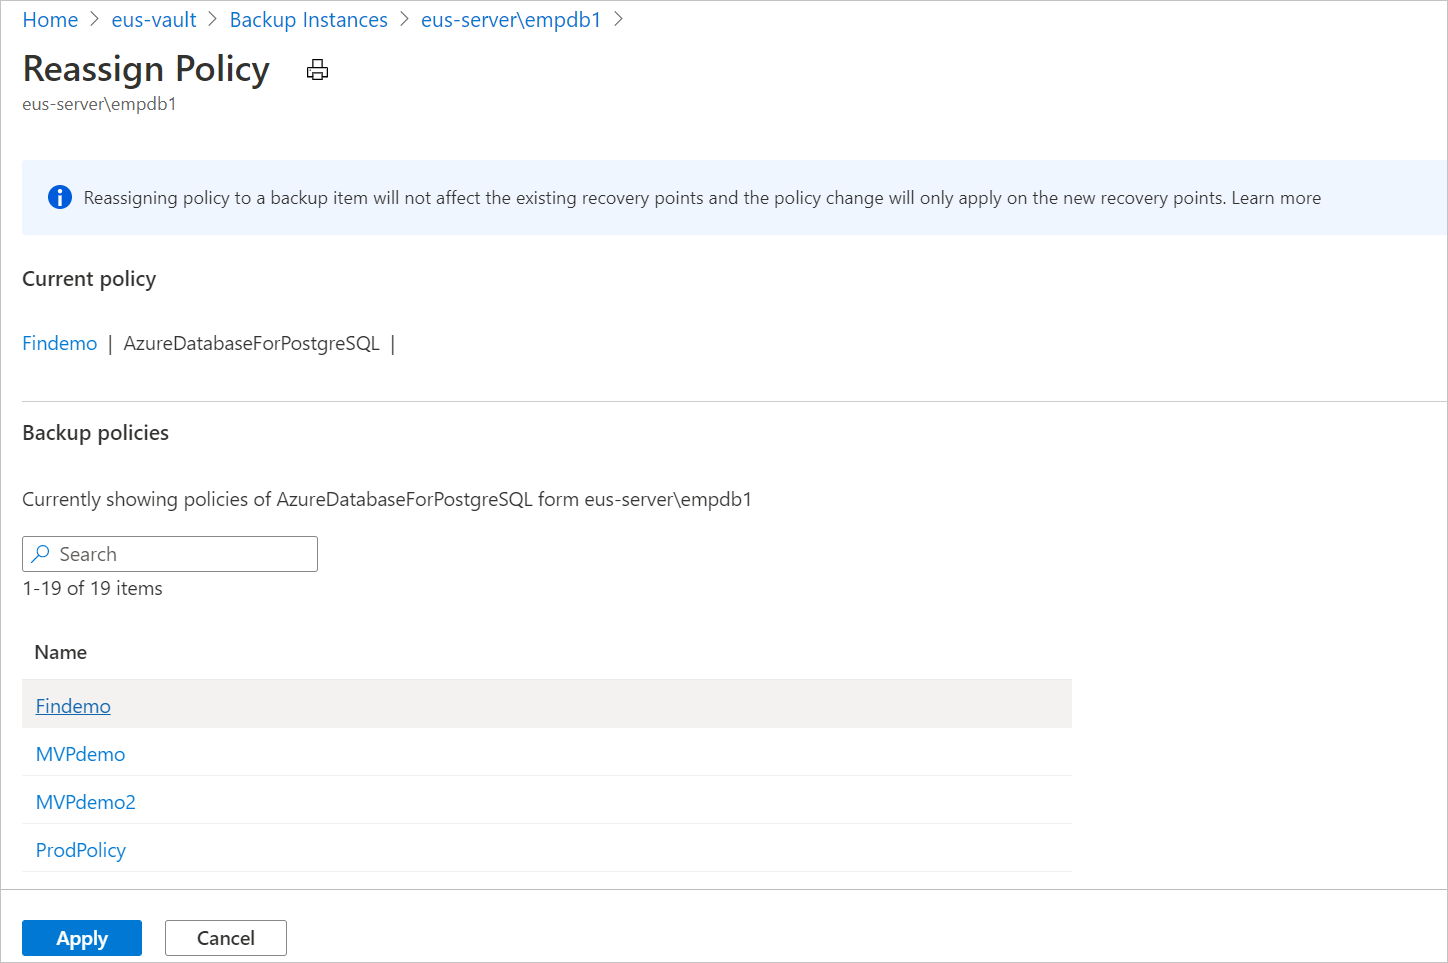
Note
Changing a backup policy assigned to a backup instance does not affect existing recovery points and their retention duration. The updated retention settings will apply only to new recovery points created after the policy change.
Monitor a backup operation
The Azure Backup service creates a job for scheduled backups or if you trigger on-demand backup operation for tracking. To view the backup job status:
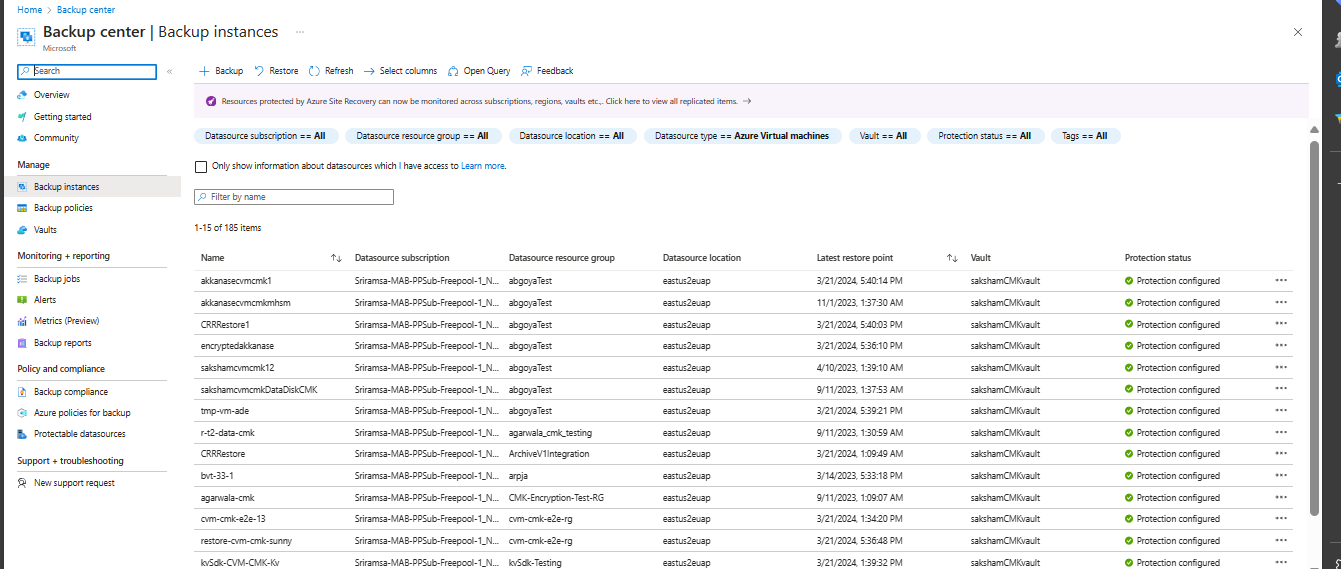
Go to the Azure Business Continuity Center and select Protected Items under Protection Inventory.
The Protected Items blade shows all the backup instances created across the subscriptions. Use the filters to access the backup instance you would like to take a look at. Select on the protected item and open it.
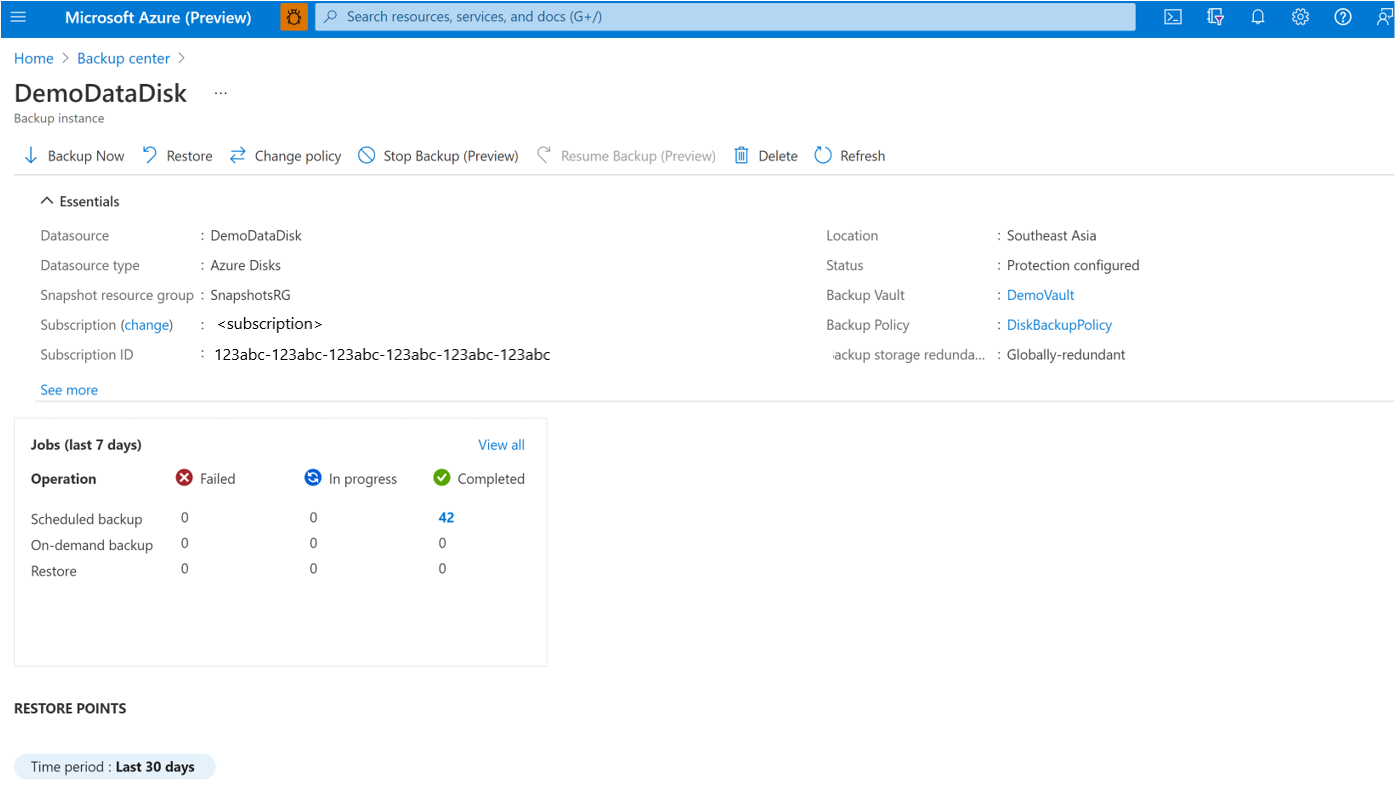
Now select on the Associated Items to open up the dashboard for the backup instance. Here you can see the backup jobs for the last seven days.
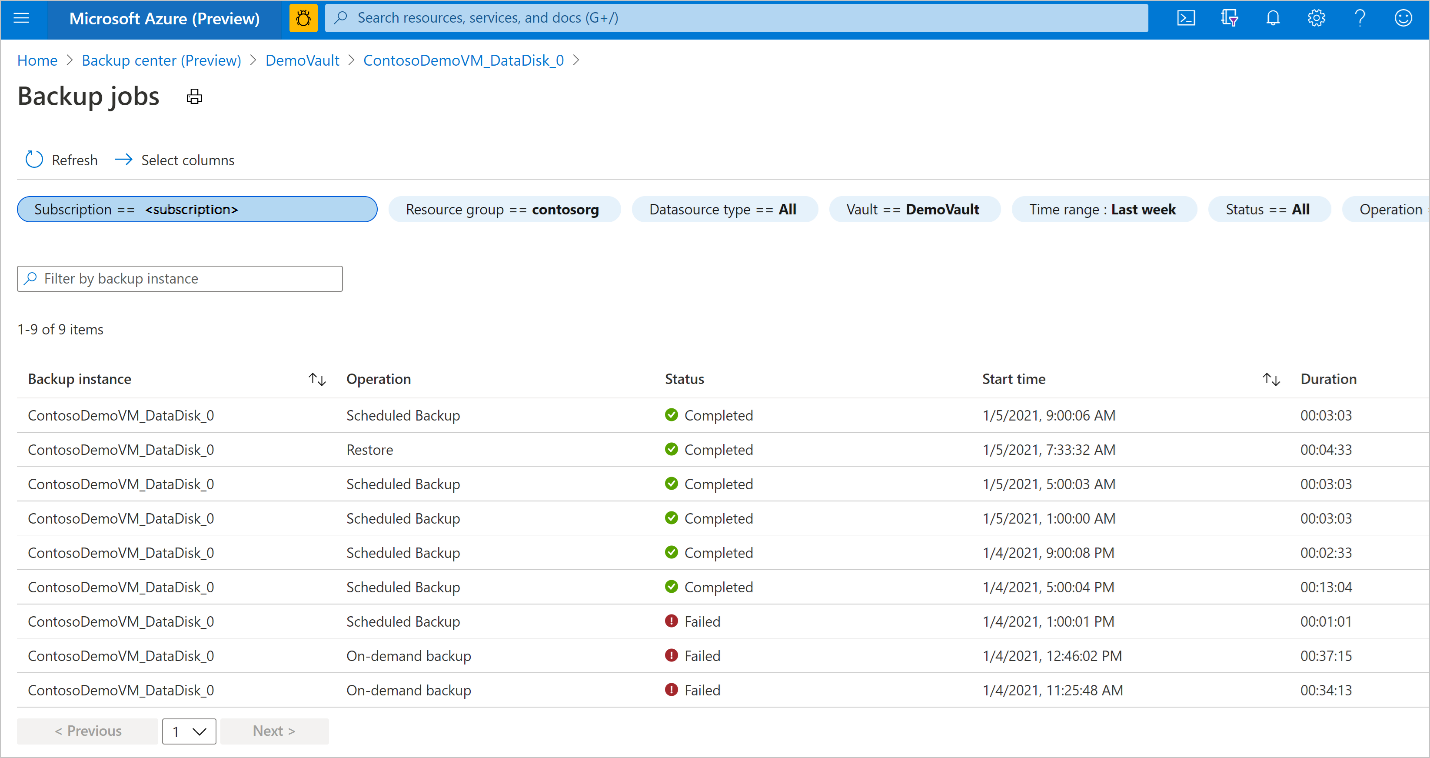
To view the status of the backup operation, select View all to show ongoing and past jobs of this backup instance.
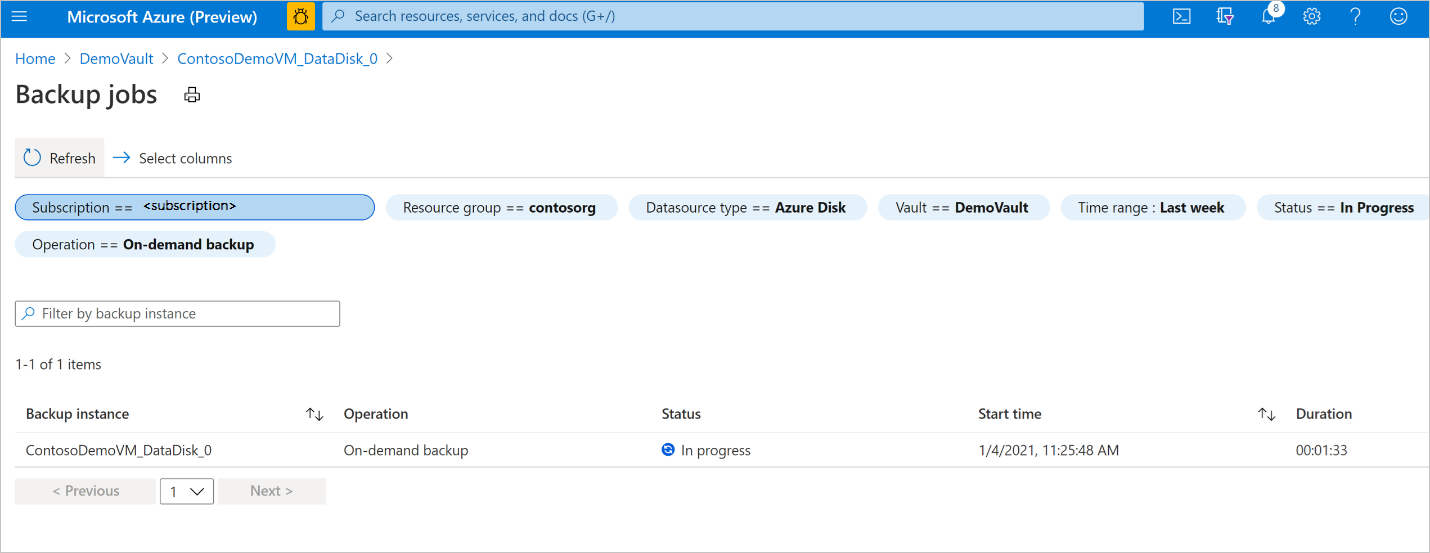
Review the list of backup and restore jobs and their status. Select a job from the list of jobs to view job details.


Monitor a restore operation
After you trigger the restore operation, the backup service creates a job for tracking. Azure Backup displays notifications about the job in the portal. To view the restore job progress:
Go to the Azure Business Continuity Center and select Protected Items under Protection Inventory.
The Protected Items blade shows all the backup instances created across the subscriptions. Use the filters to access the backup instance you would like to take a look at. Select on the protected item and open it.
Now select on the Associated Items to open up the dashboard for the backup instance. Here you can see the backup jobs for the last seven days.
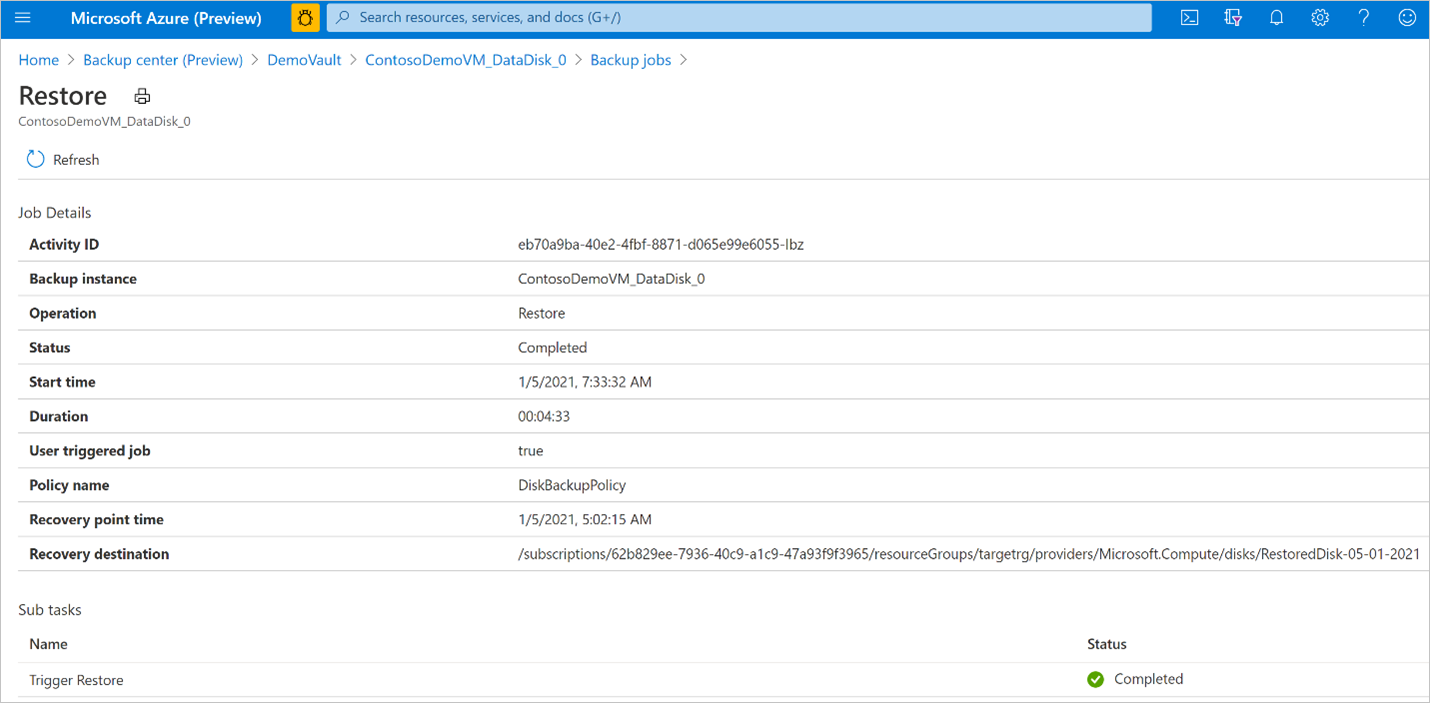
To view the status of the restore operation, select View all to show ongoing and past jobs of this backup instance.
Review the list of backup and restore jobs and their status. Select a job from the list of jobs to view job details.
Manage operations using the Azure portal
This section describes several Azure Backup supported management operations that make it easy to manage Azure PostgreSQL - Flexible servers.
Stop Protection
There are three ways by which you can stop protecting an Azure Disk:
Stop Protection and Retain Data (Retain forever): This option helps you stop all future backup jobs from protecting your server. However, Azure Backup service retains the recovery points that are backed up forever. You need to pay to keep the recovery points in the vault (see Azure Backup pricing for details). You are able to restore the disk, if needed. To resume server protection, use the Resume backup option.
Stop Protection and Retain Data (Retain as per Policy): This option helps you stop all future backup jobs from protecting your server. The recovery points are retained as per policy and will be chargeable according to Azure Backup pricing. However, the latest recovery point is retained forever.
Stop Protection and Delete Data: This option helps you stop all future backup jobs from protecting your servers and delete all the recovery points. You won't be able to restore the disk or use the Resume backup option.
Stop Protection and Retain Data
Go to the Azure Business Continuity Center and select Protected Items under Protection Inventory.
The Protected Items blade shows all the backup instances created across the subscriptions. Use the filters to access the backup instance you would like to take a look at. Select on the protected item and open it.
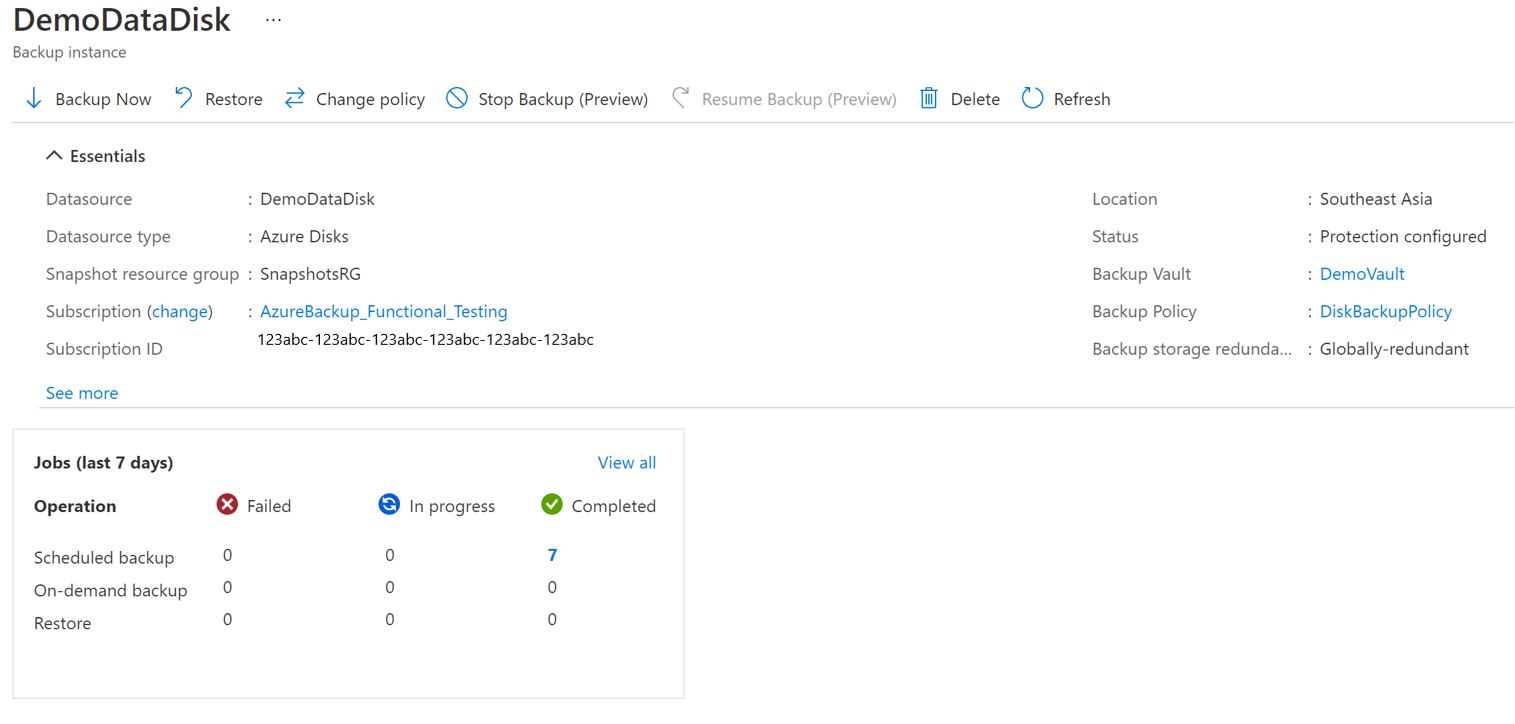
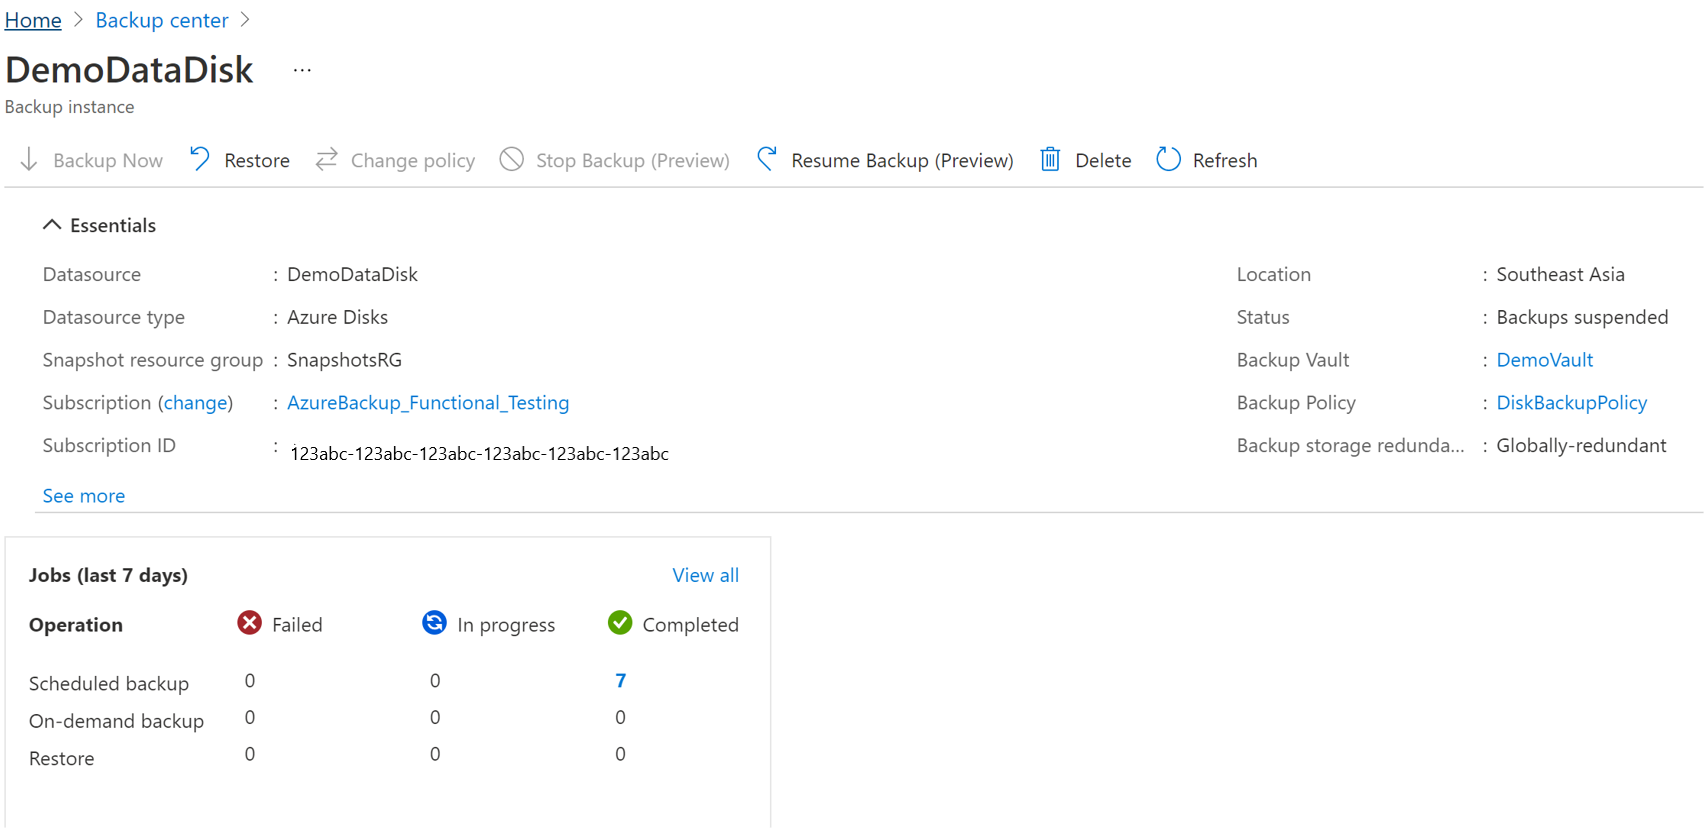
Now select on the Associated Items to open up the dashboard for the backup instance.
Select Stop Backup.
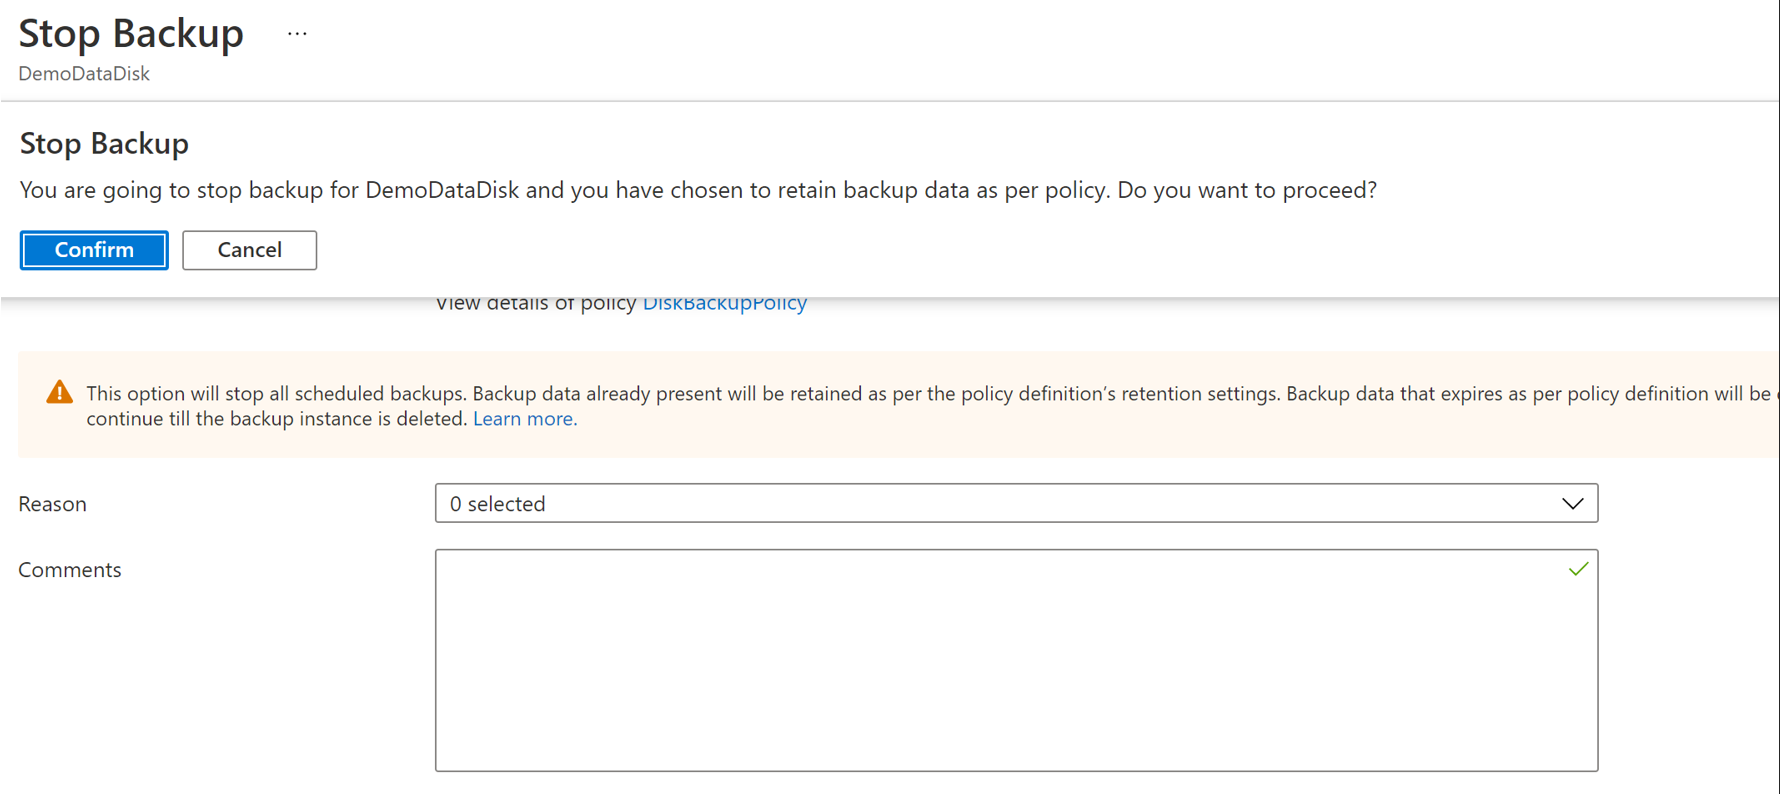
Select one of the following data retention options:
- Retain forever
- Retain as per policy
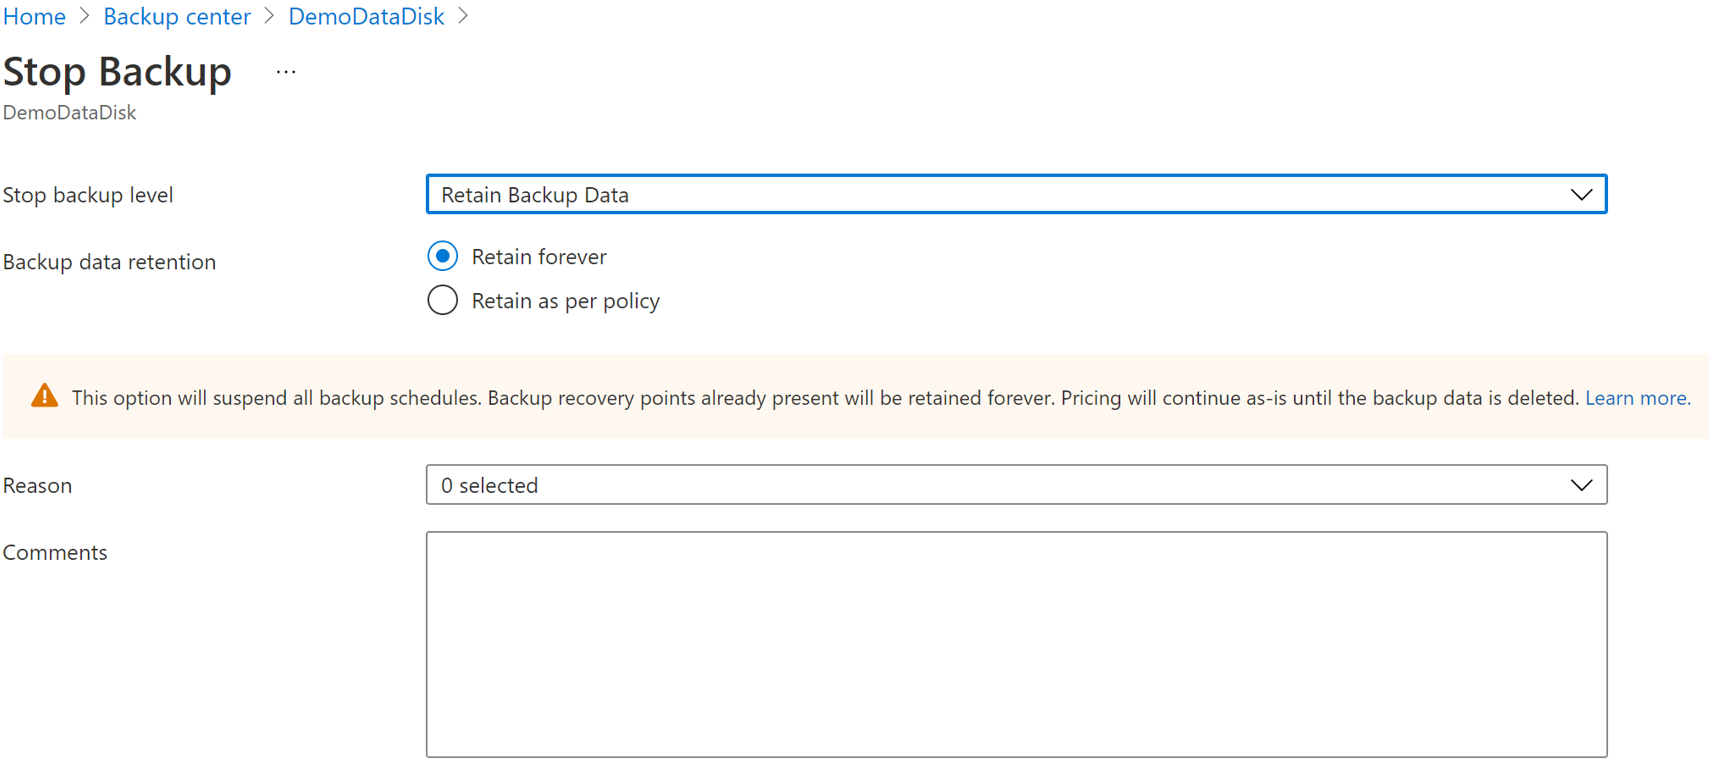
You can also select the reason for stopping backups from the drop-down list.
Select Stop Backup.
Select Confirm to stop data protection.


Stop Protection and Delete Data
Go to the Azure Business Continuity Center and select Protected Items under Protection Inventory.
The Protected Items blade shows all the backup instances created across the subscriptions. Use the filters to access the backup instance you would like to take a look at. Select on the protected item and open it.
Now select on the Associated Items to open up the dashboard for the backup instance.
Select Stop Backup.
Select Delete Backup Data.
Provide the name of the backup instance, reason for deletion, and any other comments.
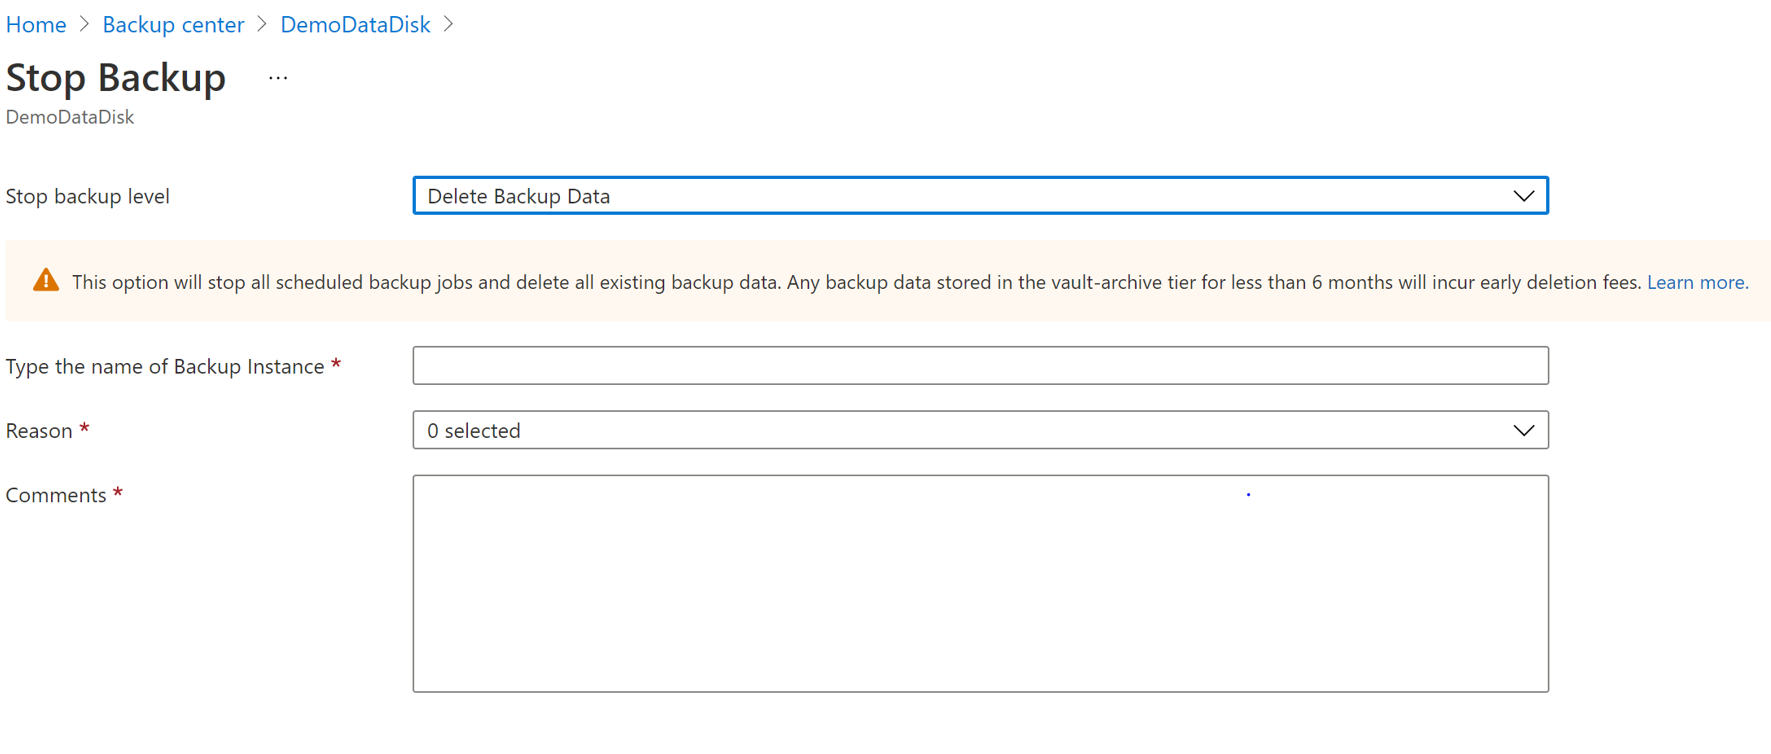
Select Stop Backup.
Select Confirm to stop data protection.

Resume Protection
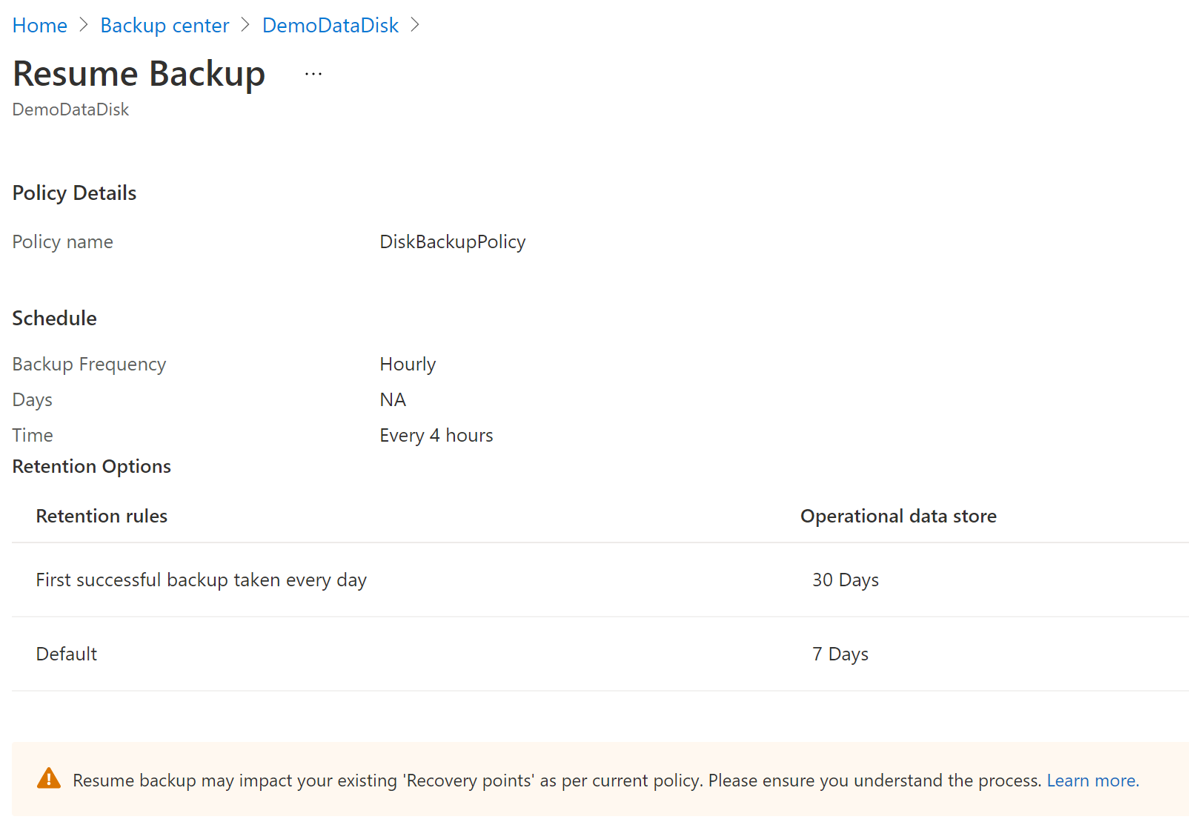
If you have selected the Stop Protection and Retain data option, you can resume protection for your servers.
Note
When you resume protecting a backup instance, the existing backup policy will start applying to new recovery points only. Recovery points that have already expired based on their original retention duration, as defined by the backup policy in effect at the time of their creation, will be cleaned up.
Use the following steps:
Go to the Azure Business Continuity Center and select Protected Items under Protection Inventory.
The Protected Items blade shows all the backup instances created across the subscriptions. Use the filters to access the backup instance you would like to take a look at. Select on the protected item and open it.
Now select on the Associated Items to open up the dashboard for the backup instance.
Select Resume Backup.
Select Resume backup.


Delete Backup Instance
If you choose to stop all scheduled backup jobs and delete all existing backups, use Delete Backup Instance.
To delete a PostgreSQL server backup instance, follow these steps:
Select Delete on the backup instance screen.
Provide confirmation details including name of the Backup instance, reason for deletion, and other comments.

Select Delete to confirm and proceed with deleting backup instance.

