연습 - JBoss EAP 관리 도구 및 애플리케이션 로그 액세스
이 연습에서는 JBoss 관리 도구에 액세스하고 애플리케이션 로그를 스트림합니다.
TCP 터널 만들기
원격 서버에 액세스하려면 원격 서버와 로컬 머신 간에 TCP 터널을 만들어야 합니다. 다음 명령을 실행합니다.
az webapp create-remote-connection -n ${WEBAPP_NAME} -g ${RESOURCEGROUP_NAME}
명령에서 다음 결과가 반환됩니다.
Verifying if app is running....
App is running. Trying to establish tunnel connection...
Opening tunnel on port: 59445
SSH is available { username: root, password: Docker! }
Ctrl + C to close
명령 결과에서 다음 정보를 가져옵니다.
| 필요한 정보 | 값 |
|---|---|
Opening tunnel on port |
PORT_NUMBER(예: 59445) |
username |
root |
password |
Docker! |
암호와 포트 번호를 기록해 둡니다. 이 두 값은 다음 섹션에서 사용됩니다.
SSH 및 TCP 터널을 사용하여 로그인
이제 ssh 명령을 사용하여 서버에 로그인해야 합니다. 새 명령 터미널을 열고 다음 명령을 실행합니다.
export PORT_NUMBER=<the port number from above>
ssh root@127.0.0.1 -L 9990:localhost:9990 -p $PORT_NUMBER
팁
JBoss EAP 관리 웹 콘솔에 액세스하려면 -L 9990:localhost:9990 옵션을 지정합니다. 그런 다음, JBoss 웹 콘솔에 대해 http://localhost:9990/console에 액세스합니다. JBoss 웹 콘솔에 로그인할 필요가 없는 경우 “-L” 옵션을 제거할 수 있습니다.
서버에 로그인할 때 다음 메시지가 표시됩니다.
The authenticity of host '[127.0.0.1]:59445 ([127.0.0.1]:59445)' can't be established.
ECDSA key fingerprint is SHA256:vHsp1b3+7NtnHISvZ6aKS82pww+e5L6CUc9fKaPZGDQ.
Are you sure you want to continue connecting (yes/no/[fingerprint])? yes
Warning: Permanently added '[127.0.0.1]:59445' (ECDSA) to the list of known hosts.
root@127.0.0.1's password:
   _|_|
 _|    _|  _|_|_|_|  _|    _|  _|  _|_|    _|_|
 _|_|_|_|      _|    _|    _|  _|_|      _|_|_|_|
 _|    _|    _|      _|    _|  _|        _|
 _|    _|  _|_|_|_|    _|_|_|  _|          _|_|_|

     J A V A   O N   A P P   S E R V I C E

Documentation: https://aka.ms/appservice

**NOTE**: No files or system changes outside of /home will persist beyond your application's current session. /home is your application's persistent storage and is shared across all the server instances.
JBoss CLI 명령 실행
원격 서버에 로그인한 후 JBoss EAP 관리 CLI 도구를 jboss-cli.sh로 실행할 수 있습니다. CLI 명령은 /opt/eap/bin/ 디렉터리에 있습니다.
다음 명령을 사용하여 JBoss EAP에 연결합니다.
/opt/eap/bin/jboss-cli.sh --connect
Picked up JAVA_TOOL_OPTIONS: -Xmx2402M -Djava.net.preferIPv4Stack=true
JBoss EAP 서버에 연결한 후 JBoss CLI 명령을 실행하고 JBoss 서버 정보를 가져옵니다.
[standalone@localhost:9990 /] :product-info
{
    "outcome" => "success",
    "result" => [{"summary" => {
        "host-name" => "295cf7c97684",
        "instance-identifier" => "24bb4e37-ac89-42bc-b87e-d635d37a56f3",
        "product-name" => "JBoss EAP",
        "product-version" => "7.4.2.GA",
        "product-community-identifier" => "Product",
        "product-home" => "/opt/eap",
        "last-update-date" => "4/26/22, 10:29 PM",
        "standalone-or-domain-identifier" => "STANDALONE_SERVER",
        "host-operating-system" => "Ubuntu 20.04.4 LTS",
        "host-cpu" => {
            "host-cpu-arch" => "amd64",
            "host-core-count" => 2
        },
        "jvm" => {
            "name" => "OpenJDK 64-Bit Server VM",
            "java-version" => "11",
            "jvm-version" => "11.0.14.1",
            "jvm-vendor" => "Microsoft",
            "java-home" => "/usr/lib/jvm/msopenjdk-11-amd64"
        }
    }}]
다음 명령에서 배포된 애플리케이션을 모두 가져올 수 있습니다.
[standalone@localhost:9990 /] ls deployment
ROOT.war
이제 다음 명령을 실행하여 데이터베이스 연결을 테스트합니다.
[standalone@localhost:9990 /] /subsystem=datasources/data-source="JPAWorldDataSourceDS":test-connection-in-pool
{
    "outcome" => "success",
    "result" => [true]
}
JBoss EAP CLI를 끝냅니다.
exit
JBoss EAP 관리 웹 콘솔 액세스
다음으로, JBoss 관리 웹 콘솔에 액세스하겠습니다.
먼저 인증을 위해 관리 사용자 및 암호를 만듭니다.
/opt/eap/bin/add-user.sh -u admin -p admin -r ManagementRealm
다음과 유사한 결과가 표시됩니다.
Picked up JAVA_TOOL_OPTIONS: -Xmx5480M -Djava.net.preferIPv4Stack=true
Updated user 'admin' to file '/opt/eap/standalone/configuration/mgmt-users.properties'
Updated user 'admin' to file '/opt/eap/domain/configuration/mgmt-users.properties'
이제 로컬 환경에서 웹 콘솔에 액세스할 수 있습니다. 브라우저를 사용하여 다음 URL에 액세스합니다.
http://127.0.0.1:9990/console
인증 대화 상자에서 이전에 만든 사용자 이름 및 암호를 사용하여 로그인합니다.

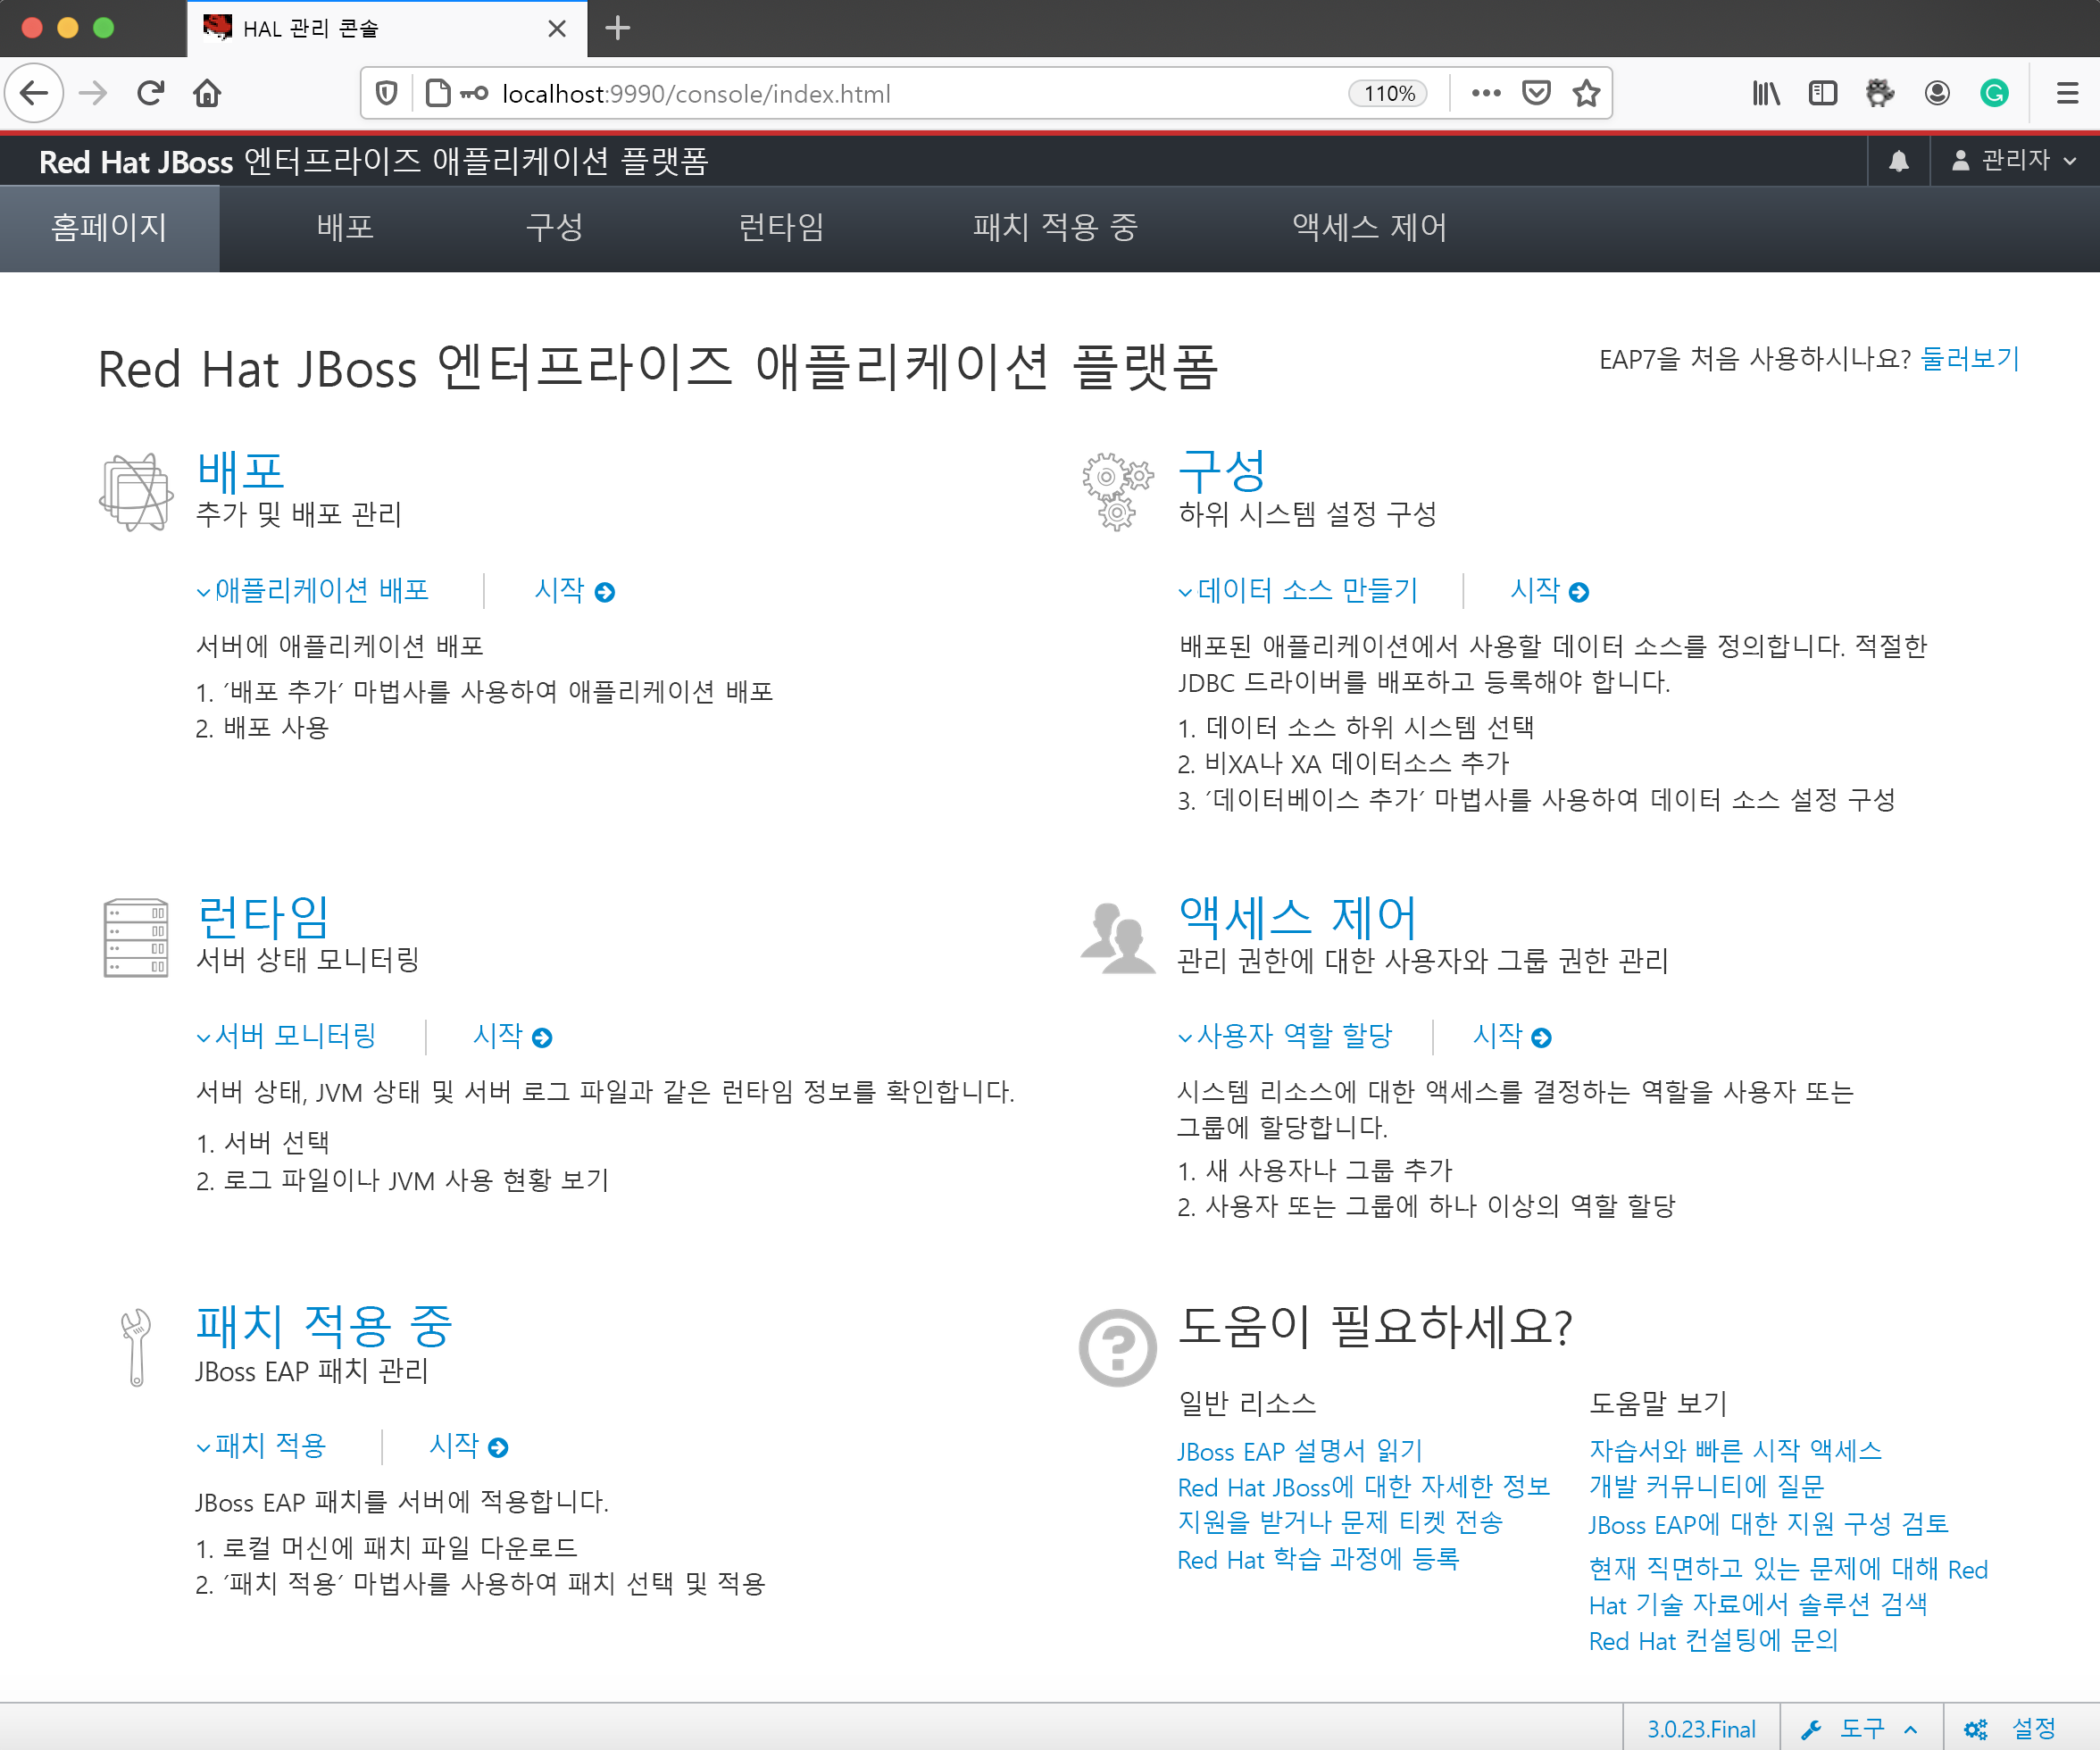
웹 콘솔에 로그인한 후 다음 화면이 표시됩니다.

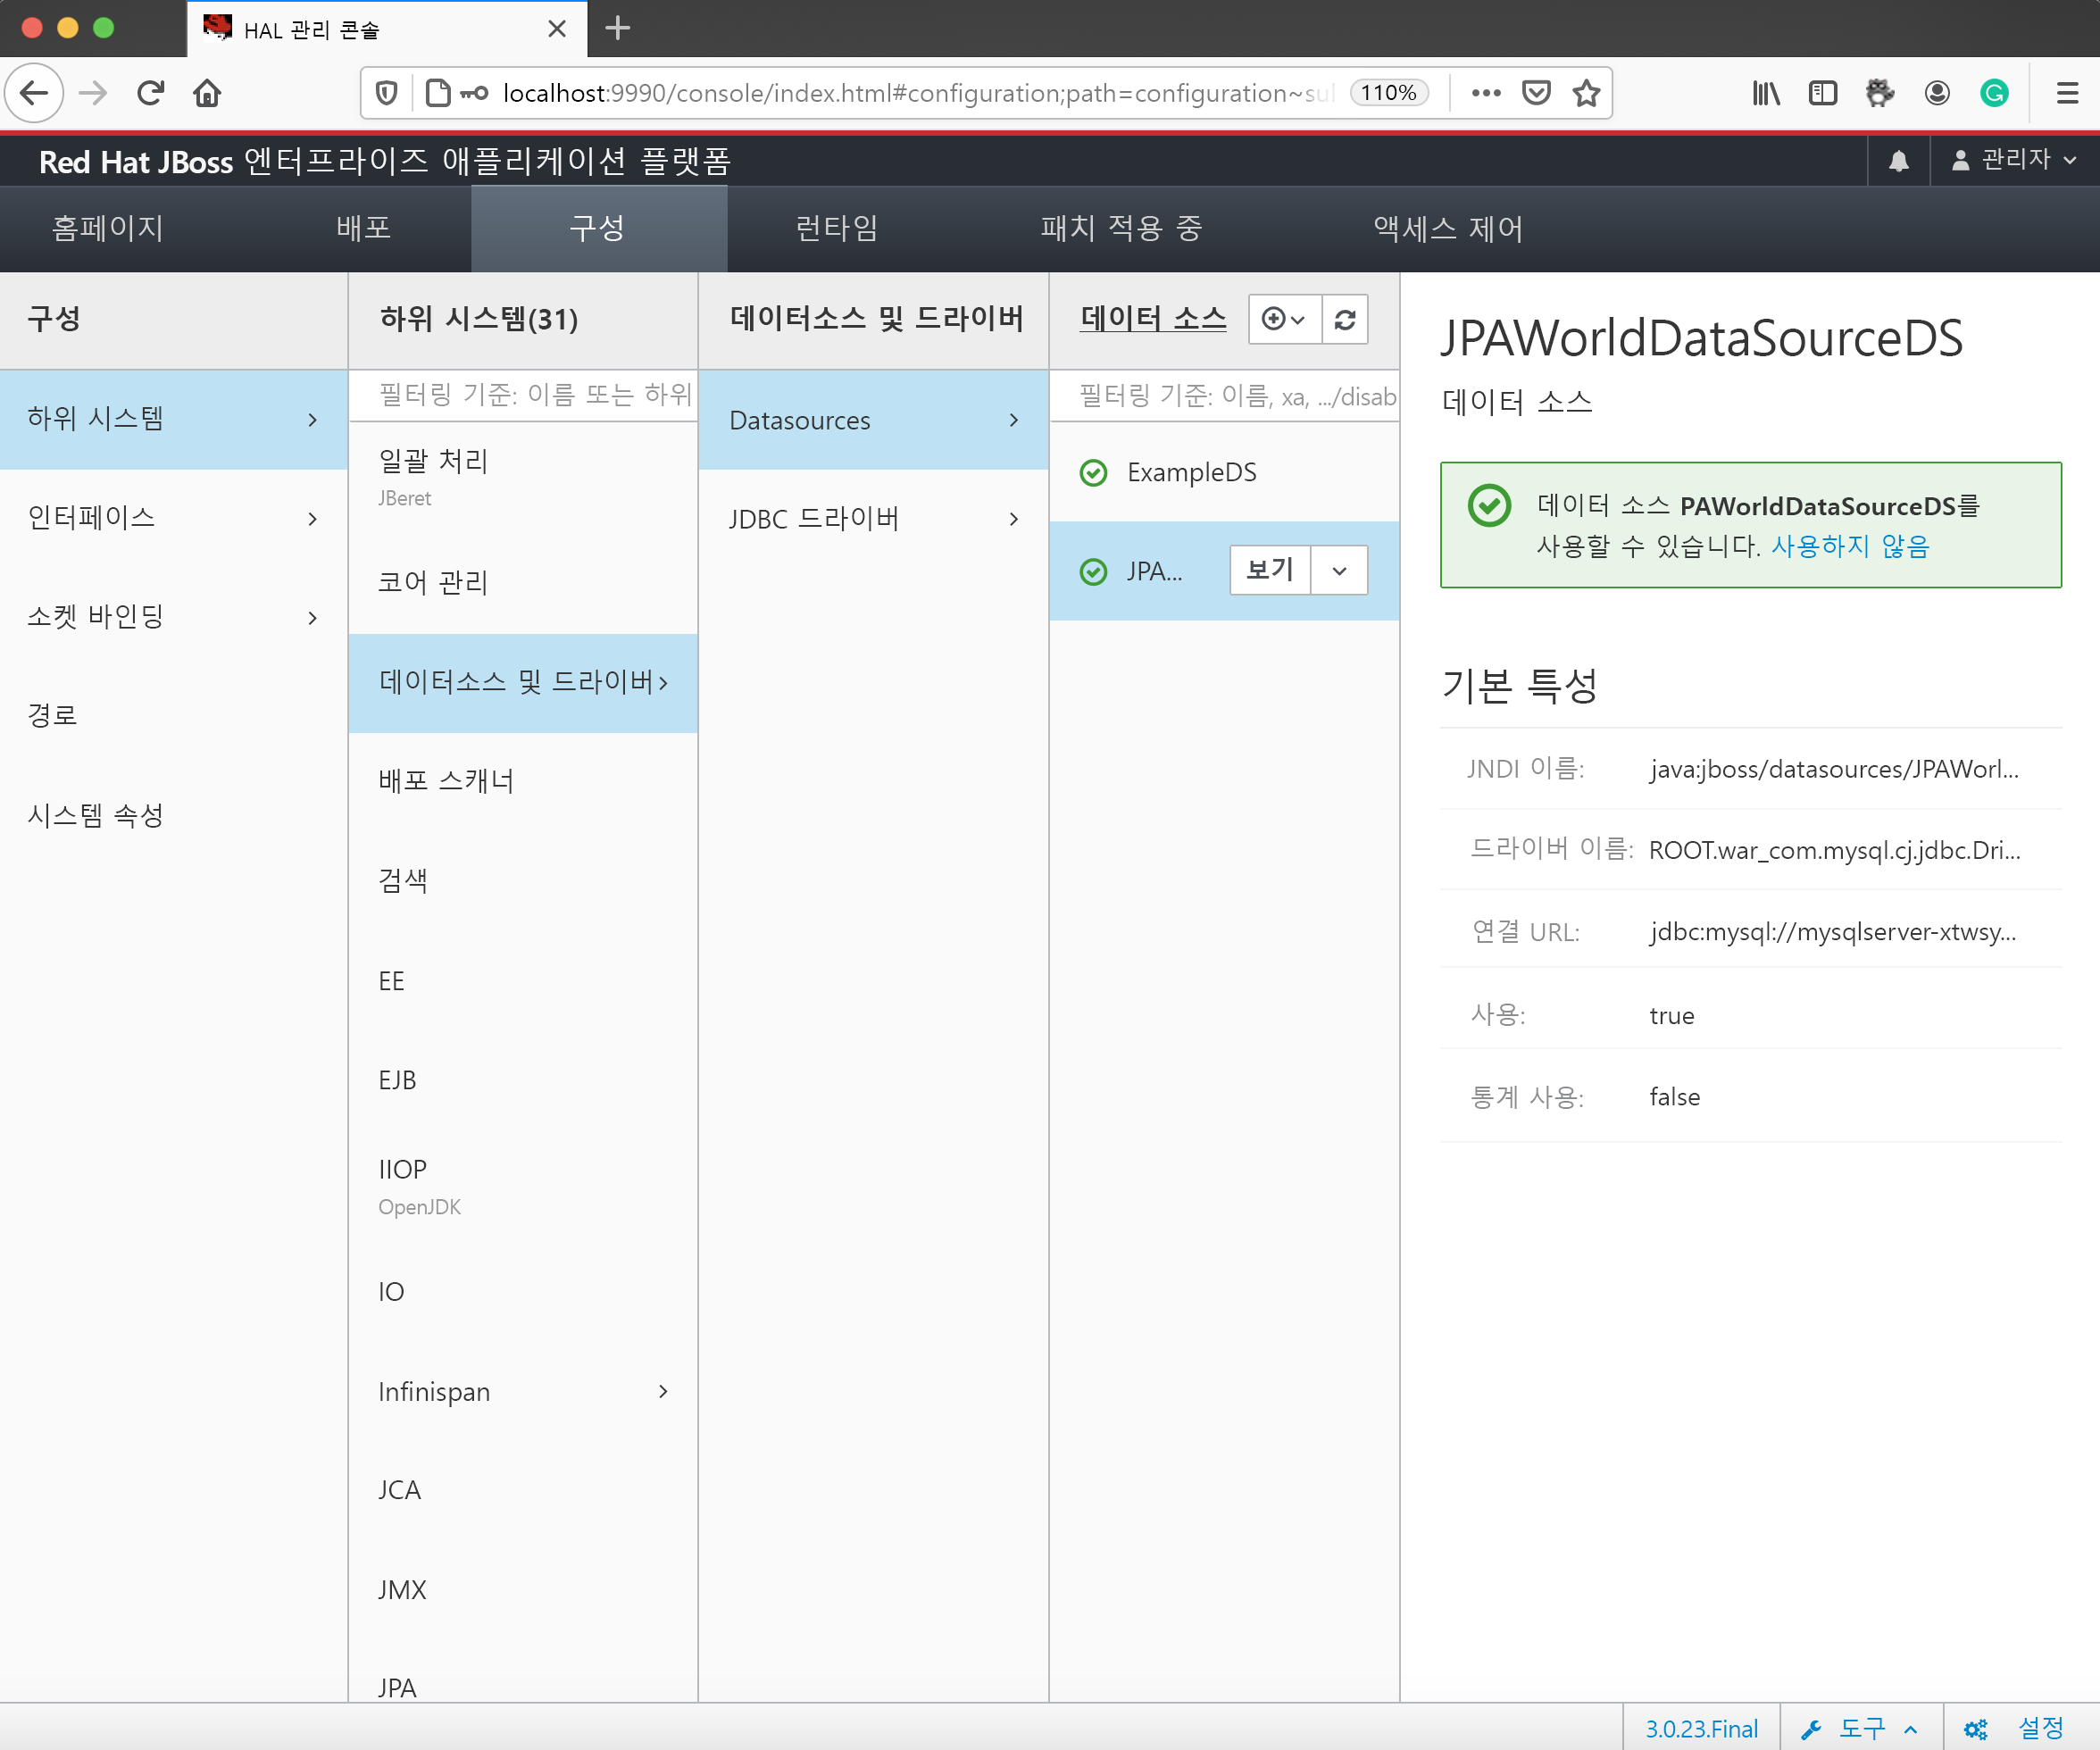
구성>하위 시스템>데이터 원본 및 드라이버>데이터 원본에서 직접 만든 데이터 원본을 확인할 수 있습니다.

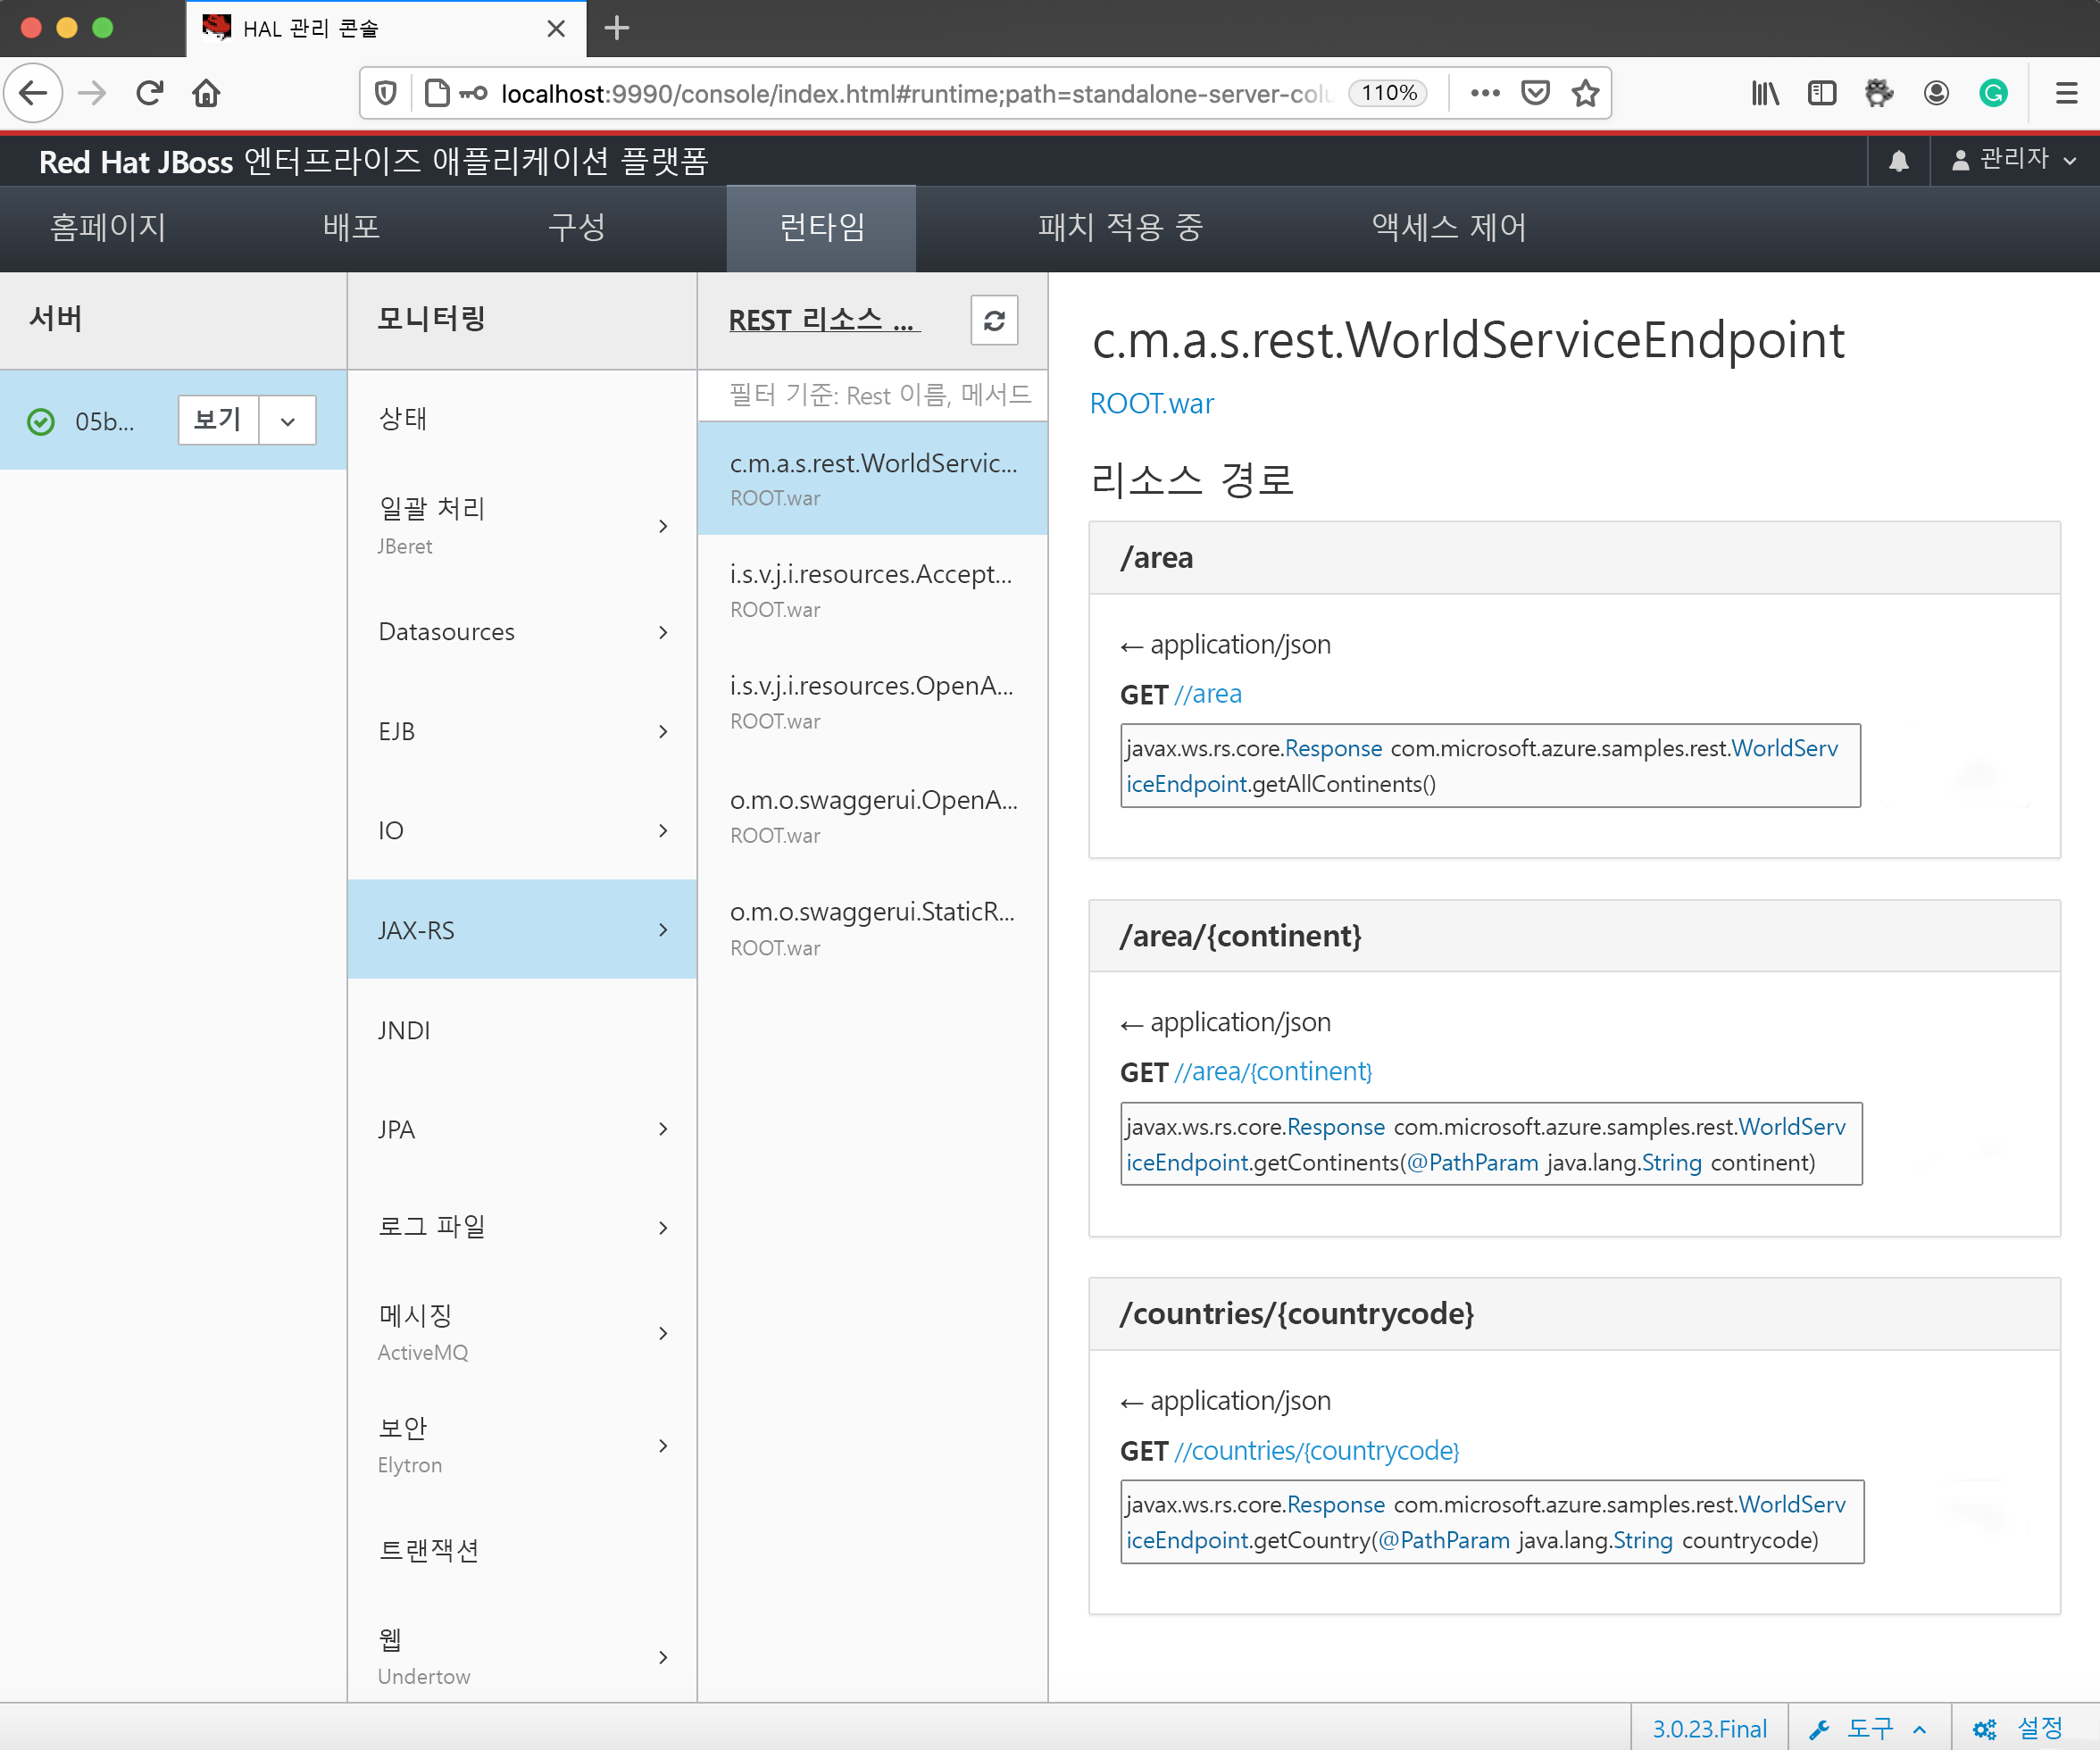
또한 런타임>‘시스템’>JAX-RS>‘애플리케이션’에서 애플리케이션의 RESTful 엔드포인트를 확인할 수 있습니다.

Warning
JBoss CLI 명령 또는 웹 콘솔을 통해 원격 서버에 직접 액세스하고 구성을 추가하거나 업데이트하는 경우 Azure App Service 인스턴스가 다시 시작된 후 구성이 지워지고 삭제됩니다. 구성을 유지하려면 시작 스크립트에서 해당 항목을 구성합니다. 예를 들어, 이전 단원에서 시작 스크립트로 createMySQLDataSource.sh를 만들었습니다.
로그 스트림 열기
다음으로, 서버에 로그인하고 애플리케이션 로그에 액세스합니다. 다음 명령을 통해 로컬 머신에 로그인하여 로그에 액세스할 수 있습니다.
az webapp log tail --name ${WEBAPP_NAME} --resource-group ${RESOURCEGROUP_NAME}
명령을 실행한 후 로그 출력을 가져옵니다.
az webapp log tail  -n jakartaee-app-on-jboss-1606464084546 \
  -g jakartaee-app-on-jboss-1606464084546-rg

2020-12-09T02:23:24.412067731Z: [INFO]  02:23:24,411 INFO  [org.wildfly.extension.undertow] (ServerService Thread Pool -- 82) WFLYUT0021: Registered web context: '/' for server 'default-server'
2020-12-09T02:23:24.455340165Z: [INFO]  02:23:24,453 INFO  [org.jboss.as.server] (Controller Boot Thread) WFLYSRV0010: Deployed "ROOT.war" (runtime-name : "ROOT.war")
2020-12-09T02:23:24.464834646Z: [INFO]  02:23:24,456 INFO  [org.jboss.as.server] (ServerService Thread Pool -- 45) WFLYSRV0010: Deployed "activemq-rar.rar" (runtime-name : "activemq-rar.rar")
2020-12-09T02:23:24.674103836Z: [INFO]  02:23:24,673 INFO  [org.jboss.as.server] (Controller Boot Thread) WFLYSRV0212: Resuming server
2020-12-09T02:23:24.676640538Z: [INFO]  02:23:24,675 INFO  [org.jboss.as] (Controller Boot Thread) WFLYSRV0025: JBoss EAP 7.2.9.GA (WildFly Core 6.0.30.Final-redhat-00001) started in 25914ms - Started 537 of 709 services (345 services are lazy, passive or on-demand)
2020-12-09T02:23:24.680203180Z: [INFO]  02:23:24,679 INFO  [org.jboss.as] (Controller Boot Thread) WFLYSRV0060: Http management interface listening on http://127.0.0.1:9990/management
2020-12-09T02:23:24.680950010Z: [INFO]  02:23:24,680 INFO  [org.jboss.as] (Controller Boot Thread) WFLYSRV0051: Admin console listening on http://127.0.0.1:9990
연습 요약
이 단원에서는 Java EE 8(Jakarta EE) 애플리케이션을 구성하고 Azure App Service의 JBoss EAP에 배포하는 방법을 알아보았습니다. 그런 다음, 시작 스크립트에서 MySQL을 JBoss EAP에 연결하는 데 DataSource 개체를 사용했습니다.
또한 TCP 터널을 사용하여 CLI와 GUI에서 둘 다 원격 서버에 액세스하는 방법을 알아보았습니다. 마지막으로, 로컬 머신에서 로그 파일에 액세스했습니다.