Source editor
Applies to: ![]() Visual Studio for Mac
Visual Studio for Mac ![]() Visual Studio
Visual Studio
A reliable source editor is essential for writing code succinctly and efficiently. Visual Studio for Mac provides a sophisticated source editor that is at the center of your interactions with the IDE. The source editor provides features that you might expect and need to do your work with ease: From the basics such a syntax highlighting, code snippets, and code folding, to the benefits of its Roslyn compiler integration, such as fully functional IntelliSense code completion.
The source editor in Visual Studio for Mac allows for a seamless experience with all the other functionality in the IDE such as debugging, refactoring, and version control integration.
This article introduces some of the key features of the source editor and explores how you can use Visual Studio for Mac to be as productive as possible.
The source editor experience
Viewing and moving efficiently throughout code is an integral part of the development workflow. Exactly how you decide to view and maintain code is a personal decision, which varies between developers - and often between projects.
Visual Studio for Mac offers many powerful features to make cross-platform development as accessible and as useful as possible. The following sections describe some of the highlights.
Code folding
Code folding makes it easier to manage large source code files by allowing developers to show or hide complete sections of code, such as using directives, boilerplate code and comments, and #region statements. Code folding is turned off by default in Visual Studio for Mac
To turn on code folding, navigate to Visual Studio > Preferences > Text Editor > General > Code Folding:
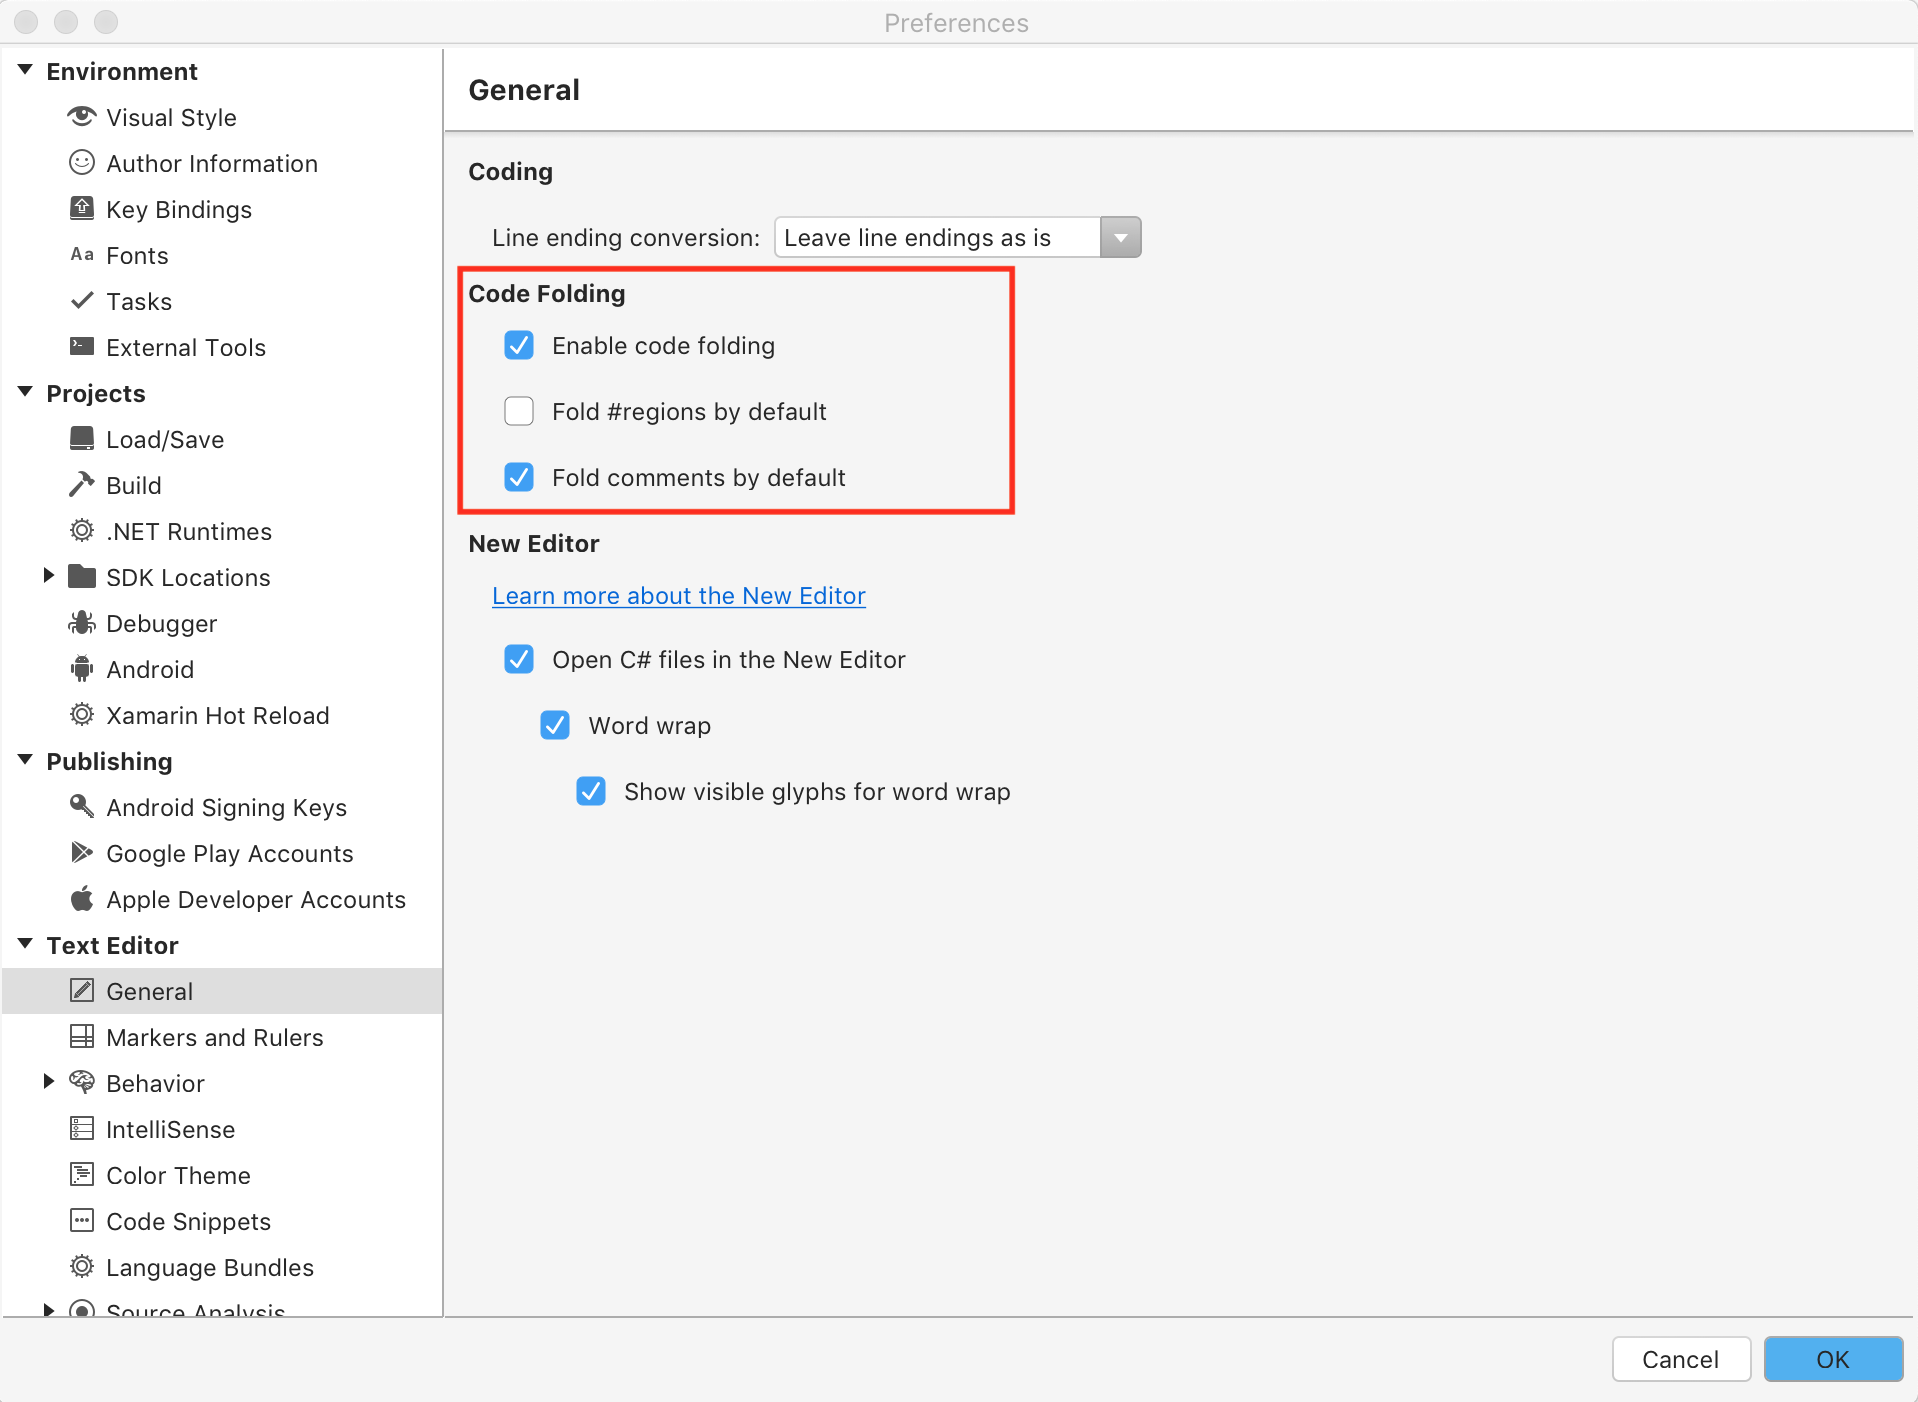
This menu also includes the option to fold #regions and comments by default, displaying a named hint, in place of code.
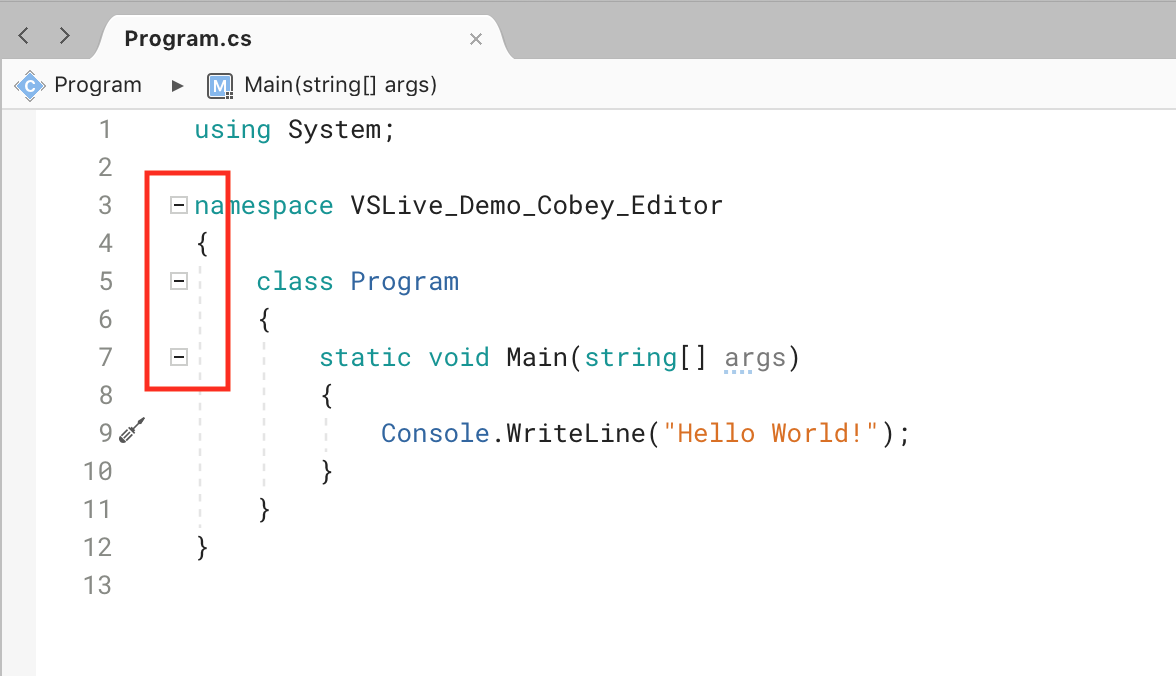
To show or hide sections, use the disclosure widget next to the line number:
You can also switch between showing and hiding the folds by using the View > Folding > Toggle Fold / Toggle All Folds menu item:
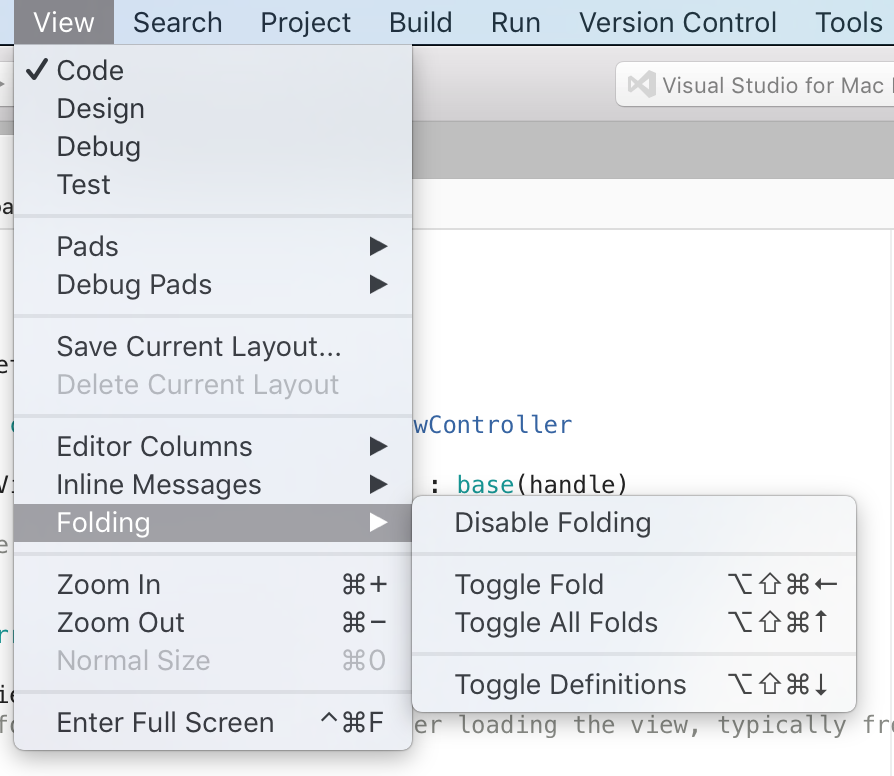
This menu item can also be used to enable or disable code folding.
Word wrap
Word wrap can assist you in managing space when working on long lines of code or with limited view space. Word wrap can also ensure that your code view contains the full contents of your source file even when opening panes that may obscure your view or reduce the width of your source view.
Word wrap is disabled by default but can be enabled via Preferences in Visual Studio for Mac.
To enable word wrap, navigate to Visual Studio > Preferences > Text Editor > Word Wrap:
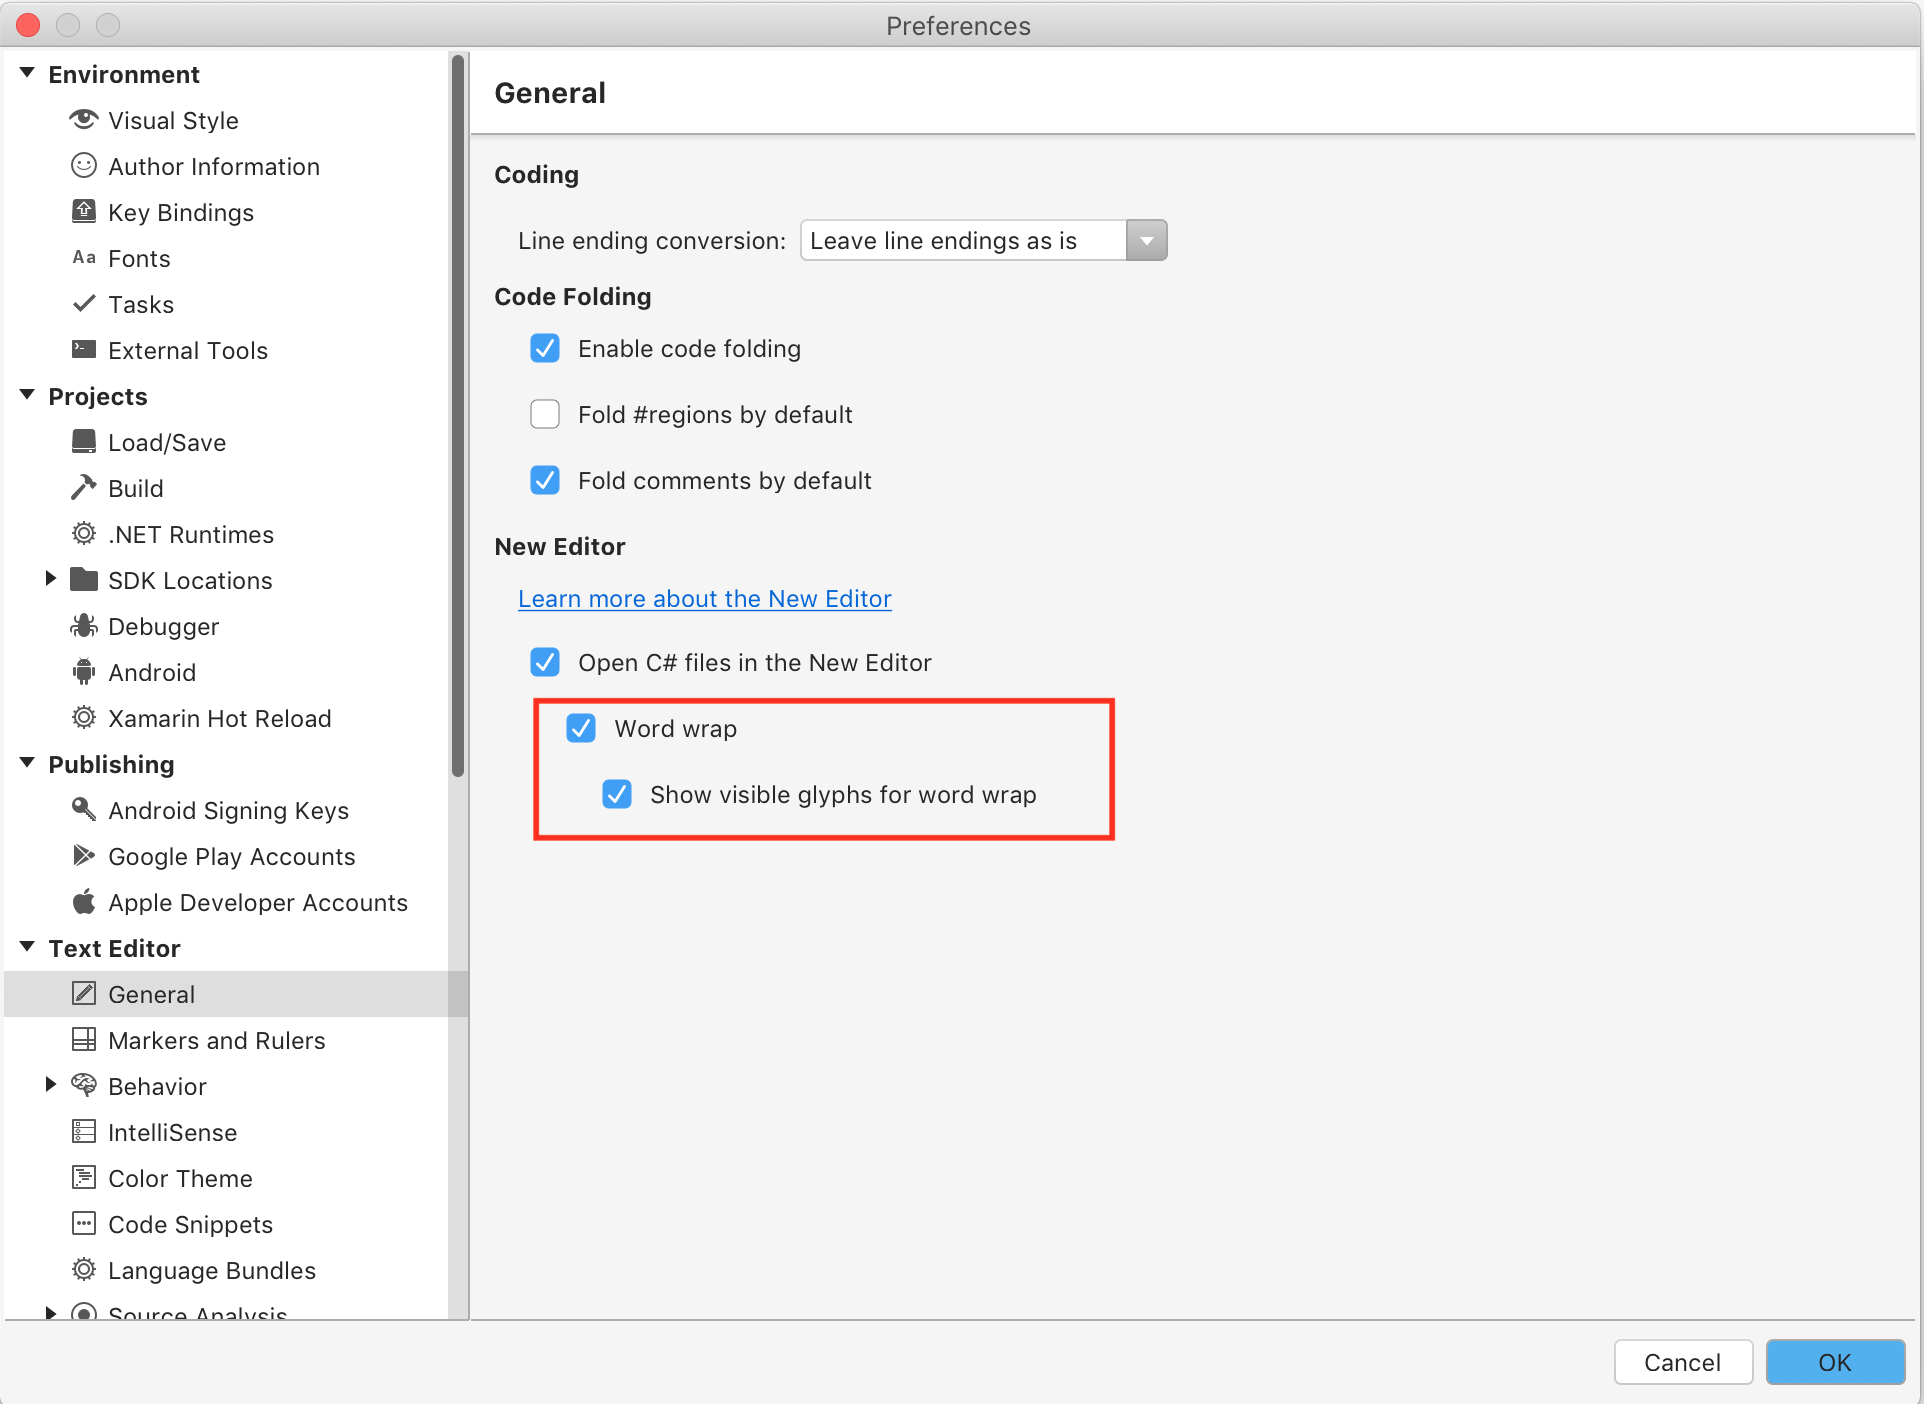
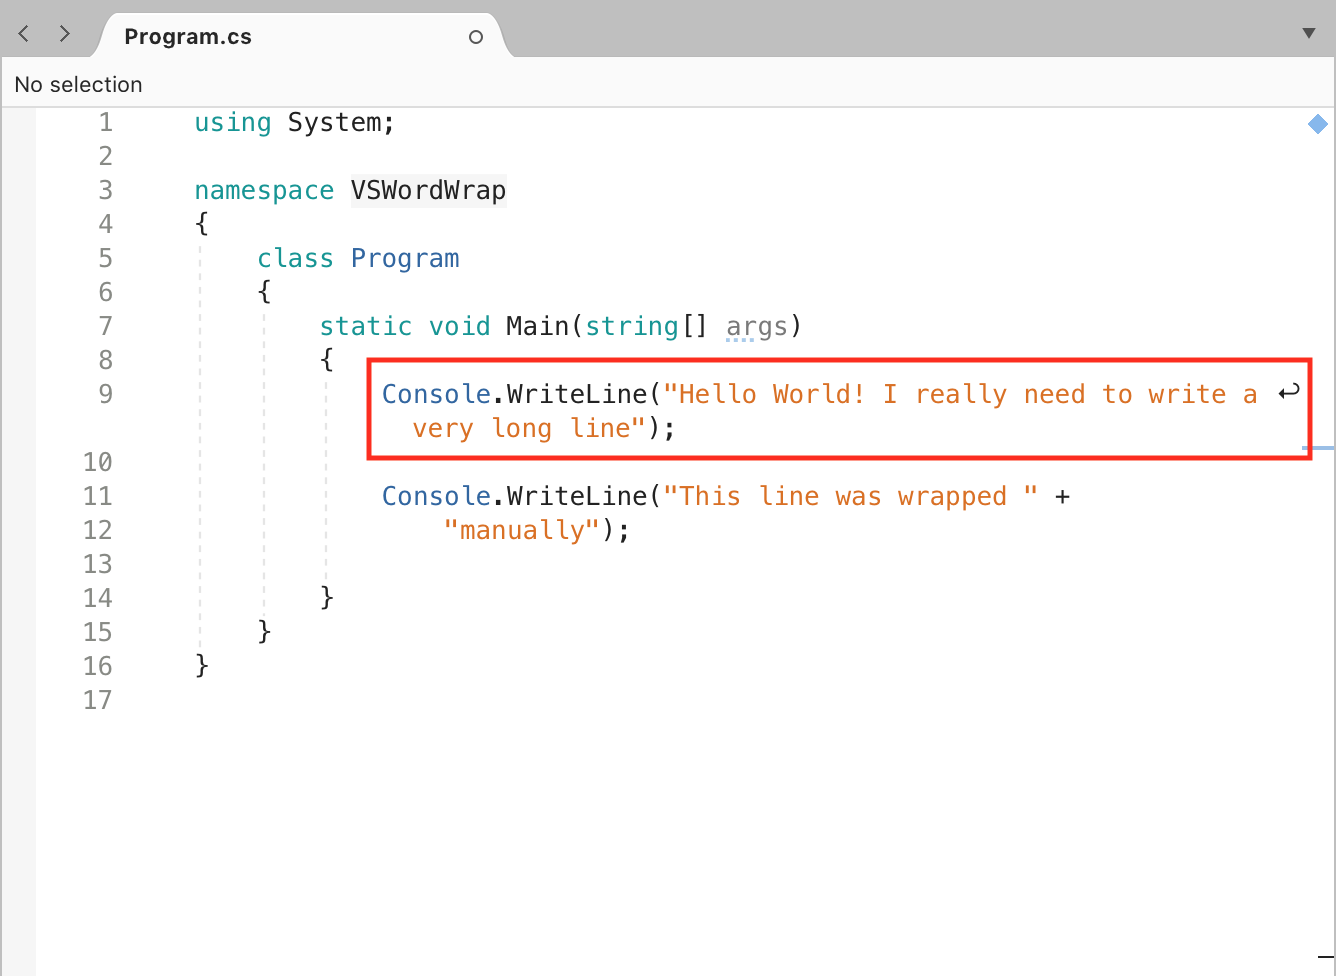
With word wrap enabled, lines which exceed the width of your source editor view will automatically wrap to the next line within your source file. You can also enable an option which will display a visible glyph next to wrapped lines. This will allow you to differentiate between lines which have been wrapped automatically and those which you've wrapped manually.
Ruler
The column ruler is useful for determining line lengths, particularly when working on a team that has line length guidelines. The column ruler can be turned on or off by navigating to Visual Studio > Preferences > Text Editor > Markers and Rulers and selecting (or deselecting) Show Column ruler, as illustrated in the following image:
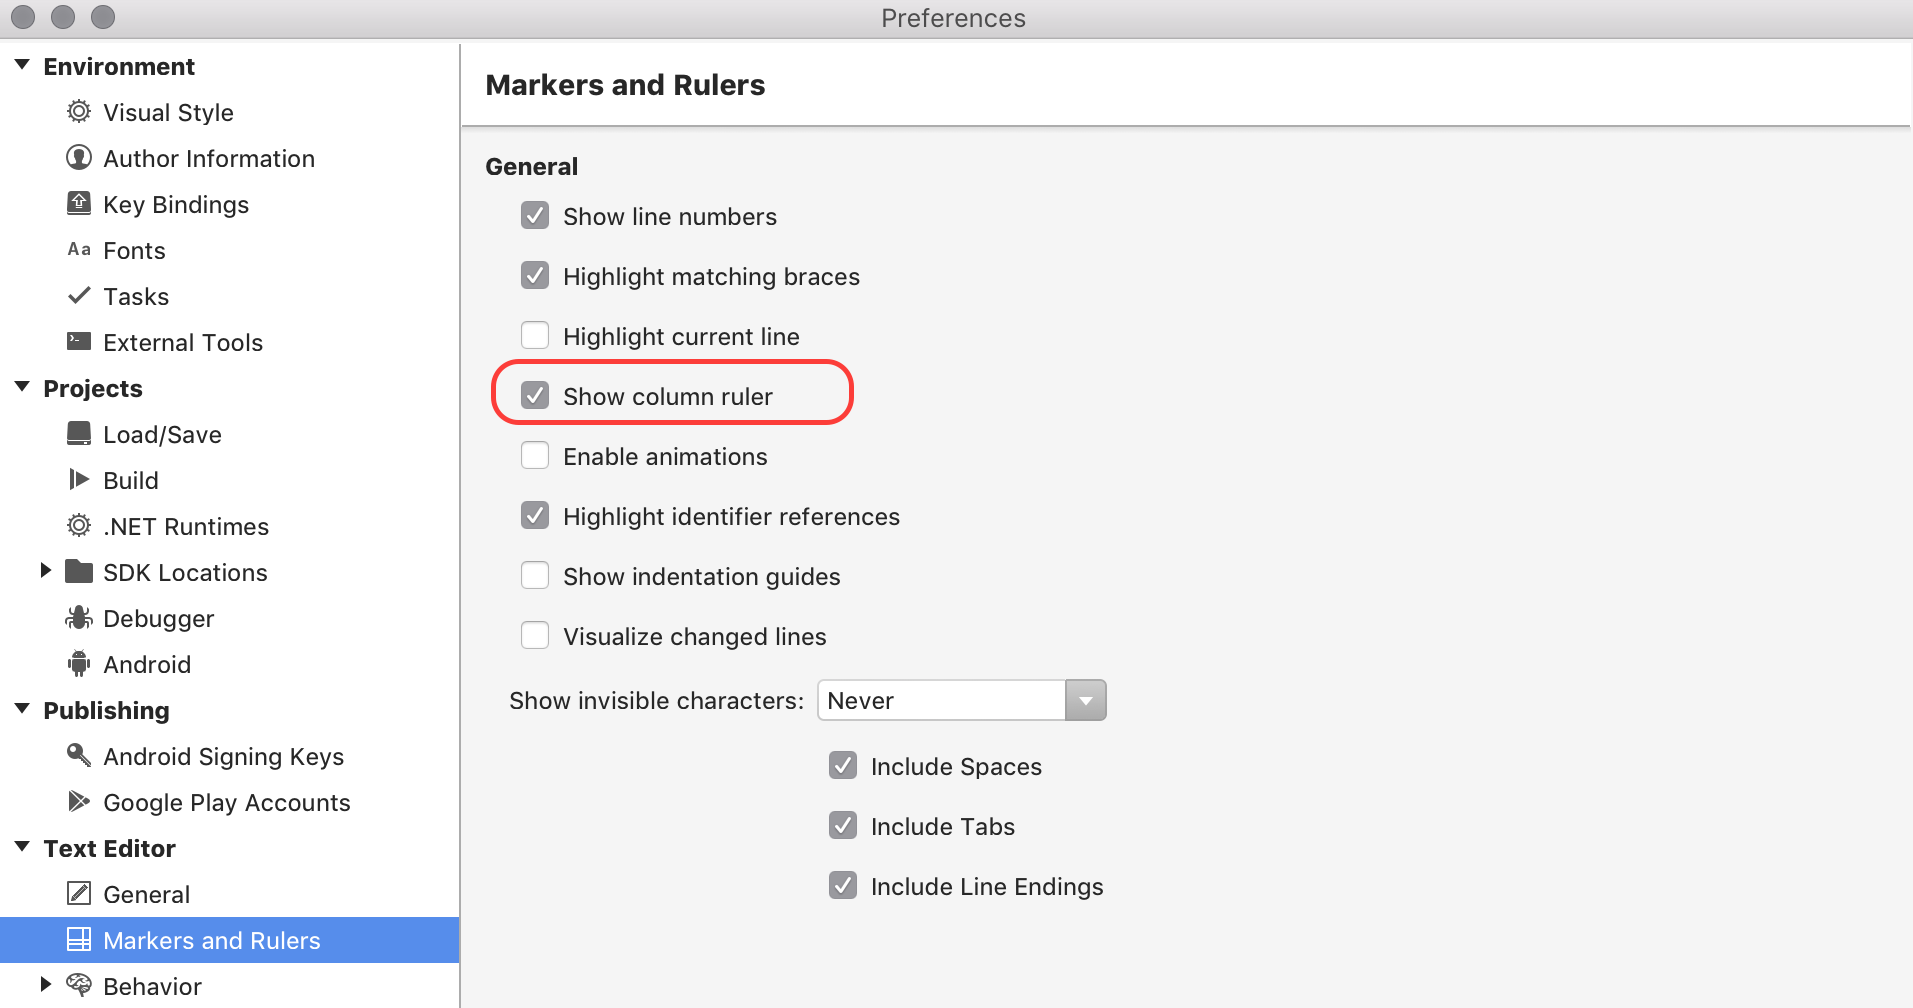
This displays as a vertical light gray line in the source editor.
Highlight identifier references
With the "Highlight identifier references" option is enabled, you can select any symbol in the source code and the source editor will provide a visual guide to all other references in that file. To turn on this option, go to Visual Studio > Preferences > Text Editor > Markers and Rulers and select Highlight identifier references, as illustrated in the following image:
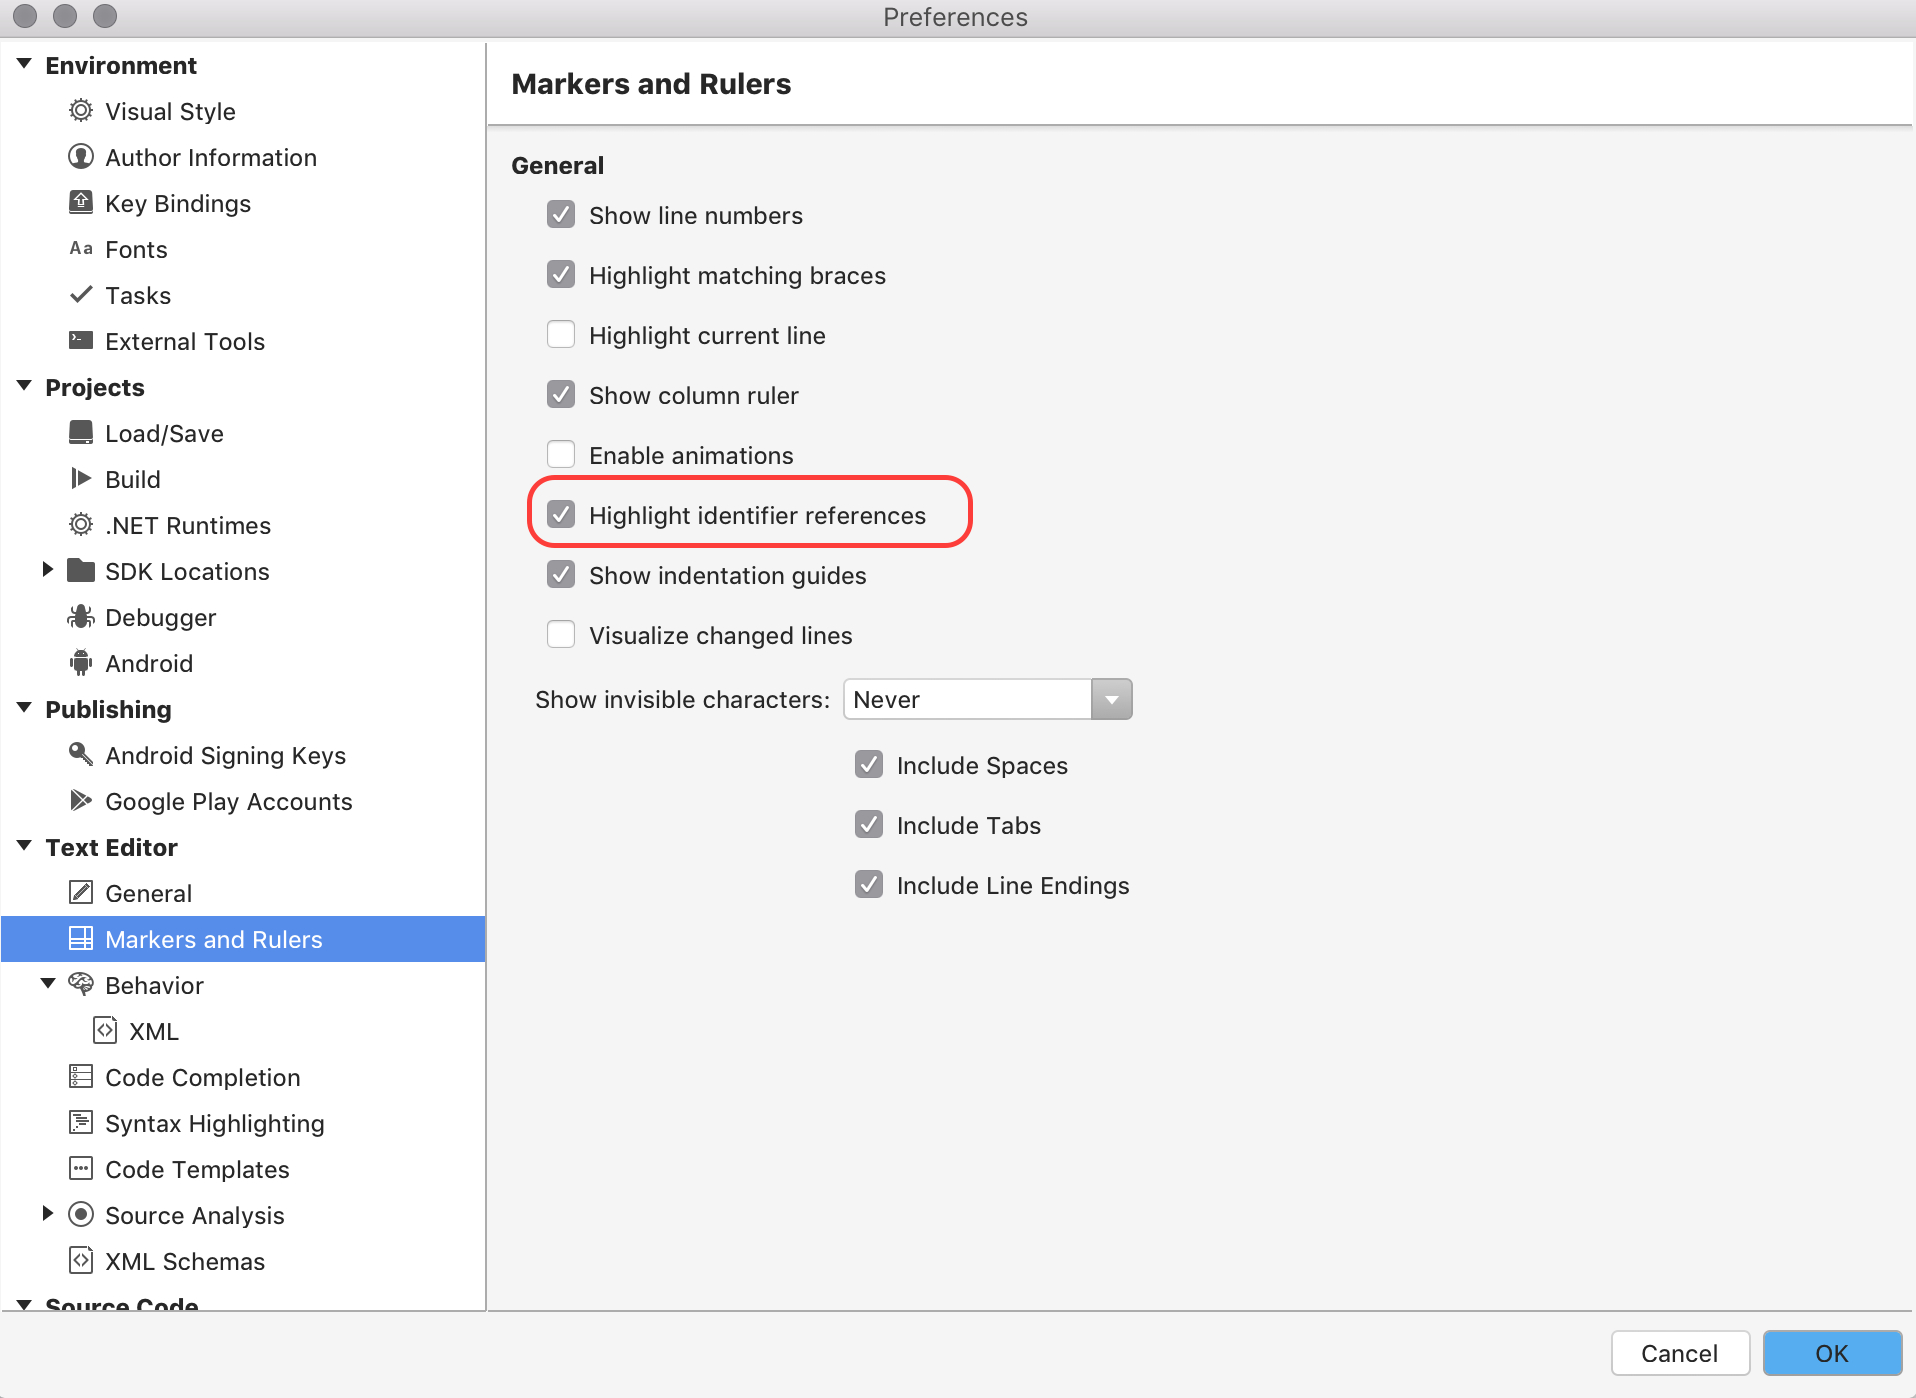
The color of the highlight is also useful for denoting that something is being assigned or referenced. If something is assigned, it is highlighted in red; if it is referenced, it is highlighted in blue:
