Install Windows 8 in a Virtual Hard Disk file (.vhd)
This article describes how to install any version of Windows 8 into a virtual hard disk file. This the same process as was introduced with Windows 7. The steps below will show how you can use the Windows 8 setup to create a virtual hard disk file, partition and format it and finally install Windows 8 into it. These steps work any version of Windows 8, including Windows 8 Server.
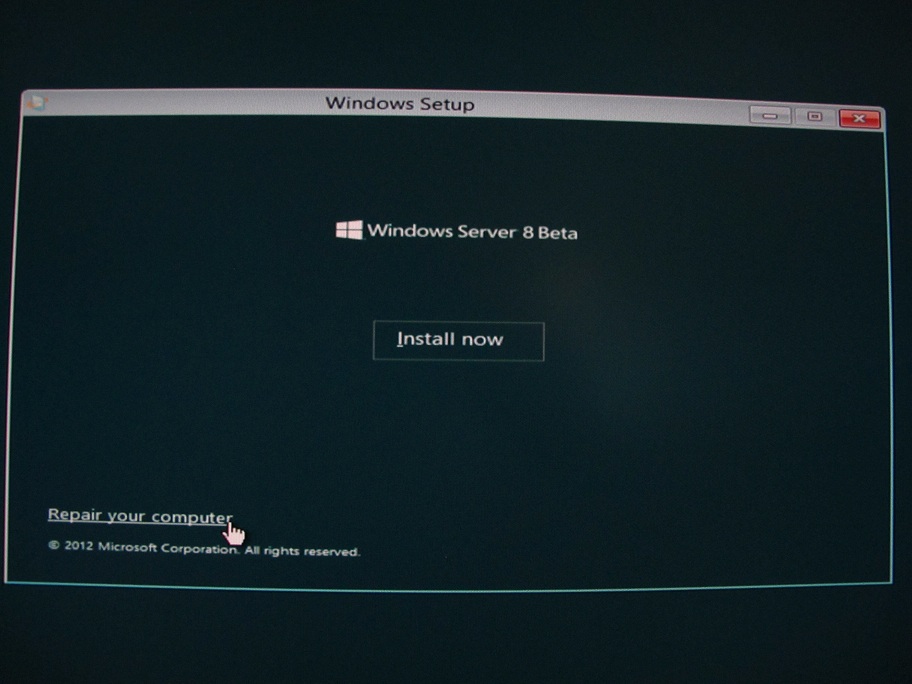
- Start the Windows installation by inserting the installation media (USB/DVD) and starting the machine
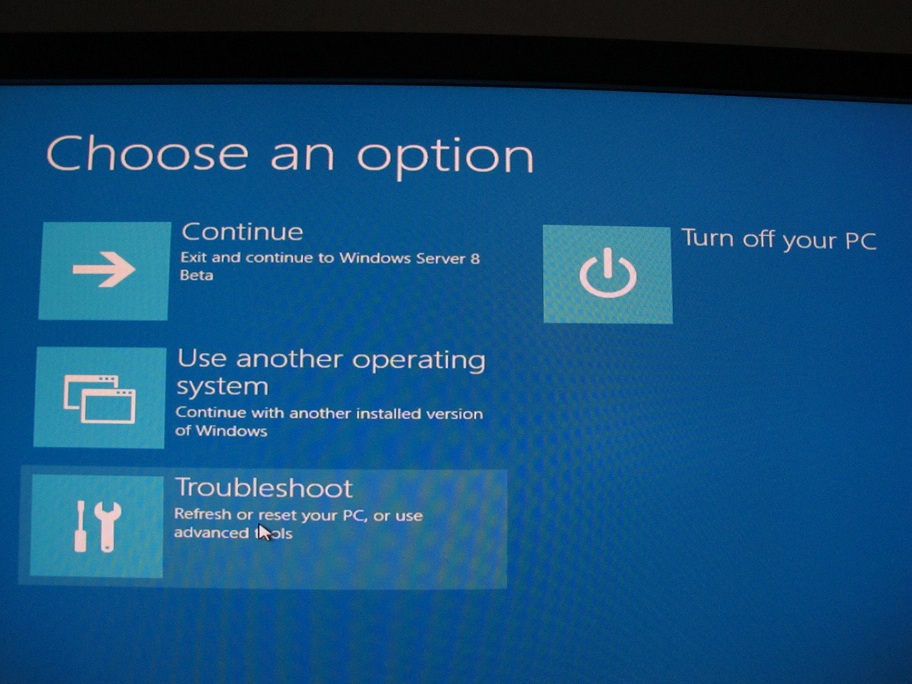
- Select Repair mode
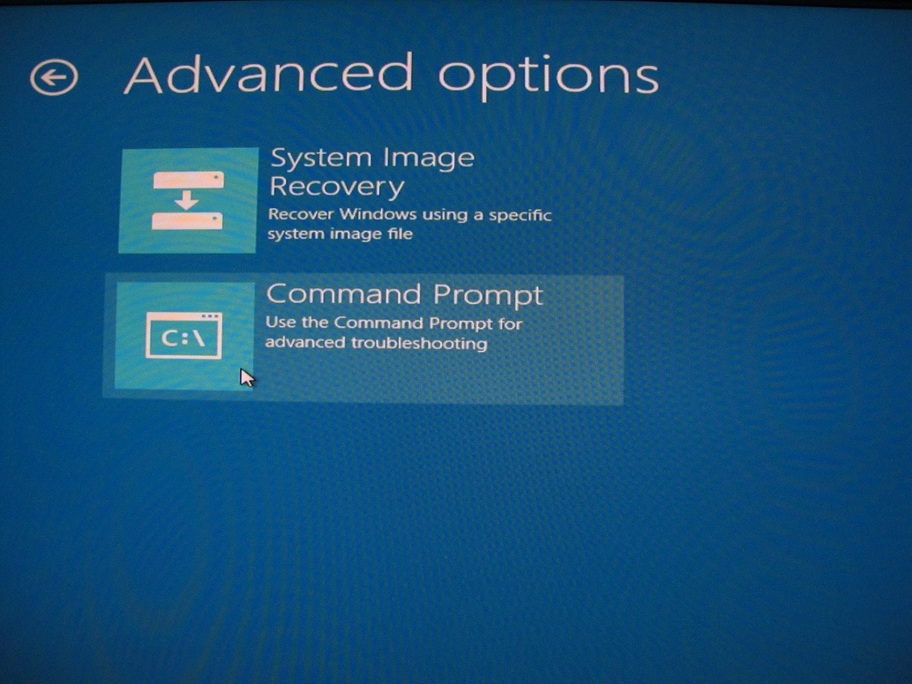
- Open the console
- Type: diskpart
- First find out on which drive you want to create and store the VHD. If you have already created the VHD you can skip the creation step and immediately attach it.
- list volume
- Note that the volume you are looking for will have a different drive letter, for the purpose of this article F: will be used.
- create vdisk file=”f:\vhd\winserver8.vhd” maximum type=expandable
- select vdisk file=” f:\vhd\winserver8.vhd”
- attach vdisk
- create partition primary
- assign
- format fs=ntfs quick label=vhd
- exit
- Type: Setup
- Click next three times
- At the disk selection make sure you select the virtual disk, a warning will show which can be safely ignored
- From this point on the installation will continue normally
For more information regarding vhd's and diskpart usage please refer to these articles:
Frequently Asked Questions: Virtual Hard Disks in Windows 7 and Windows Server 2008 R2
DiskPart Command-Line Options


