SharePoint Framework: Set up Development Environment
Introduction
Let us see how to set up the development environment so that we can kick start with SharePoint Framework development. Below are the required components that we will have to install in the environment.
- Node JS
- Yeoman and Gulp
- Yeoman SharePoint Generator
- Code Editor(Visual Studio Code/Webstorm)
- Postman and Fiddler(optional)
Install Node JS
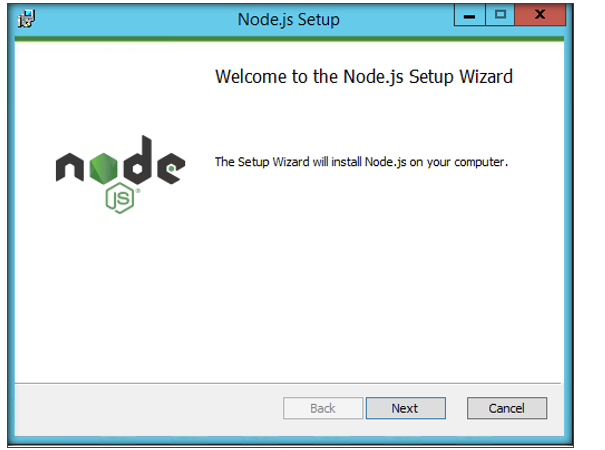
Node.js is a JavaScript runtime built on Chrome's V8 JavaScript engine. It uses an event-driven, non- blocking I/O model that makes it lightweight and efficient. Node.js' package ecosystem, npm, is the largest ecosystem of open source libraries in the world. We will be making use of npm along with Yeoman and Gulp to package and deploy modules.As the first step we will install NodeJS Long Term Support Version (LTS). We can install Node JS from this link . Once we have downloaded the LTS version, run the executable file and proceed.Accept the license agreement and click on Next.
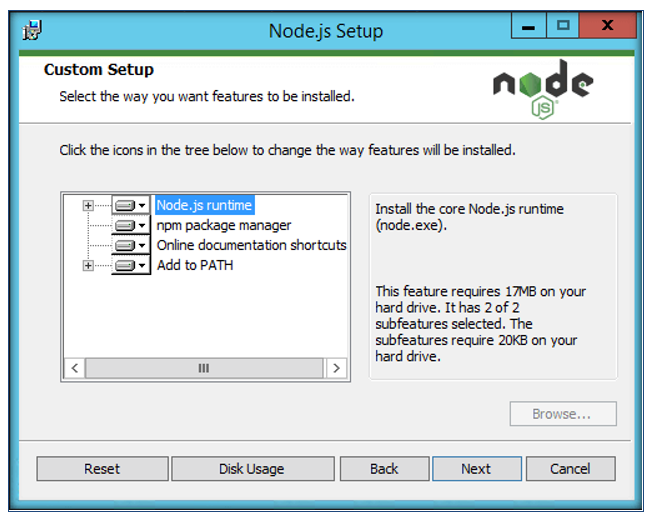
We will select Node.js run time installation.
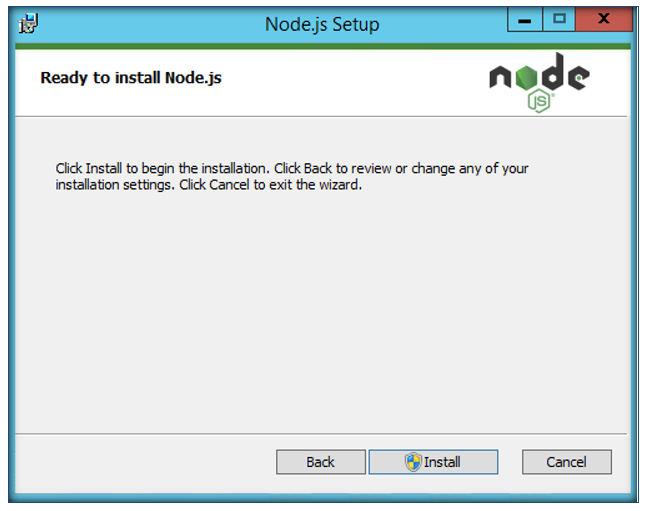
Click on Install to start the installation procedure.
Finally, we are done installing NodeJS.Click on Finish button and restart your computer. You won’t be able to run Node.js until you restart your computer.
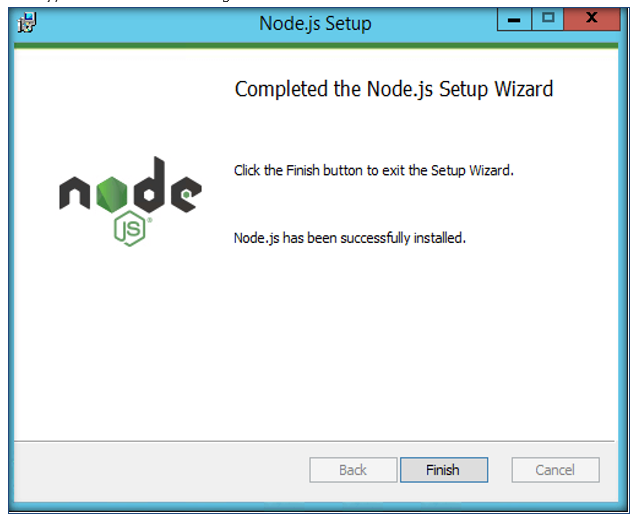
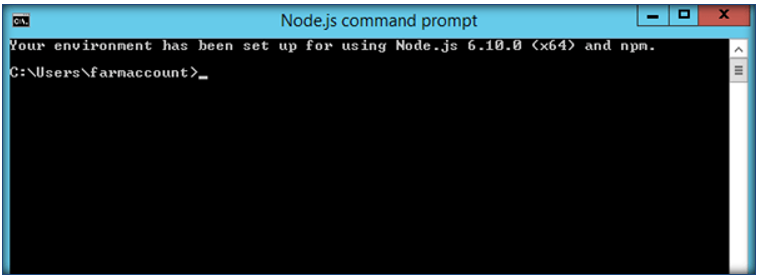
If we run the NodeJS command prompt, we will get the message as shown below. Thus, the Node JS has been successfully installed in the local machine.
Now, let’s see the version of Node Package Manager (npm) by running the command npm –v . It is running V3 version.
Install Yeoman and Gulp
is a scaffolding tool for modern web apps. It helps you to kick-start new projects, prescribing best practices and tools to help you stay productive. Often called Yo, it scaffolds out a new application, writing your build configuration (e.g Gulpfile) and pulling in relevant build tasks and package manager dependencies (e.g npm) that you might need for your build.
Gulp is a JavaScript task runner that helps us automate common tasks like refreshing your browser when you save a file, Bundling and minifying libraries and CSS, Copying modified files to an output directory etc. We will be using Yo and Gulp together for creating SharePoint Client Webparts.
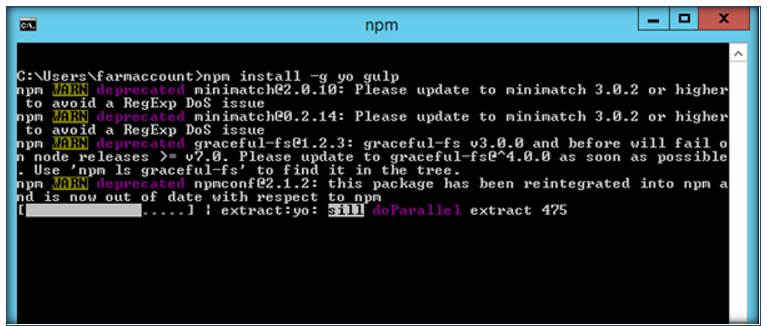
Now, let’s install Yeoman and Gulp simultaneously by running the below command:
npm install -g yo gulp
We can get the version of Yeoman using the command:
yo --version
We can get the Gulp Version using the command:
gulp –v
Install Yeoman SharePoint Generator
The Yeoman SharePoint web part generator helps you to quickly create a SharePoint client-side solution project with the right tool chain and project structure.
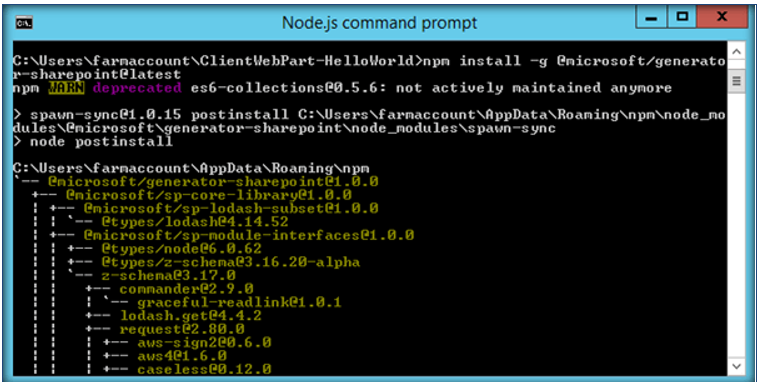
Yeoman SharePoint Generator can be installed using the below command:
*npm install -g @microsoft/generator-sharepoint@latest*
We can get the version of Yeoman Generator by running the below command. As we can see 1.0.0 indicates General Availability version.
npm view @microsoft/generator-sharepoint version
Code Editor
Next, we need a code editor that will help us with code editing. We can use any code editor or IDE that supports client-side development to build our web part, such as:
- Visual Studio Code
- Atom
- Webstorm
We will use Visual Studio Code in this walkthrough. You can get it from here
.
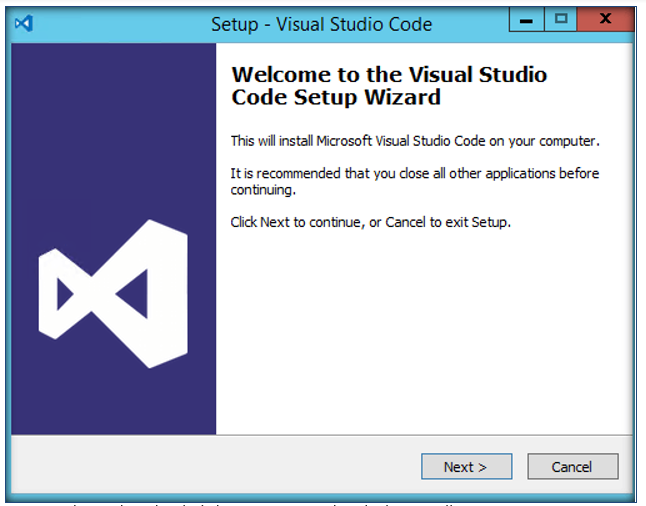
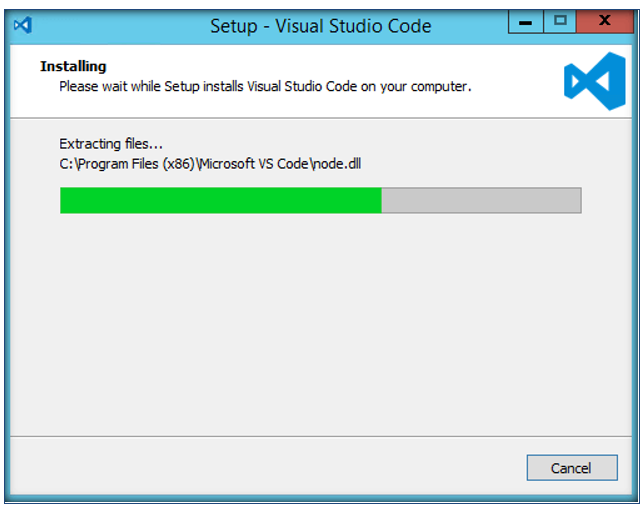
Once we have downloaded the exe, proceed with the installation.Click on Install to start the installation procedure.
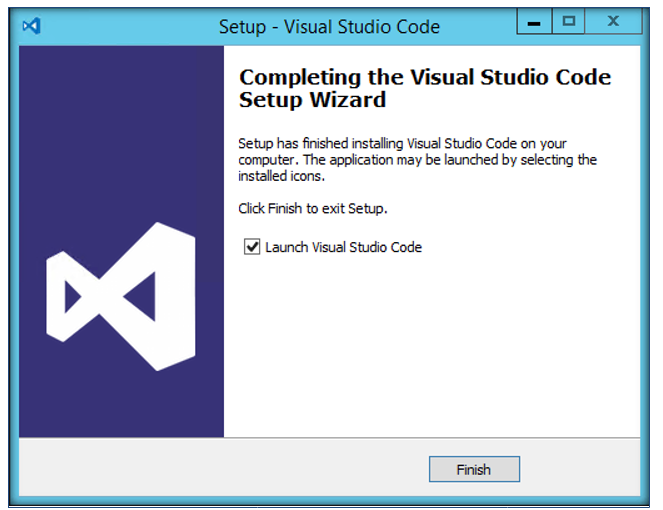
Finally, we have completed installation of the Visual Studio Code editor.
Additional Tools for Development and Debugging
Once we start the development, we must debug or test the application. Fiddler and Postman can help us in this task.
Fiddler
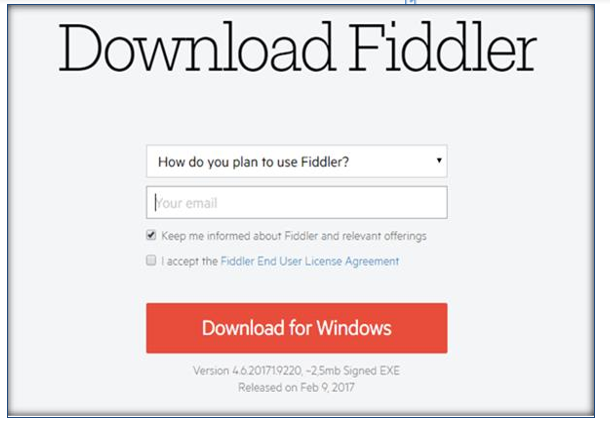
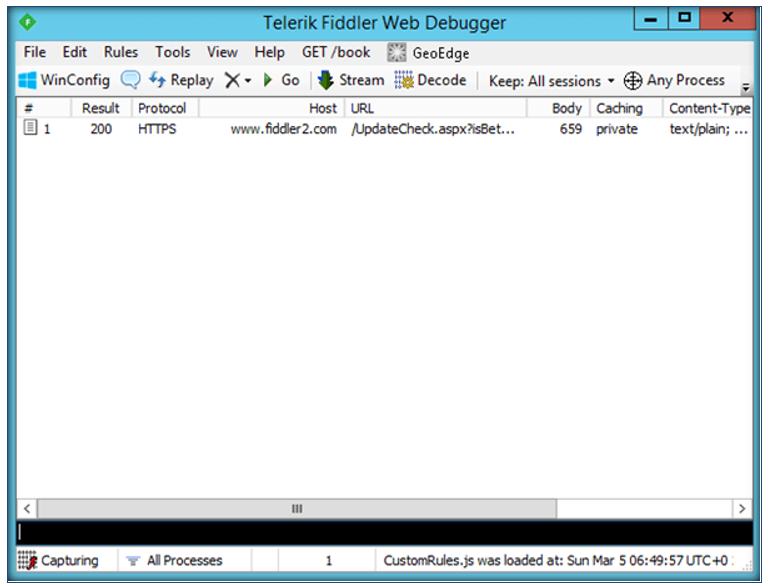
Fiddler is an HTTP debugging proxy server application. It captures HTTP and HTTPS traffic and logs it for the user to review. You can get fiddler from here
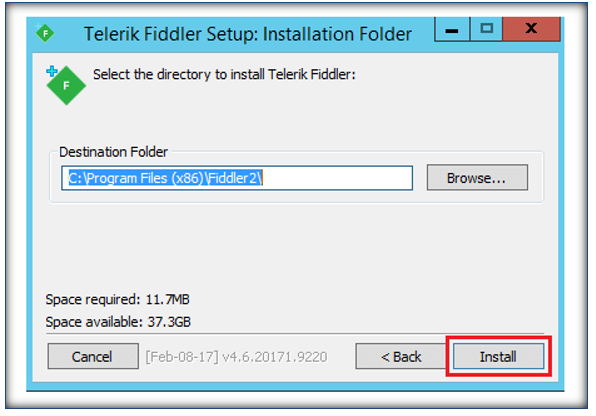
Once the executable has been downloaded. Click on Install to set up Fiddler in your local machine.
Using fiddler, we can examine the traffic as it is being sent or received.
Postman
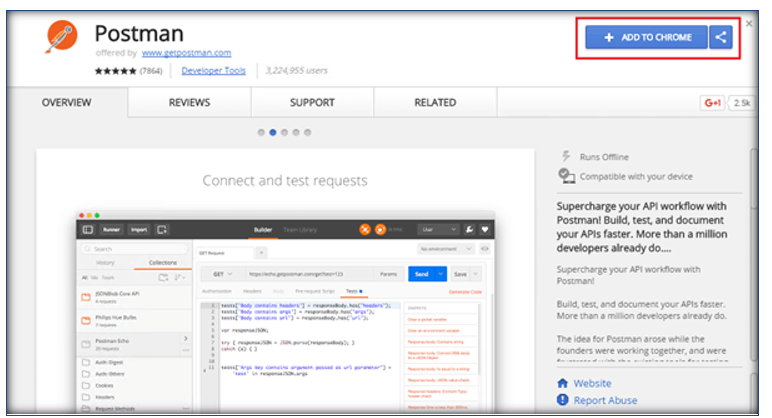
Postman can be used to test SharePoint’s REST service endpoints and verify the returned data and request headers. We can get Postman from here
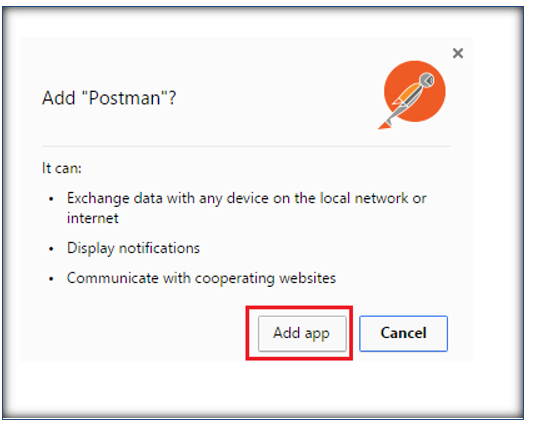
Postman can be added to Chrome as an app.
The REST URL can be entered in the Request URL field and we can click on Send to get the SharePoint data.
Summary
Thus, we saw how to set up the environment and now we are ready to get started with the new SharePoint Framework development model.
