Run Kali Linux From Windows 10 Azure VM
Introduction
Reading the title of the article may seem strange to us but it is true and we will read below how we can download and install Kali Linux from the Microsoft app store.
In Windows 10 Microsoft has added the Windows Subsystem for Linux which allows users to run Linux applications from the Windows environment.
Get started
Let us see how we can download and install Kali Linux in Windows 10 Azure VM.
Step 1. Enable Windows Subsystem for Linux (WSL)
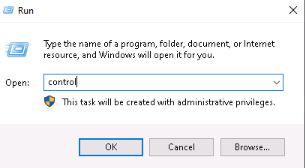
To enable WSL at the Start menu type "Run" then type "Control" and click OK.
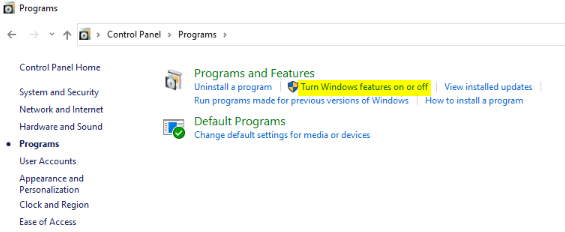
Then select Programs and Features - Turn Windows features on or off
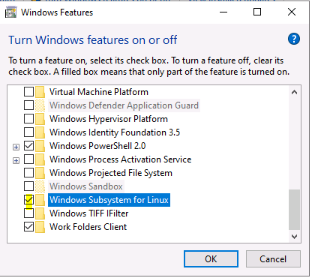
At Windows Features window find and select Windows Subsystem for Linux and click OK and restart the VM.
Step 2. Download and Install Kali Linux from Microsoft Store
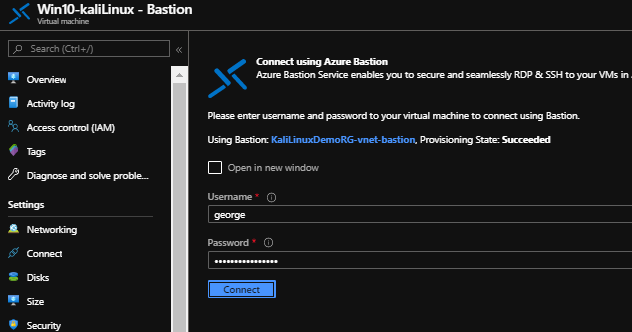
The VM has restarted, and we can connect via Azure Bastion to proceed with the Kali Linux installation.
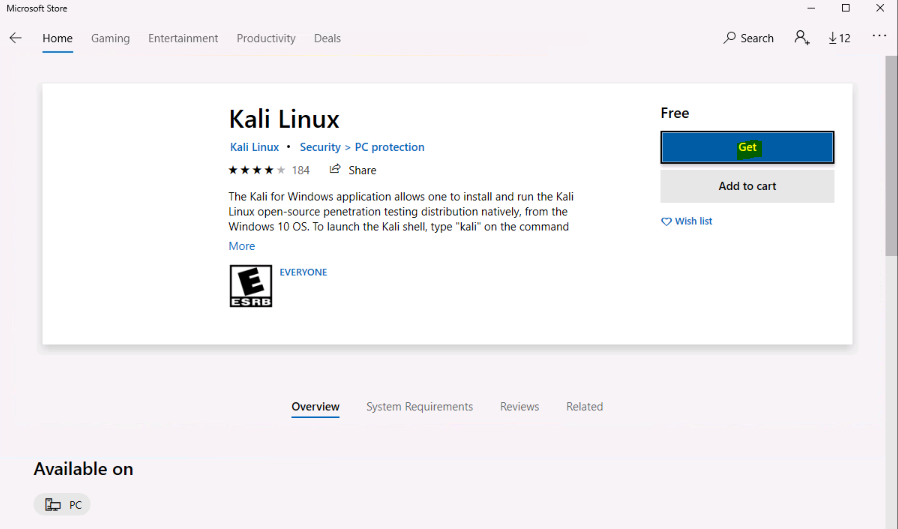
From the Microsoft, Store search to find "Kali Linux" and then select Get.
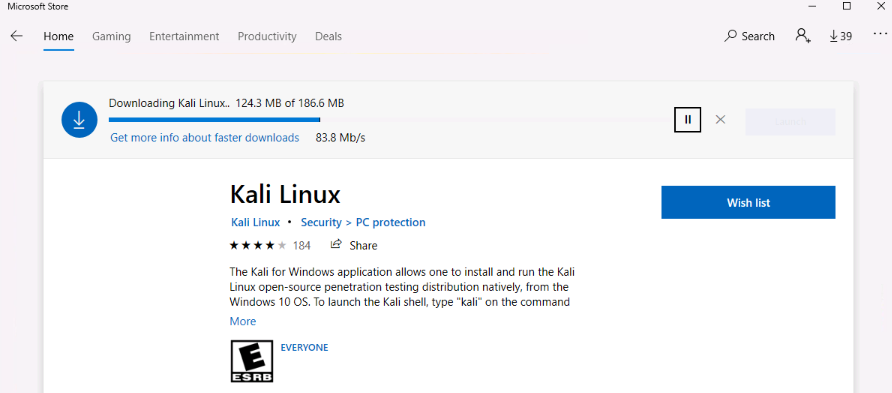
The download is on progress and once completed, it will automatically install.
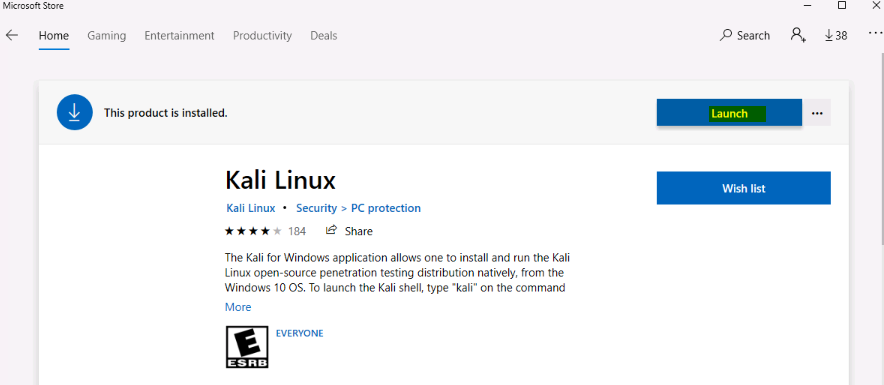
A few minutes later we can Launch the Kali Linux.
Step 3. Let's do the test
The installation has finished and we must create a default UNIX user account,
then type a new password
To do a quick test and check if it works we can type a well-known command e.g. "whoami" and hit Enter.
if we want to execute other commands like traceroute we need to type and execute the sudo apt-get install --fix-missing command.
That's it! Now we can execute Kali Linux commands as if we were in a Linux environment.
Conclusion
In this post, we have read how we can run Kali Linux from a Windows 10 VM hosted in Azure, but if we are not familiar with shell commands then we can use xrdp.
