.NET Core with a Linux server: Hello World!
Hello World in .NET Core Ubuntu
Let’s start our first application on .NET Core - Ubuntu.
Create a new project
Create a folder in your desktop, myprojects, go inside of it and create a new project using the 'dotnet new' command.
You can see Program.cs and project.json file is created. To build our first project in .NET Core, let’s install the Visual Studio Code editor.
Install Visual Studio Code
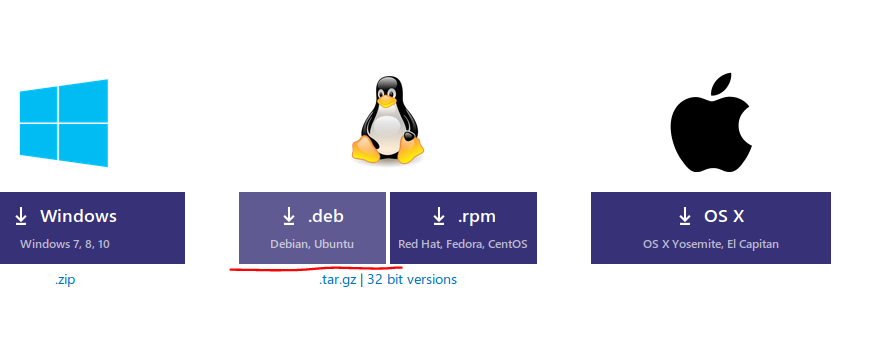
Download the correct version of Visual Studio Code relevant to Ubuntu and install it.
Go to your project location and open your project in Visual Studio Code. It shows a message to install an extension. Extensions allow you to add languages, debuggers and tools to your development environment, Click on Show Recommendations to view recommended extensions.
Select C# powered by Omnisharp, since we are using C# code in .NET Core. It provides IntelliSense for .NET. Omnisharp provides a set of tooling and libraries to IDEs like Visual Studio Code, Sublime, Atom, Emacs, Vim and Brackets. After installing the C# extension, enable it.
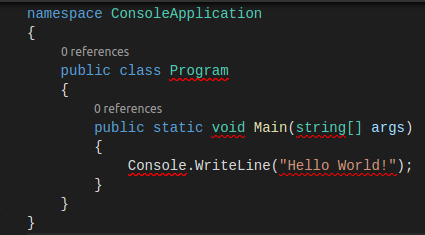
program.cs file shows entry point to the application as usual.
project.json File
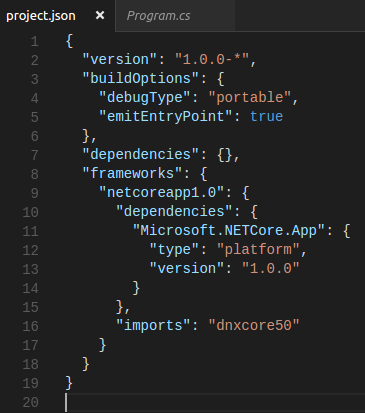
project.json file shows NuGet dependencies required to build the application.
Let’s see what is the meaning of these attributes in the project.json file:
- version”: “1.0.0-* specifies the version of .NET Core. It says version should start with 1.0.0.
- buildOptions defines how the project should be built.
- dependencies list all the dependencies in your application.
- frameworks defines a target framework that will be used with specific dependencies.
- imports defines where our application runs, When we add dnxcore50 , it says we are running in Core CLR on the dnx.
You can see a message to install build and debug assets, install them. And another message to restore the packages in project.json, restore them as well.
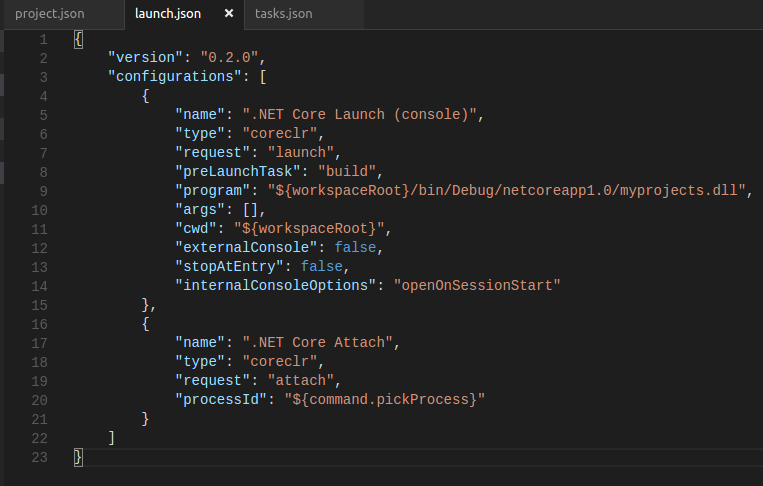
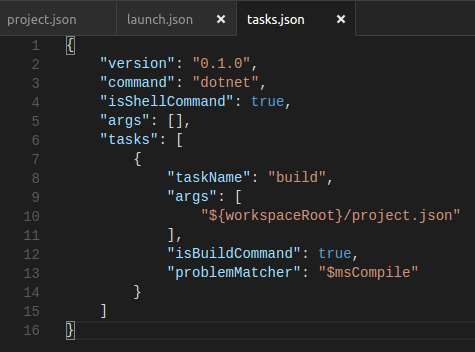
After adding an Assets folder, you can see .vscode folder with launch.json and tasks.json files. All the build errors are gone. Check the output window. It shows package restore is completed.
project.lock.json File
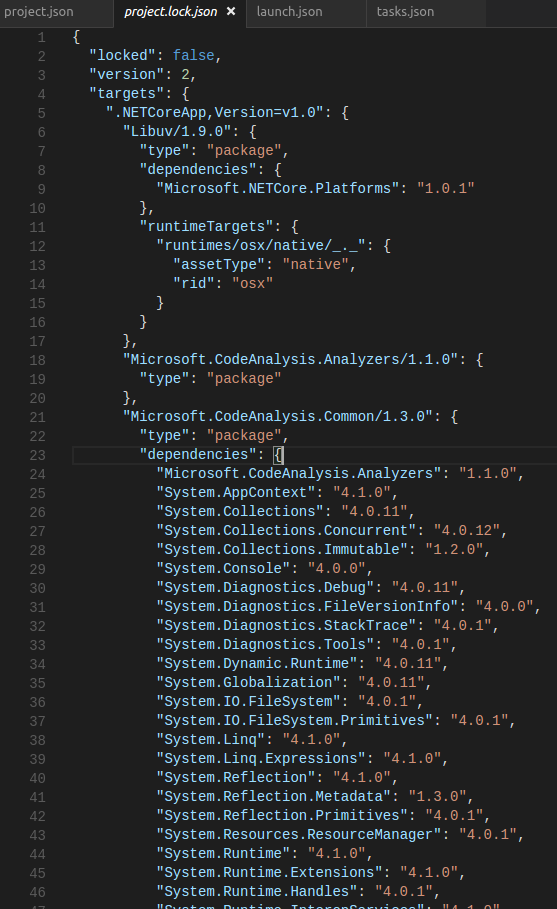
After packages restoring is completed, project-lock.json file has been added to the solution.
It’s going to capture entire dependency graph that your application depends on. In the project.json file, you define the top level dependencies, a more detailed level description is available in project-lock.json file.
launch.json File
This file is going to confgure debugging and running in the application. In this example, it’s going to launch the .NET Core console or even we can attatch to .NET Core console.
tasks.json File
This file is used to automate tasks like building, packaging, testing and deploying software. In this example, it defines a build task and specifies to run as a build command.
Hello World in the terminal
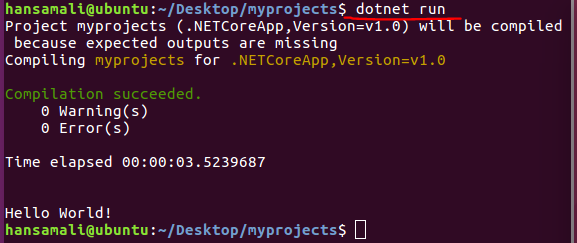
That’s all we want to know about the .NET Core application, Let’s see the output of our first application, When we run with 'dotnet run' command, it shows the output of the application.
Download Source
TechNet Gallery
- Source code can be downloaded from: https://gallery.technet.microsoft.com/NET-Core-with-a-Linux-df7e94b4
GitHub
- You can find it in this GitHub repo: https://github.com/hansamaligamage/HelloWorld

