SharePoint Online: How To Create client WebPart using JSOM
Introduction
Hello everyone in this article I am going to explain you how to create a client web Part for SharePoint Online & OnPrem using JSOM. I am going to create a simple custom slider webpart using JSOM in SharePoint hosted App please follow the step by step instruction as given below.
Steps
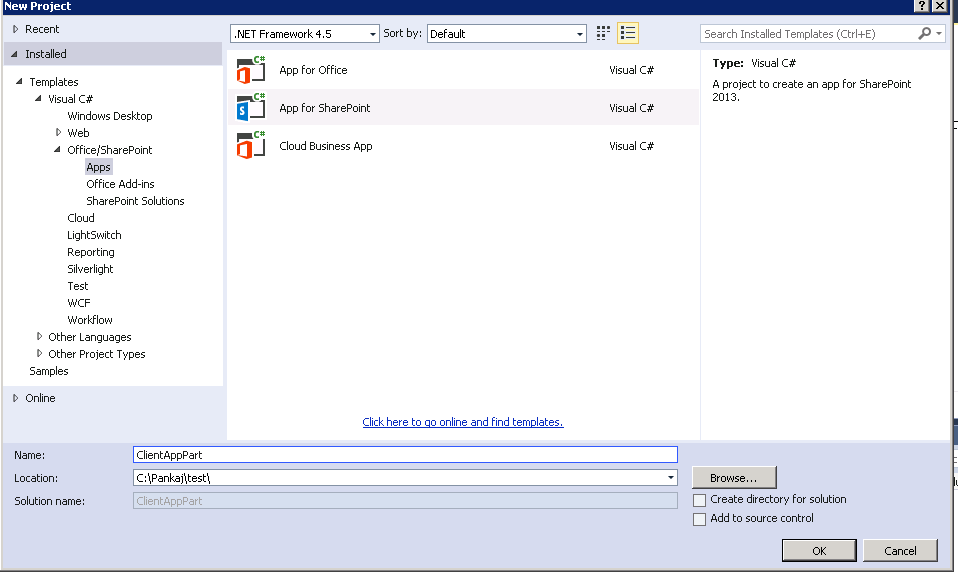
- Create a new project in Visual Studio 2013 using the App for SharePoint 2013 template and click Ok.
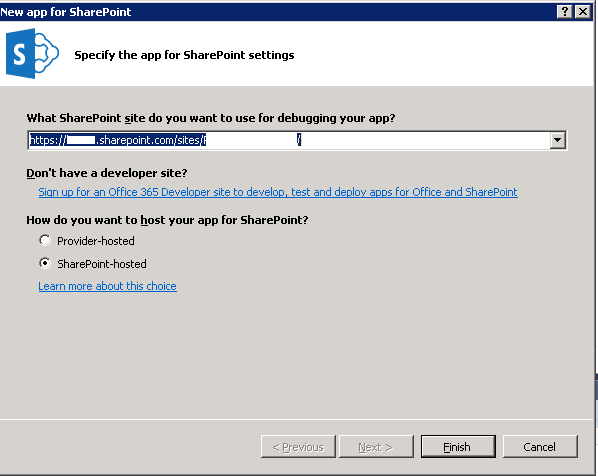
2. Specify site url where you wish to deploy this for the project and make sure to choose the SharePoint-Hosted option for the App hosting options:
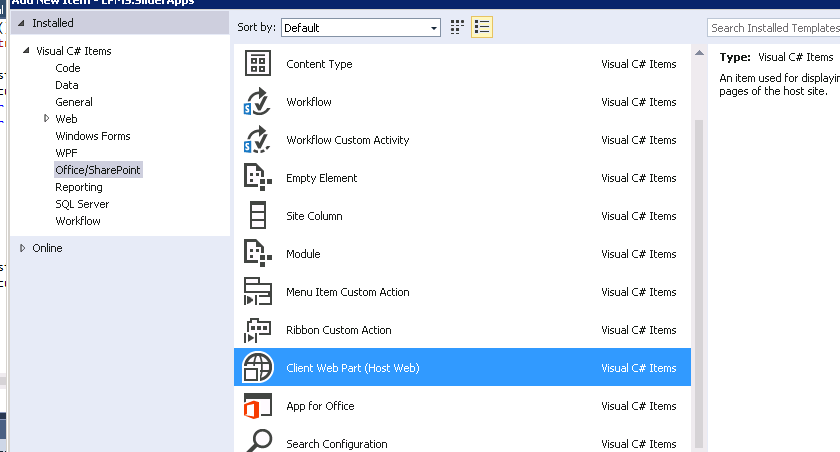
3. Once projects gets created right click on solution and then click on Add Item select the Client WebPart put your desired name
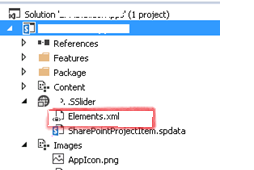
4.When client App Part will have added to solution and you will get a client AppPart with an element.xml file
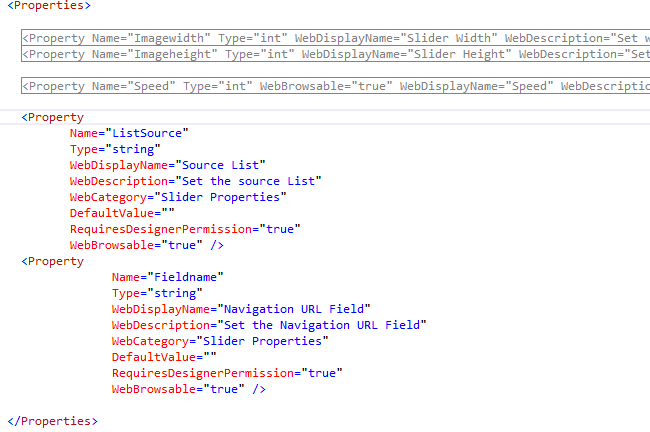
5. Click on element.xml file add the desired Web Part property inside properties section based on your requirements in my scenario I have added 5 properties based on my requirements so don’t get confused
6. As we know App Part generates an Iframe when it is added into a SharePoint page, which internally points to any page that you wish to display by I am using the default.aspx page so I have created Properties now let’s pass these properties value in query sting. Above the property section you will see the below code
<Content Type="html" Src="~appWebUrl/Pages/Default.aspx?{StandardTokens}"/>
I am going to pass my properties value in query string just modify the above code like this.
<Content Type="html" Src="~appWebUrl/Pages/Default.aspx?{StandardTokens}&Imagewidth=_ Imagewidth_&Imageheight=_Imageheight_&ListSource=_ListSource_&Speed=_Speed_}"/>
7. Write your own logic on default.aspx based on your requirements
<%@ Page Inherits="Microsoft.SharePoint.WebPartPages.WebPartPage, Microsoft.SharePoint, Version=15.0.0.0, Culture=neutral, PublicKeyToken=71e9bce111e9429c" Language="C#" %>
<%@ Register TagPrefix="SharePoint" Namespace="Microsoft.SharePoint.WebControls" Assembly="Microsoft.SharePoint, Version=15.0.0.0, Culture=neutral, PublicKeyToken=71e9bce111e9429c" %>
<%@ Register TagPrefix="Utilities" Namespace="Microsoft.SharePoint.Utilities" Assembly="Microsoft.SharePoint, Version=15.0.0.0, Culture=neutral, PublicKeyToken=71e9bce111e9429c" %>
<%@ Register TagPrefix="WebPartPages" Namespace="Microsoft.SharePoint.WebPartPages" Assembly="Microsoft.SharePoint, Version=15.0.0.0, Culture=neutral, PublicKeyToken=71e9bce111e9429c" %>
<WebPartPages:AllowFraming runat="server" />
<html>
<head></head>
<body >
<div></div>
</body>
</html>
read your query string value from WebPart on default.aspx
function getQueryStringParameter(paramToRetrieve) {

    var params;

    var strParams;

    params = document.URL.split("?")[1].split("&");

    strParams = "";

    for (var i = 0; i < params.length; i = i + 1) {

        var singleParam = params[i].split("=");

        if (singleParam[0] == paramToRetrieve)

            return singleParam[1];

    }

}

var ListName = decodeURIComponent(getQueryStringParameter("ListSource"));

hostWebUrl = decodeURIComponent(getQueryStringParameter("SPHostUrl"));
var speed= decodeURIComponent(getQueryStringParameter("Speed"));
8. Now go to App Catalog site upload your *. app file and add your app to desired site
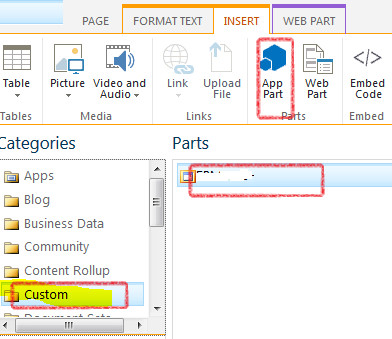
9. Go to the page where you want to add this WebPart click on Edit Page- Add a Web part select your AppPart the one which you just deployed
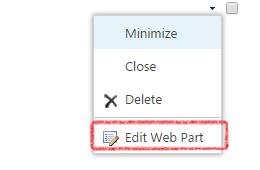
 10. Now click on edit WebPart from right corner
11. Once you clicked on edit web part you would be able to see all the custom Property which you have created in ClientAppPart elemet.xml file
