Build a custom SharePoint page template to display site columns
https://msdnshared.blob.core.windows.net/media/2016/08/0841.NinjaAwardTinySilver.pngSilver Award Winner
Description
This article walks you through the steps on how to build a custom page template which already has custom fields or column information in the page. The instructions provided here work on SharePoint 2010, 2013 and Office 365's SharePoint Online. You will need a site collection administrator level access to build these custom content types.
Brief Overview
In this example, a custom page will be created very similar to the Article page except we need to remove certain widgets already available and add a few more. The custom page is built by editing the page HTML code. The code widgets are provided by Design Manager, however, not all columns appear. This is because only the columns available in the root content type appear in the Design Manager. Hence we first need to create the content type column, then add it to the root content type after which it will appear in the Design Manager. These changes affect at site collection level only i.e. the custom page will only be available in the site collection it has been built.
Before building the content types
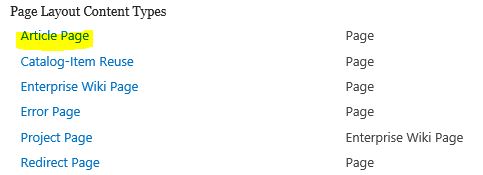
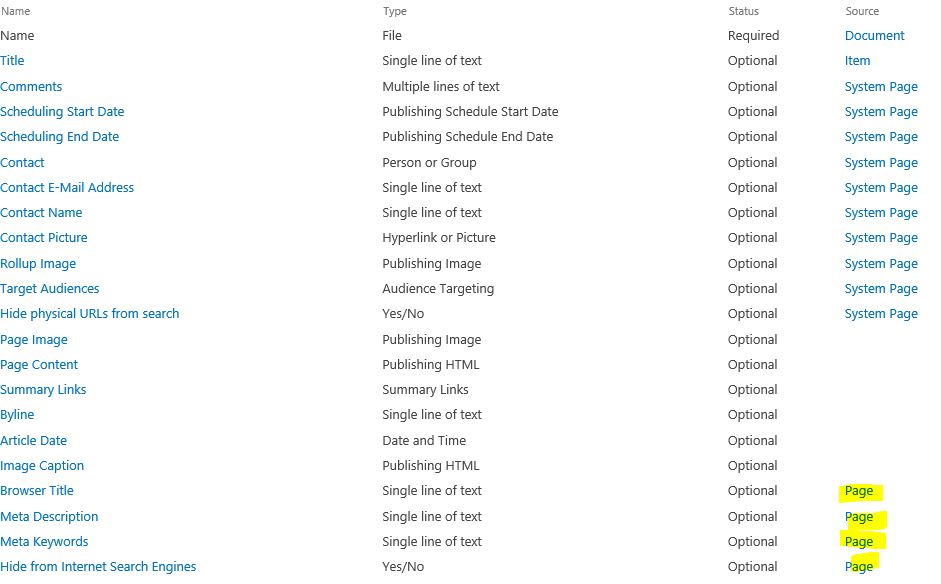
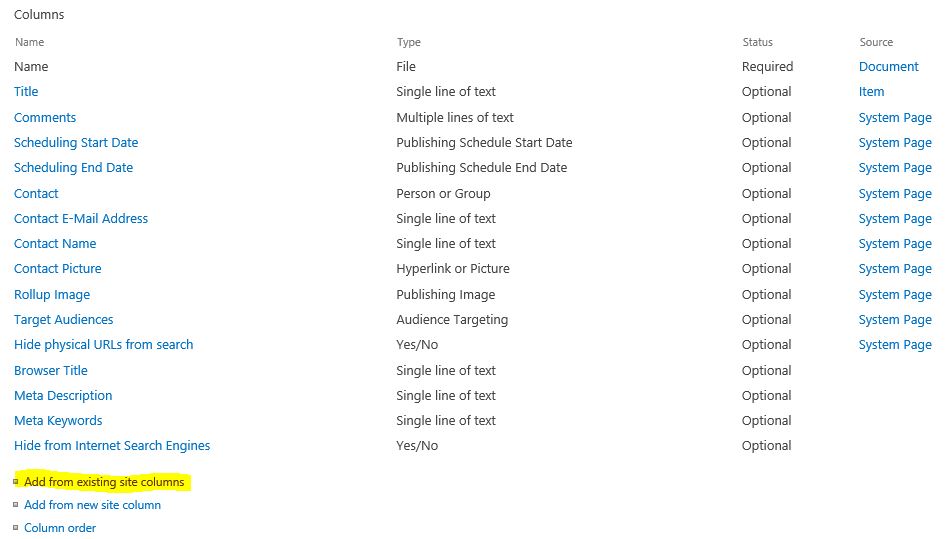
Before building the content column let's take a look at the existing columns already available in the Article Page. As you can see from the below screenshots, the Article Page is part of the original Page content type.
One of the uses of this site is to have a list of products and their inventory. We need to create a pages library where FAQ regarding these products will be saved. This site already has a choice type content column called Products and are going use the Article Page layout to build a custom article page. Hence this custom page will need the following-
- A publishing HTML type column called Question. We will use the existing page content column for this.
- A publishing HTML type column and call it Answer. We will create a new page content column for this.
- A choice type column called Product. This column is already available as a content column.
- A person or group column called Contact. We will use the existing page content column for this.
Building the Site Column
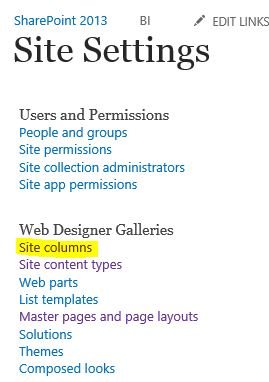
Go to Settings>Site Settings and in the Web Designer Galleries section click on Site columns.
Click on Create
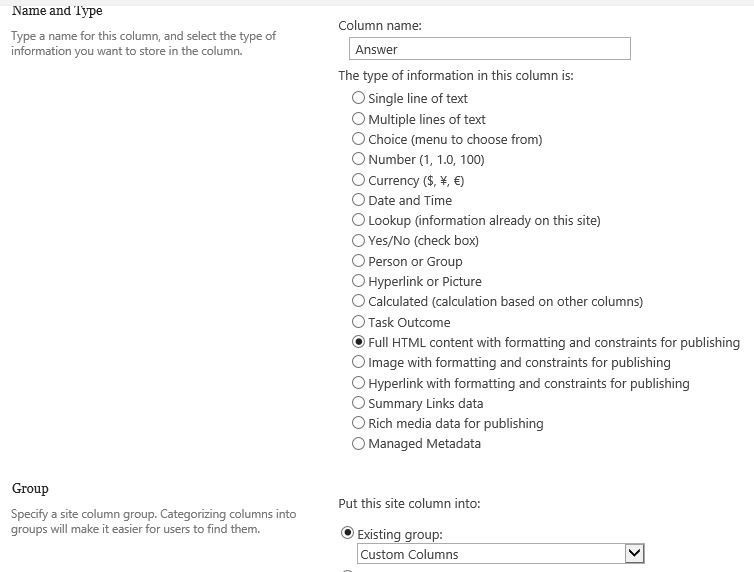
The column name is 'Answer', the column type is 'Full HTML content with formatting and constraints for publishing' and we are keeping this column in the 'Custom Columns' group.
Click Ok. Your site or Content Column has been built and is ready to be added to the Content Type.
Building the new Content Type
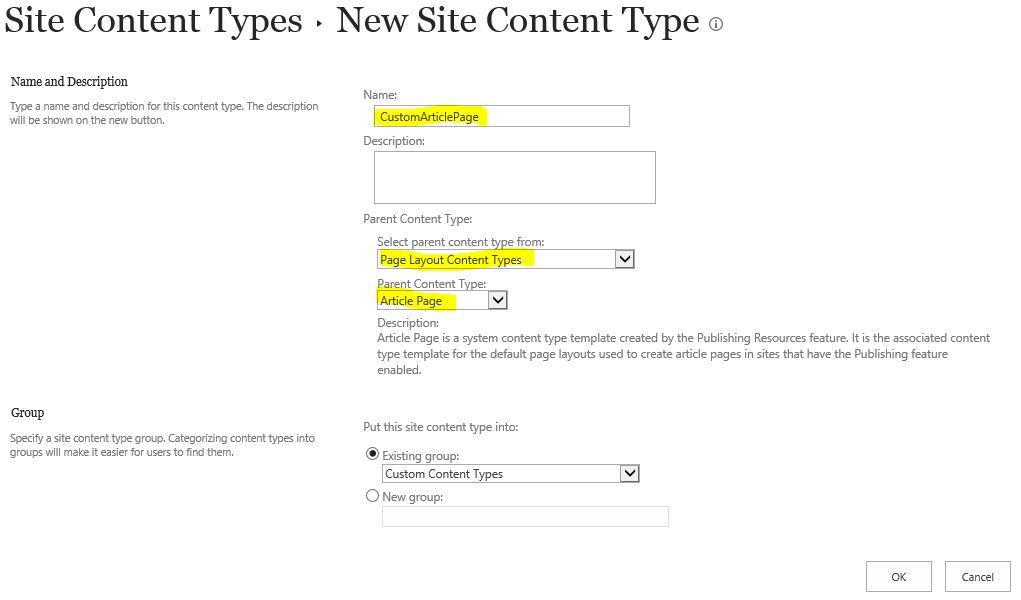
In Site settings click on Content Type. Then click on Create.
Below is a screenshot of all the settings.
Now we need to add the two Product and the Answer site columns to the new CustomArticlePage content type.
Go back to your CustomArticlePage content type and find the last column and click on the link to the 'Page' source
as highlighted below.
You will now be in the Page content type.
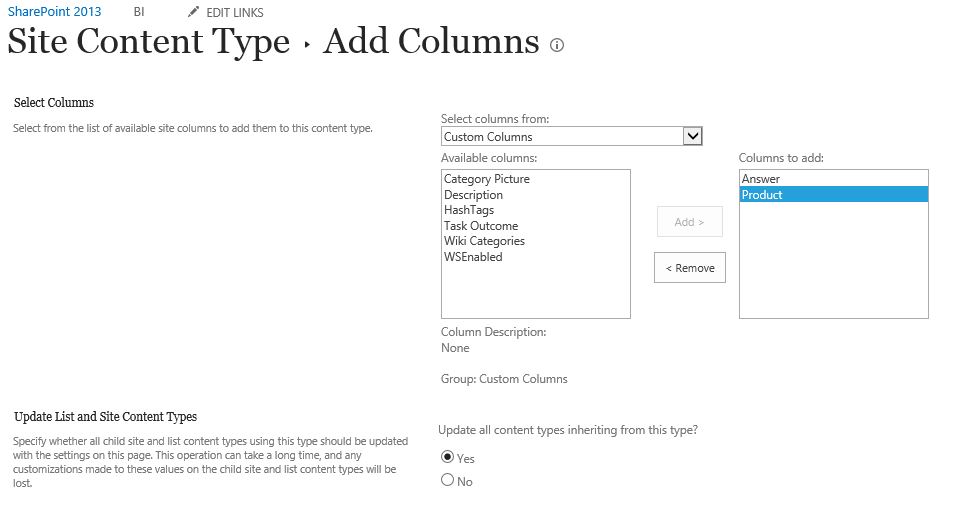
Scroll to the bottom and click on 'Add from existing site columns'.
Add the Answer and Products content column and click OK.
Now go back to the 'CustomArticlePage' Content Type. You will now see the two new columns there.
The below video walks you through the steps on how to create the Products and Answer site columns and add them to the custom content type.
Building the custom page
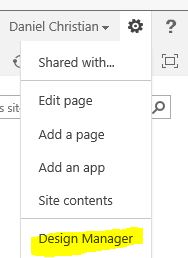
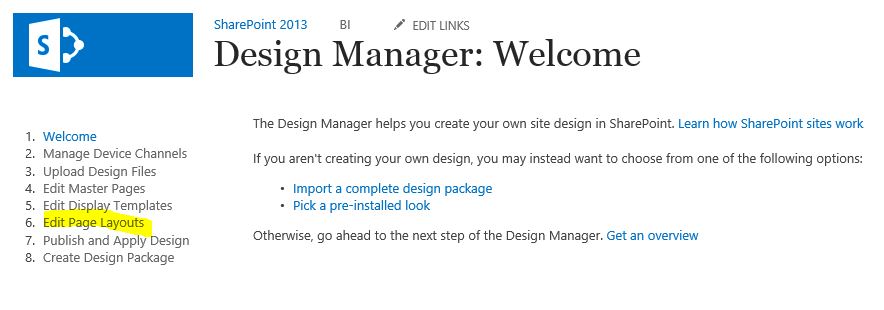
Click on Site Settings > Design Manager
In Design Manager click on Edit Page Layouts
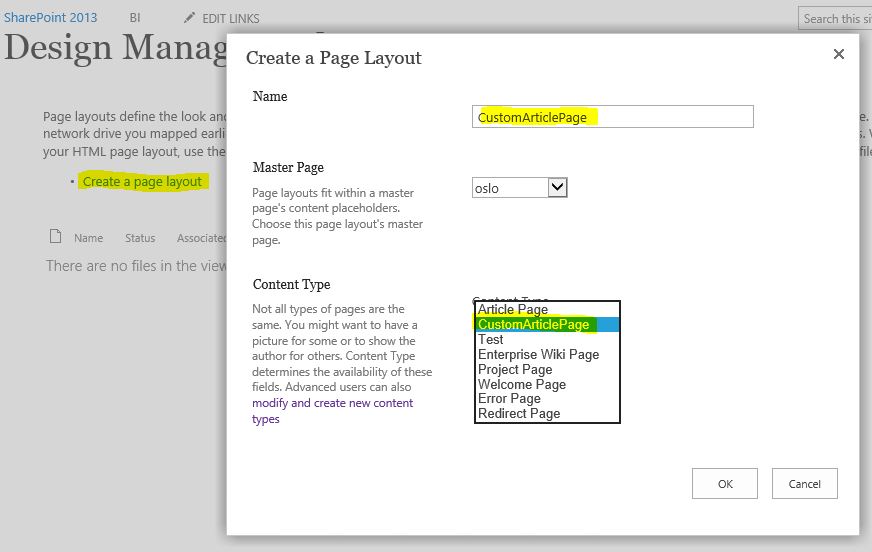
Click on Create a page layout and then type in the name and pick the new custom content type we have created. The name can be anything. Click OK.
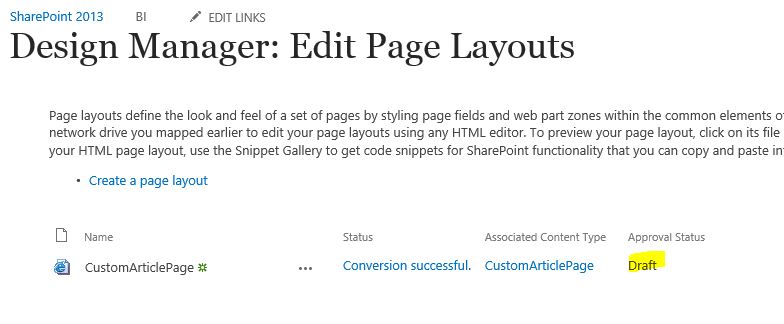
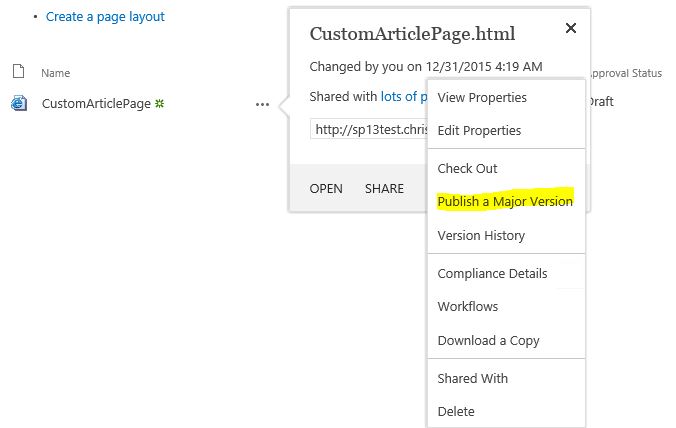
The page is still in Draft mode (as shown above) hence click on the ellipses or three dots and select Publish a Major Version. You can add comments if you wish and then click OK. The page will now be approved.
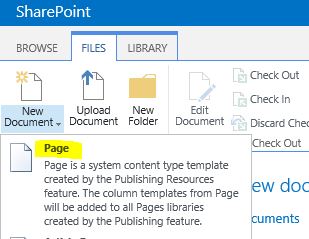
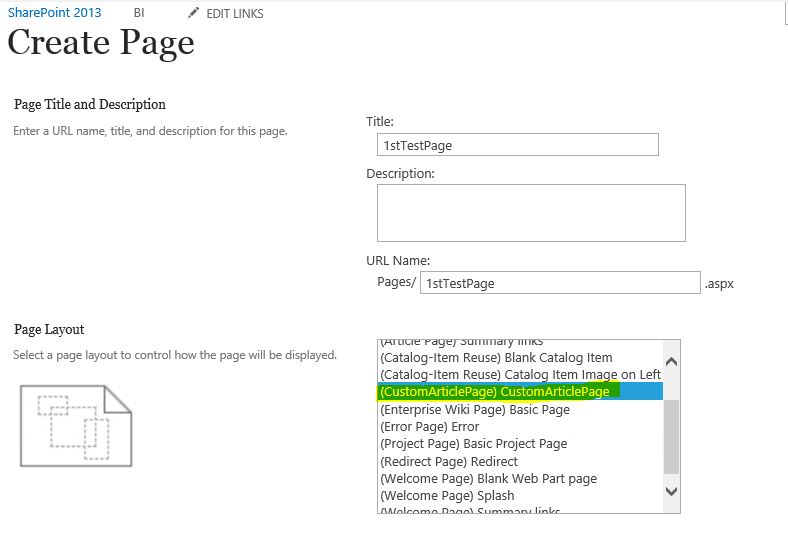
Now when you go to the Pages Library and create a New Document in page layouts you will see the new CustomArticlePage option there. Below are screenshots.
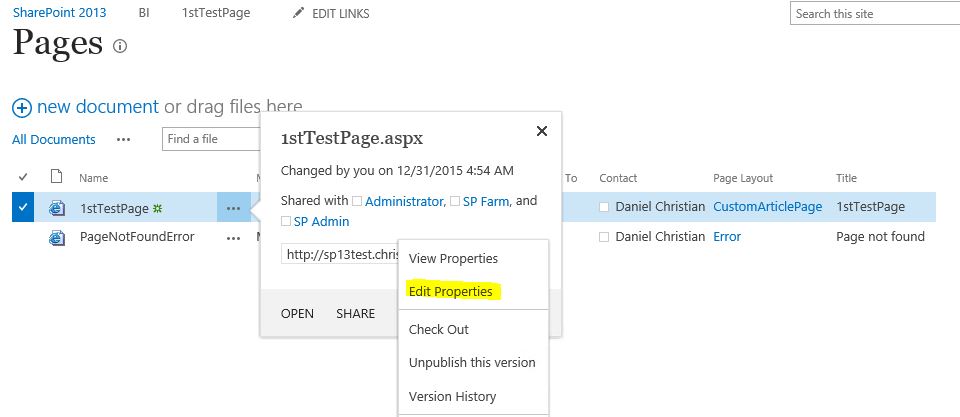
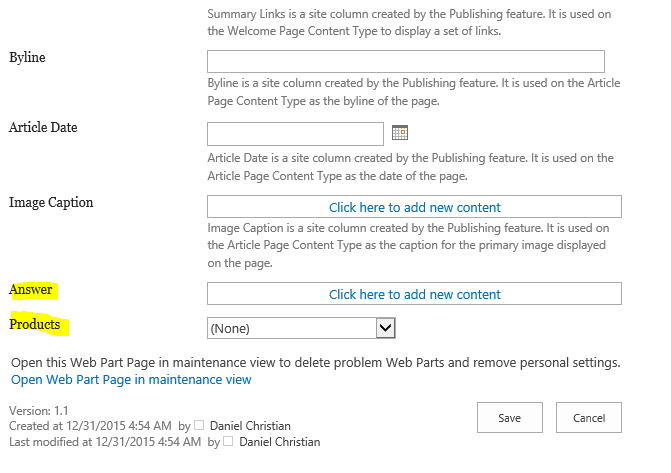
Now when you go and edit the page properties of the new 1stTestPage you have created you will see the two new columns there.
However, if you go to the page itself and edit the page, you will not see the two new columns. Hence we need to edit the custom pages HTML.
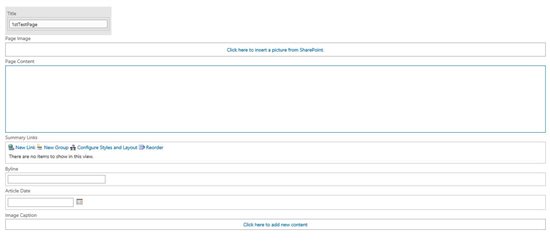
Edit the page HTML
Go back to Design Manager > Edit Page Layouts and click on the CustomArticlePage.
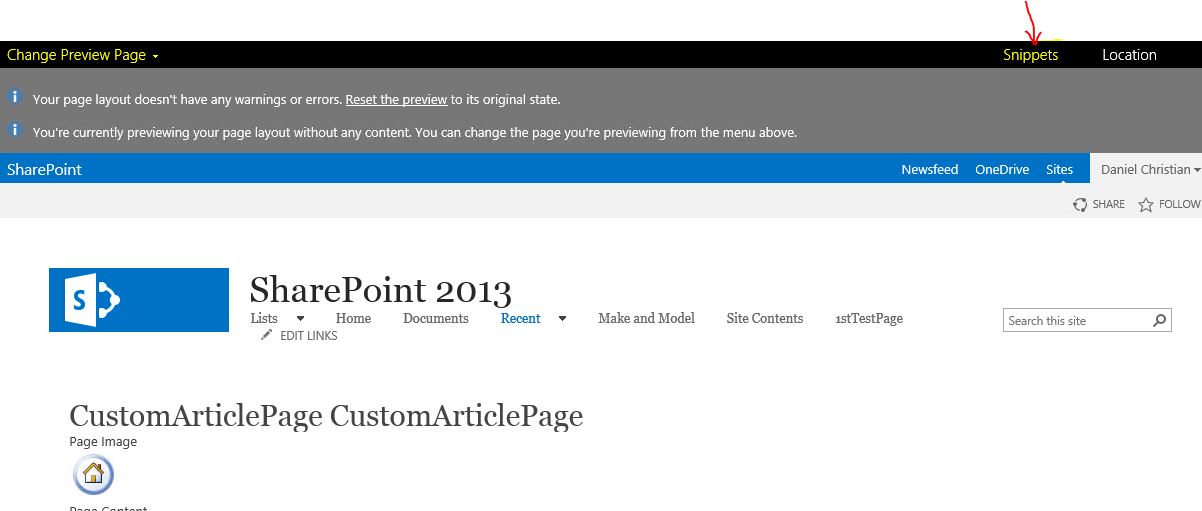
You will now be in the Change Preview page. Click on Snippets.
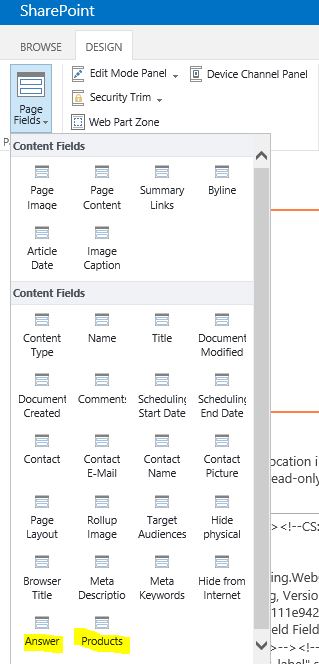
On the snippets page, click on Page Fields. On the bottom you will see the two new fields we have added to the Content Type. THESE FIELDS WILL NOT APPEAR IF YOU HAVE NOT ADDED THEM FOLLOWING THE STEPS DESCRIBED ABOVE.
Click on Answer, the HTML snippet will refresh. Open a notepad and copy the code there. Next, click on Products and copy the code as well. We will be adding the code to the HTML page as shown below.
You can close this page. Closing this page does not affect your content type or the existing page design.
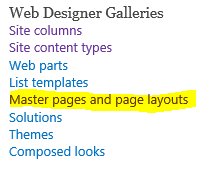
Now go to Settings> Site Settings and click on Master pages and page layouts
Download a copy of the CustomArticlePage.html file.
I am going to add the Products code right above the Page Content Snippet and add the Answer code right below.
Now you can save the HTML file, go back to Master pages and page layouts, upload it and save it.
Then go back to Design Manager > Page Layouts and publish the major version.
Now when you go to the same page we created above and edit it you will see the two new Site columns we have created
The below video walks you through the steps on how to create a page layout and edit the page HTML using Design Manager. The video also shows how certain existing code snippets have been removed and the page tested.
Conclusion
Design Manager is a very useful and out-of-box functionality provided in SharePoint to create the custom pages i.e. you can create the new site columns that you need and add them to the page layouts. As mentioned earlier these changes are for site collection level and does not affect the entire web application.
