Steps to install Exchange 2013 in Exchange 2010 environment
Following Prerequisite check needs to be confirmed before installation
1) Ensure that you do not have any exchange 2003 servers running in the environment. If so you have to decommission them.
2) Ensure if there is any Exchange 2007 in the environment make sure they have the at least Exchange 2007 SP3 RU10
3) IF you have Exchange 2010 running in the environment just ensure that they have at least Exchange 2010 SP3
4) Auto discover DNS records Configure the Auto discover public DNS records for your existing SMTP domains to point to an on-premises Exchange 2013 Client Access server
5) Certificates Install and assign Exchange services to a valid digital certificate else users might face problems in accessing emails via active sync
6) Ensure the administrator who is going to perform the installation has a member of the Schema Admins group and the Enterprise Admins group
7) AD Forest Level- Active Directory must be atleast Windows Server 2003 forest functionality mode or higher.
8) You can use IPV6 in Exchange 2013.If you plan to use IPV6 ensure that you have both IPV4 and IPV6 enabled.
9) DC and GC Versions - Below only versions of DC's and GC's should be present
Windows Server 2003 Enterprise Edition with SP2 or later (32-bit or 64-bit)
Windows Server 2003 Standard Edition with Service Pack 2 (SP2) or later (32-bit or 64-bit)
Windows server 2008 RTM or Later (applicable for both standard and enterprise)
Windows server 2012 RTM or Later (applicable for both standard and enterprise)
10) Outlook 2003 is not supported in Exchange 2013 environment. Ensure that all the clients have at least Outlook 2007 SP3 installed.
Install the below feature for CAS & MBX role combination
Open windows power shell and run the below command
Run Import-module servermanager
Install-WindowsFeature AS-HTTP-Activation, Desktop-Experience, NET-Framework-45-Features, RPC-over-HTTP-proxy, RSAT-Clustering, RSAT-Clustering-CmdInterface, RSAT-Clustering-Mgmt, RSAT-Clustering-PowerShell, Web-Mgmt-Console, WAS-Process-Model, Web-Asp-Net45, Web-Basic-Auth, Web-Client-Auth, Web-Digest-Auth, Web-Dir-Browsing, Web-Dyn-Compression, Web-Http-Errors, Web-Http-Logging, Web-Http-Redirect, Web-Http-Tracing, Web-ISAPI-Ext, Web-ISAPI-Filter, Web-Lgcy-Mgmt-Console, Web-Metabase, Web-Mgmt-Console, Web-Mgmt-Service, Web-Net-Ext45, Web-Request-Monitor, Web-Server, Web-Stat-Compression, Web-Static-Content, Web-Windows-Auth, Web-WMI, Windows-Identity-Foundation
Install the Following softwares
Windows Management Framework 3.0
Microsoft Unified Communications Managed API 4.0, Core Runtime 64-bit
Microsoft Office 2010 Filter Pack 64 bit
Microsoft Office 2010 Filter Pack SP1 64 bit
Microsoft Knowledge Base article KB974405 (Windows Identity Foundation)
Knowledge Base article KB2619234
Knowledge Base article KB2533623
You need to install the remote tools administration pack.Run the below command in powershell
Add-WindowsFeature RSAT-ADDS
Uninstall Microsoft Visual C++ 11 Beta Redistributable (x64)
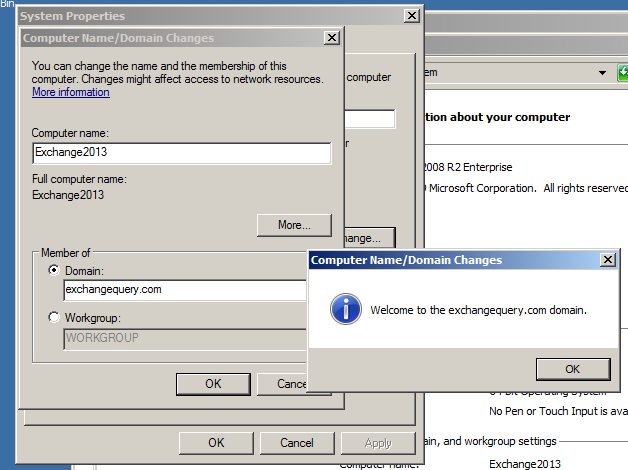
After installing the following prerequisite on the server that we are going to install exchange 2013 we need to join that server into the domain.
In our case we are installing Exchange 2013 in Windows 2008R2
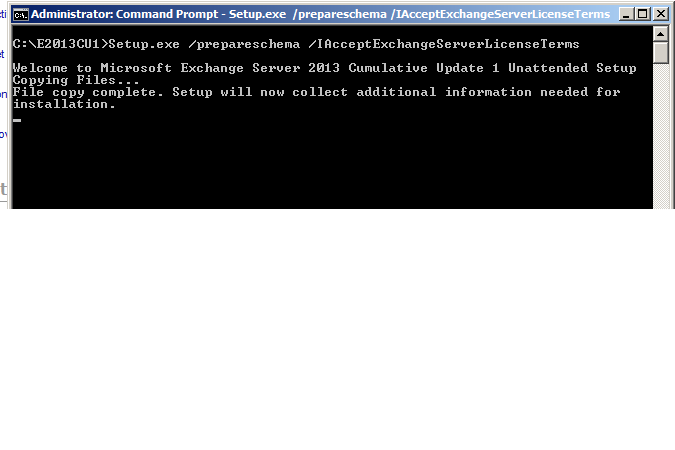
Open elevated command prompt and navigate to the setup where we have the exchange server setup and run the below command
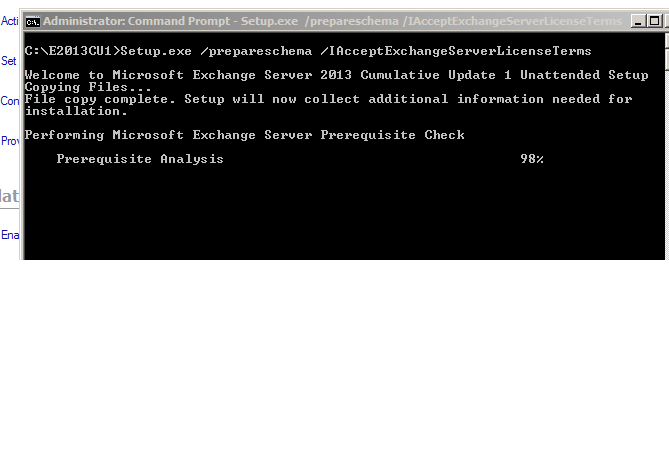
It goes through the prerequisite analysis as shown below
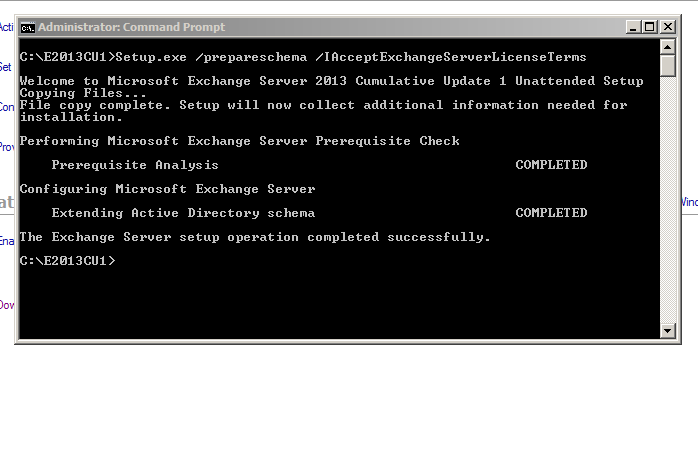
Next it goes through the active directory schema and completes the schema extension completely as shown below
Once schema is completed open the setup and it shows the below screen
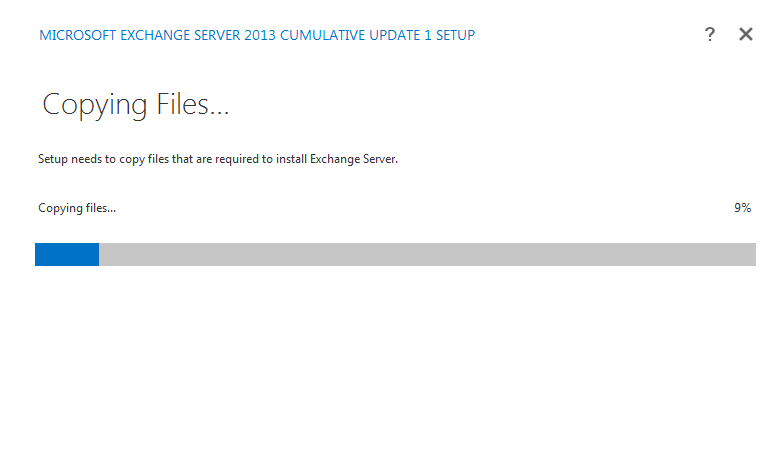
Setup starts copying files as shown below
Once the copy is complete it starts initializing the setup as shown below
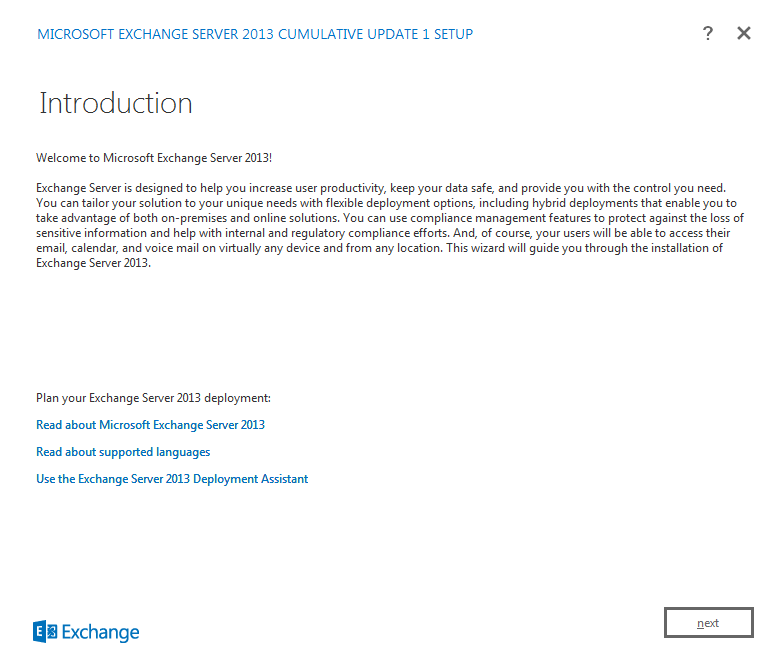
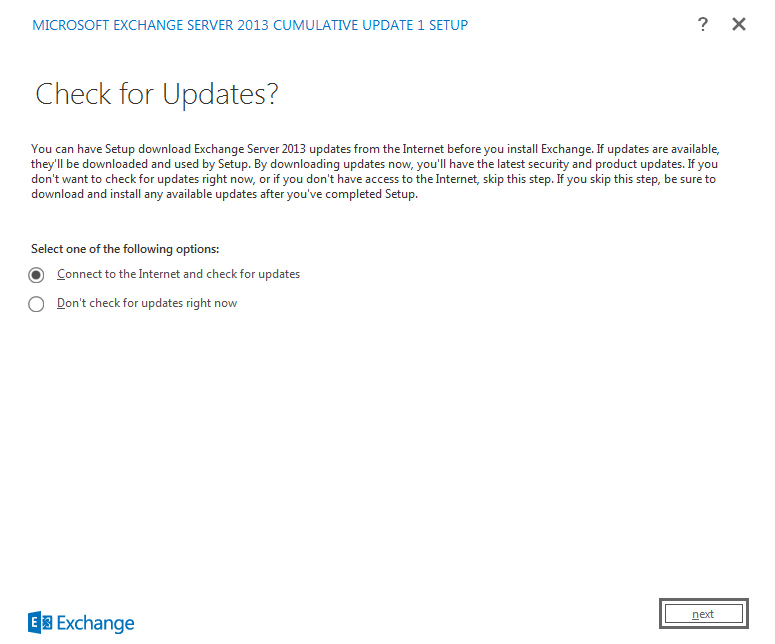
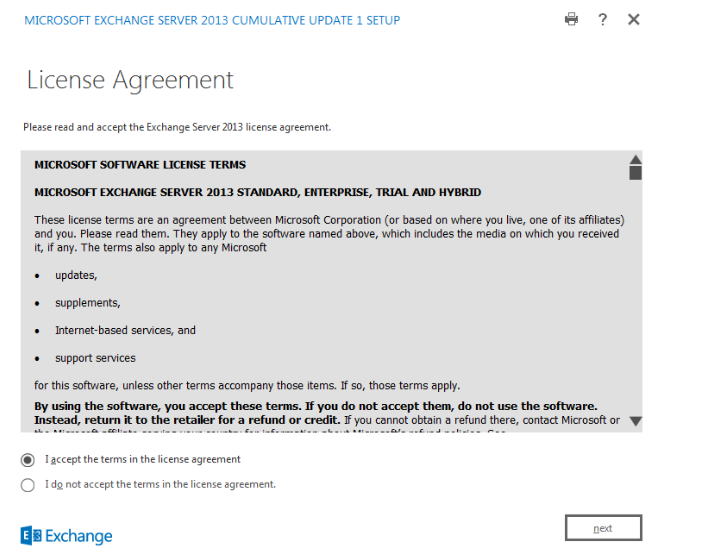
Then it brings into the introduction screen as shown below.Click next and accept the license agreement
Then it takes to the recommended settings as shown below
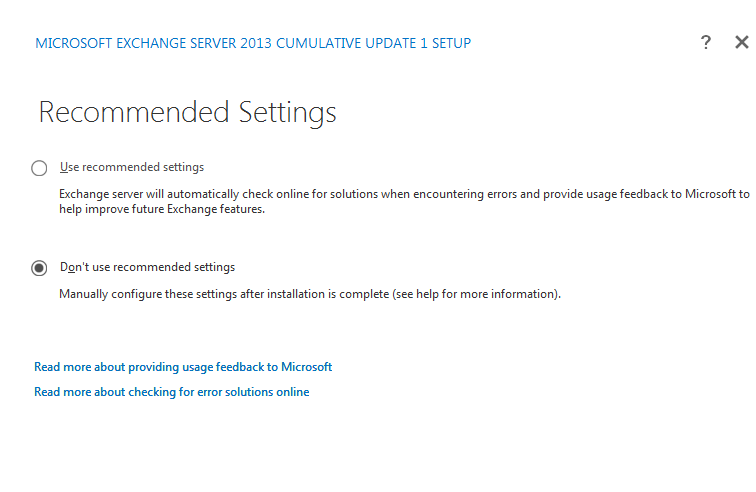
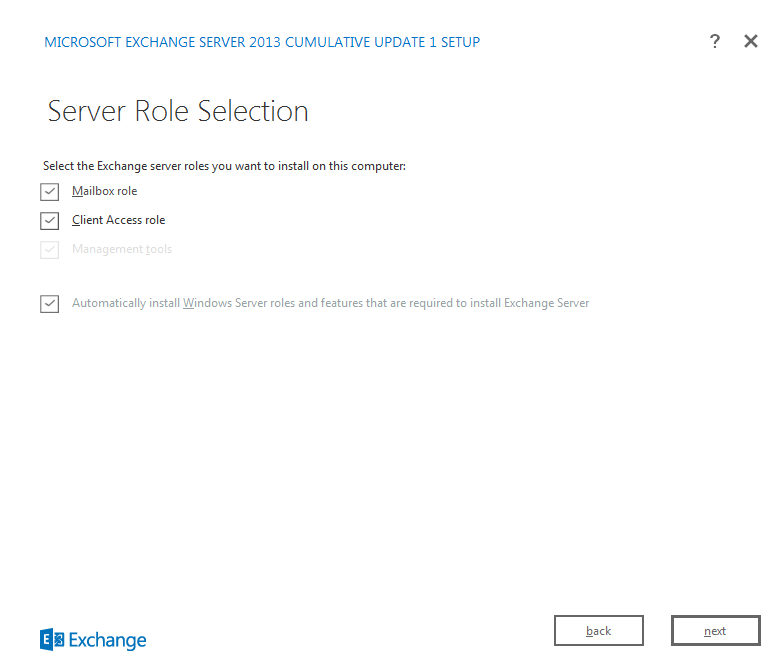
Click on next and it takes to the server role selection
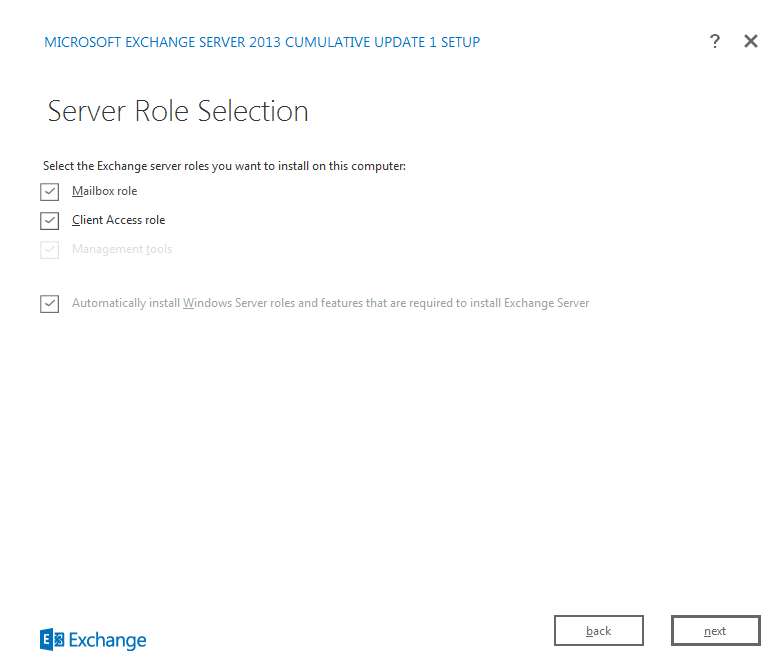
Click on next and it takes to the server role selection
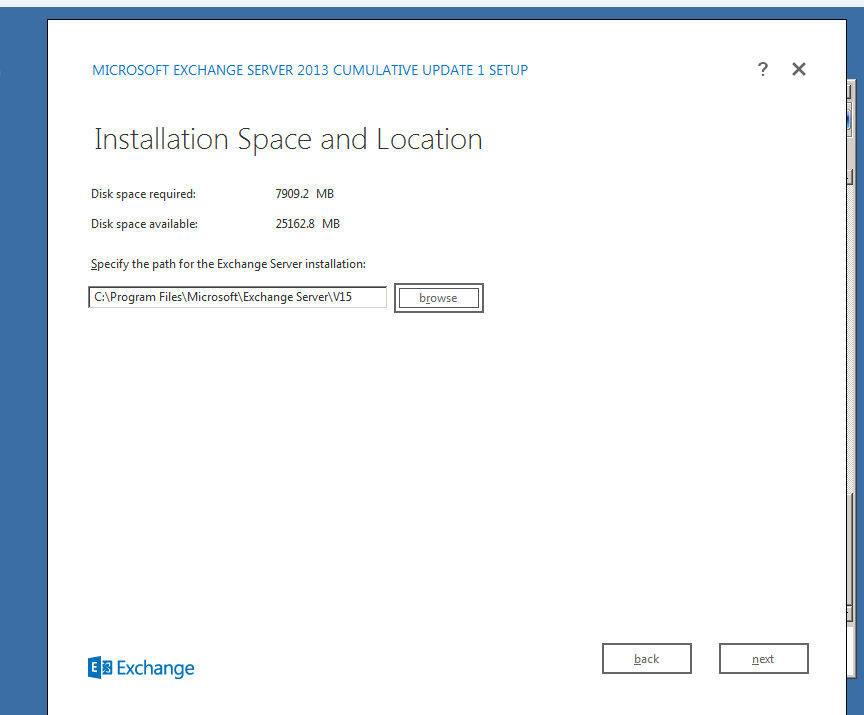
Click on next and choose the installation location
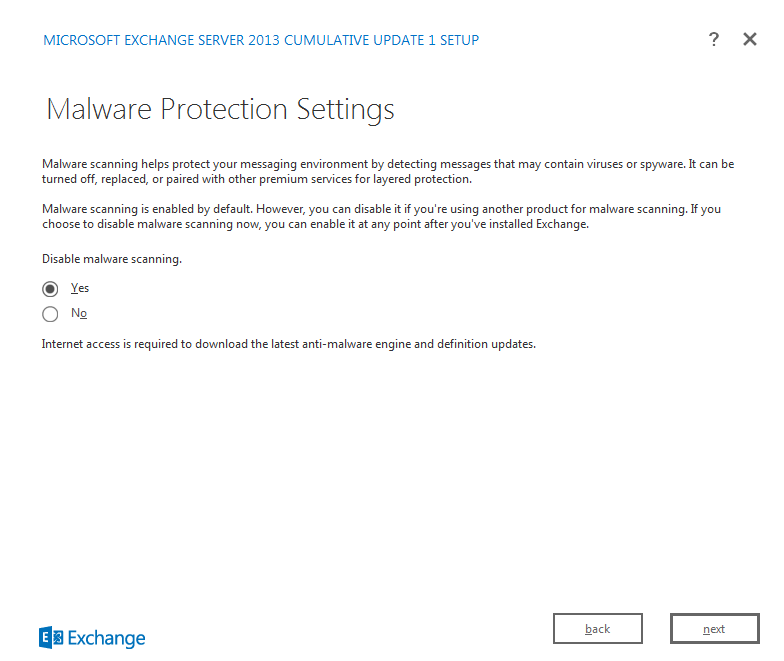
Click on next and it takes to the malware protection settings. Choose the required setup and click on next
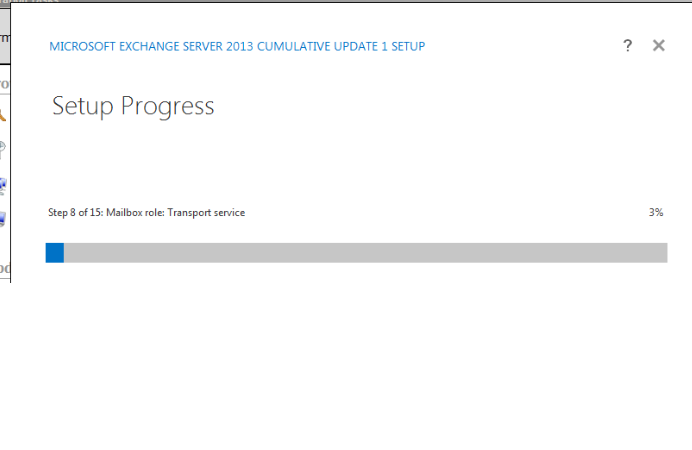
Setup goes through 1 to 15 steps and usually takes less than a hour
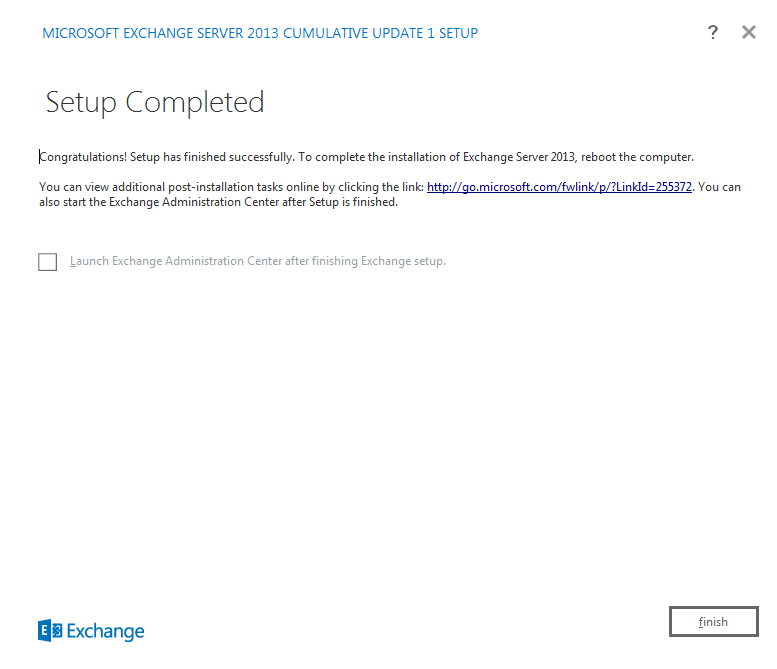
Once the setup completes it shows the below screen as shown below
After a reboot is completed we are done with the exchange 2013 server setup.
Open Exchange Management Shell and ensure that Exchange 2013 is installed in the domain by running the below command

Then try opening EAC by typing https:\www.exchange2013casfqdn\eac
Note:
Admin account should have permission to open EAC and it should be a member of domain admin,enterprise admin and schema admin else we will not be able to open EAC
Inorder to achieve this task we can either move admin account mailbox from exchange 2010 to exchange 2013 or we can create an admin account in 2013 and grant appropriate permissions
In our case we will move the admin account from ex2010 to ex2013
Run the below command to move admin mailbox from exchange 2010 to 2013
Before that you can run get-mailbox database to identify the mailbox DB name in Exchange 2013 and then run the below command with the exchange 2013 database as the target database

Once the move request is completed you can try logging into EAC in Exchange 2013 and you will be able to login without any issues.
