Using Verbose messages in Azure Automation Runbooks
While developing PowerShell scripts I like to add Verbose messages to my scripts. If you want to find more information about Write-Verbose check this TechNet webpage.
But how can use Write-Verbose messages in your Azure Automation Runbooks? There are two ways to have Verbose messages being shown when running your Azure Automation Runbooks:
- Change the default setting of the $VerbosePreference build-in variable from ‘SilentlyContinue’ to ‘Continue’
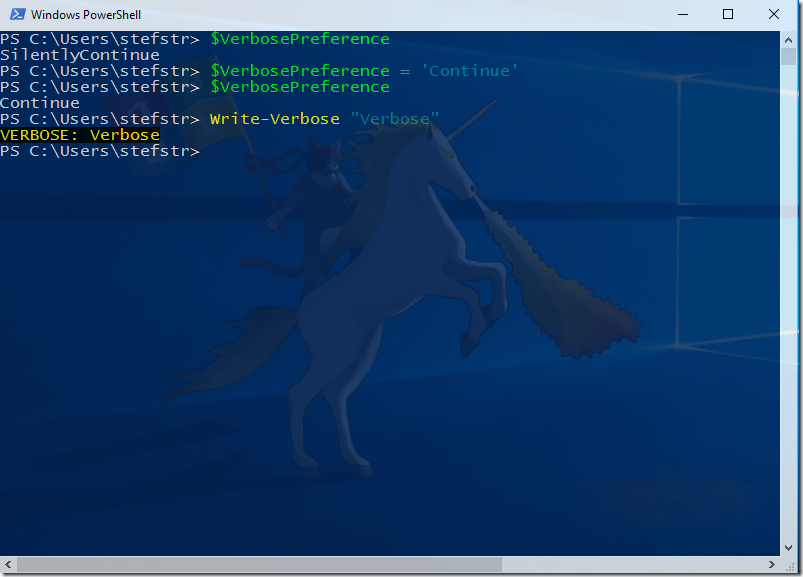
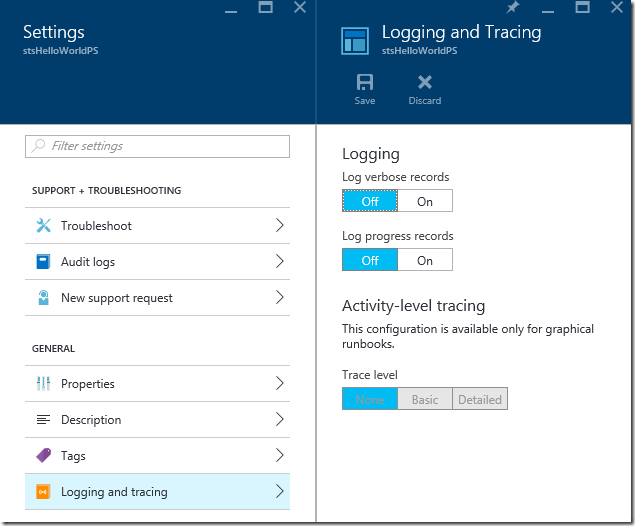
- Change the Logging and Tracing settings from the Azure Automation Runbook for Log verbose records from Off to On.
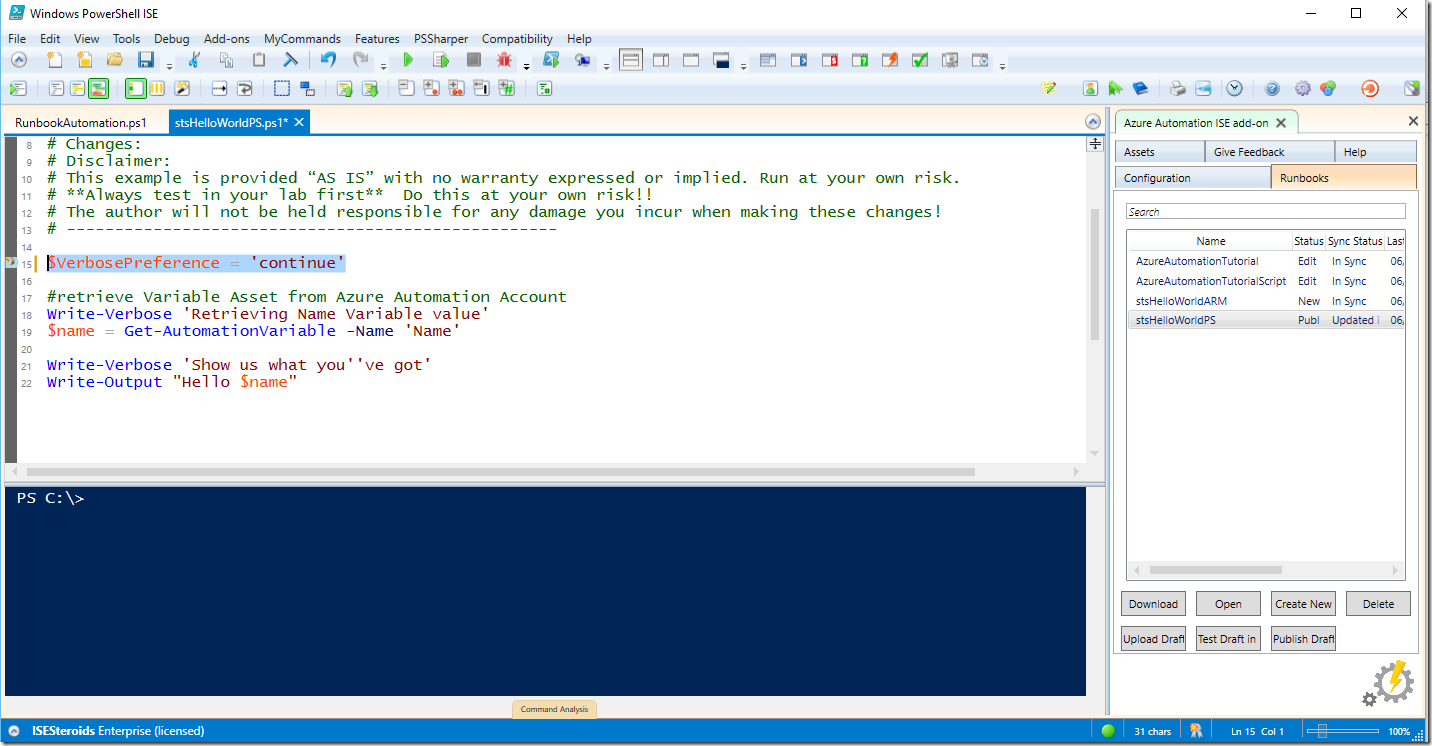
Let’s now see how this works. First let us change the $VerbosePreference variable. I have configured the $VerbosePreference to ‘Continue’ in my stsHelloWorld runbook.
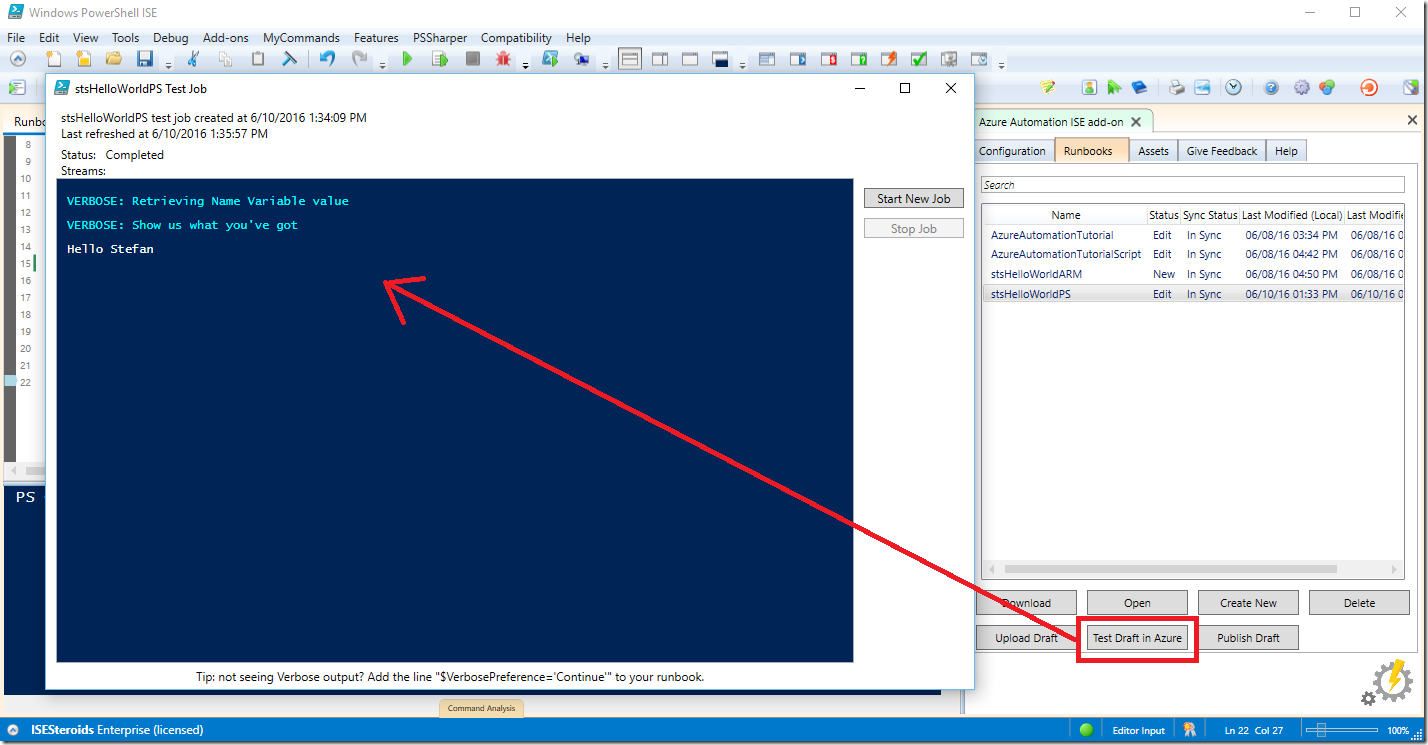
Let’s test this using the (Azure Automation PowerShell ISE Add-On) https://github.com/azureautomation/azure-automation-ise-addon.
Here you see the verbose messages being shown in the Test pane of the Azure Automation PowerShell ISE Add-On..
But how do we use the second method of showing the verbose messages without changing the $VerbosePreference setting?
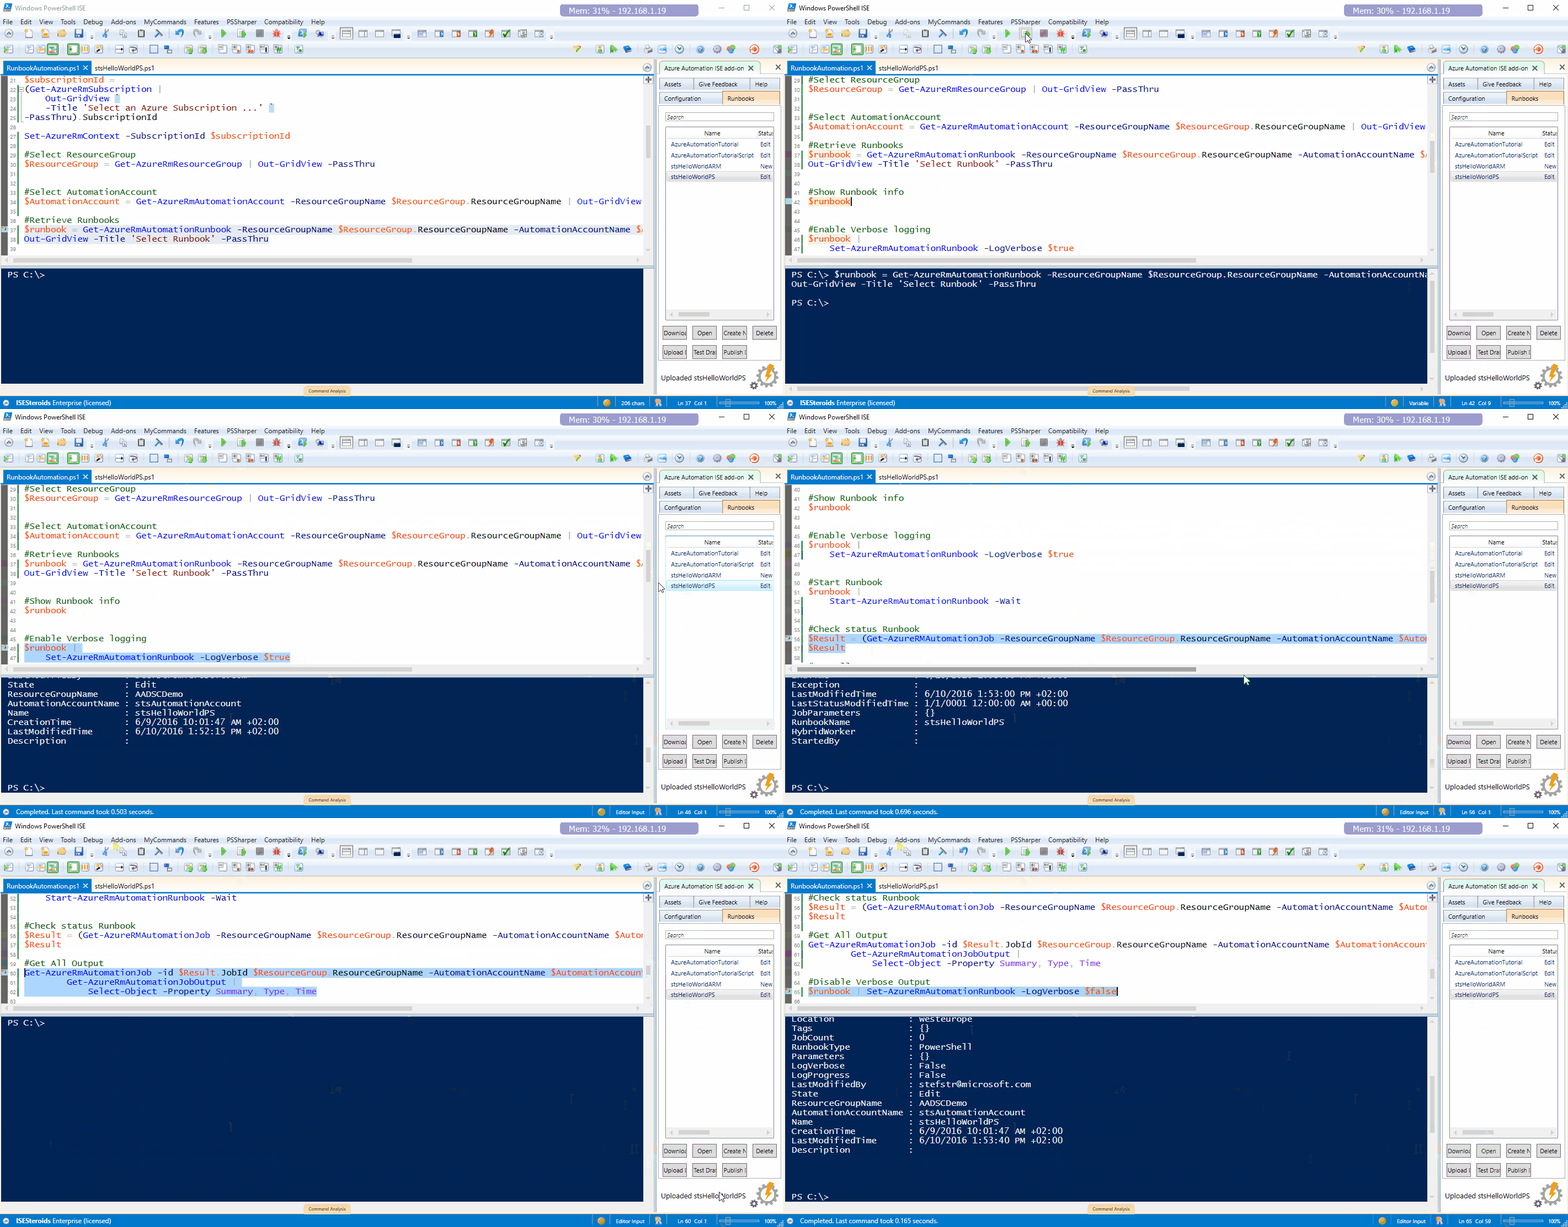
I use the following PowerShell script to enable and disable the verbose logging setting in Azure Automation Runbooks.
Code Snippet
- #requires -Version 3 -Modules AzureRM.Automation, AzureRM.profile, AzureRM.Resources
- # ---------------------------------------------------
- # Script: C:\Users\stefstr\OneDrive - Microsoft\Scripts\PS\NN\RunbookAutomation.ps1
- # Version: 0.1
- # Author: Stefan Stranger
- # Date: 06/10/2016 13:01:29
- # Description: Script to test Runbooks
- # Comments:
- # Changes:
- # Disclaimer:
- # This example is provided “AS IS” with no warranty expressed or implied. Run at your own risk.
- # **Always test in your lab first** Do this at your own risk!!
- # The author will not be held responsible for any damage you incur when making these changes!
- # ---------------------------------------------------
- #Login to Azure
- Add-AzureRmAccount
- #Select Azure Subscription
- $subscriptionId =
- (Get-AzureRmSubscription |
- Out-GridView `
- -Title 'Select an Azure Subscription ...' `
- -PassThru).SubscriptionId
- Set-AzureRmContext -SubscriptionId $subscriptionId
- #Select ResourceGroup
- $ResourceGroup = Get-AzureRmResourceGroup | Out-GridView -PassThru
- #Select AutomationAccount
- $AutomationAccount = Get-AzureRmAutomationAccount -ResourceGroupName $ResourceGroup.ResourceGroupName | Out-GridView -PassThru
- #Retrieve Runbooks
- $runbook = Get-AzureRmAutomationRunbook -ResourceGroupName $ResourceGroup.ResourceGroupName -AutomationAccountName $AutomationAccount.AutomationAccountName |
- Out-GridView -Title 'Select Runbook' -PassThru
- #Show Runbook info
- $runbook
- #Enable Verbose logging
- $runbook |
- Set-AzureRmAutomationRunbook -LogVerbose $true
- #Start Runbook
- $runbook |
- Start-AzureRmAutomationRunbook -Wait
- #Check status Runbook
- $Result = (Get-AzureRMAutomationJob -ResourceGroupName $ResourceGroup.ResourceGroupName -AutomationAccountName $AutomationAccount.AutomationAccountName)[0]
- $Result
- #Get All Output
- Get-AzureRmAutomationJob -id $Result.JobId $ResourceGroup.ResourceGroupName -AutomationAccountName $AutomationAccount.AutomationAccountName |
- Get-AzureRmAutomationJobOutput |
- Select-Object -Property Summary, Type, Time
- #Disable Verbose Output
- $runbook | Set-AzureRmAutomationRunbook -LogVerbose $false
Here is how it works in action:
I prefer the last option but it’s up to you.
P.S. I changed roles within Microsoft I’m now Consultant for the Data Platform ![]()
