Setting up Source Control for Azure Automation
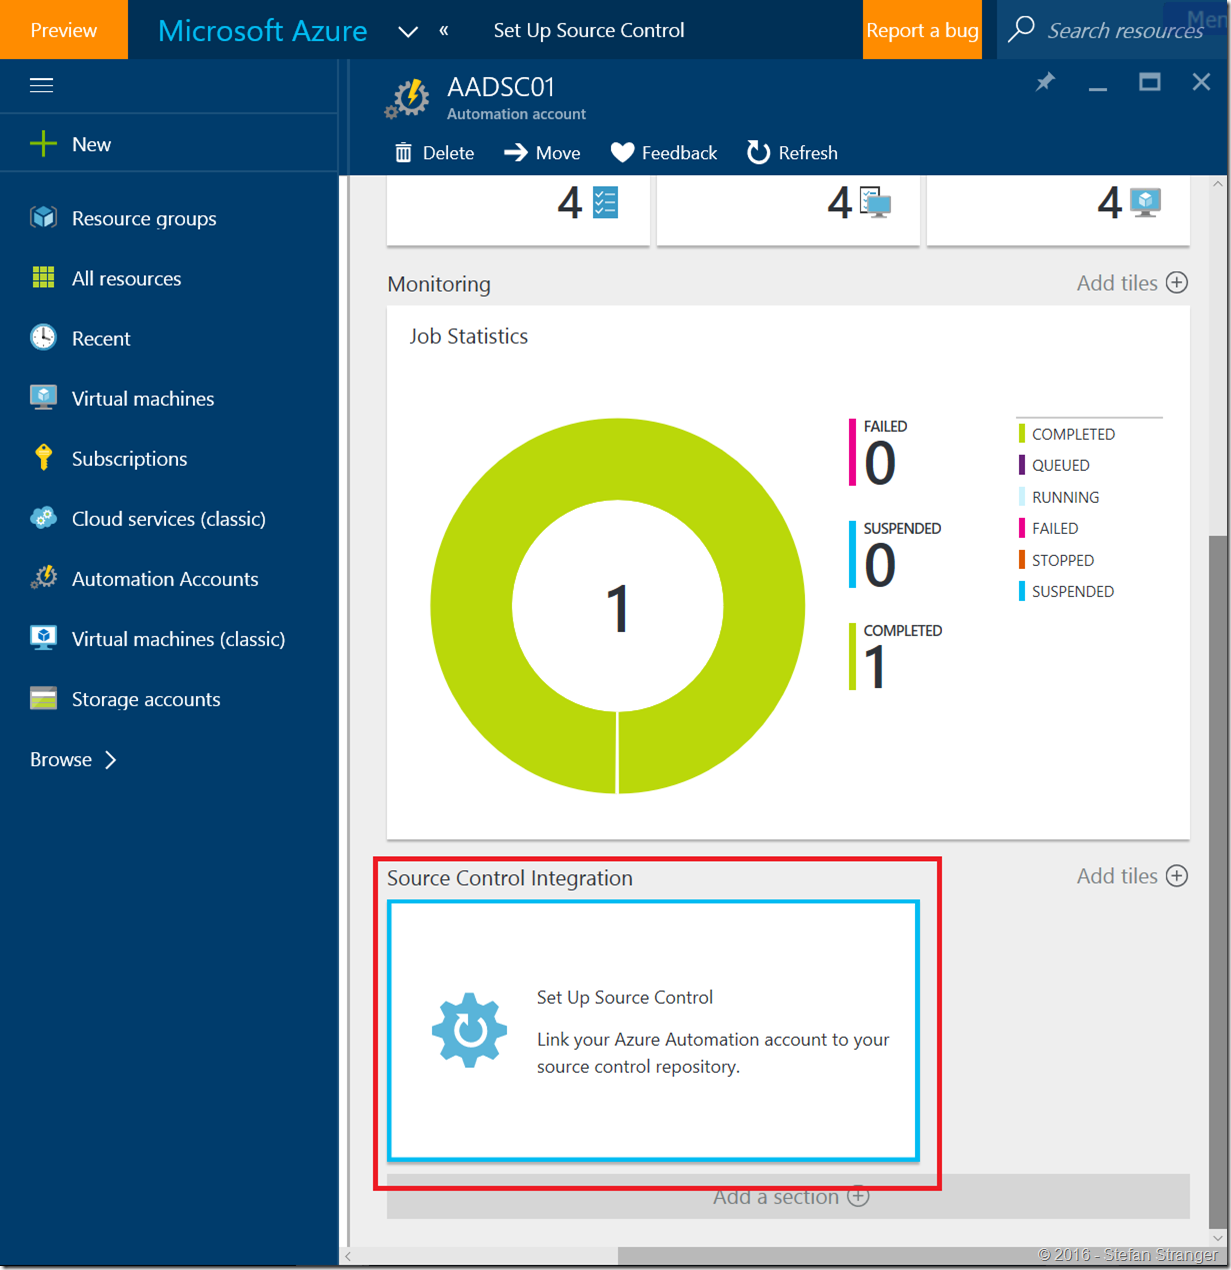
Did you already noticed that you can now setup Source Control for your Azure Automation account? Check the new Azure Portal and go to your Automation Account.
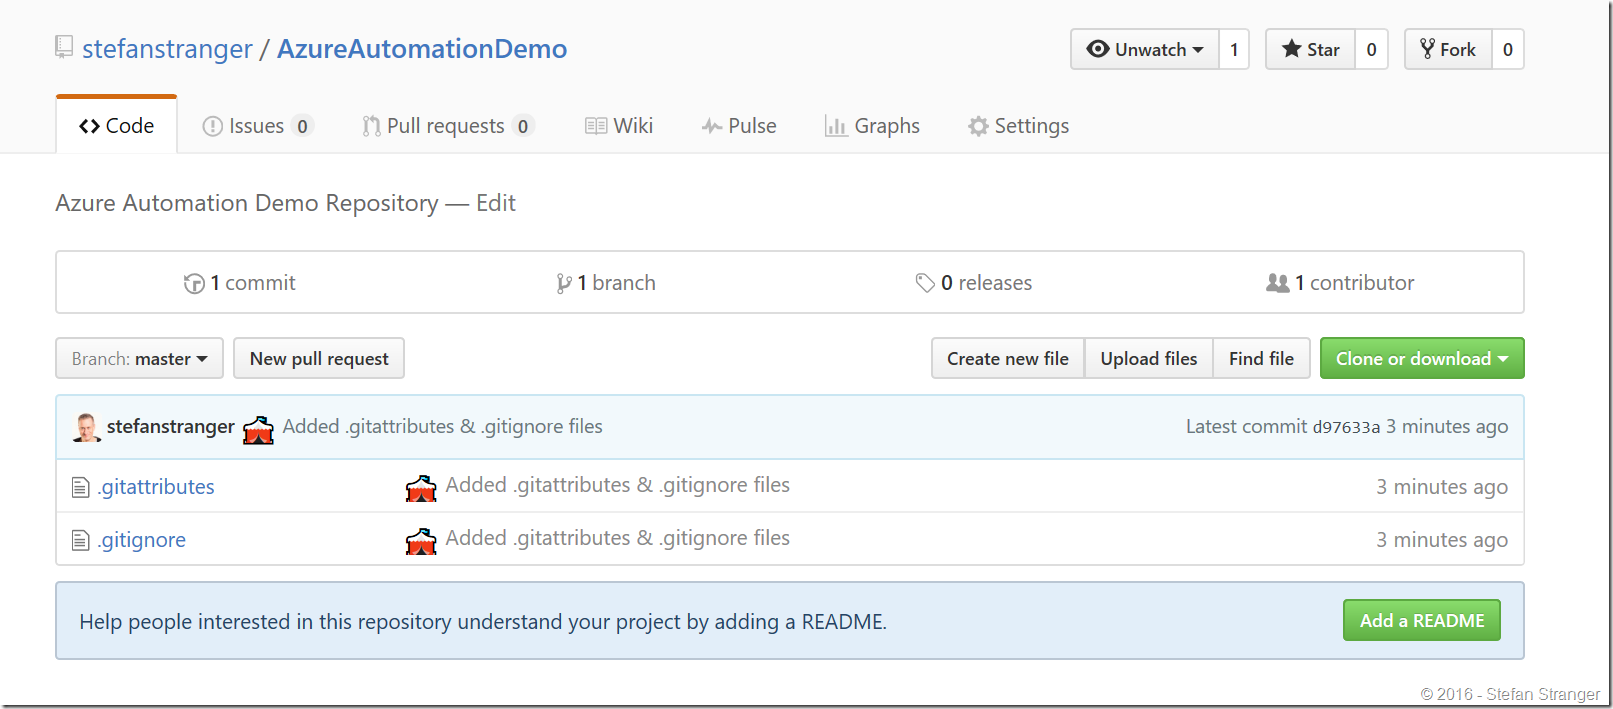
Create Github Repository
Before we start we need to have a Github Repository to store our Azure Automation Runbooks.
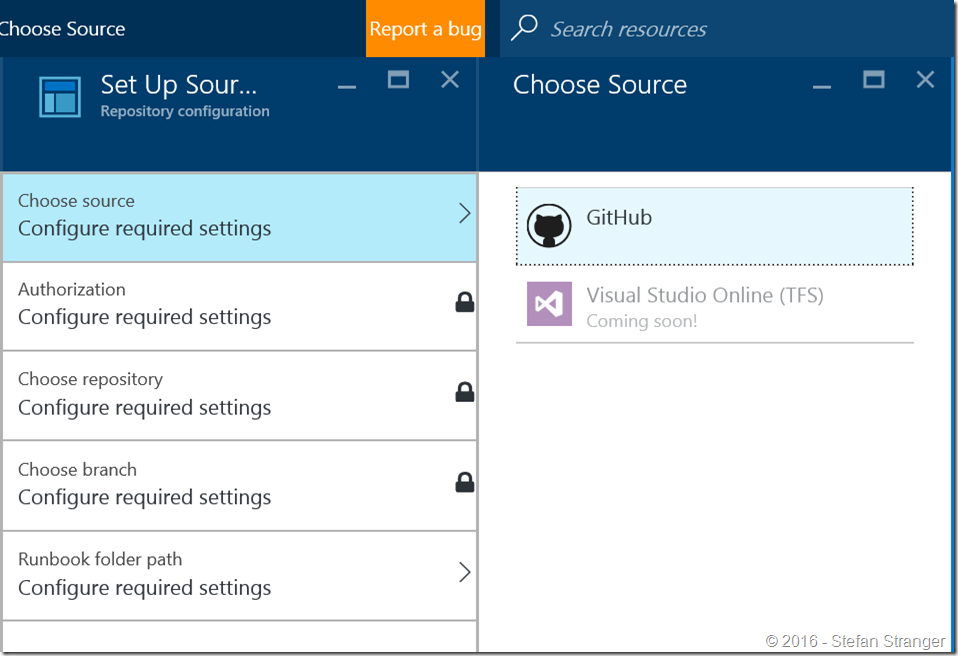
The next step in setting up Source Control is to select your Source (at the moment you can only select Github)
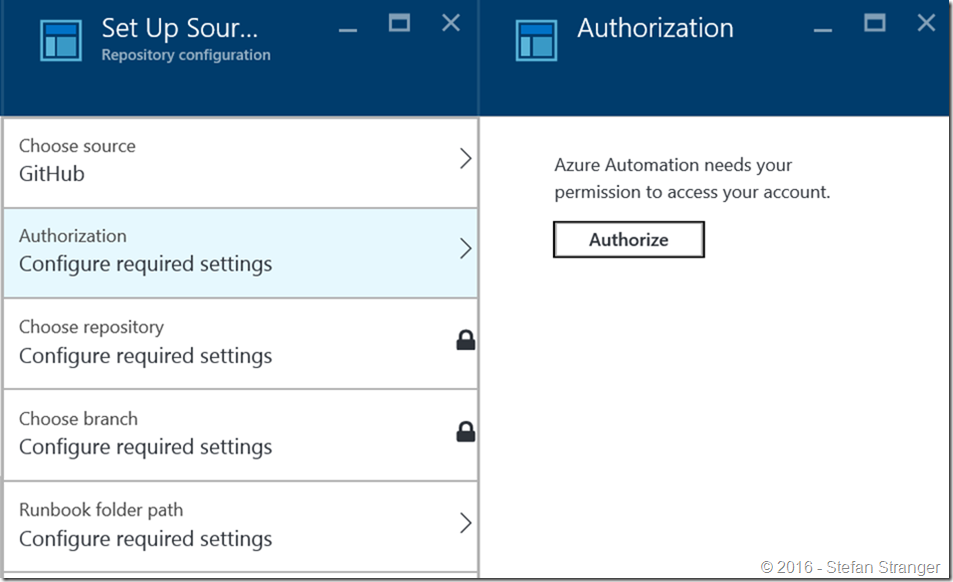
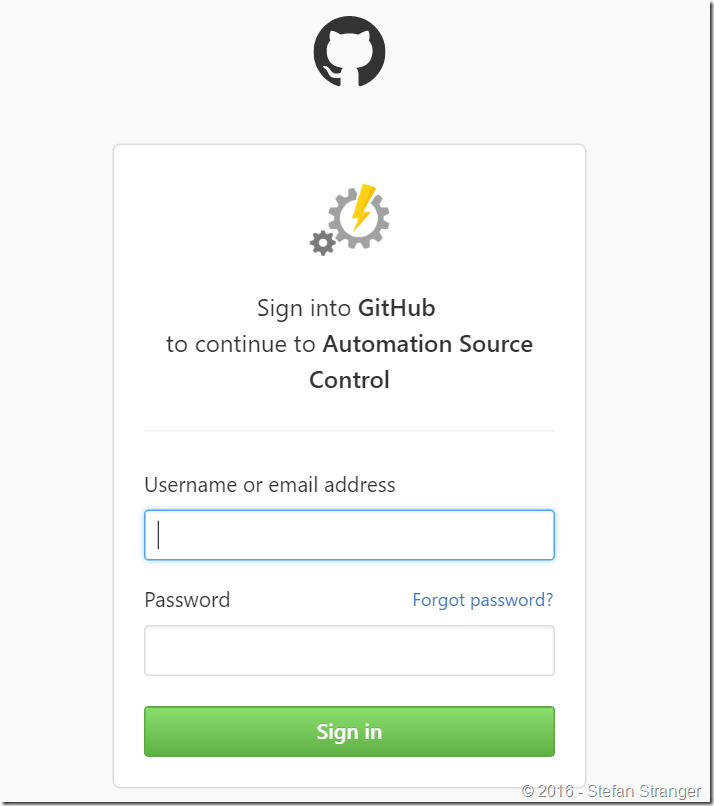
Now you need to authorize the Azure Automation Account to have permissions to access your Github account.
Click on Authorize and enter your Github credentials
Remark: if the redirection does not work please use the following link to logon to Azure Portal and try again:
https://portal.azure.com/?feature.customportal=false
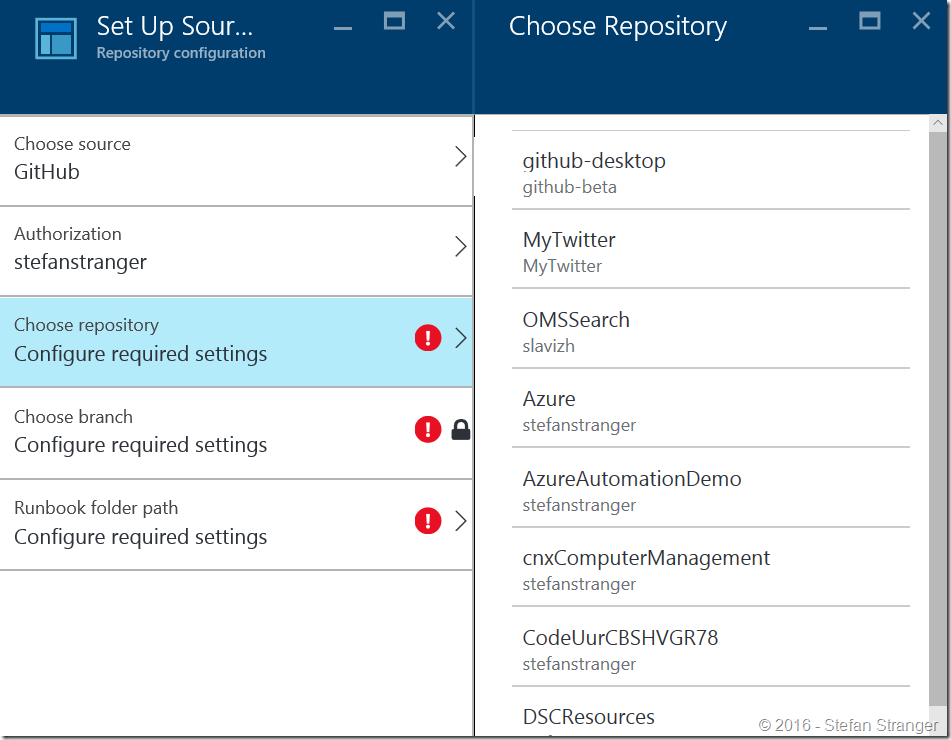
Select your Runbook Github Repository.
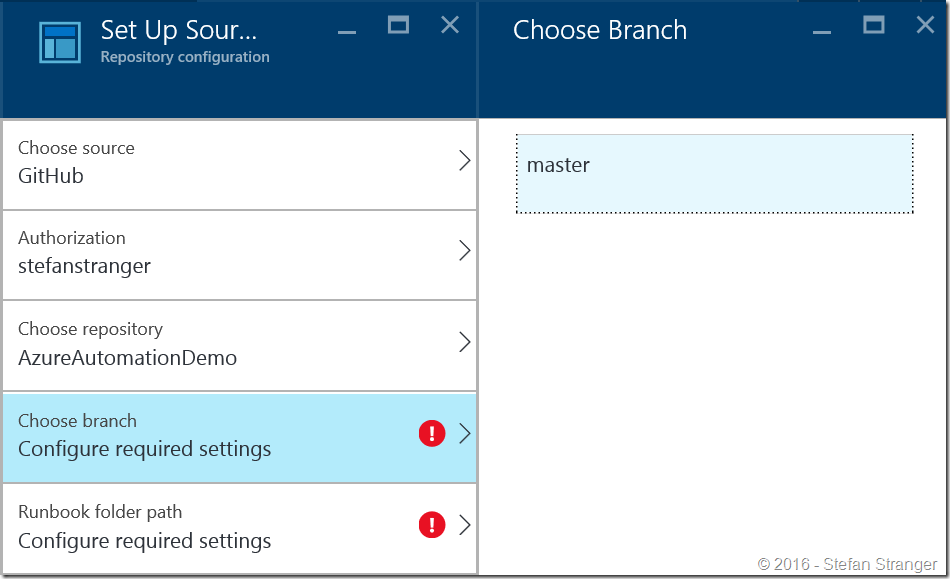
Select a Branch
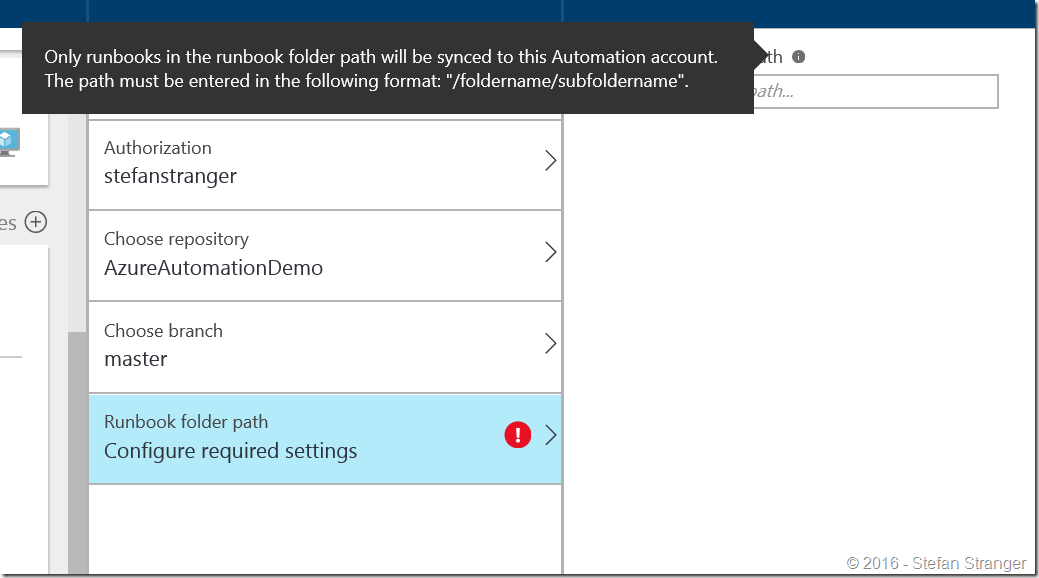
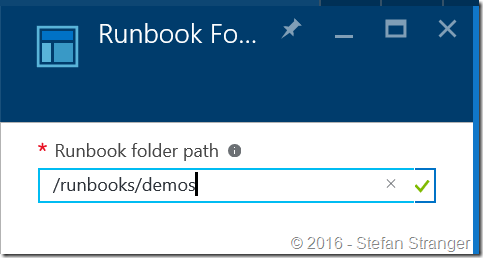
Enter a Runbook Folder Path
Create a Demo Runbook
Steps:
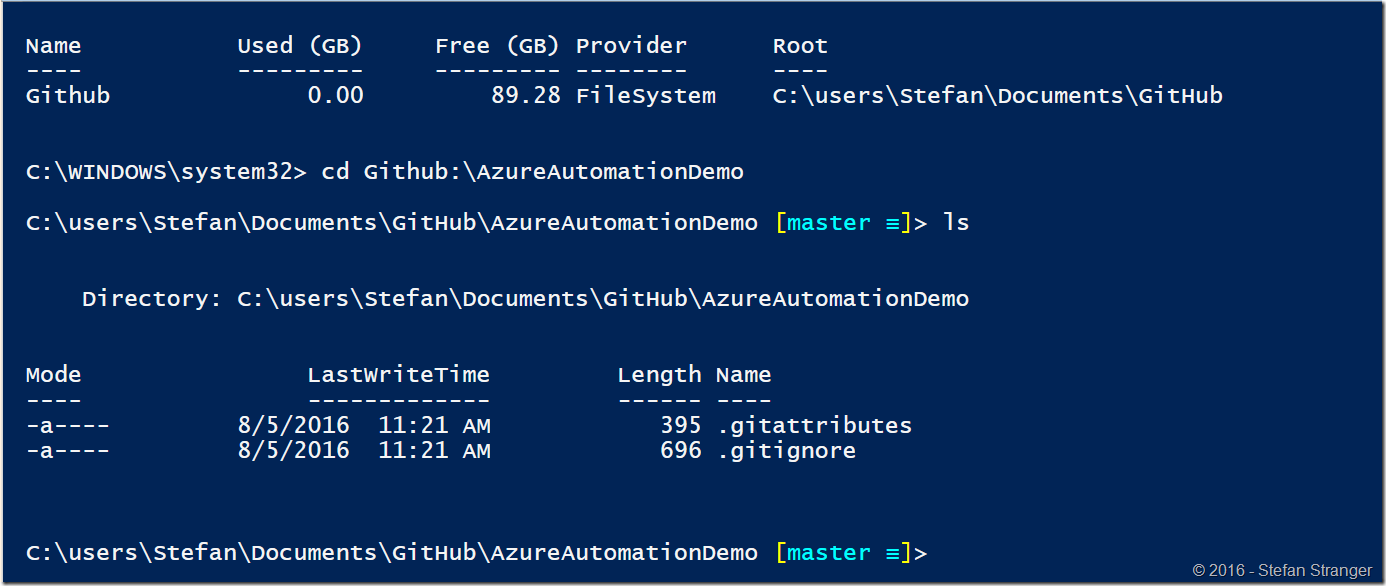
- Open PowerShell ISE or console
- Create folder structure for Repository
- Create Runbook using the AzureAutomationAuthoringToolkit (not really needed for creating a runbook)
Step 1.
We don’t have any folder structure yet in the Repo. Let’s create one. Make sure you adhere to the Runbook folder path configured in the Azure Portal.
Step 2.
Step 3. Create runbook using the AzureAutomationAuthoringToolkit
If you have not installed the AzureAutomationAuthoringToolkit. Run install-module –name AzureAutomationAuthoringToolkit
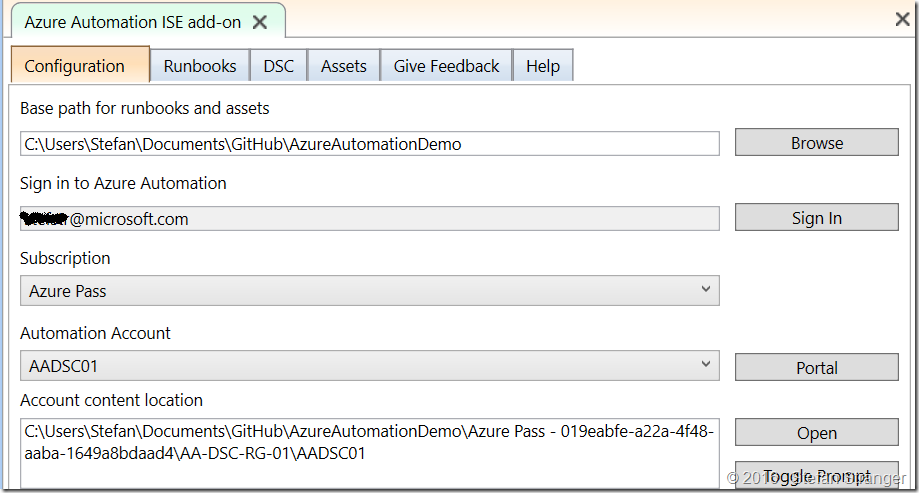
Change the path for the runbooks and assets to your newly locally created Repo and login.
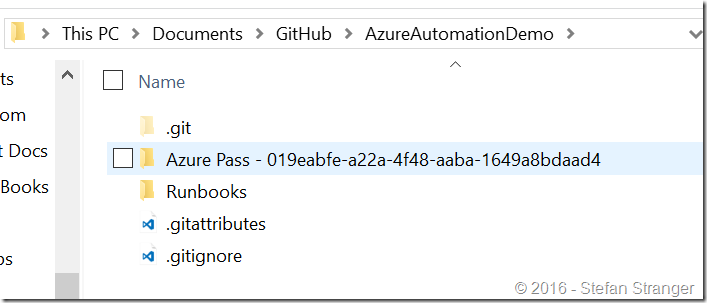
After signing in and selecting the correct subscription and Automation account a new folder for the AAA Toolkit is created within your Repo folder.
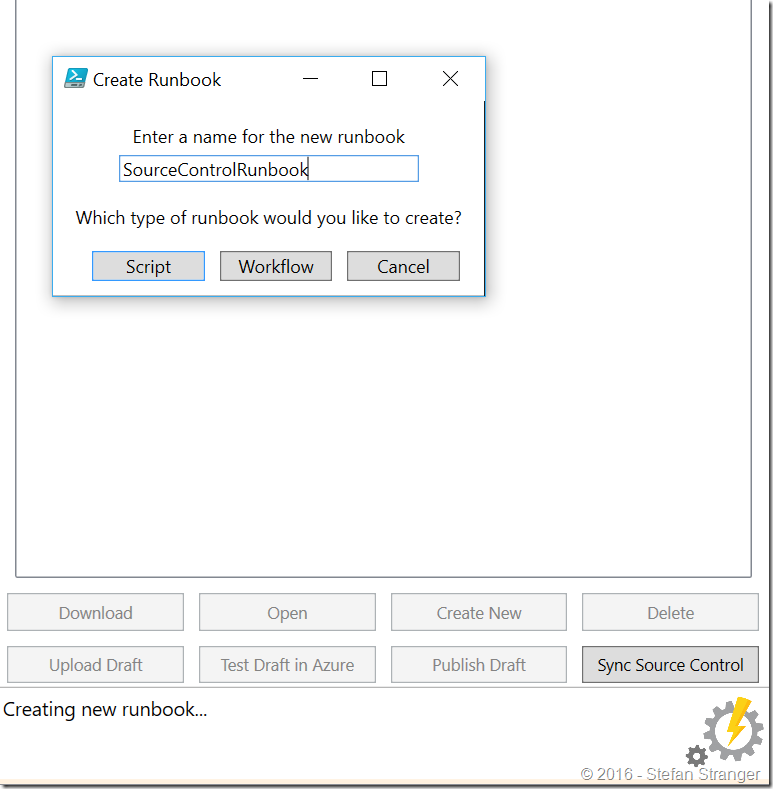
Create a new Runbook in the AAA Tookit.
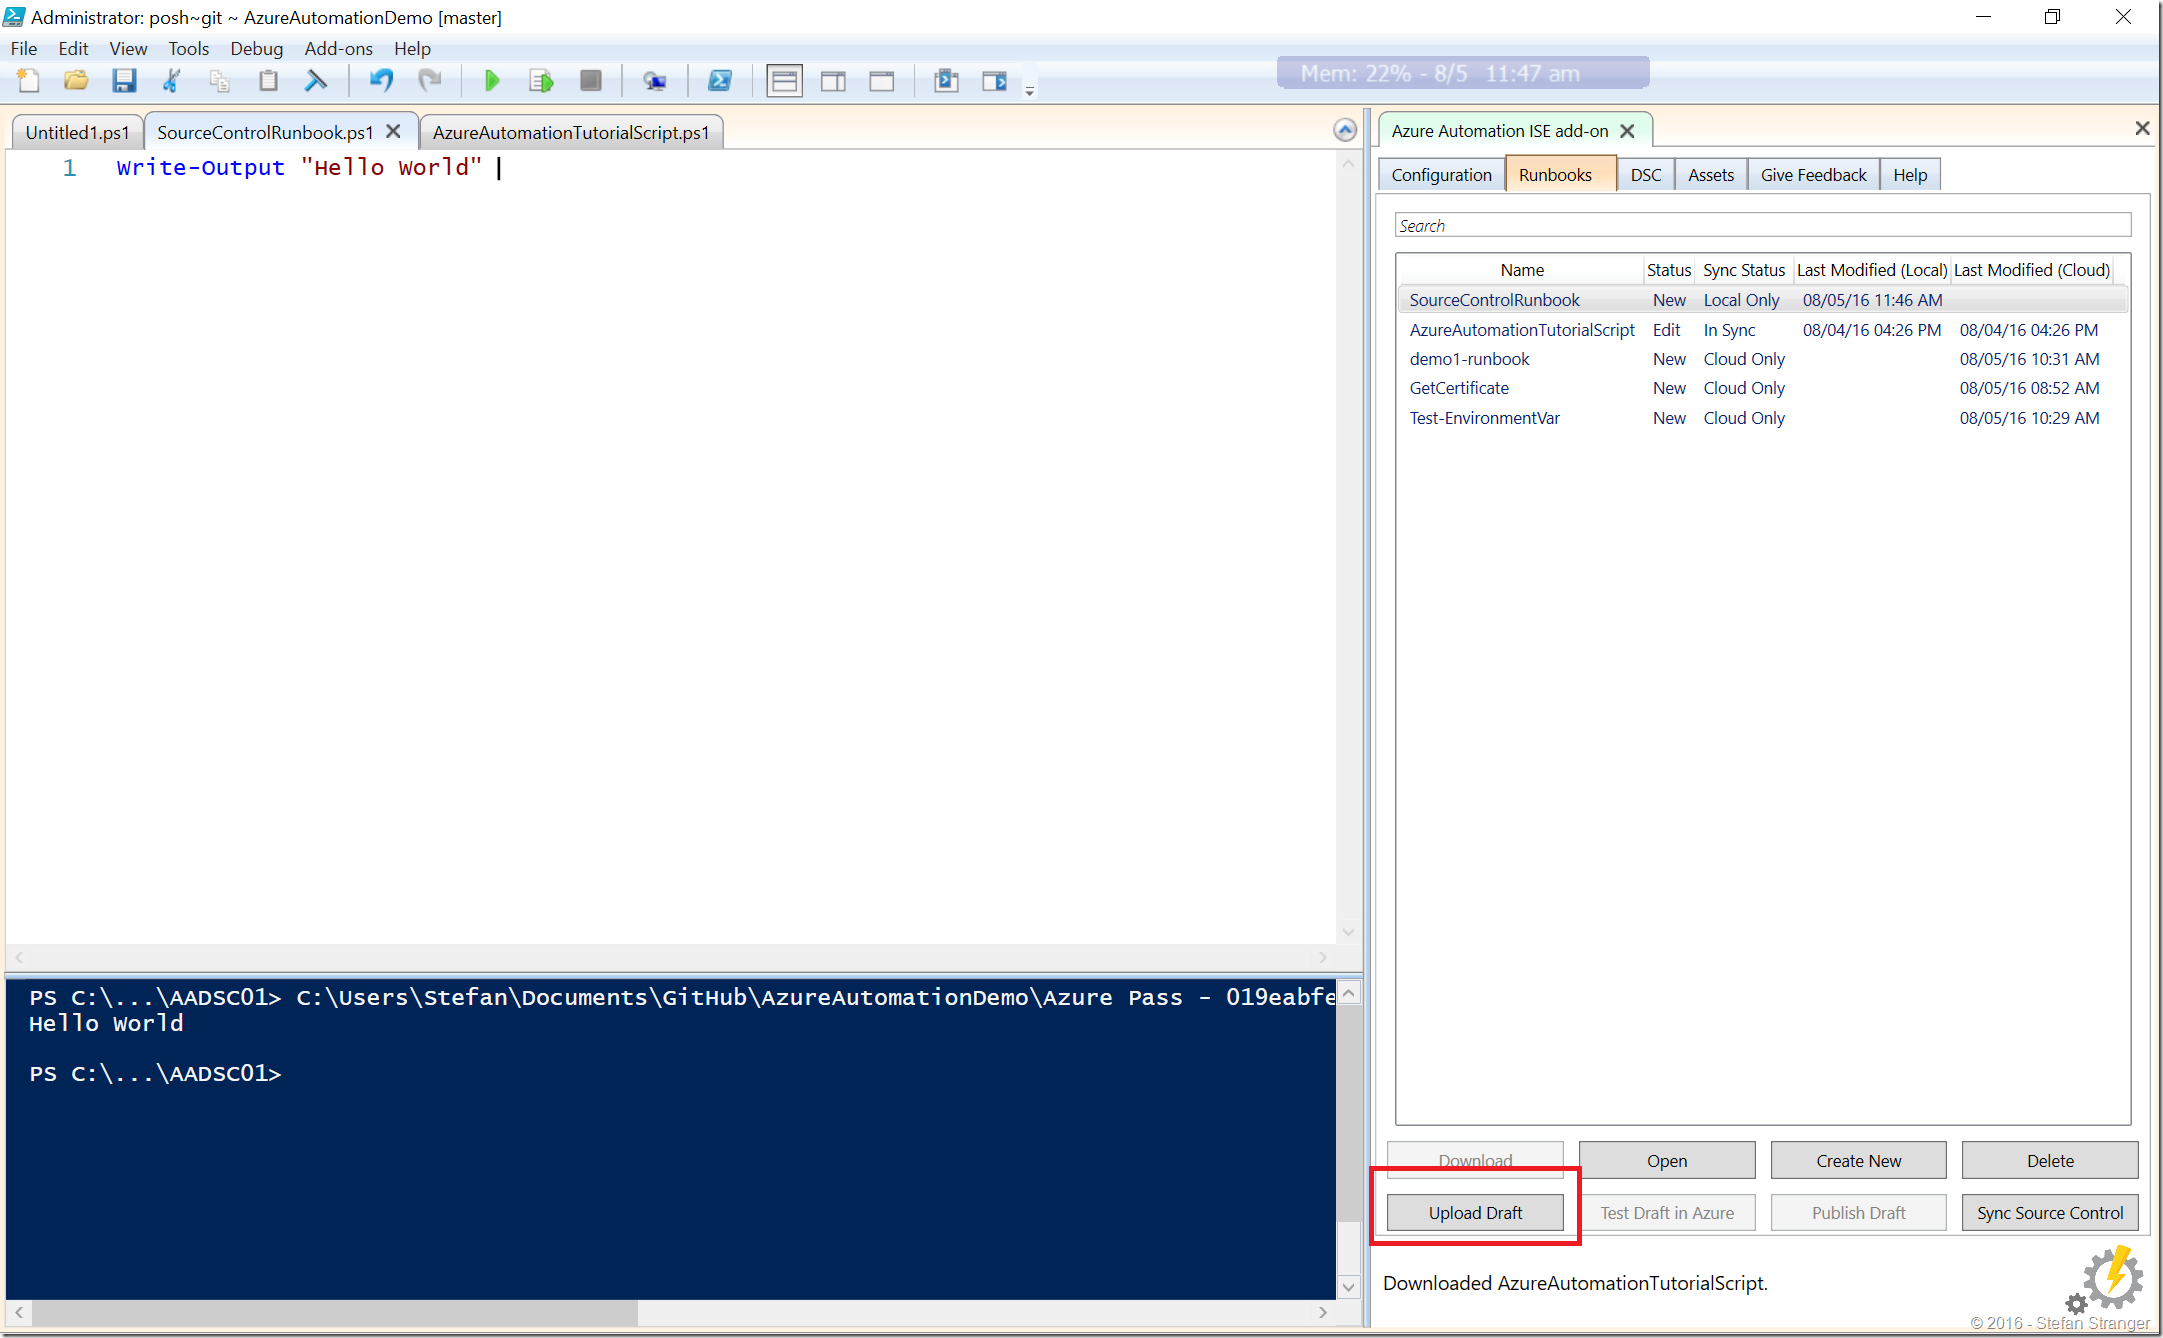
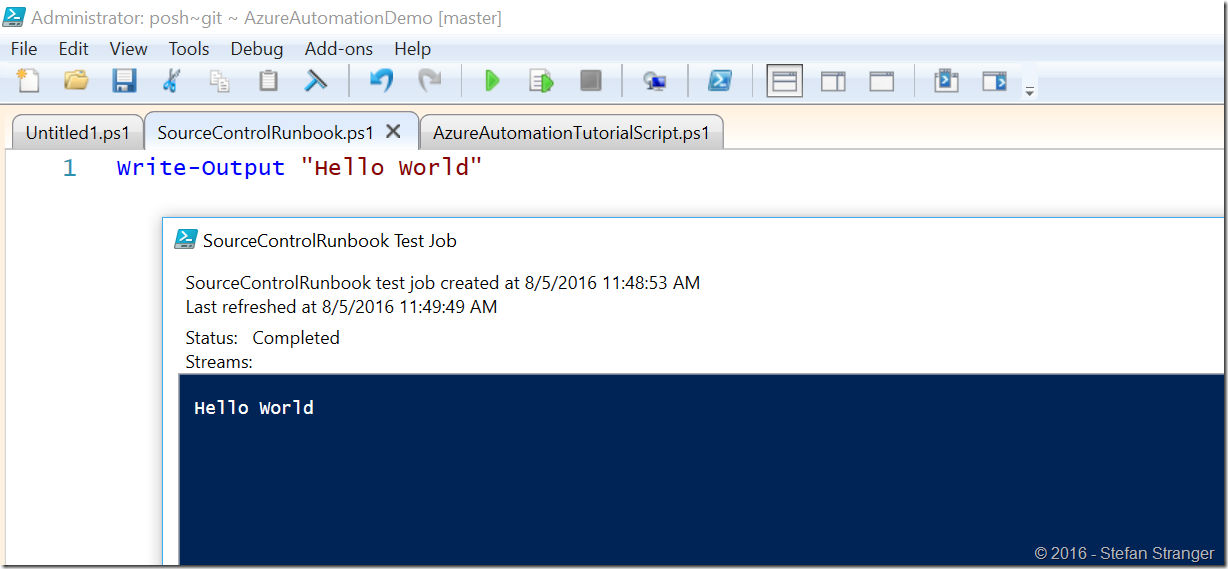
After creating the runbook you can upload the draft and Test the draft in Azure. Make sure you delete the draft runbook because we are going to use Source Control in the future to synch your runbooks from this Repo.
It’s seems to be working ![]()
We now have to copy the newly created runbook to the /runbooks/demos folder to have this synchronized to our Repo.
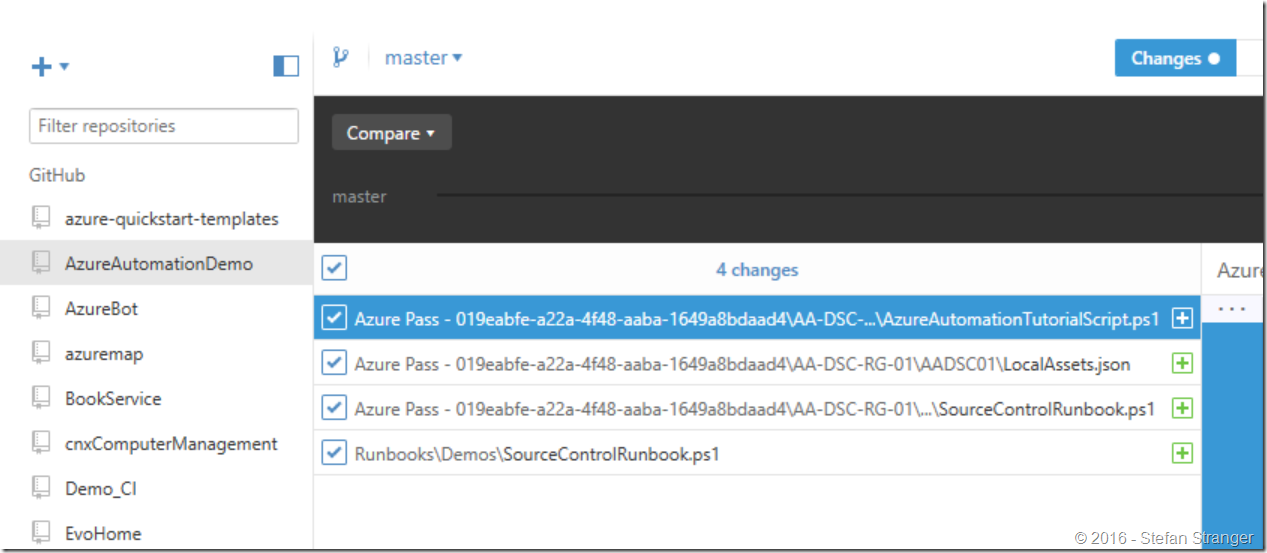
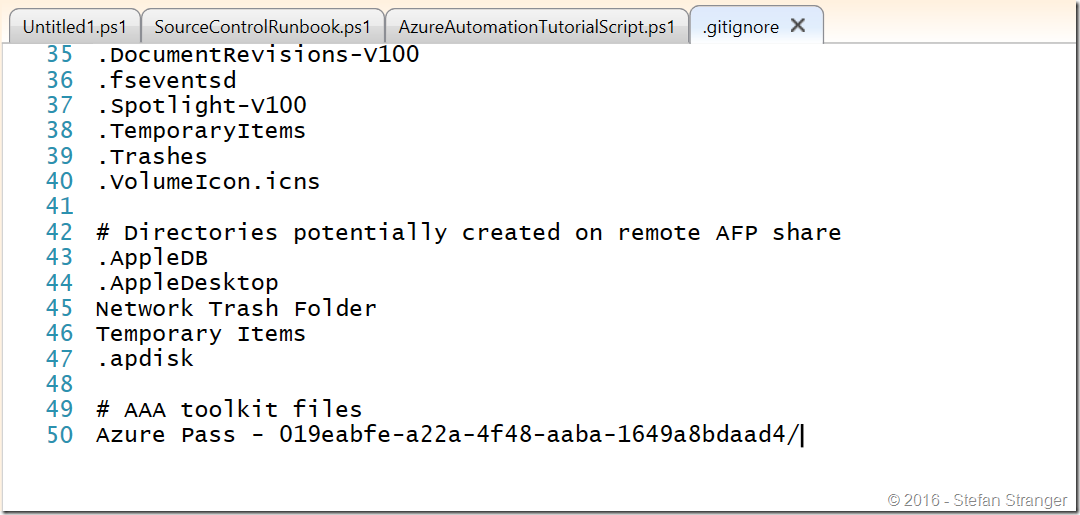
First start with adding the AAA toolkit files to the gitignore file we don’t want these files to synchronized with our remote Github repo.
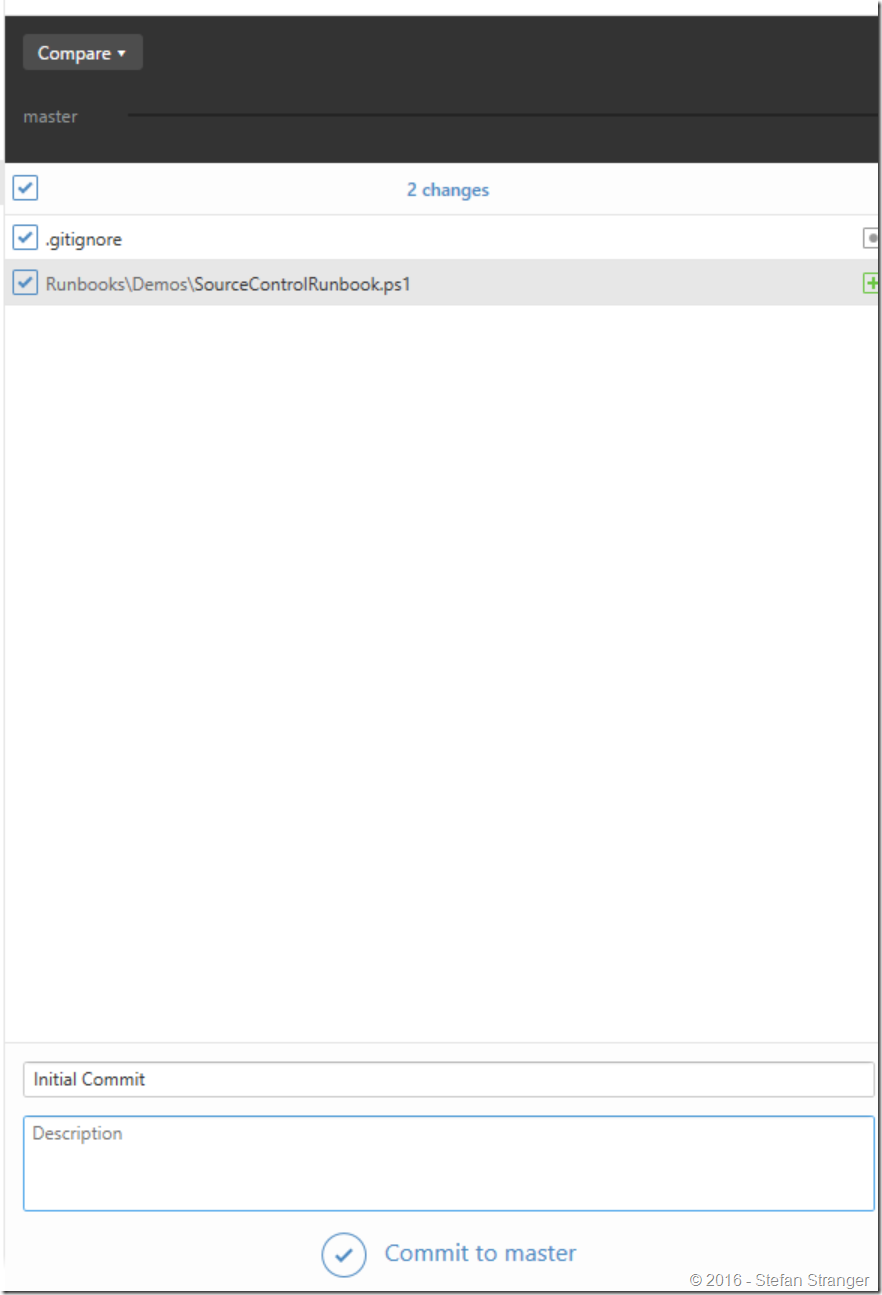
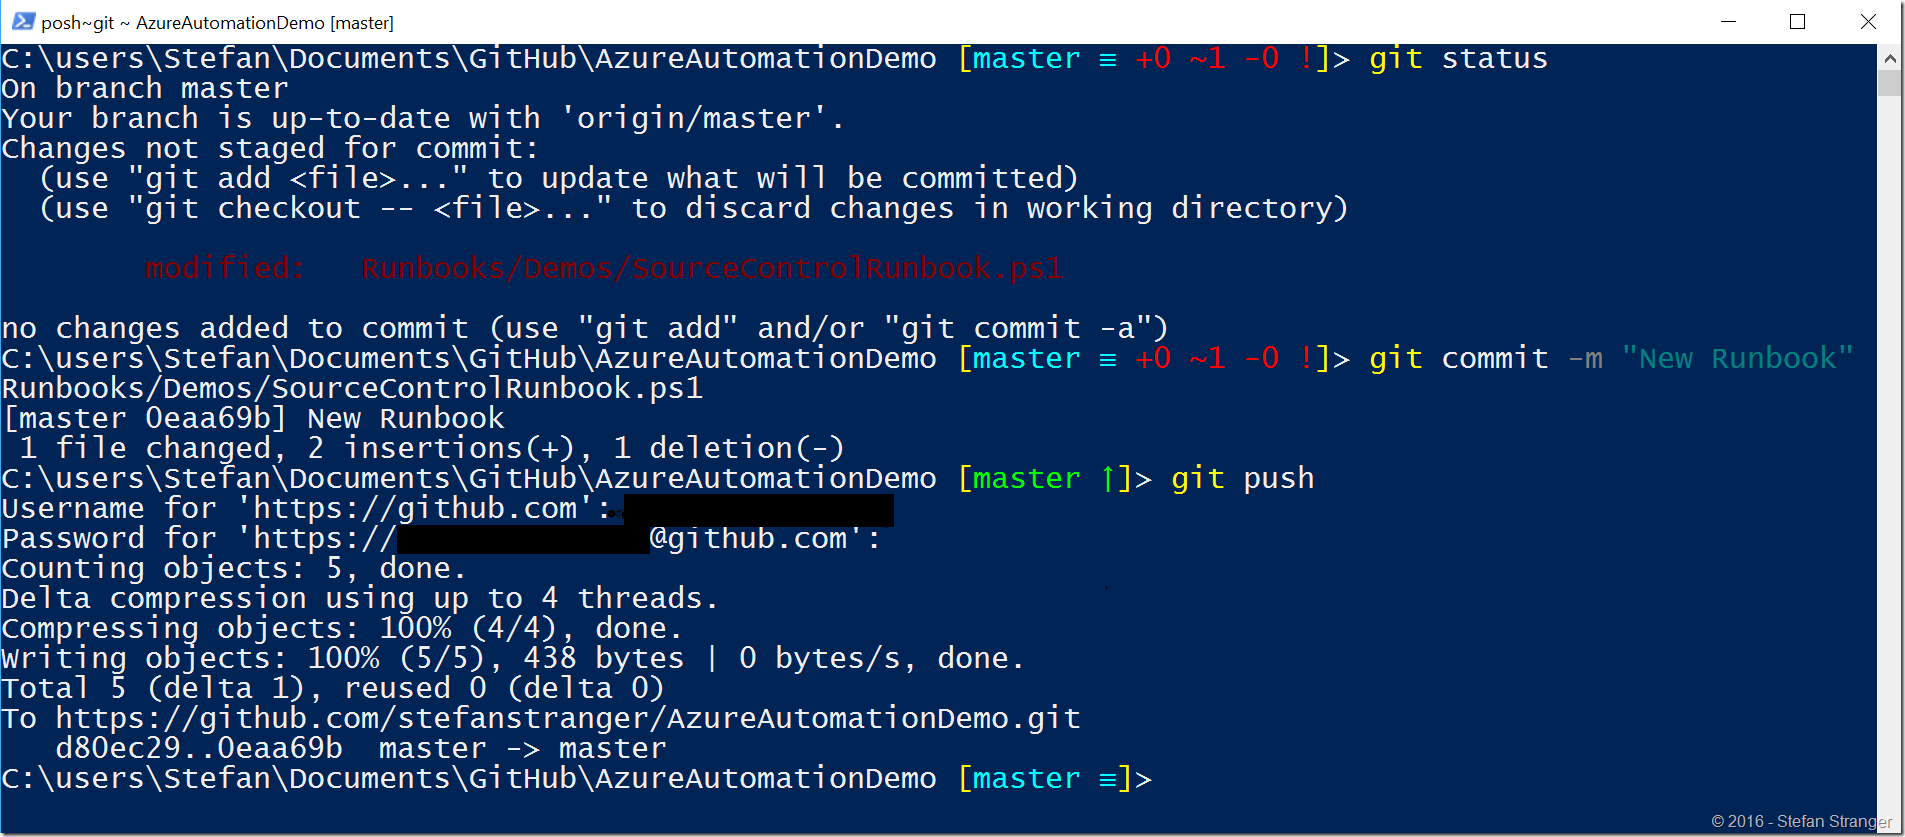
We can now continue with committing our first Runbook.
After committing we can synchronize our local commits with remote master branch..
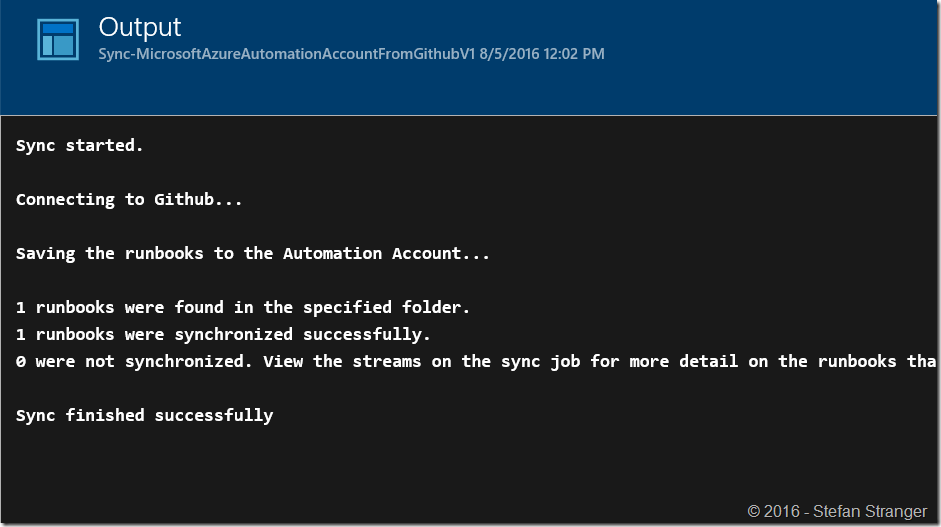
We can now synch the Repository within the Azure Portal.
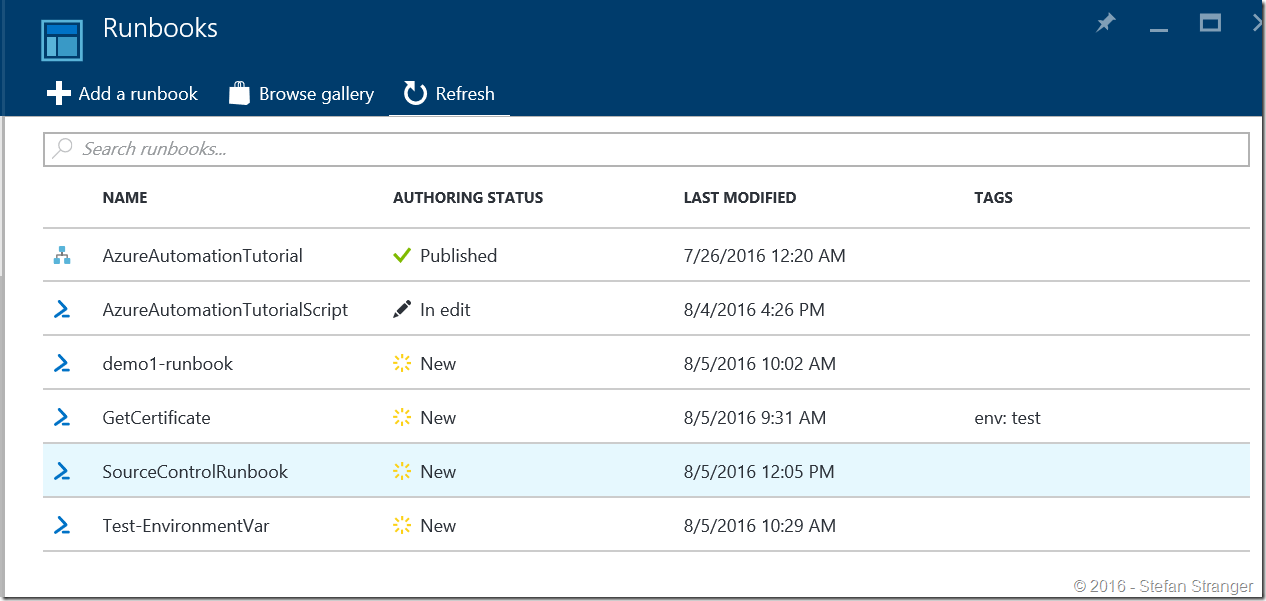
If all goes well your runbook will be synched.
And there it is.
So what happens next?
If we now make a change to our Runbook we can use Source Control to automatically synch our changes to the Azure Automation Account.
Commit and push the changes to our Remote Repo on Github.
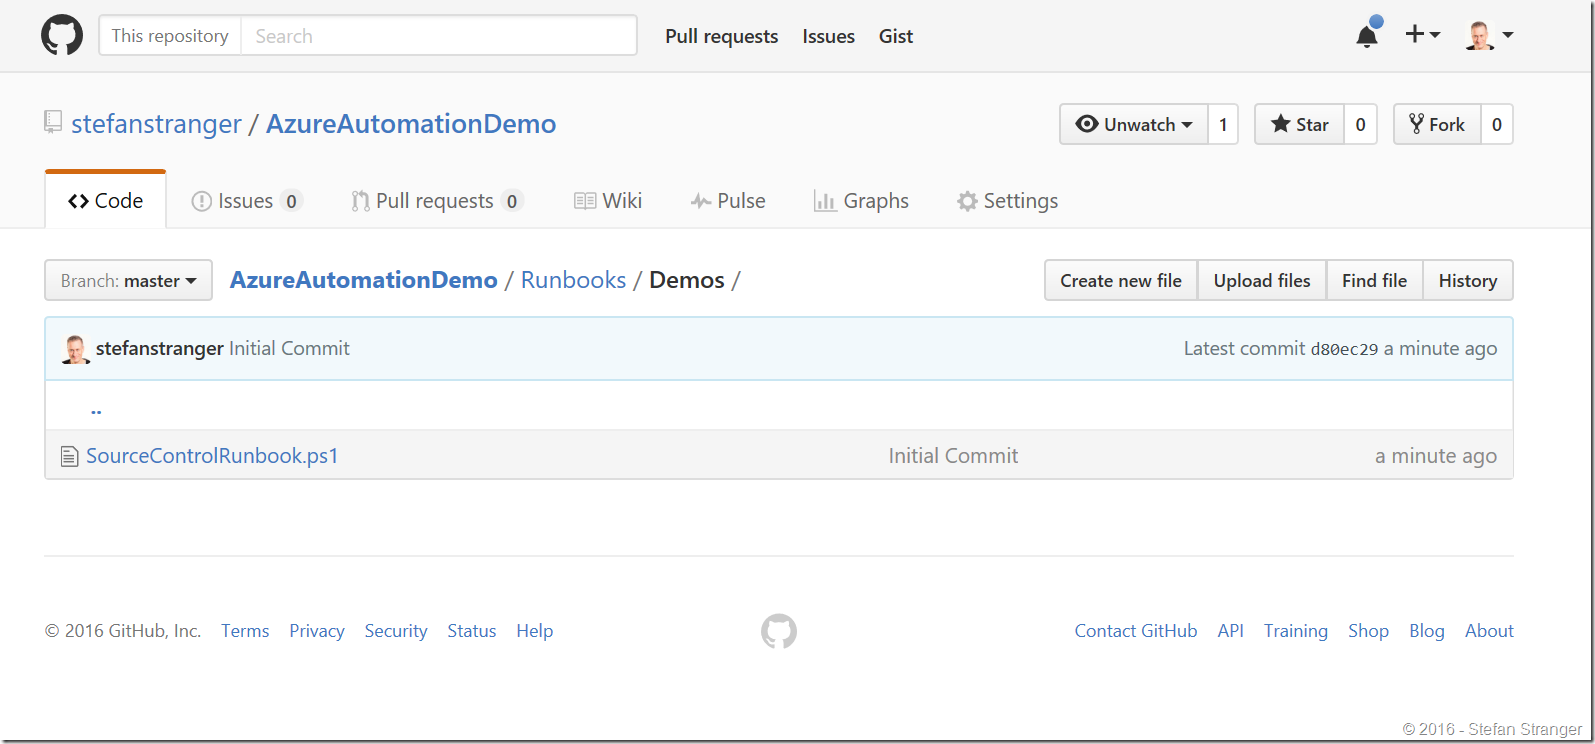
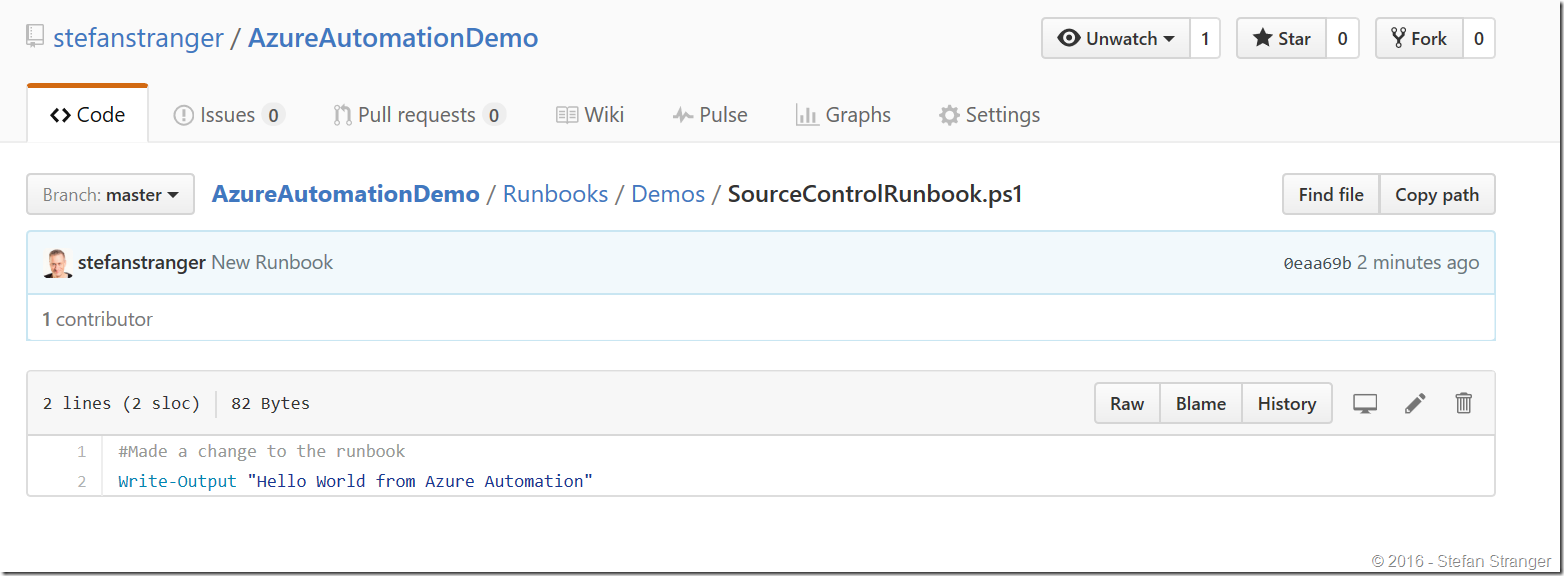
We now see the changed runbook on Github.
If we wait or trigger the Runbook synch on the Azure Portal manually we see the edited Runbook appear in the Azure Automation Account.
Happy source controlling ![]()
Comments
- Anonymous
August 05, 2016
Nice article - Anonymous
August 07, 2016
When is support for TFVC expected to be released? - Anonymous
August 10, 2016
Really helpful, was looking for this information. - Anonymous
August 21, 2017
Is anyone monitoring this? It's been a long time, when will we have VSTS integration.
