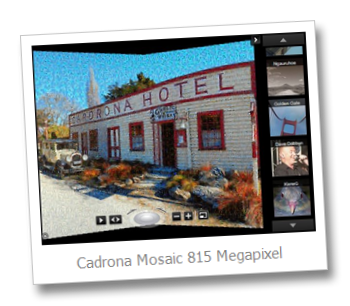
Photosynth Panoramic Deep Zoom Mosaic
18 years ago ‘Virtual Reality’ was all the rage… remember The Lawnmower Man? 16 years ago Apple came out with QuickTime VR which changed the way people experienced panoramic photos on the web.
QuickTime VR (virtual reality) (also known as QTVR) is a type of image file format supported by Apple's QuickTime. It allows the creation and viewing of photographically captured panoramas and the exploration of objects through images taken at multiple viewing angles. It functions as a plug-in for QuickTime.
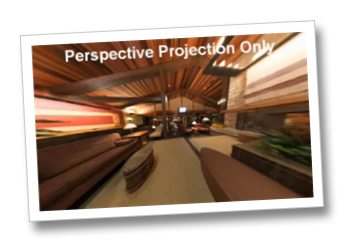
QuickTime VR uses Perspective Projection that distorts when the field of view increases and it hits a singularity at 180 degrees.
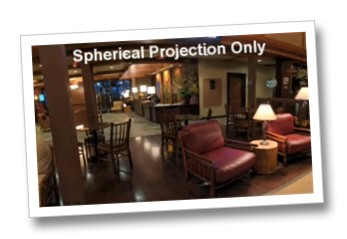
Spherical Projection enables you to see the entire field of view, however straight lines appear curved even at smaller fields of view.
In 2006 the GigaPan project was introduced
GigaPan is a collaborative project of Google, Carnegie Mellon University and NASA Ames Intelligent Systems Division's Robotics Group. Its goal is to facilitate the taking of large (gigapixel) composite pictures, presenting the data as a single image and providing efficient web access and browsing and zooming of such images.
Matt Uyttendaele (Microsoft Research) looked at the current techniques and developed some research technologies in 2007 to make a best of breed viewer. More details in this video and this Microsoft research paper from 2007.
The Microsoft viewer smoothly transitions between perspective and spherical projections.
In 2007 HD View was introduced
Developed by Microsoft Research's Interactive Visual Media group, HD View uses graphics hardware to provide smooth panning and zooming of images and to handle the transformation of a panoramic image back into the appearance of a natural 3D illusion. A viewer can also zoom into surprising details in an image or zoom out to view the entire 2D panoramic image.
Three weeks ago the technology was refined further and we released a new version of Microsoft ICE and Photosynth to enable you to take advantage of these research enhancements.
We’ve put two best-of-breed technologies together: ICE’s state-of-the-art automatic image stitcher that makes it easy to create beautifully toned panoramas of more than a billion pixels, and Photosynth’s Seadragon-based display technology that gives you a buttery-smooth way to explore every corner of these enormous images.
The Showcase Example:
Previous HD View and ICE Mosaics - “republished” with the new viewer.
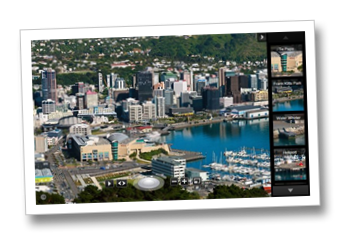
Adrian Watkins’ 800 Megapixel panoramic shot of Wellington
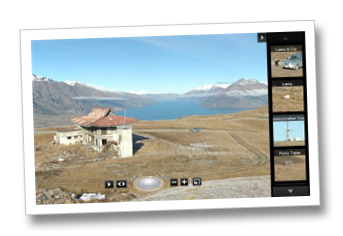
My Queenstown mountain toppanoramic
Kicking the Tyres over Easter:
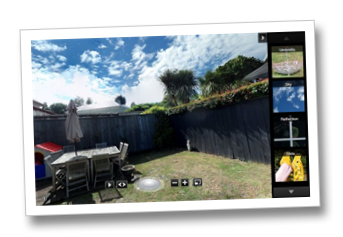
Yesterday I attempted a 360 degree panoramic image of my backyard. I was very happy with the results except for a area of fringe distortion that occurred on the edge of the house that I suspect happened due to the vast difference in contrast produced by my camera taking a photo directly into the bright sun. Tip look straight up at the sky as it’s pretty cool.
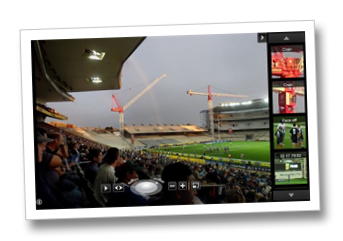
Last Saturday night at the rugby I shot this rapid sweeping horizontal panoramic. It is made up of 11 quick overlapping portrait photos taken in about 30 seconds.
Taking the photos above on Saturday took me back to when I was helping with the adiSYNTH project last year. Congratulations to Shift/ TBWA for winning a Gold Interactive AXIS for adiSYNTH at last months advertising awards!
Hacking the Engine:
Anyone that has been following my blog for a while will know that I’m keen on creating Deep Zoom mosaics.
I showcased a prototype application during the keynote at WEB09. Then followed it up with a post sharing code of how it was done.
More recently I have produced Flickr backed Deep Zoom mosaics for Webstock and MIX10 (both hosted on Windows Azure).
Since in it’s raw form a Mosaic is simple a single (very large) image I was thinking that I could probably use the new Photosynth panoramic view to host and navigate a large mosaic photo.
Challenge #1) How can you use ICE to publish the mosaic to Photosynth.
ICE requires a minimum of two original photos to stitch into a panoramic image using rotating motion.
The best result I found was achieved by splitting the “mosaic” image into three horizontal rows that overlapped and then dragging these into ICE.
Challenge #2) Creating the Mosaic image and the overlapping slices
There are many tools available for creating Mosaic Images. I have previously purchased the professional version of AndreaMosaic which can output images as tiff files. This is useful as most editing software (including Photoshop) can work with jpeg files with a max size of 30,000 x 30,000 pixels.
If you do need to change a .jpg into a .tiff – opening the large jpeg with Windows Live Photo Gallery and doing a File – Make a copy… does a good job converting to Tiff for editing in other image editing aps.
Use the image editing program to create 2 or 3 overlapping horizontal image slices. If you are doing a Gigapixel mosaic you are best to use .tiff images for the reasons listed above.
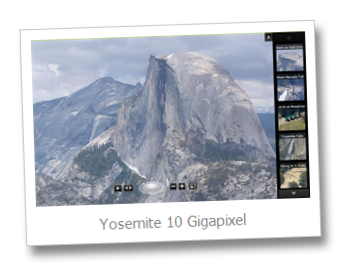
Drag your finished tiff images into the new version of ICE and sit back and wait. Once the scene is constructed click the “Publish to Photosynth button” – note for the 6.6 Gigapixel mosaic below I needed 74 GB of free hard drive space for Photosynth to create the mapping before it would upload to the server.
My first attempt allowed rotating source images, and consisted of a 815 Megapixel mosaic with two overlapping columns.
My second attempt didn’t allow rotated or mirrored source images and was built from three overlapping rows.
Of course research stays two steps ahead of what is released checkout this video below that was shot with the ICE team at Microsoft.
It covers
Stitching Panoramas from Video
Sharp Panoramas from Blurry Videos
Creating Photographs from Videos
Enjoy and let me know in the comments if you manage to create something cool.
_thumb.jpg)
![thegumix_38[1] thegumix_38[1]](https://msdntnarchive.z22.web.core.windows.net/media/TNBlogsFS/BlogFileStorage/blogs_msdn/nigel/WindowsLiveWriter/PhotosynthPanoramicDeepZoomMosaic_731B/thegumix_38%5B1%5D_thumb.png)

