Deploying Server 2016 Part 1
Hello all! My name is Mike and I am currently a Platforms PFE at Microsoft and have been for the past two years. I’ve been working with Microsoft Server technologies for the past 17 or so years, starting with Windows NT and working on every version of server operating system since then. I’ve dabbled in other Microsoft technologies such as System Center Configuration Manager, but the server platform, Active Directory, and Group Policy is where I’ve spent most of my time. This is the first installment of a series of posts on how I’ve deployed Server 2016 in a customer’s environment. I’ve mimicked most of the details but have hidden names to protect the innocent.
For my installation, we want to get the most out of the new features of Server 2016 but for various reasons can’t implement everything all at once, so we have a rough plan for introducing Server 2016. In short, we’re going to start with virtual machines with a GUI, and work towards Server Core deployments and potentially some Nano servers. Upgrading the domain controllers will be a separate project and won’t be covered now.
The current environment is a VMWare shop, and has a mixture of Server 2008 R2 and Server 2012 R2. Most of the environment is virtualized, with only select physical servers which have their images managed by MDT.
We’ll be breaking the larger project out into four stages:
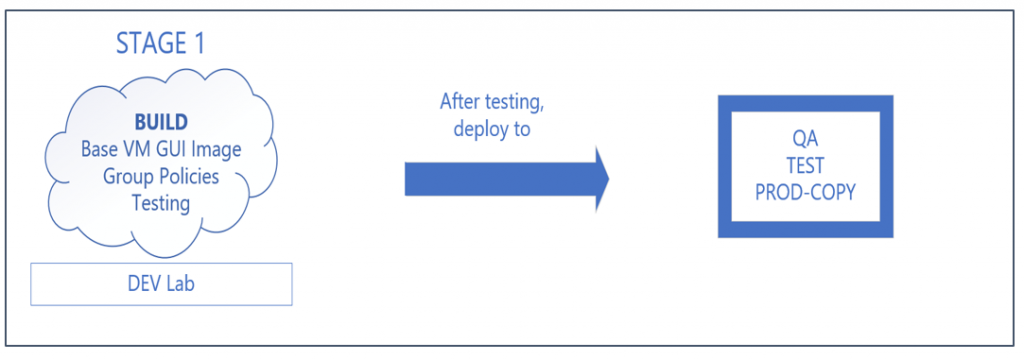
Stage 1:
- Develop base VM GUI image – Lab
- Develop Group Policies – Lab
- Test Group Policies and GUI image – Lab
- Deploy policies and image to lower environments
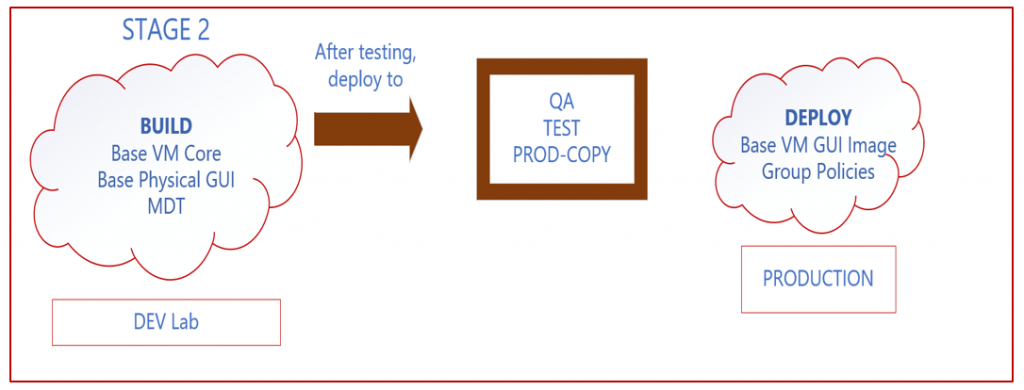
Stage 2:
- Develop base VM Core image – Lab
- Develop base Physical GUI image – Lab
- Upgrade MDT – Lab
- Deploy base VM GUI image – Production
- Test VM Core image – Lab
- Test Physical GUI image - Lab
- Deploy group policies – Production
- Deploy images to lower environments
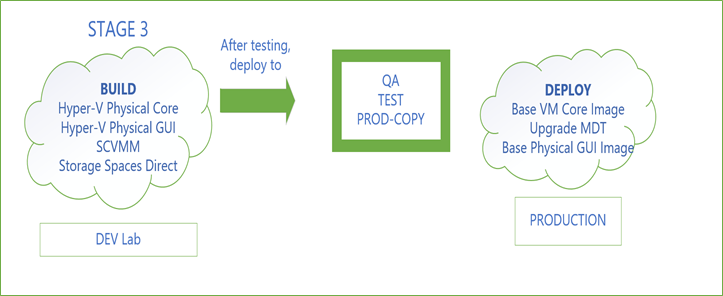
Stage 3:
- Develop Hyper-V Physical GUI image – Lab
- Develop Hyper-V Physical Core image – Lab
- Deploy SCVMM to manage Hyper-V environment – Lab
- S2D – multiple physical machines – Lab
- Upgrade MDT - Production
- Deploy base VM Core image – Production
- Deploy base Physical GUI – Production
- Deploy Hyper-V images to lower environments
- Deploy SCVMM to lower environments
- Deploy S2D to lower environments
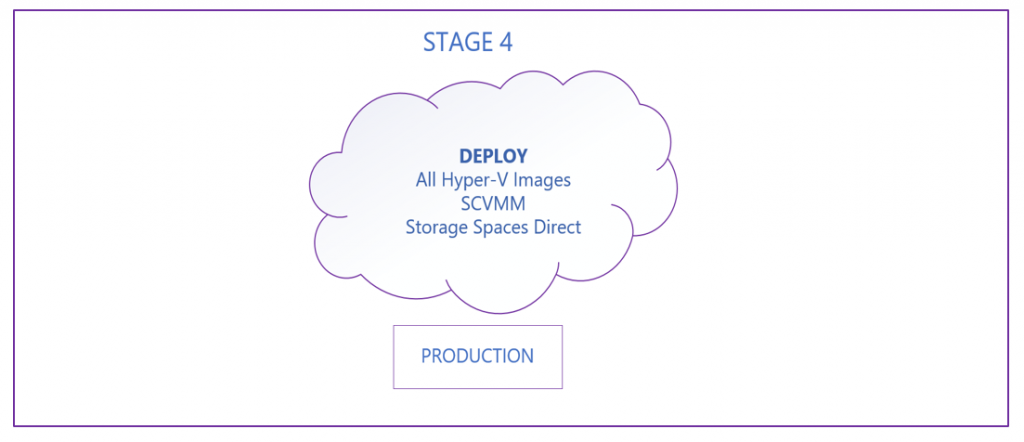
Stage 4:
- Deploy Hyper-V images – Production
- Deploy SCVMM – Production
- Deploy S2D – Production
We’re starting out with our test lab, which is where one should always start. Always remember, don’t test new changes in production! Our first job is to ensure that any new Server 2016 machines on the network will have appropriate Group Policies applied to them when they first join the domain. We have created an OU structure that will mimic the production environment and will allow us to apply the polices as needed. Any new 2016 servers must be added to one of the four appropriate OUs: Build Staging, DEV, PROD, or QA.
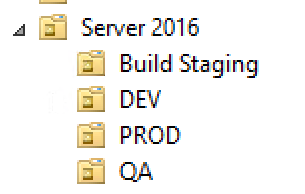
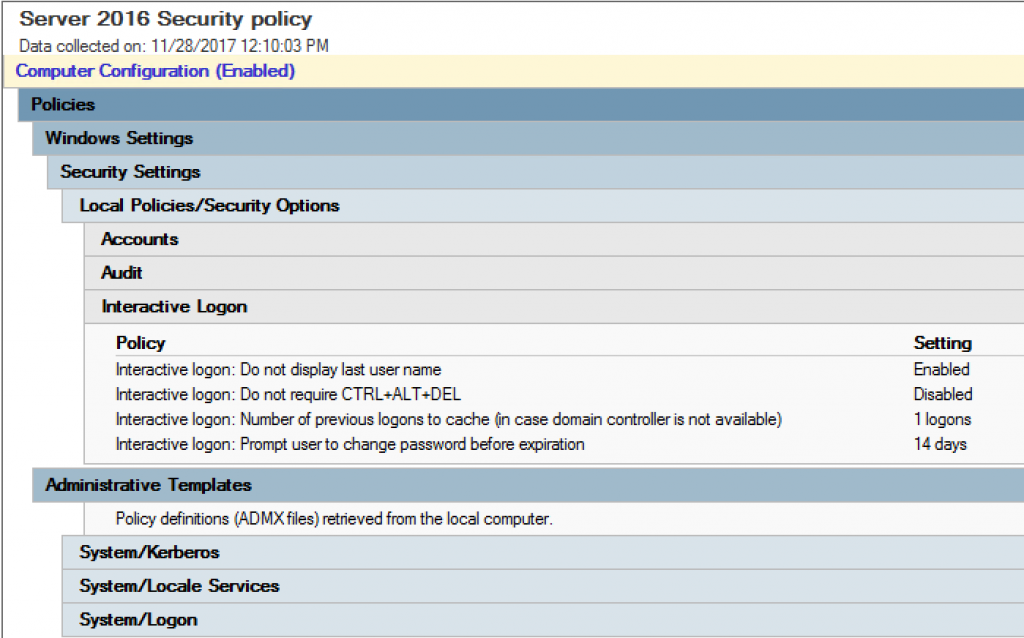
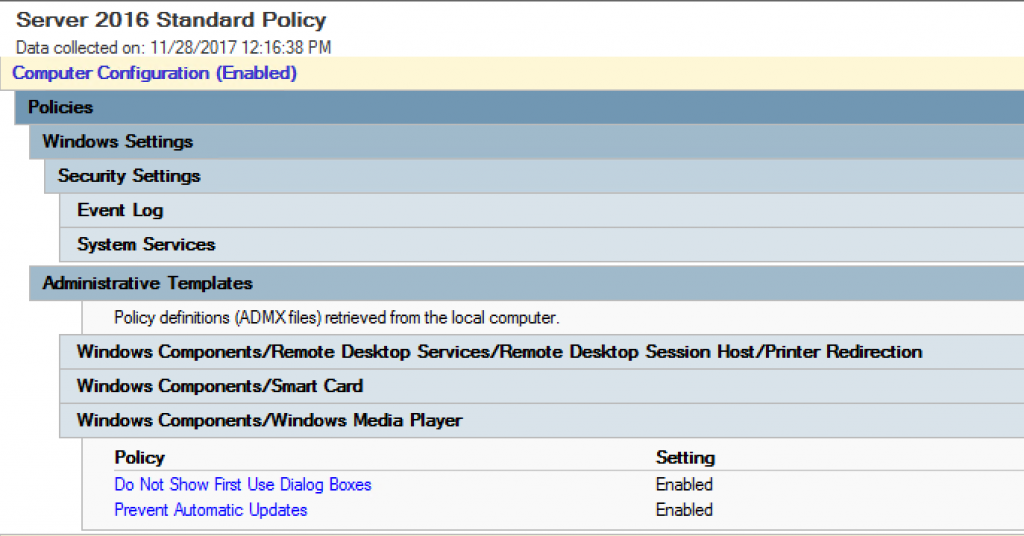
Our Group Policies are applied at the Server 2016 OU and they filter down to the other four OUs. We have developed two specific Server 2016 policies: Server 2016 Security Policy which is full of security settings and features all the auditing, firewall, local account, and other service lockdown settings and Server 2016 Standard Policy, which contains all the other general server configuration settings. We created these two policies by backing up the existing Server 2012 policies and restoring them into newly created blank policies. This sped up our ability to deploy the policies with the same settings we already knew we needed and wanted, and then we added in new settings which were unique to Server 2016. We also took this time to remove some of the settings which were deprecated or otherwise no longer applied to the environment.
Following is a sample of the settings in the Server 2016 Security Policy:
A sample of the settings in the Server 2016 Standard Policy:
Our goal here is to ensure we have a solid base image which will pass the security screens before we move on and start installing all the necessary agents and standard software. Once our base image passes the security test, we will set it as a template for other lower environments and begin the installation of all the agents and standard software.
As of this writing, we are in the process of tweaking the Group Policies to ensure they are updated from the previous 2012 policies and will be submitting them to the security team for testing. Stay tuned for the results and next steps!
Comments
- Anonymous
November 30, 2017
Hello Mike,great article: I hope you have the possibility to blog about upgrading domain controller, maybe with a server core instead of full desktop experience.- Anonymous
November 30, 2017
Thanks Marco, I plan on doing just that, though it's going to be a while before I get to it. Got to finish this project first!Mike
- Anonymous
- Anonymous
March 18, 2018
Hi Mike,Thank you so much Mike!Brilliant article, I hope we will get a lots of articles from you in the future.Dan