Data Science in a Box using IPython: Creating a Linux VM on Windows Azure (1/4)
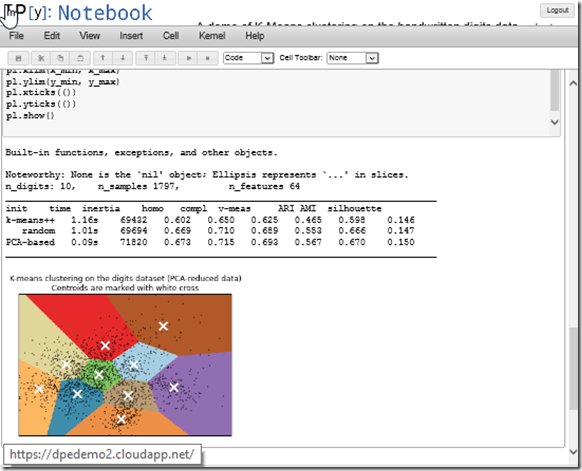
I just returned from the Python in Finance Conference in New York, I would like to thank Bank of America and Andrew Shepped organizing the event. It was not difficult to see the popularity of Python in the financial community; the event was quickly sold out with over 400 attendees. I gave a 35 minute talk on Python and Windows Azure, and was pleasantly surprised by the amount of interests from the audience and there after. The purpose of this tutorial series is to help you to get IPython notebook installed andstart playing with machine learning, and other data science packages in Python.
IPython: Convenience leads to mainstream popularity
One Python package that really stood out at the conference was the IPython notebook. Almost every single presenter mentioned the greatness of IPython notebook. It is a web based Python environment that makes sharing Python code/projects that much easier. IPython was developed by my former colleagues from Tech-X corp and alumni, Brian Granger and Fernando Perez from the CU Boulder Physics dept. Over the years, I have collaborated, and helped to fund some of the work for the project to get IPython running smoothly, especially on Windows HPC Server and on Windows Azure cluster. It is good to see these investments have paid off and benefited the Python community greatly. Most recently, Microsoft External Research has made a sizable donation to the IPython foundation to further support the community, the announcement was made at PyCon this year.
Due to high demand from recent conferences, we’ll do a walk through of the installation process with more details for those who are new to either IPython or Windows Azure. The original instructions can be found on the official site of Windows Azure.
Windows Azure free trial sign up
Windows Azure is Microsoft’s Cloud platform, we support both Windows, and Linux VMs. The free trial gives you 3 months free with 750 core hours each month, 70 GB free storage and so on. The Sign up process is quick and completely risk free, your credit card will NOT be charged until you specifically instructing Azure to do so. You will need a liveID.
Sign up link: https://www.windowsazure.com/en-us/pricing/free-trial/?WT.mc_id=directtoaccount_control
Login and sign up for the Virtual Machine Preview Feature
Since Windows Azure Virtual Machines or our IaaS (infrastructure as a service) is still in preview, you will need to log in through the portal and then enable the preview feature at: https://account.windowsazure.com/PreviewFeatures
Click on Try it now to enable the preview feature. You will get queued for approval. This process may take a few minutes to a day depending on availability. For us, it became available instantly by going back to and refresh the Windows Azure dashboard.
Upon signing up for the VM preview feature, Virtual Machines menu item appears in the dashboard.
Create your first Linux Virtual Machine
IPython works really well for both Windows and Linux instances. In this tutorial, I would like to take this opportunity to show majority of the readers here who are Windows users how to get up and running on Linux. As I believe that a good developer should be tools and platform agnostic.
Click on +NEW, then select Compute and Virtual Machine
Use the QUICK CREATE option. Fill out the fields with DNS Name, this is the name of your machine. I picked Ubuntu 12.10, this is a preferred VM on the IPython development team. You may want to pick a smaller VM size for the trial, as it may run out much quicker with the Extra large. Pick a Secure Password. It is also recommended that you pick a data center closer to where you are. Click on Create A virtual Machine. A Virtual machine along with a storage account will be automatically created for you.
To understand how IaaS Virtual Machines work, please take a look at the diagram below. Windows Azure virtual machines are much more advanced than simple machine hosting. When we normally buy a server box, we use its disks for keeping the OS and data, but if the disk dies it will have to be replaced. If the server dies, we will have to get a new server. In Windows Azure Virtual machine, a user no longer have to worry about such hardware failures or down time. In case there’s hardware failures on the physical host that hosts your VM, your VM can be moved onto a different host. In order to do this, the VM does not use local physical hard drive, but instead it uses virtual drives sitting on Windows Azure Storage remotely. Windows Azure Storage keeps 3 copies of your Image in case of physical drive failures on Windows Azure storage itself. Such architecture gives us flexibility, reliability and great service level for preventing down time. You can also attach multiple drives to the VM depending on its size. For an extra large instance, we can attach up to 16 drives at 1TB each. You can read more about Windows virtual machines here.
It only takes a few minutes to provision a Windows Azure Virtual Machine. IPythonVM’s status is now running.
Configuring your VM for log in
SSH details or the default way of logging into a Linux machine are at the bottom of the Dashboard page. In case you want to change the port to its default 22 instead of randomly selected port 50390 listed here, you will need to do that on the End points Tab at the top of the page.
Click on Edit the endpoint at the bottom and change the public port to 22 from 50390 . This may take a few seconds for the changes to reflect.
To expose the IPython notebook webserver, we need to add an additional end point. We will be running the web server internally at port 8888, and expose it at 443 as the public end point.
Click on Add Endpoint
Port 443 has been created for the IPython VM.
Log into Your Windows Azure Linux VM
Download Putty or your favorite SSH client to login. Use the full hostname displayed on the dashboard for your VM.
Accept the remote SSH key, then type in your user name and password to login. By default it is azureuser and the passwd you created.
Security Updates and patches
Linux machines that are not secure are the primary attack targets on the internet, is is advised that you immediately and frequently update your VM with security patches. The commands are simple:
- sudo apt-get update // note that sudo allows you to run command as the super user (root), you will need to type in your own password.
- sudo apt-get upgrade // once in a while you may want to upgrade your packages too.
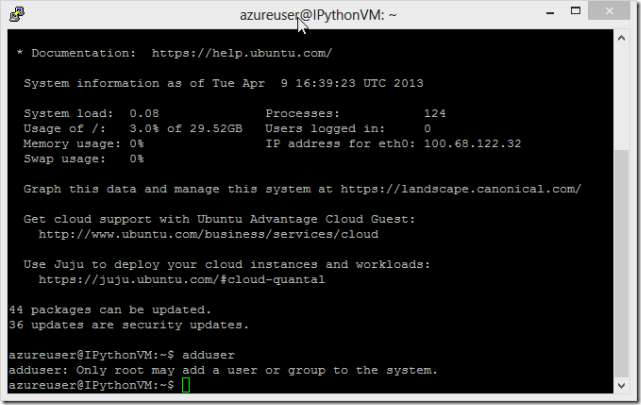
- adduser allows you to add additional users.
update command results above.
upgrade may ask user input, and will take a while to complete.
Conclusion
This is the first in a blog series that shows you how to turn a Windows Azure VM into a powerful IPython-based machine learning in a box solution. If you have questions please contact me via @wenmingye on twitter. In the next tutorial we are ready to get all the Python packages installed.
Comments
Anonymous
June 25, 2013
Hi Wenming, when will publish the blog for running IPython in Windows Azure cluster?Anonymous
September 13, 2013
I recommend using ssh and port forwarding instead of putting the IPython Notebook on the internet. (e.g. ssh -i prvate_key user@ip_address -L 8889:localhost:8888)


