ConfigMgr 2007 Distribution Points Load Testing – (Part II)
As mentioned yesterday, CertPicker assembly or console requires that certificates already be present for your environment and in a folder in .pfx format. Without these certificates, one wouldn’t get very far using CertPicker so Part II of this multi-series posts will cover how to successfully create the certificate templates for Client Authentication and then will show how to then use a sample utility to request certificates from that CA.
NOTE: Any source code or toolsets provided are simply samples and should come with the standard legalize that aren’t supported, untrusted, nor guaranteed. It is only for reference purposes and to save you time in this process.
Step 1: Creating Templates on your Microsoft Certificate Authority
The first thing you got to do is create the templates to issue certificates. There is one gotcha – templates are only supported on specific Microsoft Certificate Authorities (CA) such as Enterprise Roots, etc.
The following outlines how to create Client Certificate template for your specific needs -
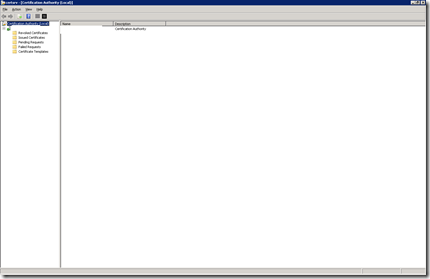
- On your Issuing Certificate Authority, click Start, Administrative Tools, Certification Authority (Local)
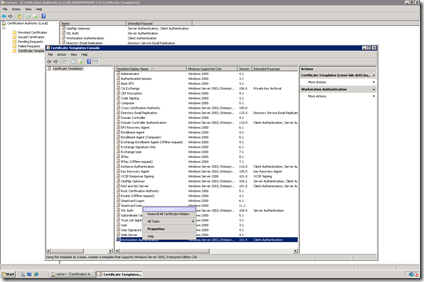
- Locate Certificate Templates, right-click and select Manage
- This opens the Certificate Template Console
- Locate the Workstation Authentication, right-click and select Duplicate Template
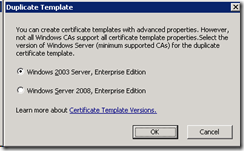
- For the Duplicate Template selection, select Windows 2003 Server, Enterprise Edition
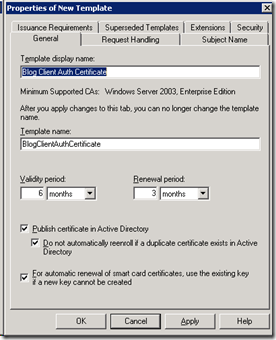
- In the Properties of New Template General tab, insert a unique name such as Blog Client Auth Certificate
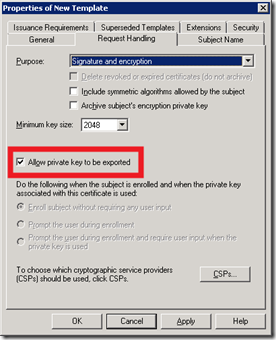
- Click the Request Handling tab, ensure that the “Allow private key to be exported” is checked
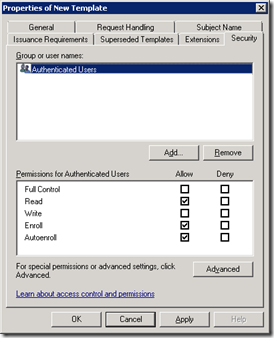
- Click the Security tab, ensure that a user or group that your account is a member of has the Read, Enroll permissions for the template (NOTE: If you go to our next step and in the drop down you see no template named “Blog Client Auth Certificate” then you don’t have permissions)
- Close the Certificate Template console
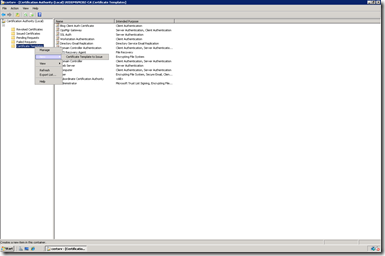
- In the Certification Authority console, right-click Certificate Templates and select Certificate Template to Issue
- Select the Blog Client Auth Certificate
You should now move to Step 2…
Step 2: Testing Obtaining certificates from your Issuing Certificate Authority
After you have successfully created your certificate template, the next step is to ensure that you can effectively obtain a certificate from your Certificate Authority using the template you created. To do this, follow these steps:
- Open Internet Explorer and input the address to the PKI Issuing Server
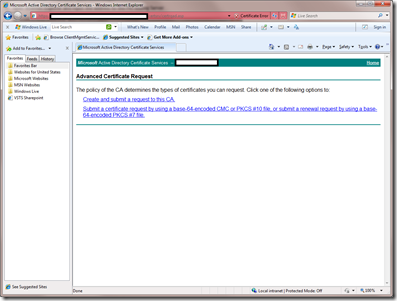
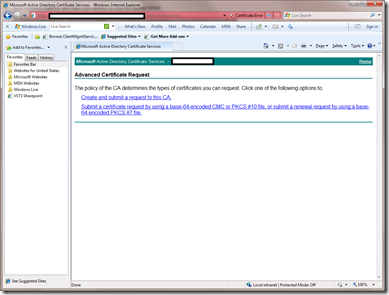
- Select Advanced Certificate Request
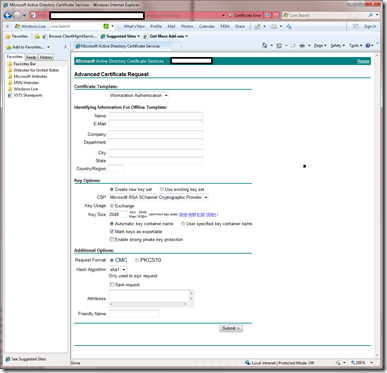
- In the Certificate Template drop-down box, select Blog Client Auth Certificate
- Ensure that “Mark keys as exportable” is checked
NOTE: It is not a best practice to create templates that support the export of the certificates Private Key. This is only for demonstration purposes only and I suggest that you do not support certificates that are valid in production environments that do allow exporting of the private key.
- In the request format, select PKCS10 radio button
- In the friendly name, input a “friendly” name for the Certificate
- Click Submit
NOTE: If your Certificate Authority is online (e.g. available) then you might received the following prompt. If you do, select Yes
This should now have a certificate that is available to install (if online) or available via download. If downloaded, then you will need to install the certificate by double-clicking and selecting install certificate.
You should now move to Step 3…
Step 3: Exporting Certificates to PFX (includes Private Key!)
The key thing here is to step through doing it just once and I know it is documented several places but for education purposes I don’t want to cut corners so lets go ahead and migrate that certificate we got in the above step and export it to a PFX. This is crucial as the code provided in CertPicker relies on a PFX file on disk to extract and import prior to use.
- Click Start and input MMC (ensure you are doing this as Administrator)
- In the MMC, click File, select Add\Remove Snap-in
- In available snap-ins, select Certificates and click Add
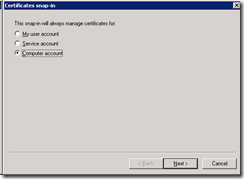
- In the certificates snap-in dialogue, select Computer Account (or User Account depending on where you installed it)
- Select Local computer
- Click Finish
- Navigate the hierarchy by click Certificate, Personal, Certificates and highlight the certificate in the right-hand pane
- Right-click on the certificate, select All Tasks, and select Export
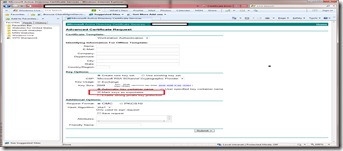
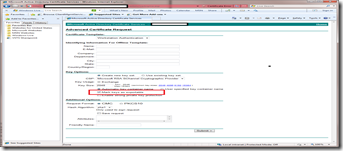
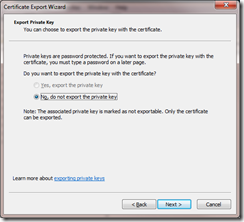
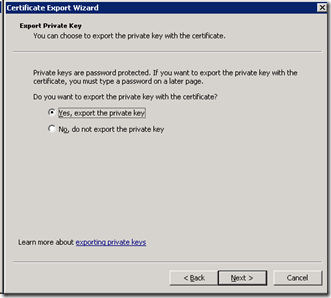
NOTE: If the selection looks like the below then you will not be able to this certificate as the private key will not be included
Broken:
Working:
- Complete the wizard and save the file to the local disk (ensure it is in the .pfx format)
Part III: Setup Visual Studio Web Test Solution for Load Testing your Distribution Points
In my next post, we will show how to take reference resource from Part I (CertPicker) and add to a Visual Studio 2005/2008 Web test so that we can generate a test against our DPs that are Native Mode (requires Mutual Authentication). Beyond that, we will simplify the scenario and create a Web test against an unsecure, mixed-mode DP to show the slight difference. Lastly, we will take these Web tests that use various package sizes and will combine them into a single Load Test that emulates several various clients requesting packages from the DP.
Stay tuned…
-Chris
