ASP.Net MVC on Windows Azure | ASP.Net MVC Web Role
ASP.Net MVC on Windows Azure | ASP.Net MVC Web Role
 When you install Windows Azure Tools for Visual Studio, you only get a project template for an ASP.Net Web Role. In this post I’ll talk about how to create a new ASP.Net MVC Web Role or move an existing ASP.Net MVC Application to Windows Azure.
There are 2 ways to do this:
 Manually adding an ASP.Net MVC application as a Web Role (suitable both for a new ASP.Net MVC application and for an existing one).
- Use a Project Template to simply create a new ASP.Net MVC Web Role (new ASP.Net MVC application only).
Creating a New ASP.Net MVC Web Role
The following steps apply both for creating a new ASP.Net MVC application and to moving an existing ASP.Net MVC application to Windows Azure.
1. Create an empty ASP.Net MVC Application (with or without a test project), or make sure you have an existing ASP.Net MVC application that you want to move to the Windows Azure.
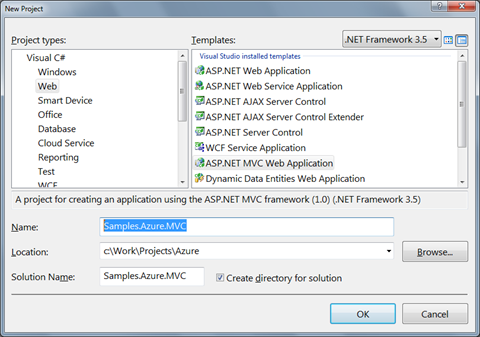
2. Close this solution and create a new Blank Cloud Service. Make sure you start Visual Studio as an administrator because working with the Development Fabric requires that.
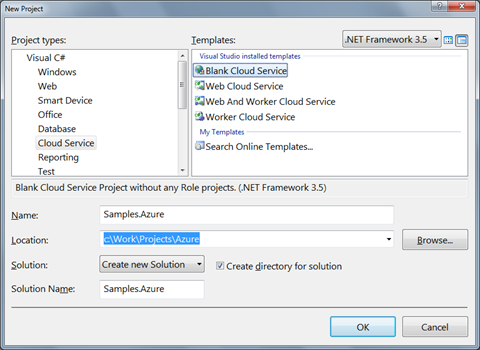
3. Add an existing project to the cloud service and select the ASP.Net MVC Application you have created earlier.
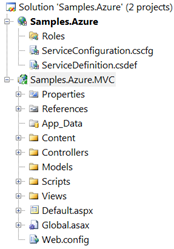
4. Right click the ASP.Net MVC project and select Unload Project.
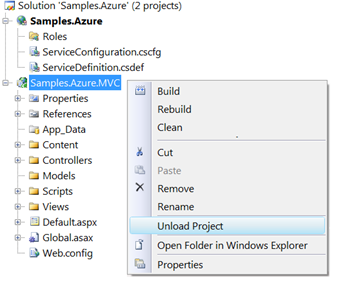
5. When the project is unloaded, right click it and edit the project file.
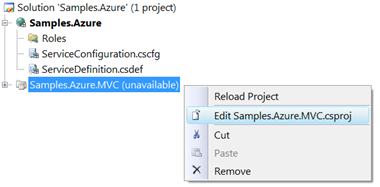
6. The project file opens in the XML Editor.
<Project ToolsVersion="3.5" DefaultTargets="Build" ...>
<PropertyGroup>
<Configuration Condition=" '$(Configuration)' == '' ">Debug</Configuration>
...
</PropertyGroup>
...
</Project>
Inside the PropertyGroup Element, add the RoleType element and mark this ASP.Net MVC project as a Web Role.
<Project ToolsVersion="3.5" DefaultTargets="Build" ...>
<PropertyGroup>
<RoleType>Web</RoleType>
<Configuration Condition=" '$(Configuration)' == '' ">Debug</Configuration>
...
</PropertyGroup>
...
</Project>
7. Close this project file, and reload the project.
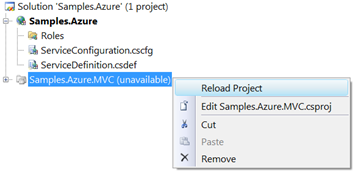
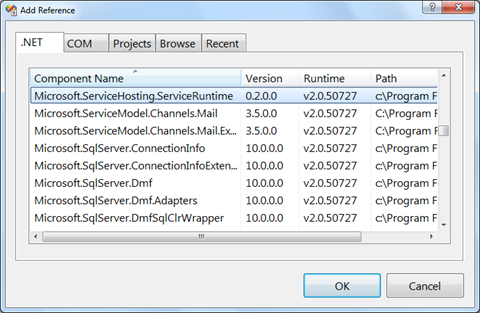
8. Since the ASP.Net MVC now runs on the Windows Azure Service Hosting environment and will probably use its services – add a reference to Microsoft.ServiceHosting.ServiceRuntime.dll.
9. Right click the Roles node in the project tree, and add a Web Role Project in the solution. Select the ASP.Net MVC project from the project list.
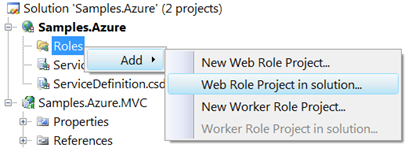
Now the ASP.Net MVC project is shown as a Web Role.
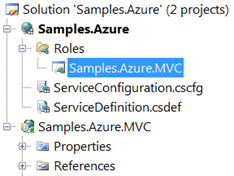
10. Since the Windows Azure provides us only with the default .Net Framework 3.5 SP1 assemblies, we must make sure we also copy the ASP.Net MVC Assemblies to the cloud. To do this, right click on each of the following references of the ASP.Net MVC application, and set the Copy Local property to True:
- System.Web.Abstractions
- System.Web.Mvc
- System.Web.Routing
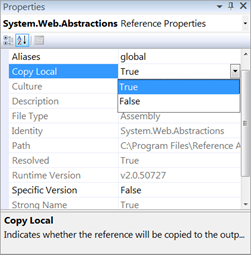
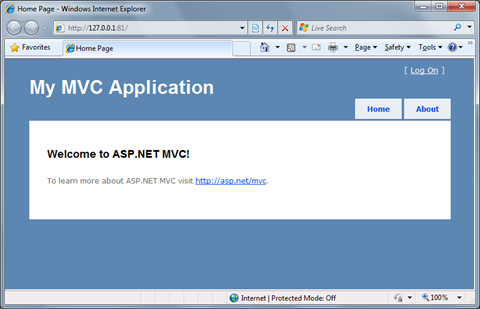
That’s it. You can run the application to make sure that it is running on the Development Fabric.
Creating an ASP.Net MVC Web Role using a Project Template
Thanks to a great word done by the community, we can use a project template to do all the above steps for us. Here’s how to do this:
1. Download the project template from Codeplex at https://c4mvc.codeplex.com/.

2. Create a new project and select the Azure ASP.Net MVC template in the Community for MVC category.
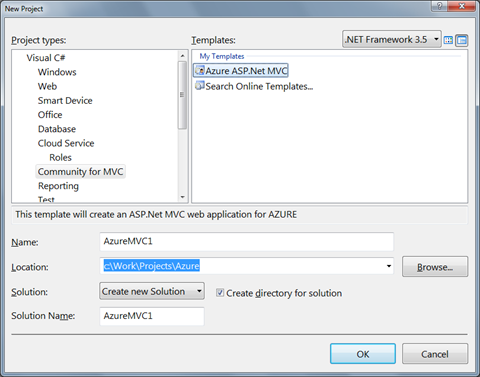
This creates a new Cloud Service for Windows Azure with ASP.Net MVC Application as a Web Role.
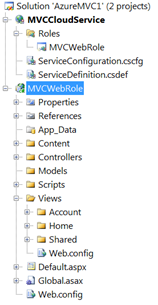
Enjoy!
Comments
- Anonymous
May 23, 2009
PingBack from http://microsoft-sharepoint.simplynetdev.com/aspnet-mvc-on-windows-azure-aspnet-mvc-web-role/ - Anonymous
May 23, 2009
Thank you for submitting this cool story - Trackback from DotNetShoutout - Anonymous
May 24, 2009
Thank you, this is a good story, but there's one thing that's wrong. You don't need to "Copy Local" System.Web.Routing. The MVC Routing engine is part of the .NET Framework 3.5 SP1. It should already be there for you. You only need to copy local System.Web.Mvc and System.Web.Abstractions - Anonymous
May 24, 2009
9efish.感谢你的文章 - Trackback from 9eFish