How to send emails through Azure Web Apps using Google / Gmail
How to send emails through Azure Web Apps using Google / Gmail
Part I – Configuring Google to use App Passwords
Two quick notes before proceeding: This is not a ‘once and done’ secret or app generation concept, this is unique to the gmail address and will need to be done for each and every email address that you wish to send emails from.
Next, this sample uses the C# Open Source MailKit library. You can find more details about this here:
https://github.com/jstedfast/MailKit
Step 1 – Login to your google account and setup your Google App Password through the security center.
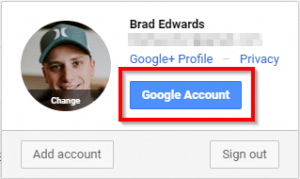
https://gmail.com then click in the upper right on your avatar and click “Google Account”
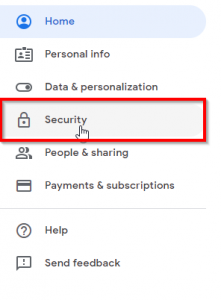
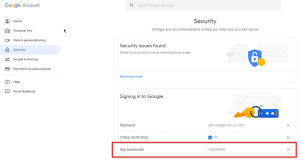
Click Security. If you already have 2 step verification and app passwords enabled, click on App Passwords to generate a new one. If you do not, then you will need to enable these to complete this walkthrough / guide.
On the step below if you do not have 2 factor authentication enabled and verified with your phone, you will need to do that, first.
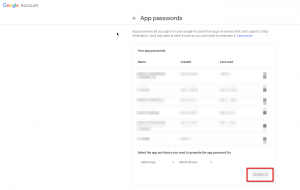
Next you will need to generate the password to use:
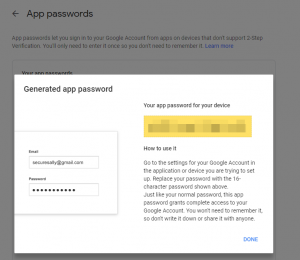
Now to generate the actual password. Use whichever name you are comfortable with.
Take note of the password (put it in your clipboard or notepad of choice). It will look like this:
Step 2 – Install Visual Studio (if needed).
Part II – Copying / Programming
Step 1 – Clone the GitHub Repository https://github.com/bledwards1/MailKit_AzureWebApps_Demo
Step 2 – Update the variables inside of the code sample downloaded as shown in the screenshots. The only file you should have to modify is the Default.aspx
Lines to modify: 30, 31, and 32 (optional), 37. Feel free to edit any of the others if you’d like to modify such as the subject line, etc. They are also commented clearly in the repository above if you forget...
Step 3 – Run the code and check for an email sample!
