演習 - コンピューティング ノードでアプリケーションを管理し、デプロイする
Azure バッチ クライアント API では、Azure Batch アカウントのすべてのコンポーネントをプログラムで制御できます。
会社のコンソール アプリを引き続き強化するため、前回の演習でアップロードした動画の変換に必要なすべてのコンポーネントを追加します。
重要
この演習を行うには、独自の Azure サブスクリプションが必要です。また、料金が発生することがあります。 Azure サブスクリプションをお持ちでない場合は、開始する前に無料アカウントを作成してください。
この演習が終わるころには、MP4 動画をアニメーション GIF に変換できる実用的なバッチ プロセスが完成しています。 アプリによりジョブが既存のプールに追加され、動画変換タスクが追加され、開始されます。
バッチ クライアントを使用してコードを拡張する
Cloud Shell のエディターで
Program.csファイルを編集します。code Program.cs今回のバッチ ジョブで使用する JobId のために定数を Program.cs に追加します。
private const string JobId = "WinFFmpegJob";Main メソッドで次の行を置換します。
var batchClient = BatchClient.Open(sharedKeyCredentials); // Create the Batch pool, which contains the compute nodes that execute tasks. await CreateBatchPoolAsync(batchClient, PoolId);batchClientの using ブロックを使用すると、次のようになります。using (BatchClient batchClient = BatchClient.Open(sharedKeyCredentials)) { // Create the Batch pool, which contains the compute nodes that execute the tasks. await CreateBatchPoolAsync(batchClient, PoolId); // Create the job that runs the tasks. await CreateJobAsync(batchClient, JobId, PoolId); // Create a collection of tasks and add them to the Batch job. await AddTasksAsync(batchClient, JobId, inputFiles, outputContainerSasUrl); }
ジョブを作成する
この新しいメソッド
CreateJobAsync()を Program.cs に追加し、ジョブを作成してプールに追加します。private static async Task CreateJobAsync(BatchClient batchClient, string jobId, string poolId) { Console.WriteLine("Creating job [{0}]...", jobId); CloudJob job = batchClient.JobOperations.CreateJob(); job.Id = jobId; job.PoolInformation = new PoolInformation { PoolId = poolId }; await job.CommitAsync(); }上記のコードでは、ジョブの作成にバッチ クライアントが使用されています。 メソッドにより、指定のジョブ ID とプールに関する情報が割り当てられます。
タスクを追加する
ジョブが作成されたら、最後の手順は、タスクをジョブに追加することです。 次のメソッド
AddTaskAsync()を Program.cs に追加します。private static async Task<List<CloudTask>> AddTasksAsync(BatchClient batchClient, string jobId, List<ResourceFile> inputFiles, string outputContainerSasUrl) { Console.WriteLine("Adding {0} tasks to job [{1}]...", inputFiles.Count, jobId); // Create a collection to hold the tasks added to the job List<CloudTask> tasks = new List<CloudTask>(); for (int i = 0; i < inputFiles.Count; i++) { // Assign a task ID for each iteration string taskId = String.Format("Task{0}", i); // Define task command line to convert the video format from MP4 to animated GIF using ffmpeg. // Note that ffmpeg syntax specifies the format as the file extension of the input file // and the output file respectively. In this case inputs are MP4. string appPath = String.Format("%AZ_BATCH_APP_PACKAGE_{0}#{1}%", appPackageId, appPackageVersion); string inputMediaFile = inputFiles[i].FilePath; string outputMediaFile = String.Format("{0}{1}", System.IO.Path.GetFileNameWithoutExtension(inputMediaFile), ".gif"); // This is the dos command built by using the ffmpeg application package, the paths from the input container string taskCommandLine = String.Format("cmd /c {0}\\ffmpeg-3.4-win64-static\\bin\\ffmpeg.exe -i {1} {2}", appPath, inputMediaFile, outputMediaFile); // Create a cloud task (with the task ID and command line) and add it to the task list CloudTask task = new CloudTask(taskId, taskCommandLine); task.ResourceFiles = new List<ResourceFile> { inputFiles[i] }; // Task output file will be uploaded to the output container in Storage. List<OutputFile> outputFileList = new List<OutputFile>(); OutputFileBlobContainerDestination outputContainer = new OutputFileBlobContainerDestination(outputContainerSasUrl); OutputFile outputFile = new OutputFile(outputMediaFile, new OutputFileDestination(outputContainer), new OutputFileUploadOptions(OutputFileUploadCondition.TaskSuccess)); outputFileList.Add(outputFile); task.OutputFiles = outputFileList; tasks.Add(task); } // Call BatchClient.JobOperations.AddTask() to add the tasks as a collection rather than making a // separate call for each. Bulk task submission helps to ensure efficient underlying API // calls to the Batch service. await batchClient.JobOperations.AddTaskAsync(jobId, tasks); return tasks; }この最後のメソッドにより、アプリの複雑なアクションがすべて行われます。 アップロードされたファイルごとに、タスクがジョブに追加されます。 タスクはシェル コマンドの形式をとります。 アプリ (
ffmpeg) は特定の場所にある各ノードにインストールされています。今回、アプリケーション パッケージを使用したためです。 Batch サービスにより、ノードの環境変数にその場所が保管されます。それにより、次のコマンドでその場所にアクセスできます。%AZ_BATCH_APP_PACKAGE_ffmpeg#3.4%この方法を使用すると、
ffmpegアプリの新しいバージョンを簡単にアップロードしてインクリメントできます。 このコマンドで zip フォルダーの中が検索され、次が実行されます。ffmpeg.exe -i input-filename output-filename最良のパフォーマンスを得るために、タスクはリストとして
batchClient.JobOperations.AddTaskAsyncに追加されます。 これは、ファイルごとに呼び出すよりも効率的です。
コンソール アプリをテストする
コード エディターで、右クリックして [保存] を選び、さらに右クリックして [終了] を選びます。
クラウド シェルで、アプリをビルドして実行します。
dotnet run次のメッセージがターミナルに書き込まれます。
Creating container [input].
Creating container [output].
Uploading file ~\cutifypets\InputFiles\3.mp4 to container [input]...
Uploading file ~\cutifypets\InputFiles\2.mp4 to container [input]...
Uploading file ~\cutifypets\InputFiles\4.mp4 to container [input]...
Uploading file ~\cutifypets\InputFiles\1.mp4 to container [input]...
Uploading file ~\cutifypets\InputFiles\5.mp4 to container [input]...
Uploading file ~\cutifypets\InputFiles\6.mp4 to container [input]...
Creating pool [WinFFmpegPool]...
Creating job [WinFFmpegJob]...
Adding 6 tasks to job [WinFFmpegJob]...
タスクが追加された直後にコンソール アプリは閉じられます。 Azure では、プール、ノード、ジョブ、タスクが作成されます。 終了したので、アプリ内に状況を監視するものは何もありません。 変換の現在の状態を表示し、結果を確認するには、Azure portal に戻ります。
Azure portal の
cutify[ダッシュボード] で、 から始まる Batch アカウントを選びます。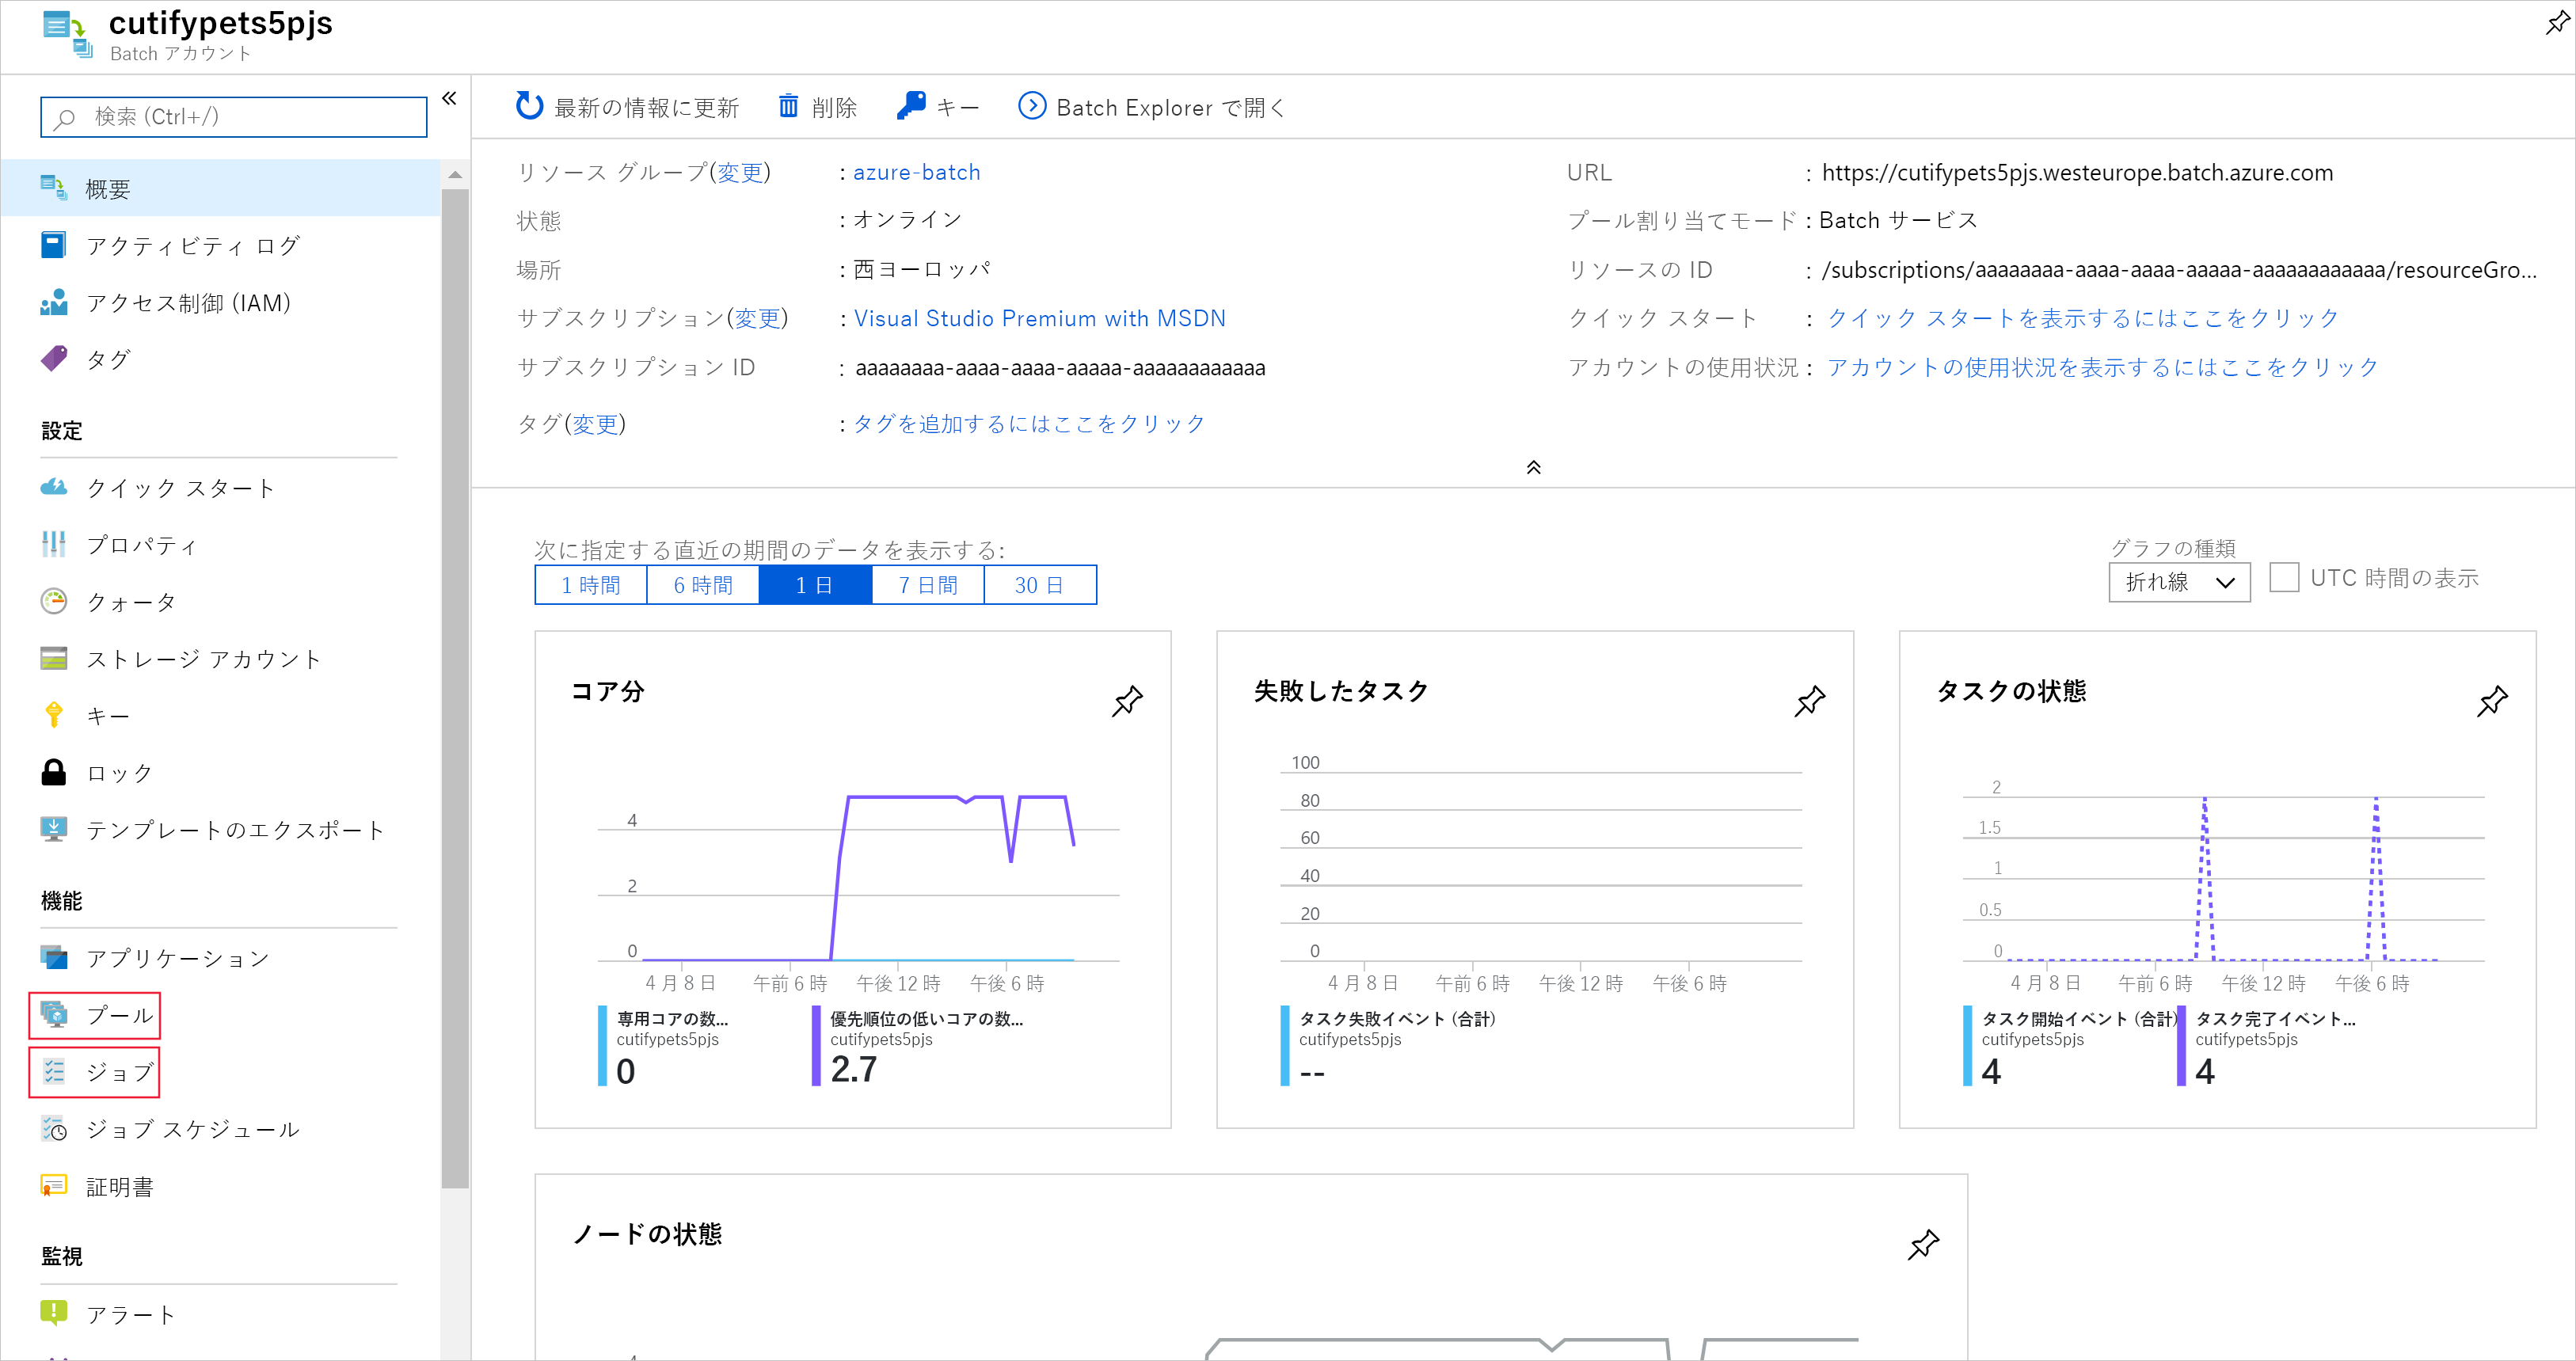
正常性ダッシュボードが [概要] ページに表示されます。 ここから、現在実行されているジョブの状態とノードのプールを確認できます。
左側のメニューで、[機能] の下の [ジョブ] を選び、WinFFmpegJob を選びます。 このページにタスクの現在の状態が表示されます。
タスクが完了すると、最初の演習で作成したストレージ アカウントに戻ります。
左側のメニューで、[データ ストレージ] の下の [コンテナー] を選び、output フォルダーを選びます。
フォルダーには、アニメーション gif に変換されたファイルが含まれます。 ファイルをダウンロードし、最高にかわいいペット動画を確認します。