Xamarin.Android ギャラリー コントロール
Gallery は、水平方向にスクロールするリスト内に項目を表示するために使用されるレイアウト ウィジェットで、現在の選択範囲をビューの中央に配置します。
重要
このウィジェットは Android 4.1 (API レベル 16) で非推奨になりました。
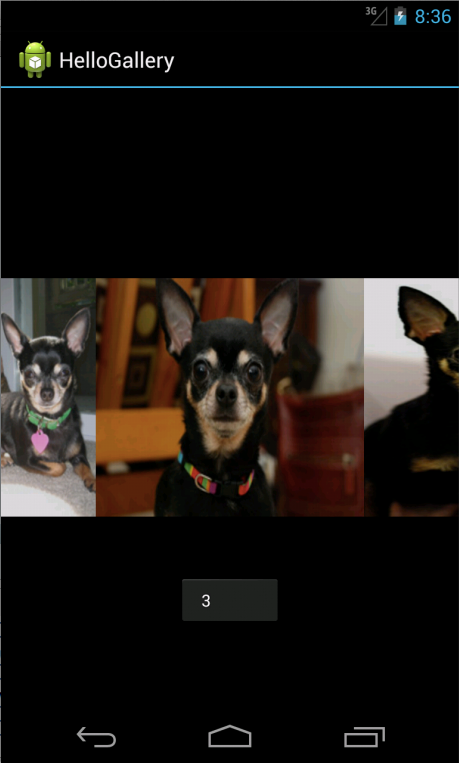
このチュートリアルでは、写真のギャラリーを作成し、ギャラリーの項目が選択されるたびにトースト メッセージを表示します。
コンテンツ ビューに Main.axml レイアウトが設定されると、Gallery が、FindViewById を使用してレイアウトからキャプチャされます。
.Adapter プロパティは、ギャラリーに表示されるすべての項目のソースとしてカスタム アダプター (ImageAdapter) を設定するために使用されます。 ImageAdapter は、次の手順で作成されます。
グリッド内の項目がクリックされたときに何かを行うには、匿名デリゲートがサブスクライブされます ItemClick イベント。 以下が示されます 選択した項目のインデックス位置 (0 から始まる) を表示する Toast を示します (実際のシナリオでは、その位置を使用して他のタスクのフルサイズの画像を取得できます)。
まず、描画可能なリソース ディレクトリ (Resources/drawable) に保存されたイメージを参照する ID の配列を含む、いくつかのメンバー変数があります。
次に、クラス コンストラクターを指定します ImageAdapter インスタンスの Context が定義され、ローカル フィールドに保存されます。
次に、これにより、BaseAdapter から継承された必須メソッドがいくつか実装されます。
コンストラクターと Count プロパティは自明です。 通常、GetItem(int) は、アダプターで指定された位置にある実際のオブジェクトを返す必要がありますが、この例では無視されます。 同様に、GetItemId(int) は項目の行 ID を返す必要がありますが、ここでは必要ありません。
このメソッドは、イメージを次に適用します 埋め込まれる ImageView Gallery このメソッドでは、メンバー Context は、新しい ImageView の作成に使用されます。
.ImageView は、描画可能なリソースのローカル配列から画像を適用し、Gallery.LayoutParams 画像の高さと幅を設定し、スケールを次に合わせて設定します。ImageView ディメンションに設定したら、コンストラクターで取得したスタイル可能な属性を使用するように背景を設定します。
その他のイメージ スケーリング オプションは ImageView.ScaleType を参照してください。
チュートリアル
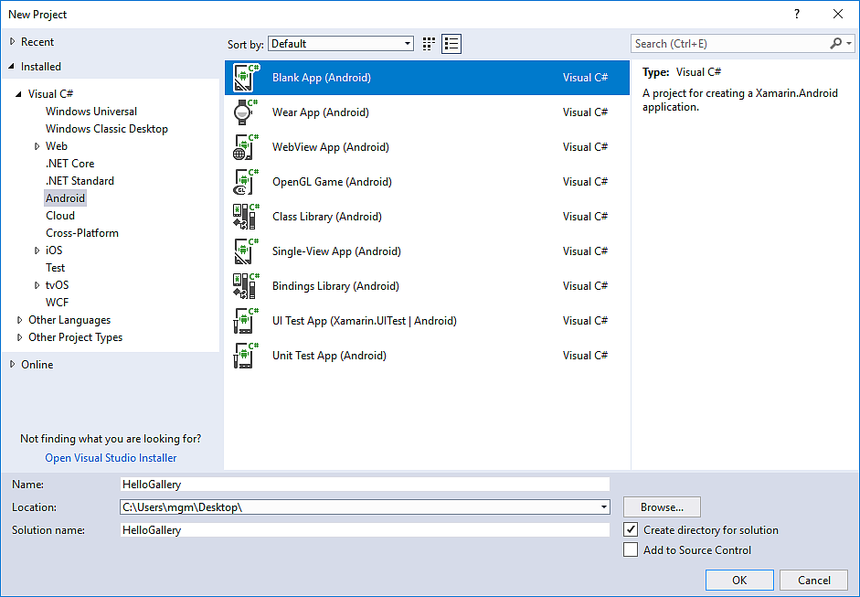
HelloGallery という名前の新しいプロジェクトを開始します。
使用したい写真をいくつか見つけるか、これらのサンプル画像をダウンロードします。 プロジェクトの Resources/Drawable ディレクトリに画像ファイルを追加します。 [プロパティ] ウィンドウで、AndroidResource にそれぞれのビルド アクションを設定します。
Resources/Layout/Main.axml を開き、次を挿入します:
<?xml version="1.0" encoding="utf-8"?>
<Gallery xmlns:android="http://schemas.android.com/apk/res/android"
    android:id="@+id/gallery"
    android:layout_width="fill_parent"
    android:layout_height="wrap_content"
/>
MainActivity.cs を開いて、次のコードを挿入します OnCreate() メソッド:
protected override void OnCreate (Bundle bundle)
{
    base.OnCreate (bundle);

    // Set our view from the "main" layout resource
    SetContentView (Resource.Layout.Main);

    Gallery gallery = (Gallery) FindViewById<Gallery>(Resource.Id.gallery);

    gallery.Adapter = new ImageAdapter (this);

    gallery.ItemClick += delegate (object sender, Android.Widget.AdapterView.ItemClickEventArgs args) {
        Toast.MakeText (this, args.Position.ToString (), ToastLength.Short).Show ();
    };
}
BaseAdapter をサブクラス化する、ImageAdapter と呼ばれる新しいクラスを作成します:
public class ImageAdapter : BaseAdapter
{
    Context context;

    public ImageAdapter (Context c)
    {
          context = c;
    }

    public override int Count { get { return thumbIds.Length; } }

    public override Java.Lang.Object GetItem (int position)
    {
          return null;
    }

    public override long GetItemId (int position)
    {
          return 0;
    }

    // create a new ImageView for each item referenced by the Adapter
    public override View GetView (int position, View convertView, ViewGroup parent)
    {
          ImageView i = new ImageView (context);

          i.SetImageResource (thumbIds[position]);
          i.LayoutParameters = new Gallery.LayoutParams (150, 100);
          i.SetScaleType (ImageView.ScaleType.FitXy);

          return i;
    }

    // references to our images
    int[] thumbIds = {
            Resource.Drawable.sample_1,
            Resource.Drawable.sample_2,
            Resource.Drawable.sample_3,
            Resource.Drawable.sample_4,
            Resource.Drawable.sample_5,
            Resource.Drawable.sample_6,
            Resource.Drawable.sample_7
     };
}
アプリケーションを実行します。 次のスクリーンショットのようになります:

リファレンス
このページの一部は、Android オープンソース プロジェクトによって作成および共有された作業生産物に基づいて変更されており、Creative Commons 2.5 Attribution License に記載されている条件に従って使用されています。
