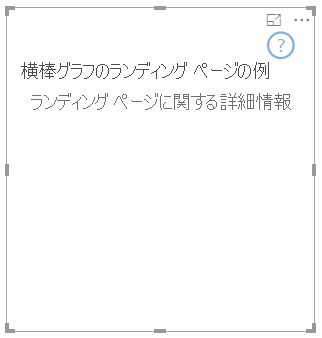
Power BI の視覚エフェクトにランディング ページを追加する
Power BI の視覚エフェクトのランディング ページには、カードがデータを取得する前に、Power BI 視覚エフェクトのカードの情報を表示できます。 視覚エフェクトのランディング ページには、以下を表示できます。
- 視覚エフェクトの使用方法を説明するテキスト。
- Web サイトへのリンク。
- ビデオへのリンク。

この記事では、視覚エフェクトのランディング ページをデザインする方法について説明します。 視覚エフェクトにデータが含まれていない場合は、常にランディング ページが表示されます。
注意
Power BI 視覚エフェクトのランディング ページのデザインは、API バージョン 2.3.0 以降でサポートされています。 使用しているバージョンを確認するには、pbiviz.json ファイルの apiVersion を調べてください。
ランディング ページを作成する
ランディング ページを作成するには、capabilities.json ファイルで 2 つの機能を設定する必要があります。
- ランディング ページを機能させるには、
supportsLandingPageを有効にします。 - ランディング ページをビュー モードで表示する場合や、データ ロールなしモードでも視覚エフェクトを対話型にする場合は、
supportsEmptyDataViewを有効にします。
    {
        "supportsLandingPage": true,
        "supportsEmptyDataView": true,
    }
ランディング ページが含まれる視覚エフェクトの例
次のコードでは、横棒グラフの視覚エフェクトにランディング ページを追加する方法を示します。
export class BarChart implements IVisual {
    //...
    private element: HTMLElement;
    private isLandingPageOn: boolean;
    private LandingPageRemoved: boolean;
    private LandingPage: d3.Selection<any>;

    constructor(options: VisualConstructorOptions) {
            //...
            this.element = options.element;
            //...
    }

    public update(options: VisualUpdateOptions) {
    //...
        this.HandleLandingPage(options);
    }

    private HandleLandingPage(options: VisualUpdateOptions) {
        if(!options.dataViews || !options.dataViews[0]?.metadata?.columns?.length){
            if(!this.isLandingPageOn) {
                this.isLandingPageOn = true;
                const SampleLandingPage: Element = this.createSampleLandingPage(); //create a landing page
                this.element.appendChild(SampleLandingPage);
                this.LandingPage = d3.select(SampleLandingPage);
            }

        } else {
                if(this.isLandingPageOn && !this.LandingPageRemoved){
                    this.LandingPageRemoved = true;
                    this.LandingPage.remove();
                }
        }
    }