Google と HTML5 を使用して PlayFab 認証を設定する
このチュートリアルでは、Google と HTML5/JavaScript を使用した PlayFab 認証のプロセスについて説明します。
要件
以下が必要です。
- テスト用の Google アカウント。
- 登録済みの
[PlayFab](https://playfab.com/)タイトル。 - ログインの基本とベスト プラクティス を理解していること。
- 有効なドメイン名を持ち、静的な HTML ファイルとして動作する少なくとも 1 台のサーバー。 設定方法については、「テスト用に HTTP サーバーを実行する」チュートリアルを参照してください。
サーバーとドメイン
このガイドでは、有効なドメインを持つサーバーが必要です。 登録済みのドメインとリモート Web サーバーをまだお持ちでない場合は、「テスト用に HTTP サーバーを実行する」チュートリアルで、有効なドメイン名を持つローカル Web サーバーを実行するための設定方法を確認してください。
このガイド全体を通して、ドメインが [http://playfab.example](http://playfab.example)であると想定します。
Google API プロジェクトを登録する
まず、Google API コンソールに移動します。
- [プロジェクトの作成] に移動してから選択します。

- [プロジェクト名] のフィールドに入力します。
- [作成] ボタンを選択します。

注意
通常、API マネージャーでのプロジェクトの生成には 10 秒から 20 秒かかります。
プロジェクトの作成後、以下の手順を実行します。
- OAuth の同意画面 に移動します。
- ユーザーの種類で [外部] を選択する
- その後、[作成] を選択します。

- アプリ名を入力する
- ユーザーのサポート メール と 開発者の連絡先メール のメールがあることを確認する
- 次に、[保存して続行] を選択します


- 次に、[資格情報] に移動します。
- [資格情報を作成] を選択します。
- 次に、[OAuth クライアント ID] を選択します。

- アプリケーションの種類として [Web アプリケーション] を選択します。
- アプリケーションに名前 を付けます。
- この例では、ドメインを [承認された JavaScript 元] -
[PlayFab](http://playfab.example.com)に追加します。 - 最後に、[作成] ボタンを選択して変更を適用します。

次に示す OAuth クライアント画面では、Google API マネージャーにより次の 2 つの重要な情報が表示されています。
- クライアント ID
- クライアント シークレット。
注意
これらの値は、このチュートリアルの以降の認証プロセスで使用するため、確認しやすい安全な場所に必ずコピーして保存しておいてください。

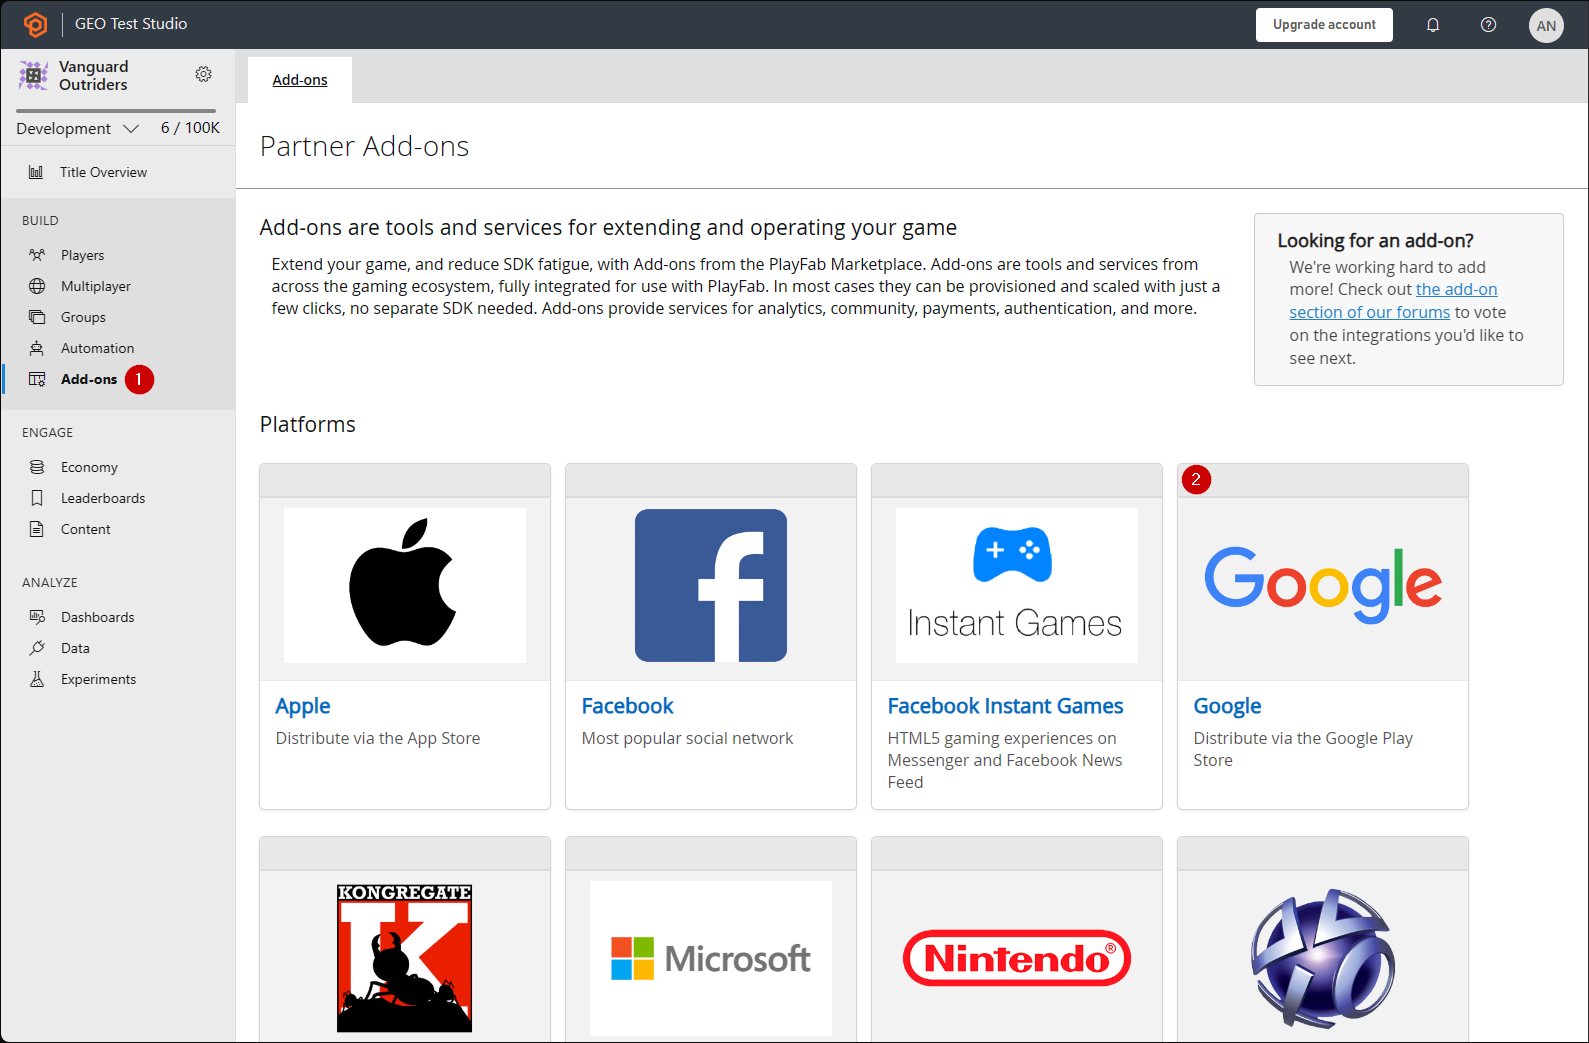
タイトルの PlayFab ゲーム マネージャー ページに移動します。
- メニューの [アドオン] に移動します。
- Google アドオンのアイコン/リンクを探して開きます。
- クライアント IDを入力します。
- クライアント シークレットを入力します。
- 次に、[Google をインストール] ボタンを選択します。

注意
2017 年 7 月時点で、Google API マネージャーは、許可された JS オリジン ドメインを適切にフックしません。 次のエラーが表示される場合があります。
"idpiframe_initialization_failed"、詳細: "クライアントの有効な配信元ではありません: somedomain.com..."。
この場合は、資格情報を削除し、再作成してください。
プロジェクト全体を削除する必要はありません。資格情報のみです。
アクセス トークンを使用したテスト
この例では、クラシック アクセス トークンアプローチを使用して LoginWith EnabledAccount API をテストする方法を示します。 テストには、次の HTML ファイルを使用してください。
注意
YOUR_CLIENT_ID と YOUR_PLAYFAB_TITLE は、必ずお客様が使用する値に置き換えてください。
注意
TypeScript の入力ファイルの LoginWithGoogleAccountRequest オブジェクトに AccessToken パラメーターがありません。 Node SDK で TypeScript を使用している場合は、API を使用するときに
interface LoginRequest extends PlayFabClientModels.LoginWithGoogleAccountRequest { AccessToken: string; }
カスタム型を作成してから型をキャストすることができます
PlayFabClient.LoginWithGoogleAccount( { AccessToken: accessToken, CreateAccount: true, } as LoginRequest, onPlayFabResponse);
<!DOCTYPE html>
<html>
  <head>
    <script src="https://accounts.google.com/gsi/client" onload="initClient()" async defer></script>
    <script src="https://download.playfab.com/PlayFabClientApi.js"></script>
  </head>
  <body>
    <script>
      var client;
      function initClient() {
          console.log("Initializing Google token client on page load");
          client = google.accounts.oauth2.initTokenClient({
              client_id: "YOUR_CLIENT_ID", // TODO: PUT YOUR GOOGLE CLIENT_ID HERE!
              callback: "onTokenResponse",
              scope: "https://www.googleapis.com/auth/userinfo.profile",
              callback: (tokenResponse) => {
                  access_token = tokenResponse.access_token;
                  onSignIn();
              }
          });
      }

      function getToken() {
        client.requestAccessToken();
      }

      // Invoked after user has signed in with Google
      function onSignIn() {
          // Execute LoginWithGoogleAccount API call using the Google access token. Please replace TitleId.
          logLine("Attempting PlayFab Sign-in using LoginWithGoogleAccount");
          PlayFabClientSDK.LoginWithGoogleAccount({
              AccessToken: access_token, // This access token is generated after a user has signed into Google
              CreateAccount: true,
              TitleId: "YOUR_PLAYFAB_TITLE", // TODO: PUT YOUR TITLE ID HERE!
          }, onPlayFabResponse);
      }

      // Handles response from PlayFab
      function onPlayFabResponse(response, error) {
          if (response)
              logLine("Response: " + JSON.stringify(response));
          if (error)
              logLine("Error: " + JSON.stringify(error));
      }

      function logLine(message) {
          var textnode = document.createTextNode(message);
          document.body.appendChild(textnode);
          var br = document.createElement("br");
          document.body.appendChild(br);
      }
    </script>
    <h1>Google Access Token Auth Example</h1>
    <!-- Clicking this button will prompt the user to sign into Google. Once they have signed into Google, LoginWithGoogleAccount is automatically called. -->
    <button onclick="getToken();">Sign into Google</button><br><br>
  </body>
</html>
Google Sign-In プラットフォーム ライブラリ (非推奨) を使用したテスト
注意
次のサンプルでは、Google Sign-In プラットフォーム ライブラリを使用しています。 Google Identity パブリック ドキュメント サイトによると、Web 用 Google Sign-In JavaScript プラットフォーム ライブラリは、2023 年 3 月 31 日に非推奨になる予定です。 このサンプルは、今後新しく作成された Google クライアントでは機能しません。新しい Google Identity Services ライブラリを使用する前のコード サンプルを参照してください。
<!DOCTYPE html>
<html>
<head>
    <!-- Special meta tag allows you to pass Google Client ID. Replace the content attribute value with your own Client Id -->
    <meta name="google-signin-client_id" content="YOUR_CLIENT_ID"><!-- // TODO: PUT YOUR GOOGLE CLIENT_ID HERE! -->
    <!-- Load Google platform SDK-->
    <script src="https://apis.google.com/js/platform.js" async defer></script>
    <!-- Load PlayFab Client JavaScript SDK -->
    <script src="https://download.playfab.com/PlayFabClientApi.js"></script>
</head>
<body>
    <p>Google Access Token Auth Example</p>
    <!-- Neat Google button gets styled automatically when Google platform SDK is loaded -->
    <div class="g-signin2" data-onsuccess="onSignIn"></div>
    <script>
        // Invoked when user has signed in with Google
        function onSignIn() {
            // Retrieve access token
            var accessToken = gapi.auth2.getAuthInstance().currentUser.get().getAuthResponse(true).access_token;
            // Execute LoginWithGoogleAccount API call using the access token. Please replace TitleID with your own.
            logLine("Attempting PlayFab Sign-in using LoginWithGoogleAccount");
            PlayFabClientSDK.LoginWithGoogleAccount({
                ServerAuthCode: accessToken,
                CreateAccount : true,
                TitleId: "YOUR_PLAYFAB_TITLE", // TODO: PUT YOUR TITLE ID HERE!
            }, onPlayFabResponse);
        }

        // Handles response from PlayFab
        function onPlayFabResponse(response, error) {
            if (response)
                logLine("Response: " + JSON.stringify(response));
            if (error)
                logLine("Error: " + JSON.stringify(error));
        }

        function logLine(message) {
            var textnode = document.createTextNode(message);
            document.body.appendChild(textnode);
            var br = document.createElement("br");
            document.body.appendChild(br);
        }
    </script>
</body>
</html>
Web サーバーを使用してこのページを開く際、Google プロジェクトの設定中に指定した URL (この例では、[PlayFab](http://playfab.example)) を使用してアクセスしてください。
- ページが開いたら、[G サインイン] を選択し、通常の Google 認証フローに従います。
- これが完了したら、スクリプトにより PlayFab 側での認証が試みられ、結果が出力されます。

注意
Google 認証セッションが既に実行中であれば、[G サインイン] を選択する必要はありません。 すべては自動的に実行されます。