Authenticate Go apps to Azure services during local development using developer accounts
When developers create cloud applications, they typically debug and test applications on their local workstation. When an application is run on a developer's workstation during local development, it still must authenticate to any Azure services used by the app. This article covers how to use a developer's Azure credentials to authenticate the app to Azure during local development.
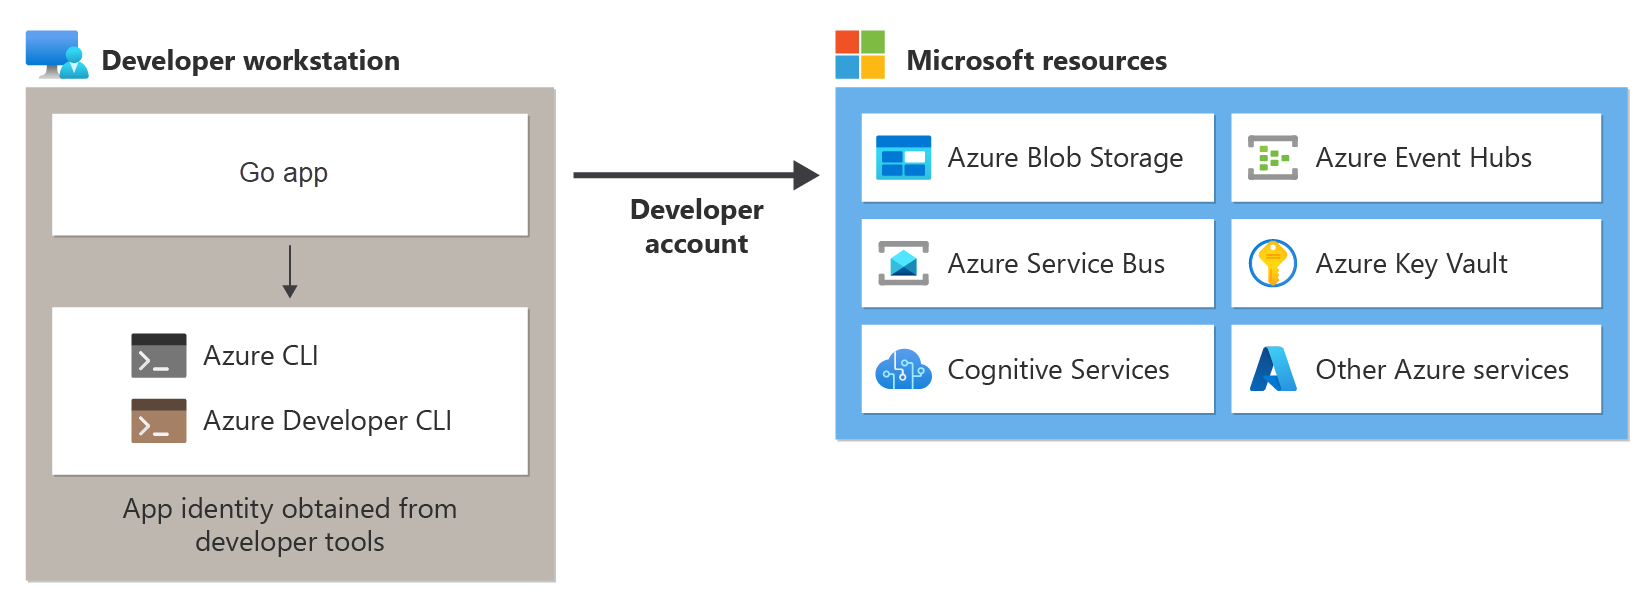
For an app to authenticate to Azure during local development using the developer's Azure credentials, a developer must be signed-in to Azure from the Azure CLI or Azure Developer CLI. The Azure SDK for Go is able to detect that the developer is signed-in from one of these tools and then obtain the necessary credentials from the credentials cache to authenticate the app to Azure as the signed-in user.
This approach is easiest to set up for a development team since it takes advantage of the developers' existing Azure accounts. However, a developer's account will likely have more permissions than required by the application, therefore exceeding the permissions the app will run with in production. As an alternative, you can create application service principals to use during local development, which can be scoped to have only the access needed by the app.
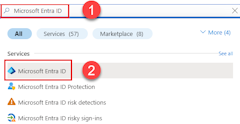
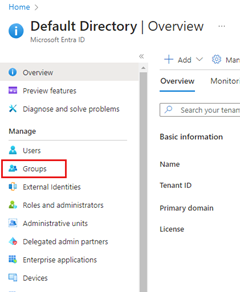
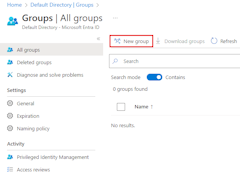
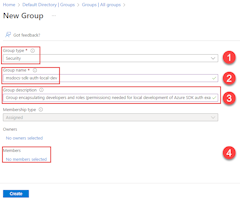
1 - Create Microsoft Entra security group for local development
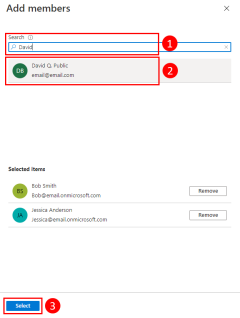
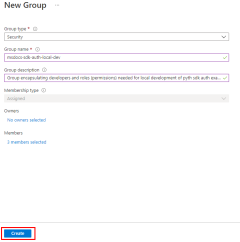
Since there are almost always multiple developers who work on an application, it's recommended to first create a Microsoft Entra security group to encapsulate the roles (permissions) the app needs in local development. This approach offers the following advantages.
- Every developer is assured to have the same roles assigned since roles are assigned at the group level.
- If a new role is needed for the app, it only needs to be added to the Microsoft Entra group for the app.
- If a new developer joins the team, they simply must be added to the correct Microsoft Entra group to get the correct permissions to work on the app.
If you have an existing Microsoft Entra security group for your development team, you can use that group. Otherwise, complete the following steps to create a Microsoft Entra security group.
The az ad group create command is used to create groups in Microsoft Entra ID. The --display-name and --main-nickname parameters are required. The name given to the group should be based on the name of the application. It's also useful to include a phrase like 'local-dev' in the name of the group to indicate the purpose of the group.
az ad group create \
    --display-name MyDisplay \
    --mail-nickname MyDisplay  \
    --description "<group-description>"
Copy the value of the id property in the output of the command. This is the object ID for the group. You need it in later steps. You can also use the az ad group show command to retrieve this property.
To add members to the group, you need the object ID of Azure user. Use the az ad user list to list the available service principals. The --filter parameter command accepts OData style filters and can be used to filter the list on the display name of the user as shown. The --query parameter limits the output to columns of interest.
az ad user list \
    --filter "startswith(displayName, 'Bob')" \
    --query "[].{objectId:id, displayName:displayName}" \
    --output table
The az ad group member add command can then be used to add members to groups.
az ad group member add \
    --group <group-name> \
    --member-id <object-id>
Note
By default, the creation of Microsoft Entra security groups is limited to certain privileged roles in a directory. If you're unable to create a group, contact an administrator for your directory. If you're unable to add members to an existing group, contact the group owner or a directory administrator. To learn more, see Manage Microsoft Entra groups and group membership.
2 - Assign roles to the Microsoft Entra group
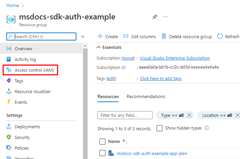
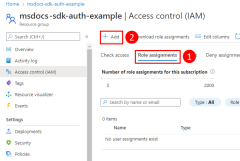
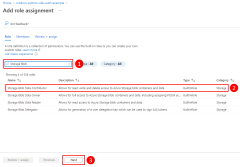
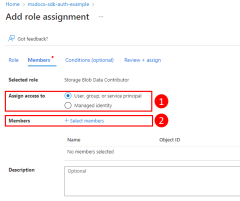
Next, you need to determine what roles (permissions) your app needs on what resources and assign those roles to your app. In this example, the roles will be assigned to the Microsoft Entra group created in step 1. Roles can be assigned at a resource, resource group, or subscription scope. This example shows how to assign roles at the resource group scope since most applications group all their Azure resources into a single resource group.
A user, group, or application service principal is assigned a role in Azure using the az role assignment create command. You can specify a group with its object ID.
az role assignment create --assignee <objectId> \
    --scope /subscriptions/<subscriptionId>/resourceGroups/<resourceGroupName> \
    --role "<roleName>"
To get the role names that can be assigned, use the az role definition list command.
az role definition list --query "sort_by([].{roleName:roleName, description:description}, &roleName)" --output table
For example, to allow the members of a group with an object ID of bbbbbbbb-1111-2222-3333-cccccccccccc read, write, and delete access to Azure Storage blob containers and data in all storage accounts in the msdocs-go-sdk-auth-example resource group in the subscription with ID aaaa0a0a-bb1b-cc2c-dd3d-eeeeee4e4e4e, you would assign the Storage Blob Data Contributor role to the group using the following command.
az role assignment create --assignee bbbbbbbb-1111-2222-3333-cccccccccccc \
    --scope /subscriptions/aaaa0a0a-bb1b-cc2c-dd3d-eeeeee4e4e4e/resourceGroups/msdocs-go-sdk-auth-example \
    --role "Storage Blob Data Contributor"
For information on assigning permissions at the resource or subscription level using the Azure CLI, see the article Assign Azure roles using the Azure CLI.
3 - Sign-in to Azure using the Azure CLI or Azure Developer CLI
Open a terminal on your developer workstation and sign-in to Azure from the Azure CLI.
az login
4 - Implement DefaultAzureCredential in your application
To authenticate Azure SDK client objects to Azure, your application should use the DefaultAzureCredential class. In this scenario, DefaultAzureCredential will sequentially check to see if the developer has signed-in to Azure using the Azure CLI or Azure developer CLI. If the developer is signed-in to Azure using one of these tools, then the credentials used to sign into the tool will be used by the app to authenticate to Azure.
First, add the azidentity package to your application.
go get github.com/Azure/azure-sdk-for-go/sdk/azidentity
Next, for any Go code that creates an Azure SDK client object in your app, you'll want to:
- Import the
azidentitypackage. - Create an instance of
DefaultAzureCredentialtype. - Pass the instance of
DefaultAzureCredentialtype to the Azure SDK client constructor.
An example of these steps is shown in the following code segment.
import (
	"context"

	"github.com/Azure/azure-sdk-for-go/sdk/azidentity"
	"github.com/Azure/azure-sdk-for-go/sdk/storage/azblob"
)

const (
	account       = "https://<replace_with_your_storage_account_name>.blob.core.windows.net/"
	containerName = "sample-container"
	blobName      = "sample-blob"
	sampleFile    = "path/to/sample/file"
)

func main() {
    // create a credential
    cred, err := azidentity.NewDefaultAzureCredential(nil)
    if err != nil {
      // TODO: handle error
    }

    // create a client for the specified storage account
    client, err := azblob.NewClient(account, cred, nil)
    if err != nil {
      // TODO: handle error
    }

    // TODO: perform some action with the azblob Client
    // _, err = client.DownloadFile(context.TODO(), <containerName>, <blobName>, <target_file>, <DownloadFileOptions>)
}
