iOS SDK (プレビュー) で地物情報を表示する
Note
Azure Maps iOS SDK の廃止
iOS 用 Azure Maps Native SDK は非推奨となり、2025 年 3 月 31 日に廃止されます。 サービスの中断を回避するには、2025 年 3 月 31 日までに Azure Maps Web SDK に移行します。 詳細については、「Azure Maps iOS SDK 移行ガイド」を参照してください。
空間データは、多くの場合、点、線、および多角形を使用して表されます。 このデータには、多くの場合、メタデータ情報が関連付けられています。 たとえば、点でレストランの場所を表すことができ、そのレストランに関するメタデータには、その名前、住所、および提供されている料理の種類が挙げられます。 このメタデータは、GeoJSON Feature のプロパティとして追加できます。 次のコードでは、"Hello World!" という値を持つ title プロパティを使って、単純な点状地物を作成します。
// Create a data source and add it to the map.
let source = DataSource()
map.sources.add(source)

// Create a point feature.
let feature = Feature(Point(CLLocationCoordinate2D(latitude: -122.33, longitude: 47.64)))

// Add a property to the feature.
feature.addProperty("title", value: "Hello World!")

// Create a point feature, pass in the metadata properties, and add it to the data source.
source.add(feature: feature)
データを作成してマップに追加する方法の詳細については、データ ソースの作成に関するページを参照してください。
ユーザーがマップ上の機能と対話するときに、イベントを使用してそれらのアクションに応答することができます。 一般的なシナリオでは、ユーザーが対話した機能のメタデータ プロパティから作成されたメッセージを表示します。 azureMap(_:didTapOn:) イベントは、ユーザーがマップ上の機能をタップしたことを検出するために使用される主要なイベントです。 azureMap(_:didLongPressOn:) イベントもあります。 マップにデリゲートが追加されるときは、制限されるレイヤーの ID を渡すことによって、それを 1 つのレイヤーに制限できます。 レイヤー ID が渡されない場合は、マップ上の任意の機能をタップすると、それがどのレイヤーに含まれているかに関係なく、このイベントが発生します。 次のコードでは、マップ上にポイント データをレンダリングするシンボル レイヤーを作成し、このシンボル レイヤーに制限されるデリゲートを追加し、それを使って azureMap(_:didTapOn:) イベントを処理します。
// Create a symbol and add it to the map.
let layer = SymbolLayer(source: source)
map.layers.addLayer(layer)

// Add the delegate to the map to handle feature tap events on the layer only.
map.events.addDelegate(self, for: [layer.id])
func azureMap(_ map: AzureMap, didTapOn features: [Feature]) {
    // Retrieve the title property of the feature as a string.
    let title = features.first?.properties["title"] as? String

    // Do something with the title.
}
アラートを表示する
アラートは、ユーザーに情報を表示する最も簡単な方法の 1 つであり、通常はサポートされるすべてのバージョンの iOS で使用できます。 タップされた機能についてユーザーにすばやく知らせたい場合は、アラートを使うことをお勧めします。 次のコードは、azureMap(_:didTapOn:) イベントでアラートを使う方法を示しています。
func azureMap(_ map: AzureMap, didTapOn features: [Feature]) {
    // Retrieve the title property of the feature as a string.
    let title = features.first?.properties["title"] as? String

    // Display an alert with the title information.
    let alert = UIAlertController(title: title, message: nil, preferredStyle: .alert)
    alert.addAction(UIAlertAction(title: "OK", style: .cancel))
    present(alert, animated: true)
}
アラートに加えて、機能のメタデータ プロパティを表示するには、次のようなさまざまな方法があります。
- マップにカスタム ビューを追加する
- マップに子ビュー コントローラーを追加する
- 現在のビュー コントローラーの上に別のビュー コントローラーをモーダルで表示します。
- 別のビュー コントローラーに移動します。
ポップアップを表示する
Azure Maps iOS SDK には、マップ上の位置に固定された UI 注釈要素を簡単に作成できるようにする Popup クラスが用意されています。 ポップアップの場合は、ポップアップの content オプションに、自己サイズ変更ビューを渡す必要があります。 次に示すのは、白の背景に暗い色のテキストを表示する単純なビューの例です。
class PopupTextView: UIView {
    private let textLabel: UILabel = {
        let label = UILabel()
        label.translatesAutoresizingMaskIntoConstraints = false
        label.numberOfLines = 0
        label.textColor = UIColor(red: 34 / 255, green: 34 / 255, blue: 34 / 255, alpha: 1)
        label.font = .systemFont(ofSize: 18)
        return label
    }()

    override init(frame: CGRect) {
        super.init(frame: frame)
        setup()
    }

    required init?(coder: NSCoder) {
        super.init(coder: coder)
    }

    override func awakeFromNib() {
        super.awakeFromNib()
        setup()
    }

    private func setup() {
        backgroundColor = .white
        addSubview(textLabel)

        NSLayoutConstraint.activate([
            textLabel.topAnchor.constraint(equalTo: topAnchor, constant: 10),
            textLabel.bottomAnchor.constraint(equalTo: bottomAnchor, constant: -10),
            textLabel.leadingAnchor.constraint(equalTo: leadingAnchor, constant: 10),
            textLabel.trailingAnchor.constraint(equalTo: trailingAnchor, constant: -25)
        ])
    }

    func setText(_ text: String) {
        textLabel.text = text
    }
}
次のコードでは、ポップアップを作成し、それをマップに追加します。 地元がタップされると、PopupTextView レイアウトを使って title クラスが表示されます。レイアウトの下部中央がマップ上の指定した位置に固定されます。
// Create a popup and add it to the map.
let popup = Popup()
map.popups.add(popup)

// Set popup to the class property to use in events handling later.
self.popup = popup
func azureMap(_ map: AzureMap, didTapOn features: [Feature]) {
    guard let popup = popup, let feature = features.first else {
        // Popup has been released or no features provided
        return
    }

    // Create the custom view for the popup.
    let customView = PopupTextView()

    // Set the text to the custom view.
    let text = feature.properties["title"] as! String
    customView.setText(text)

    // Get the position of the tapped feature.
    let position = Math.positions(from: feature).first!

    // Set the options on the popup.
    popup.setOptions([
        // Set the popups position.
        .position(position),

        // Set the anchor point of the popup content.
        .anchor(.bottom),

        // Set the content of the popup.
        .content(customView)

        // Optionally, hide the close button of the popup.
        // .closeButton(false)

        // Optionally offset the popup by a specified number of points.
        // .pointOffset(CGPoint(x: 10, y: 10))
    ])

    // Open the popup.
    popup.open()
}
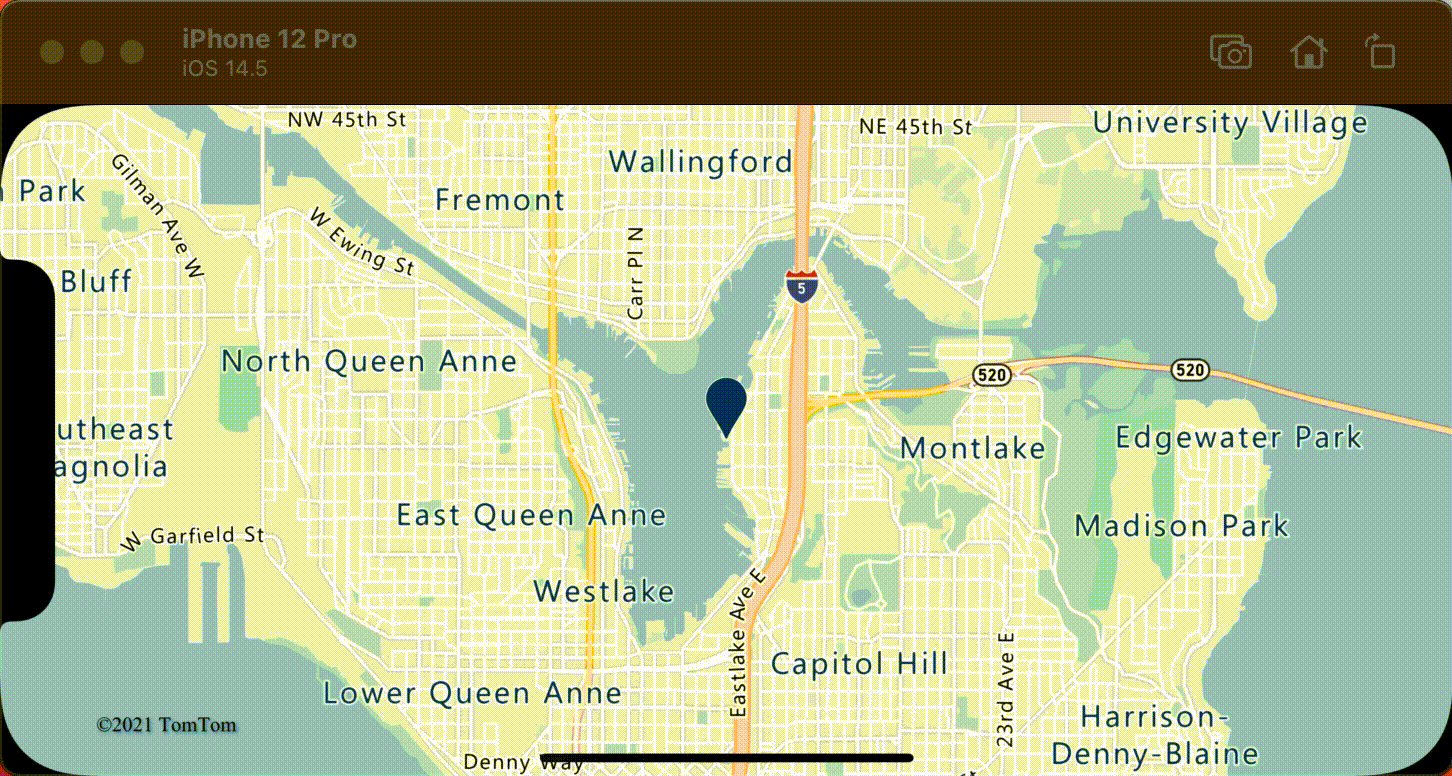
次の画面キャプチャは、地物がタップされたときポップアップが表示され、マップを移動してもマップ上の指定された場所に固定されたままになっていることを示しています。

関連情報
マップにさらにデータを追加するには: