セマンティック カーネルと Azure AI Foundry を使用してアプリケーションを開発する
この記事では、Azure AI Foundry ポータルの Azure AI モデル カタログからデプロイされたモデルと共にセマンティック カーネルを使用する方法について説明します。
前提条件
「Azure AI Foundry ポータルでプロジェクトを作成する」で説明されている Azure AI プロジェクト。
Azure AI モデル推論 API をサポートするモデルがデプロイされていること。 この例では、
Mistral-Largeデプロイを使用しますが、お好みの任意のモデルを使用します。 LlamaIndex で埋め込み機能を使用するためには、cohere-embed-v3-multilingualなどの埋め込みモデルが必要です。- 「モデルをサーバーレス API としてデプロイする」の手順に従うことができます。
Python 3.10 以降 (PIP を含む) がインストールされている。
セマンティック カーネルがインストールされている。 これは、次を使用して行います。
pip install semantic-kernelこの例では、Azure AI モデル推論 API を使用しているため、関連する Azure の依存関係をインストールします。 これは、次を使用して行います。
pip install semantic-kernel[azure]
環境を構成する
Azure AI Foundry ポータルにデプロイされた LLM を使用するには、エンドポイントと資格情報を使用してこれに接続する必要があります。 使用するモデルから必要な情報を取得するには、次の手順に従います。
モデルがデプロイされているプロジェクトをまだ開いていない場合は開きます。
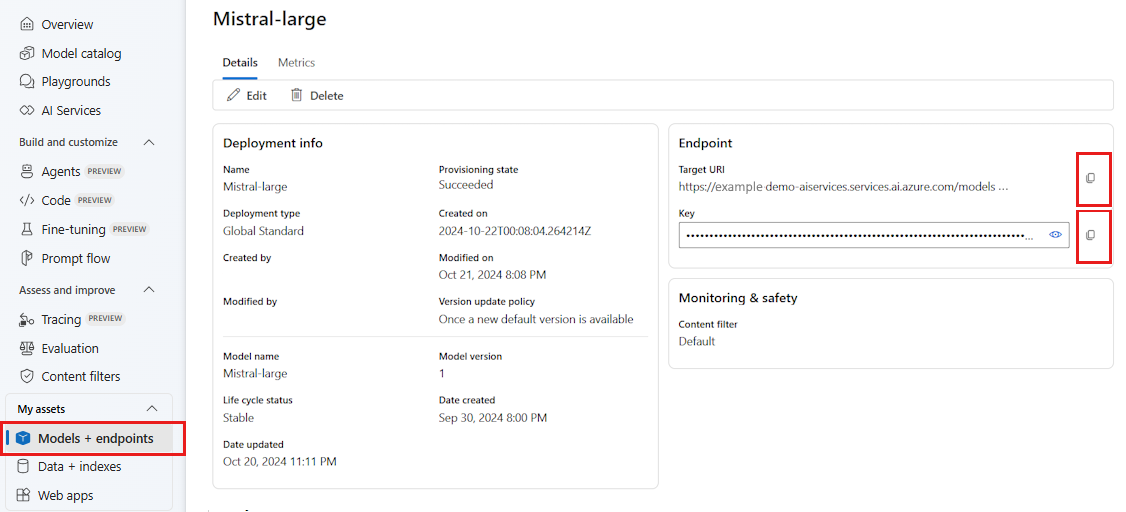
[モデル + エンドポイント] に移動し、前提条件に示されているように、デプロイしたモデルを選択します。
エンドポイントの URL とキーをコピーします。
ヒント
モデルが Microsoft Entra ID サポートを使用してデプロイされた場合は、キーは必要ありません。

このシナリオでは、エンドポイント URL とキーの両方を次の環境変数に配置しました。
export AZURE_AI_INFERENCE_ENDPOINT="<your-model-endpoint-goes-here>"
export AZURE_AI_INFERENCE_API_KEY="<your-key-goes-here>"
構成したら、エンドポイントに接続するクライアントを作成します。
from semantic_kernel.connectors.ai.azure_ai_inference import AzureAIInferenceChatCompletion

chat_completion_service = AzureAIInferenceChatCompletion(ai_model_id="<deployment-name>")
ヒント
クライアントは、モデルに接続するために環境変数 AZURE_AI_INFERENCE_ENDPOINT と AZURE_AI_INFERENCE_API_KEY を自動的に読み取ります。 ただし、コンストラクターの endpoint および api_key パラメーターを介してエンドポイントとキーをクライアントに直接渡すこともできます。
または、エンドポイントが Microsoft Entra ID をサポートしている場合は、次のコードを使用してクライアントを作成できます。
export AZURE_AI_INFERENCE_ENDPOINT="<your-model-endpoint-goes-here>"
from semantic_kernel.connectors.ai.azure_ai_inference import AzureAIInferenceChatCompletion

chat_completion_service = AzureAIInferenceChatCompletion(ai_model_id="<deployment-name>")
Note
Microsoft Entra ID を使用する場合は、その認証方法でエンドポイントがデプロイされており、エンドポイントを呼び出すために必要なアクセス許可があることを確認してください。
Azure OpenAI のモデル
Azure OpenAI モデルを使用している場合は、次のコードを使用してクライアントを作成できます。
from azure.ai.inference.aio import ChatCompletionsClient
from azure.identity.aio import DefaultAzureCredential

from semantic_kernel.connectors.ai.azure_ai_inference import AzureAIInferenceChatCompletion

chat_completion_service = AzureAIInferenceChatCompletion(
    ai_model_id="<deployment-name>",
    client=ChatCompletionsClient(
        endpoint=f"{str(<your-azure-open-ai-endpoint>).strip('/')}/openai/deployments/{<deployment_name>}",
        credential=DefaultAzureCredential(),
        credential_scopes=["https://cognitiveservices.azure.com/.default"],
    ),
)
推論パラメーター
AzureAIInferenceChatPromptExecutionSettings クラスを使用して推論の実行方法を構成できます。
from semantic_kernel.connectors.ai.azure_ai_inference import AzureAIInferenceChatPromptExecutionSettings

execution_settings = AzureAIInferenceChatPromptExecutionSettings(
    max_tokens=100,
    temperature=0.5,
    top_p=0.9,
    # extra_parameters={...},    # model-specific parameters
)
サービスの呼び出し
まず、簡単なチャット履歴を使用してチャット入力候補サービスを呼び出してみましょう。
ヒント
セマンティック カーネルは非同期ライブラリであるため、コードを実行するには asyncio ライブラリを使用する必要があります。
import asyncio

async def main():
    ...

if __name__ == "__main__":
    asyncio.run(main())
from semantic_kernel.contents.chat_history import ChatHistory

chat_history = ChatHistory()
chat_history.add_user_message("Hello, how are you?")

response = await chat_completion_service.get_chat_message_content(
    chat_history=chat_history,
    settings=execution_settings,
)
print(response)
または、サービスからの応答をストリーミングすることもできます。
chat_history = ChatHistory()
chat_history.add_user_message("Hello, how are you?")

response = chat_completion_service.get_streaming_chat_message_content(
    chat_history=chat_history,
    settings=execution_settings,
)

chunks = []
async for chunk in response:
    chunks.append(chunk)
    print(chunk, end="")

full_response = sum(chunks[1:], chunks[0])
長時間にわたる会話を作成する
ループを使用して、長時間にわたる会話を作成できます。
while True:
    response = await chat_completion_service.get_chat_message_content(
        chat_history=chat_history,
        settings=execution_settings,
    )
    print(response)
    chat_history.add_message(response)
    chat_history.add_user_message(user_input = input("User:> "))
応答をストリーミングする場合は、次のコードを使用できます。
while True:
    response = chat_completion_service.get_streaming_chat_message_content(
        chat_history=chat_history,
        settings=execution_settings,
    )

    chunks = []
    async for chunk in response:
        chunks.append(chunk)
        print(chunk, end="")

    full_response = sum(chunks[1:], chunks[0])
    chat_history.add_message(full_response)
    chat_history.add_user_message(user_input = input("User:> "))
埋め込みモデルを使用する
前の手順と同様に環境を構成しますが、AzureAIInferenceEmbeddings クラスを使用します。
from semantic_kernel.connectors.ai.azure_ai_inference import AzureAIInferenceTextEmbedding

embedding_generation_service = AzureAIInferenceTextEmbedding(ai_model_id="<deployment-name>")
次のコードは、サービスから埋め込みを取得する方法を示しています。
embeddings = await embedding_generation_service.generate_embeddings(
    texts=["My favorite color is blue.", "I love to eat pizza."],
)

for embedding in embeddings:
    print(embedding)