Preloading session data for a better agent experience
In the sample for Unified Service Desk, a technique is demonstrated where you search for a contact, open the contact, which opens a session, then loads the contact into a Contact tab. Once the Contact is loaded into the tab, the page is scanned for data and the Data Parameter list is populated. Once this data is available, the Session Overview control along with the Agent Scripting control is loaded and populated. This is a pretty simple thing to setup as demonstrated in the sample, however, in practice, the delay an agent would see before seeing the script and the key customer information in the Session Overview can be painfully long and unproductive.
This post will describe a technique that can be used to preload the script and session overview controls so they are available almost immediately so the agent can be productive while the contact is loaded into the tab.
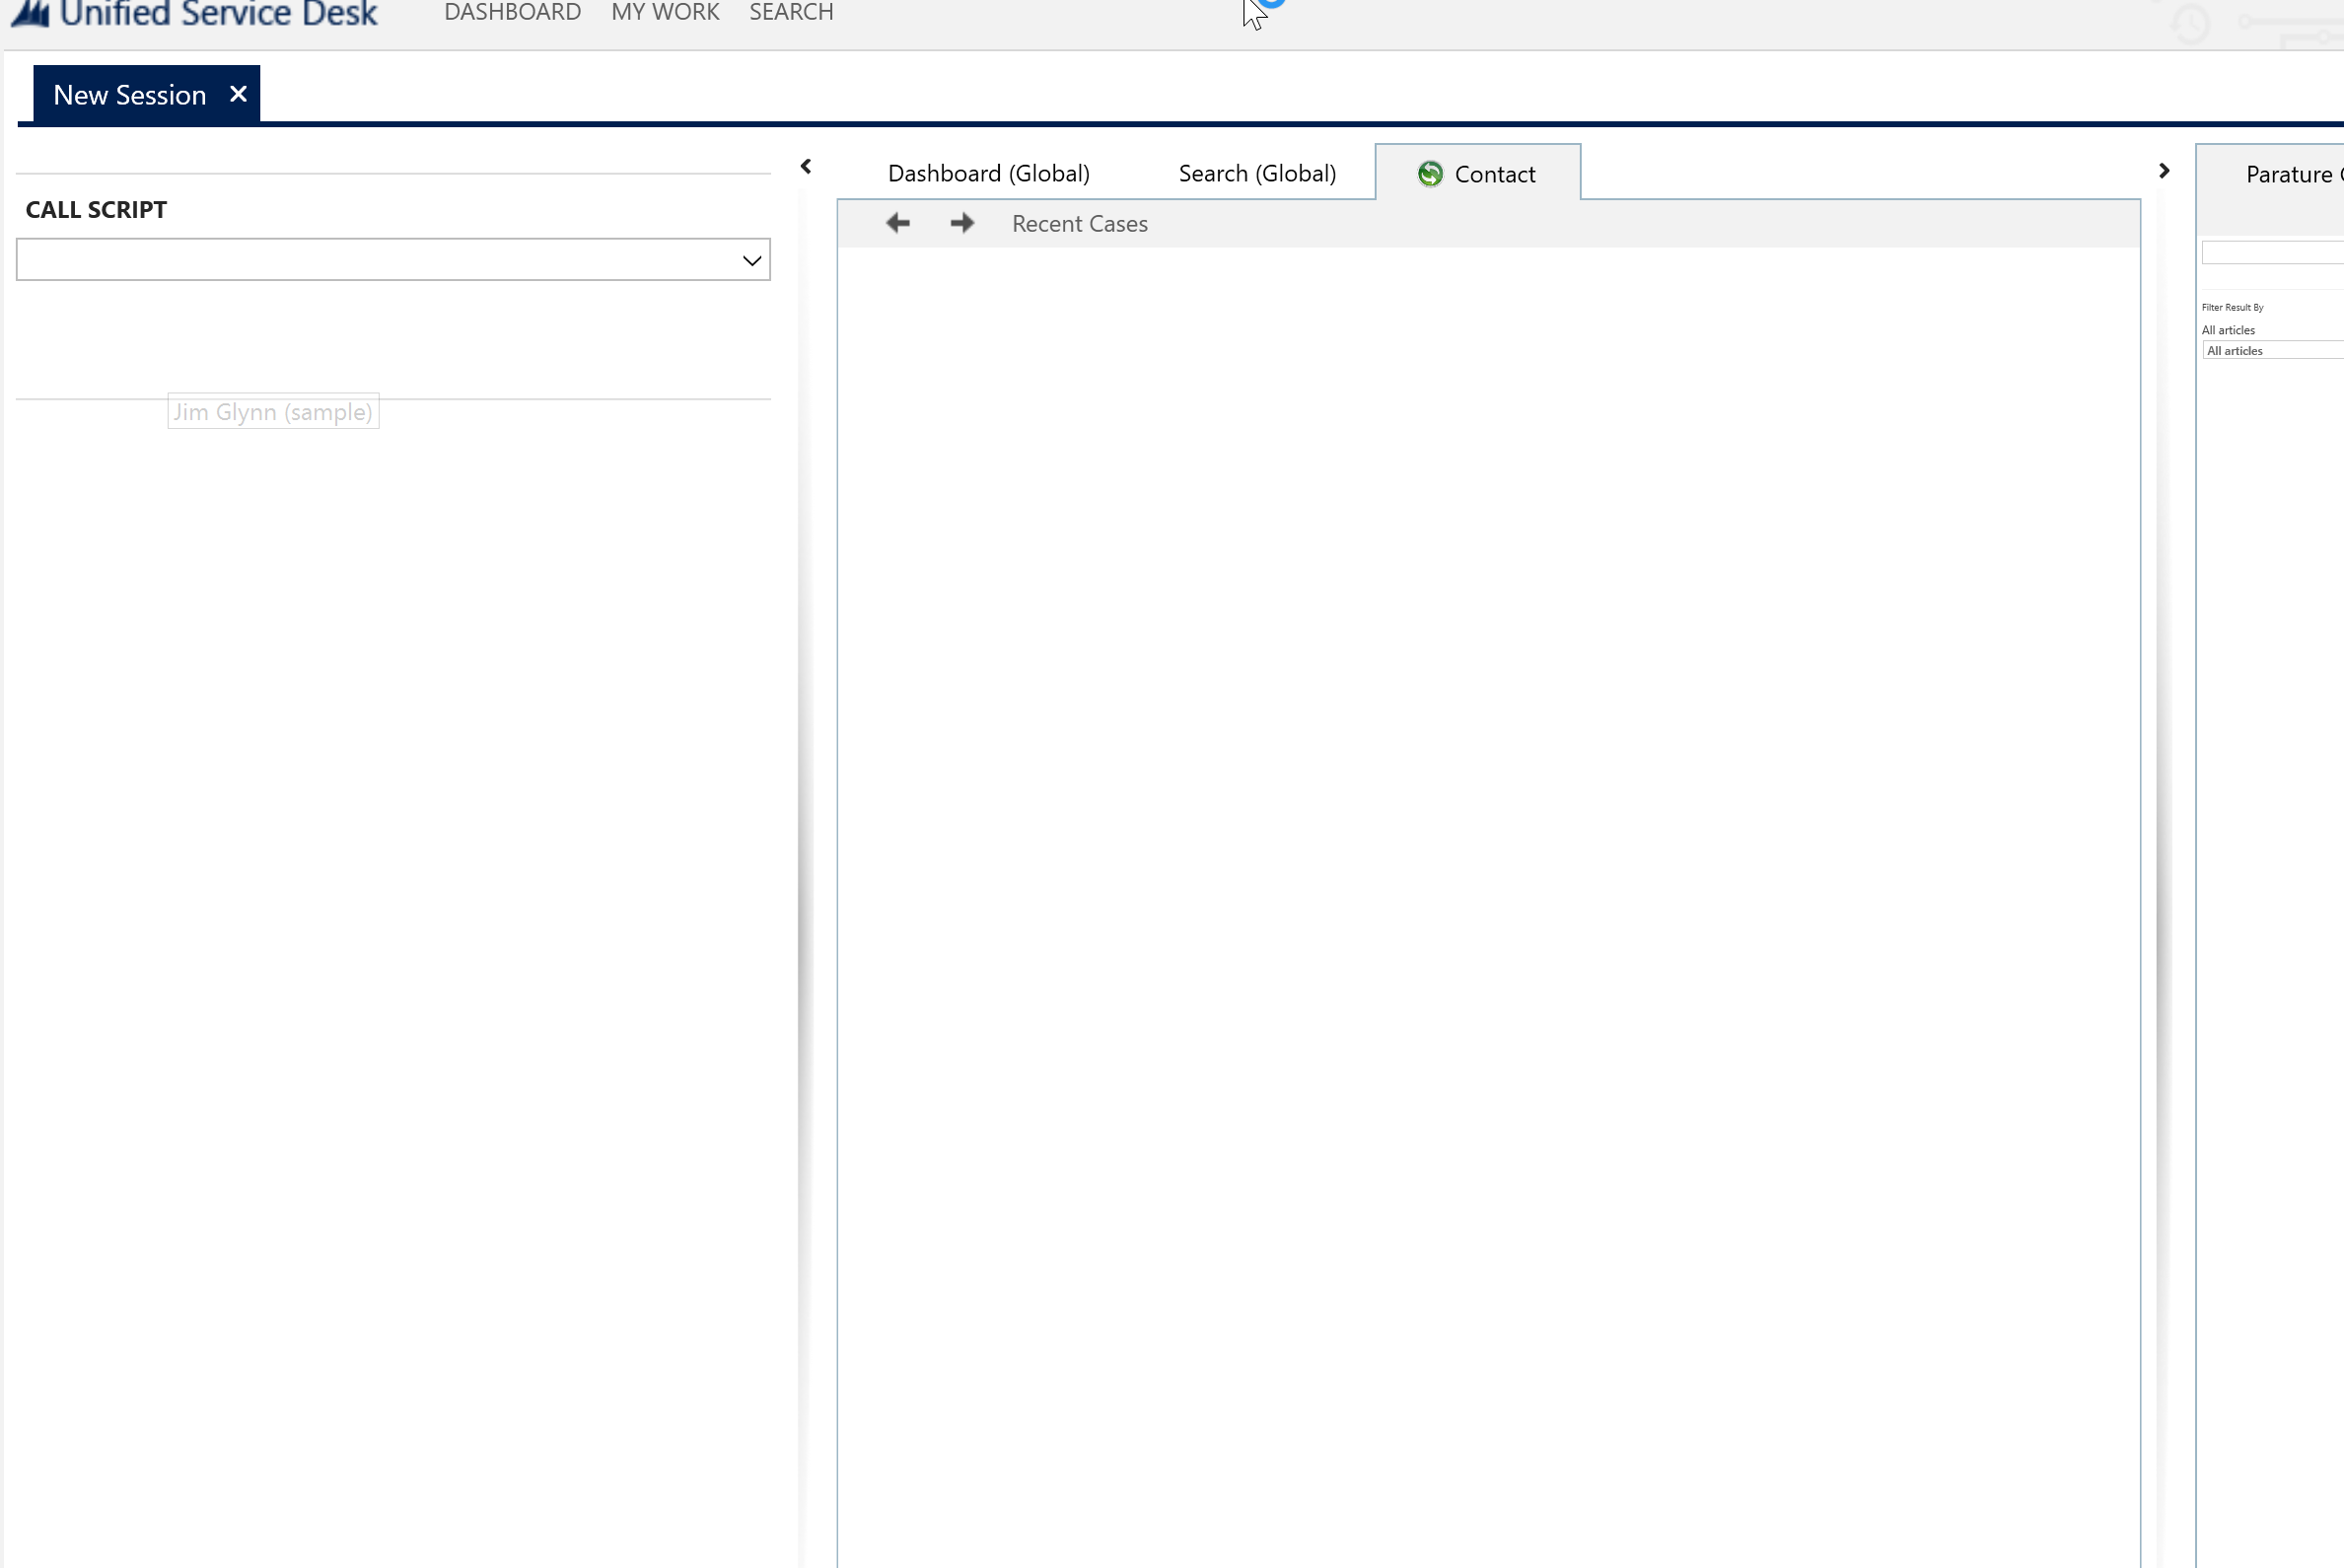
The blog is written with the assumption that you are starting with the Sample application. Run the application, Click Search, Select Contacts, and click Jim Glynn (Sample). The session will load and will initially look like this.
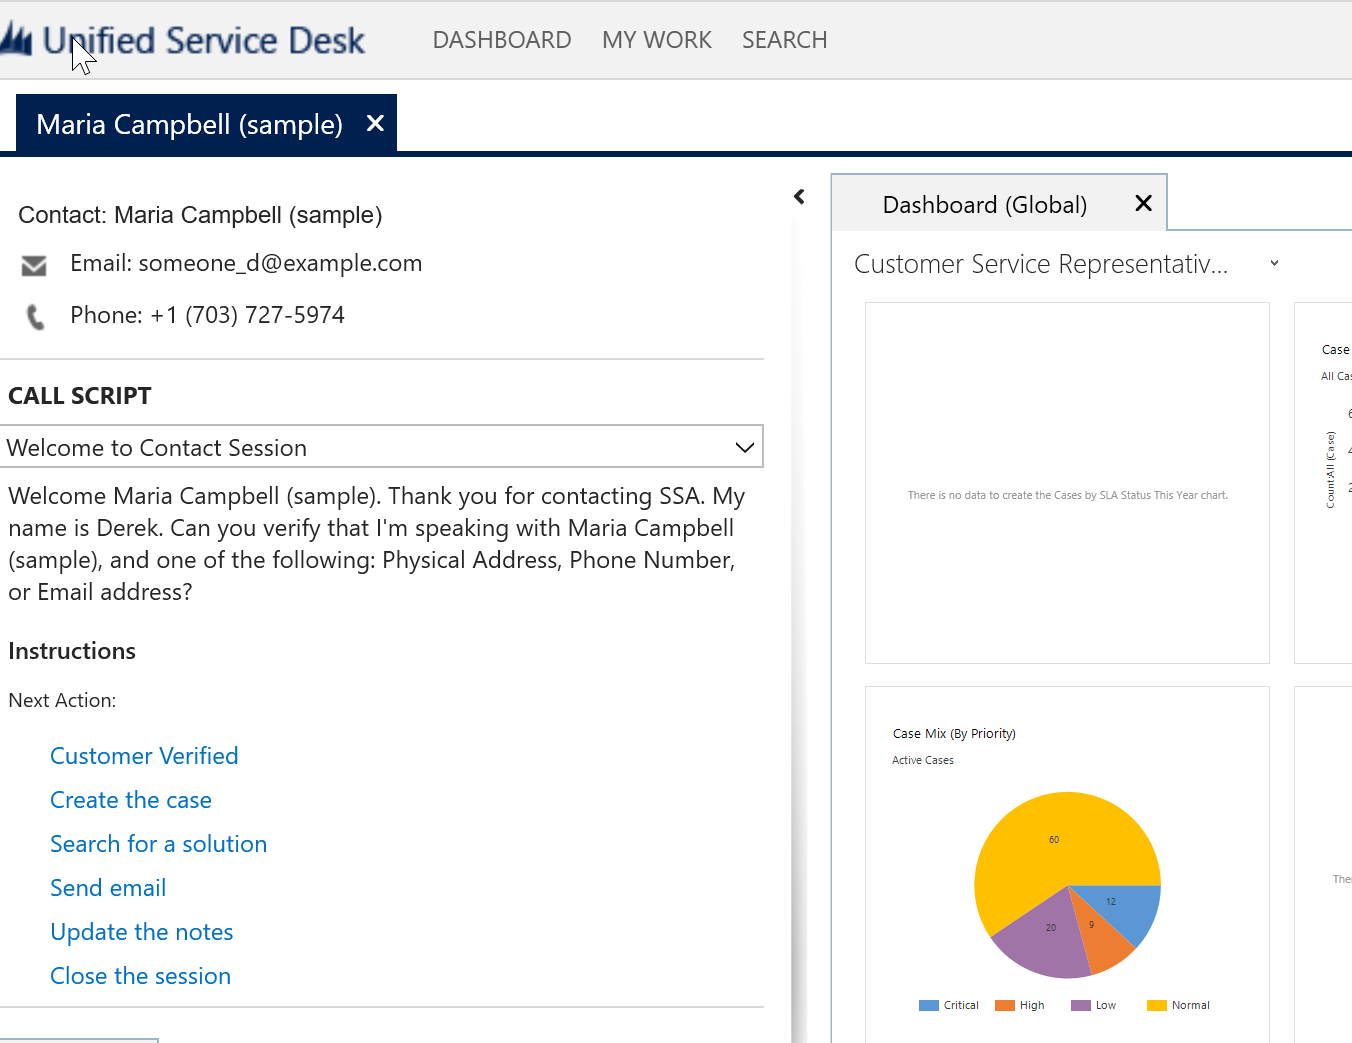
Once the full contact finishes loading, the page is scanned and the controls on the left are loaded and displayed with content..
Depending on the number of controls, fields, and frames you place on the contact form, along with the load on the server at the time, this process could take 10 seconds or more to load. This can be an eternity in the Call Center world. Fortunately we can make some small changes to the order of loading in our configuration that can make a huge difference in the perception and usability of the application by our agents.
How it currently happens
When you have the Search screen open and you click on Jim Glynn (Sample), the first thing the system does is locate a Window Navigation Rule in USD to determine what to do with the popup window that has initiated. Based upon the rule matching algorithm that is out of the scope of this blog entry, the system will locate the following rule:
From the selections on this rule, we can see several things.
- The rule runs in response to a popup from the "Search" control
- The rule applies to a popup of type, "contact" (ie Jim Glynn (Sample))
- The rule causes a Session to be created (Action = Create Session)
- The popup window is then directed to a Tab (Destination = Tab)
- The tab that will receive the Contact screen is "Contact" (Target Tab = Contact)
- The focus will be set to the "Contact" tab (Show Tab = Contact)
Once the Contact page finishes loading the frame containing the "crmForm", which is the frame within CRM that contains all its data, the BrowserDocumentComplete event is fired within the configuration.
Notice the Load Contact Session Agent Script action call is located here. This is why our agent script is not loaded until the Contact Form is loaded. Of course, we can't just run this Action Call in the Session New event because if we look at the Agent Script we are loading, "Welcome to Contact Session," we see that we make use of data parameters, for example [[contact.firstname]], that are collected from the Contact Form. If we just load the agent script earlier, we'll get place holders in the agent script instead of the data until that data becomes available. While this could be acceptable, it may not be desirable. We'll look at a better way later where we aren't dependent on the contact form itself to supply the data.
If we look closely at the agent script, we can see that before this agent script can be fully displayed without placeholders, the following replacement parameters must be available.
[[$User.firstname]]
[[contact.firstname]]
[[contact.lastname]]
Of course, [[$User.firstname]] is a global data parameter so this value can get replaced at anytime with the agent's first name. That leaves us only the contact values to locate.
Finally, lets take a look at the Session Overview control. This control happens to be session based so it is loaded immediately, however, no data is displayed. The way this control displays data is by looking at the session lines entries and specifically at the Session Overview type entries to determine which have all the data necessary to populate the replacement parameters. When one of the Session Lines have all the Replacement Parameters populated, it will be displayed within the control. Of course, the session has to have also been created with the entity specified in the Selected Entity field of the Session Line as well. In this case, the contact was what caused the session to be created so it can match on Contact Details Session. So once all the replacement parameters get values, this entry will be displayed.
If you look closely here at the XML, you'll see references to the following replacement parameters:
[[contact.fullname]x]
[[contact.emailaddress1]+x]
[[contact.telephone1]x]
Because of the + sign, the email address is optional, but the full name and telephone1 are both required before this session line can be displayed. If we are going to display this data earlier, we need to obtain this data earlier.
Solution - Preloading the Controls
In order to preload the session overview and agent script controls, we have learned that we need to locate the following data parameters before the contact is loaded into the tab.
[[contact.firstname]]
[[contact.lastname]]
[[contact.fullname]x]
[[contact.emailaddress1]+x]
[[contact.telephone1]x]
It turns out that all this data comes from the contact. If we could call the CRM web services to retrieve this data quickly at the beginning of the session, we could display these controls and then load the CRM page into the Contact tab. In Unified Service Desk, this very thing is not only possible but relatively easy to accomplish with some tweaks to the configuration.
Creating the Query
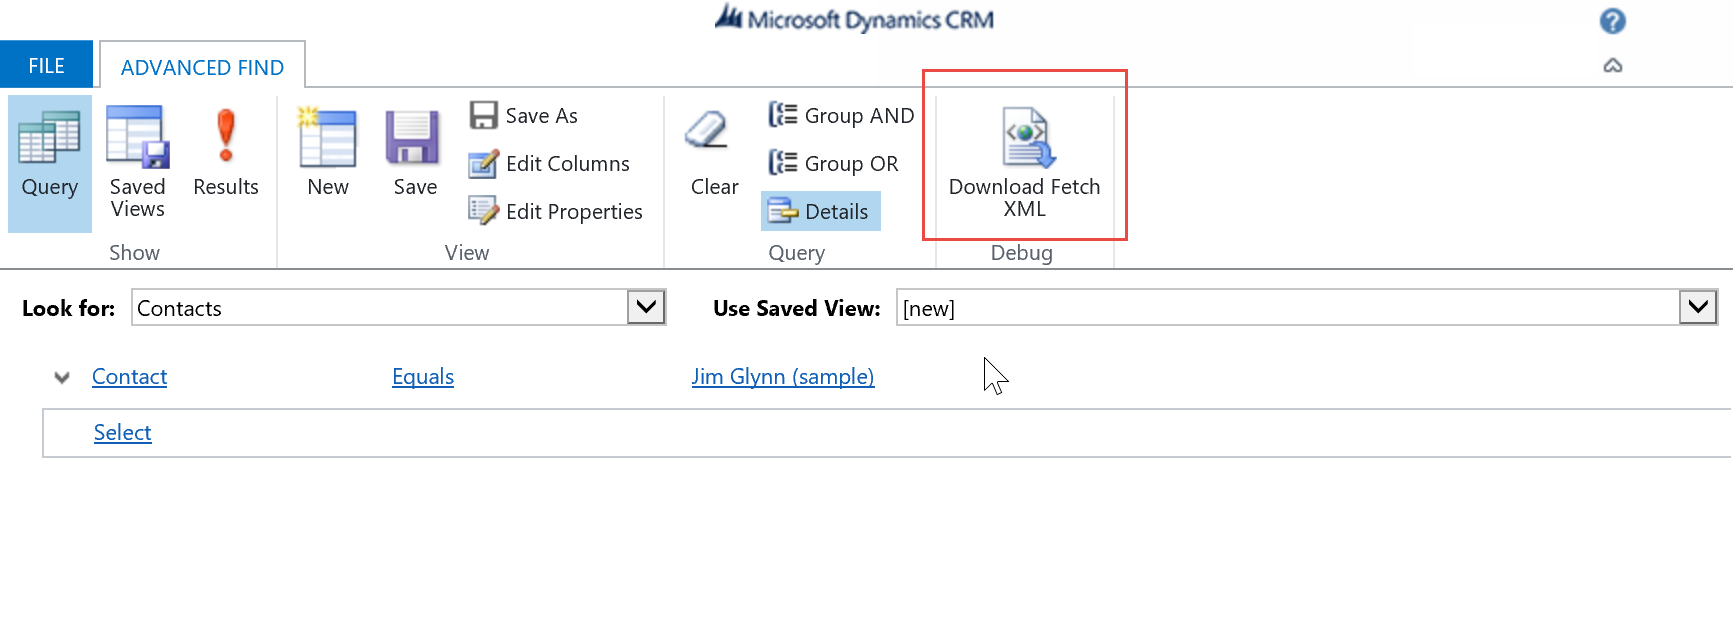
The first thing we need to do is create a fetch query that can retrieve the data above. The easiest way to do that is to use Advanced Find. In the "Look for" field, select Contacts. Next in the condition area, select Contact Equals and select Jim Glynn (Sample) from the list. When we run the query, we will replace this selection with the contact the user had clicked on, but for the purposes of creating the query, it is easiest to select one to use during our configuration. Next, select "Edit Columns".
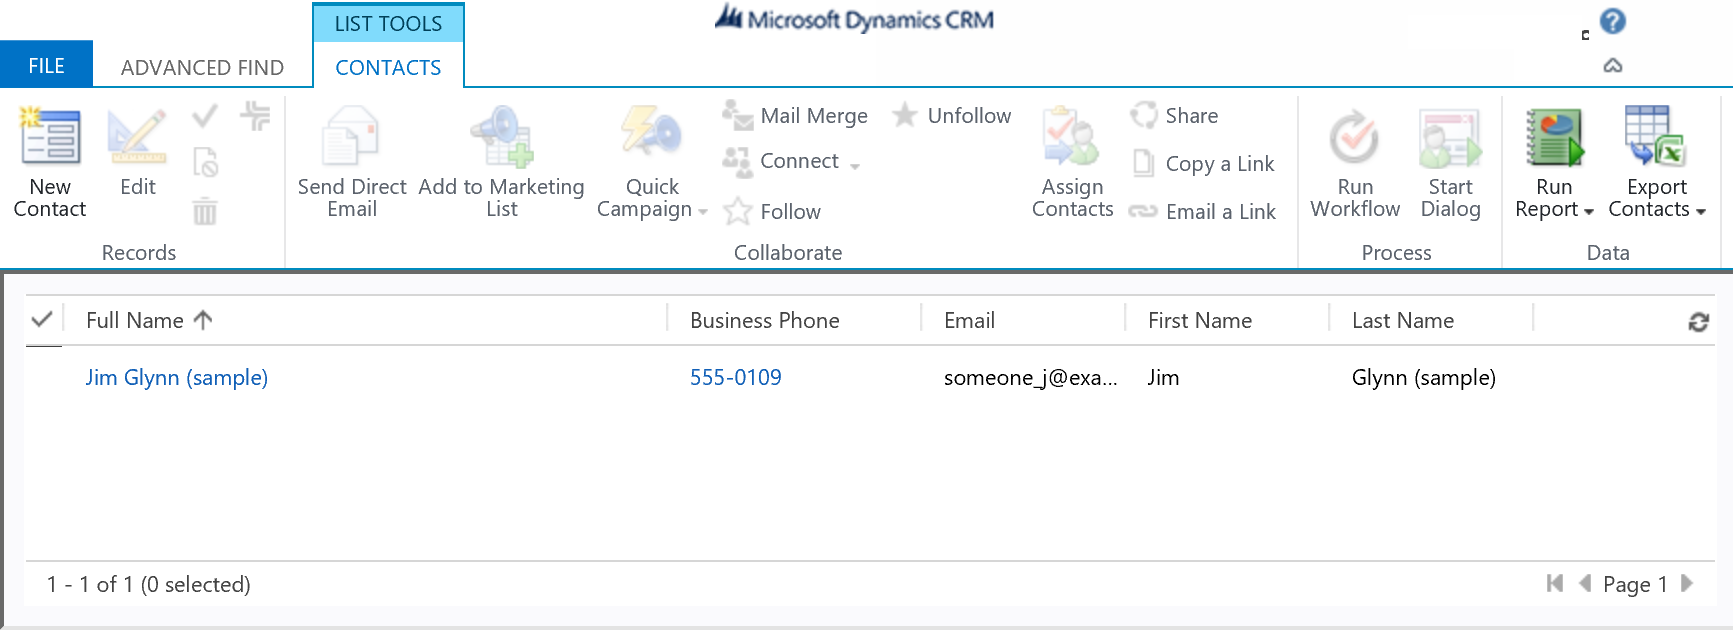
By default, the fullname and telephone1 are already added to the list of columns so you want to add Email, First Name, and Last Name so we have the 5 data fields we need to have from the query. Now when we run the query, you'll see the 5 pieces of data we need for the two controls.
Finally, we need the Fetch XML so lets export the query.
It is easiest if you open the downloaded XML with notepad. Before we use it in USD, we need to replace a few values so it will pick up the selected record rather than Jim Glynn (Sample) every time. You'll want to delete a few fields from the condition and replace the GUID with the [[Id]] replacement parameter to get the following:
<fetch version="1.0" output-format="xml-platform" mapping="logical" distinct="false">
<entity name="contact">
<attribute name="fullname" />
<attribute name="telephone1" />
<attribute name="contactid" />
<attribute name="emailaddress1" />
<attribute name="lastname" />
<attribute name="firstname" />
<order attribute="fullname" descending="false" />
<filter type="and">
<condition attribute="contactid" operator="eq" uitype="contact" value="[[Id]]" />
</filter>
</entity>
</fetch>
Now that we have the query we want to run against the server, we need to configure it in USD. So now we goto Entity Searches and create a new entry. Lets call this new Entity Search, "Preload Contact" like the following diagram.
Modify The Window Navigation Rule
Next, we want to go back to the Window Navigation Rule called Search Contact. The goal here is to modify it so instead of initially opening the contact in a tab, load our Entity Search we just created to obtain the data from the web services. Later we'll load the Contact into the tab again but after we have the data already. Within the Navigation Rule, we modify the Destination from Tab and set it to Entity Search. That will change the form to allow us to select our newly created fetch query that we just saved called, Preload Contact.
Now is a great time to run USD to see the affect we have had with just these 2 changes. Run our search again and observe the result.
Notice that our Session Overview control is already being populated and that the Contact tab no longer shows up, as expected. Of course, we have the data we need for the agent script to load so lets go ahead and take care of that now. If you recall, these things are loaded via Action Call in the Contact's BrowserDocumentComplete event. In this case, we want to load them immediately after capturing the data from the server.
Add Action Calls to Window Navigation Rule
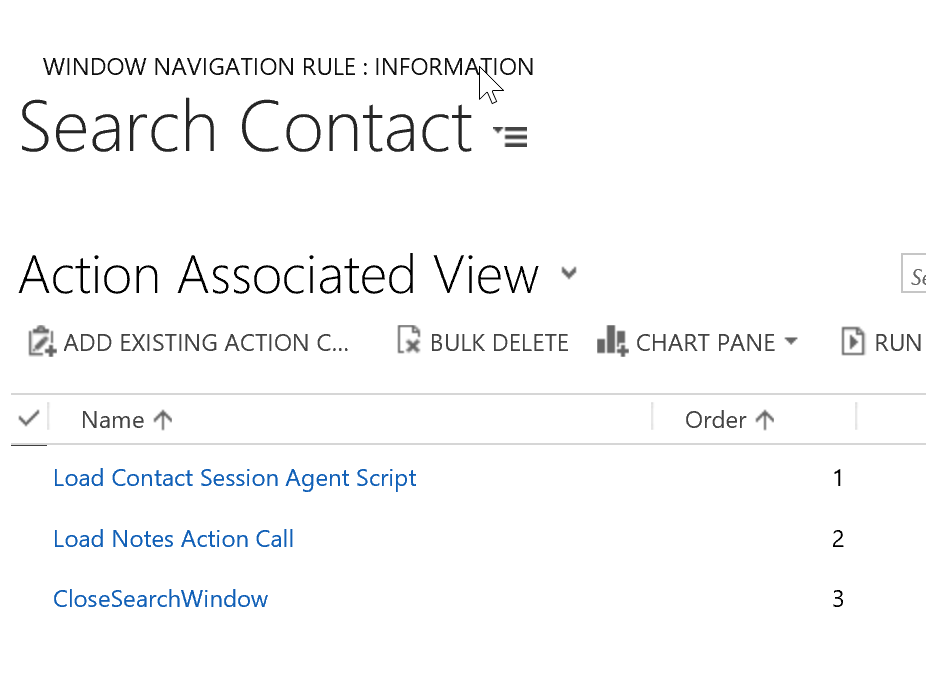
The Window Navigation Rule happens to have a associated list of Action Calls that can be found under the menu when viewing the Contact Search.
This is a list of Action Calls that run after the work on the main Window Navigation Rule has been completed. In other words, the session has been created and the search has returned some data at this point. We want to add in our action calls that were listed in the BrowserDocumentComplete event for Contact since it is safe to run them now. Notice that I also renumbered the Action Calls because this will be important in the next step when we want to load the Contact Page again.
Now is a good time to run Unified Service Desk to see our progress.
Now we have the controls preloaded on the left and the search screen is closing like we want but we don't see the contact form load. Lets now take care of that.
Instead of loading the Contact automatically via the rule, we have chosen to load the data via web service call, which is quite fast on most systems especially since we would be using the GUID which is the database key and always unique. Now we don't have the option of selecting the Contact as the destination for the popup. It turns out, that is ok because we have a simple way of resolving this and getting our Contact to load once again.
Lets take a quick look at the USD Debugger output. If we scroll to the bottom and find our Action Call for GotoTask, we see in the parameters column a URL that happens to be the URL of original popup window. Now, we haven't used this URL yet, however, if we want to navigate to the original Contact that the user had clicked on like we do now, this URL is going to come in handy.
Next, go to Action Calls and add a new one. We want to manually load the URL into the Contact tab by calling the Navigate action and passing in our data parameter.
Make sure you set the Order to something greater than 3. I decided to leave myself some extra space in case I want to come back later and add anything else. This is also a signal to me later when I come back here that I intended to have this Action Call run last. Now we need to make sure we add this action call to our Window Navigation Rule, Search Contact.
Now would be a good time to run USD to see our result.
Notice the contact is now loading in the background but unfortunately the tab is in the background. That was the job of the Window Navigation Rule option called Show Tab. Unfortunately that option isn't available to us now. Fortunately we can perform the same function via Action Calls.
Clean up the results
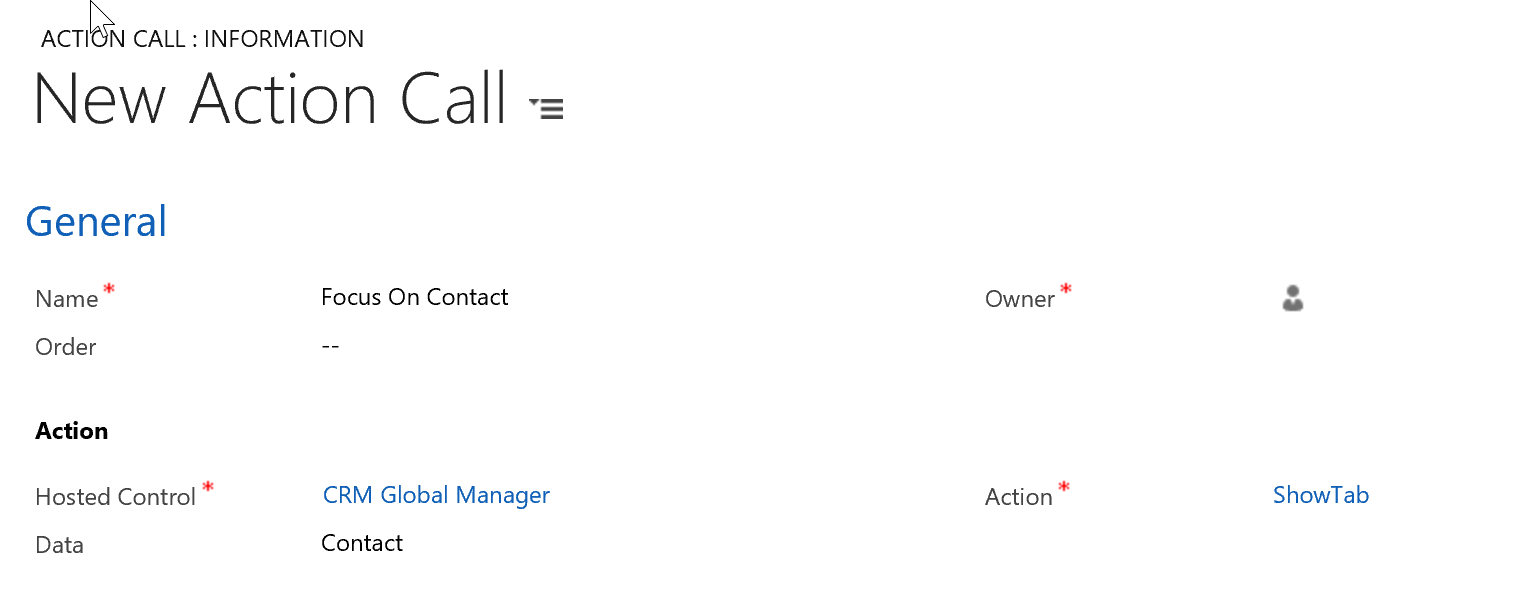
We should add a call to ShowTab either in the Actions list of the Window Navigation Rule or preferably the sub actions of the Action Call, WNR Load Contact. The reason it is preferable to create this Action Call in the subactions of WNR Load Contact is that these subactions only run if it's parent is successful. That means that if for some reason the Navigate failed on Contact, this ShowTab action will be skipped. In this case it doesn't matter too much since the Contact not loading indicates other more dire problems, but thinking this way is a good pattern if for no other reason than to illustrate the depedency within your configuration.
End Result
Now that we have this Action Call added to the system, lets run Unified Service Desk to see the results.
The end result of this change is dramatic. Even though we have added the additional step of querying the CRM Web Services for the contact information, the application appears to be significantly faster. The reality is that it isn't any faster than it was previously but the useful data that allows us to begin the conversation with our customer is now available immediately, which greatly reduces the possibility of unproductive idle time by the agent.

